Feeds:
Posts
Comments

Archive for the ‘bathroom’ Category

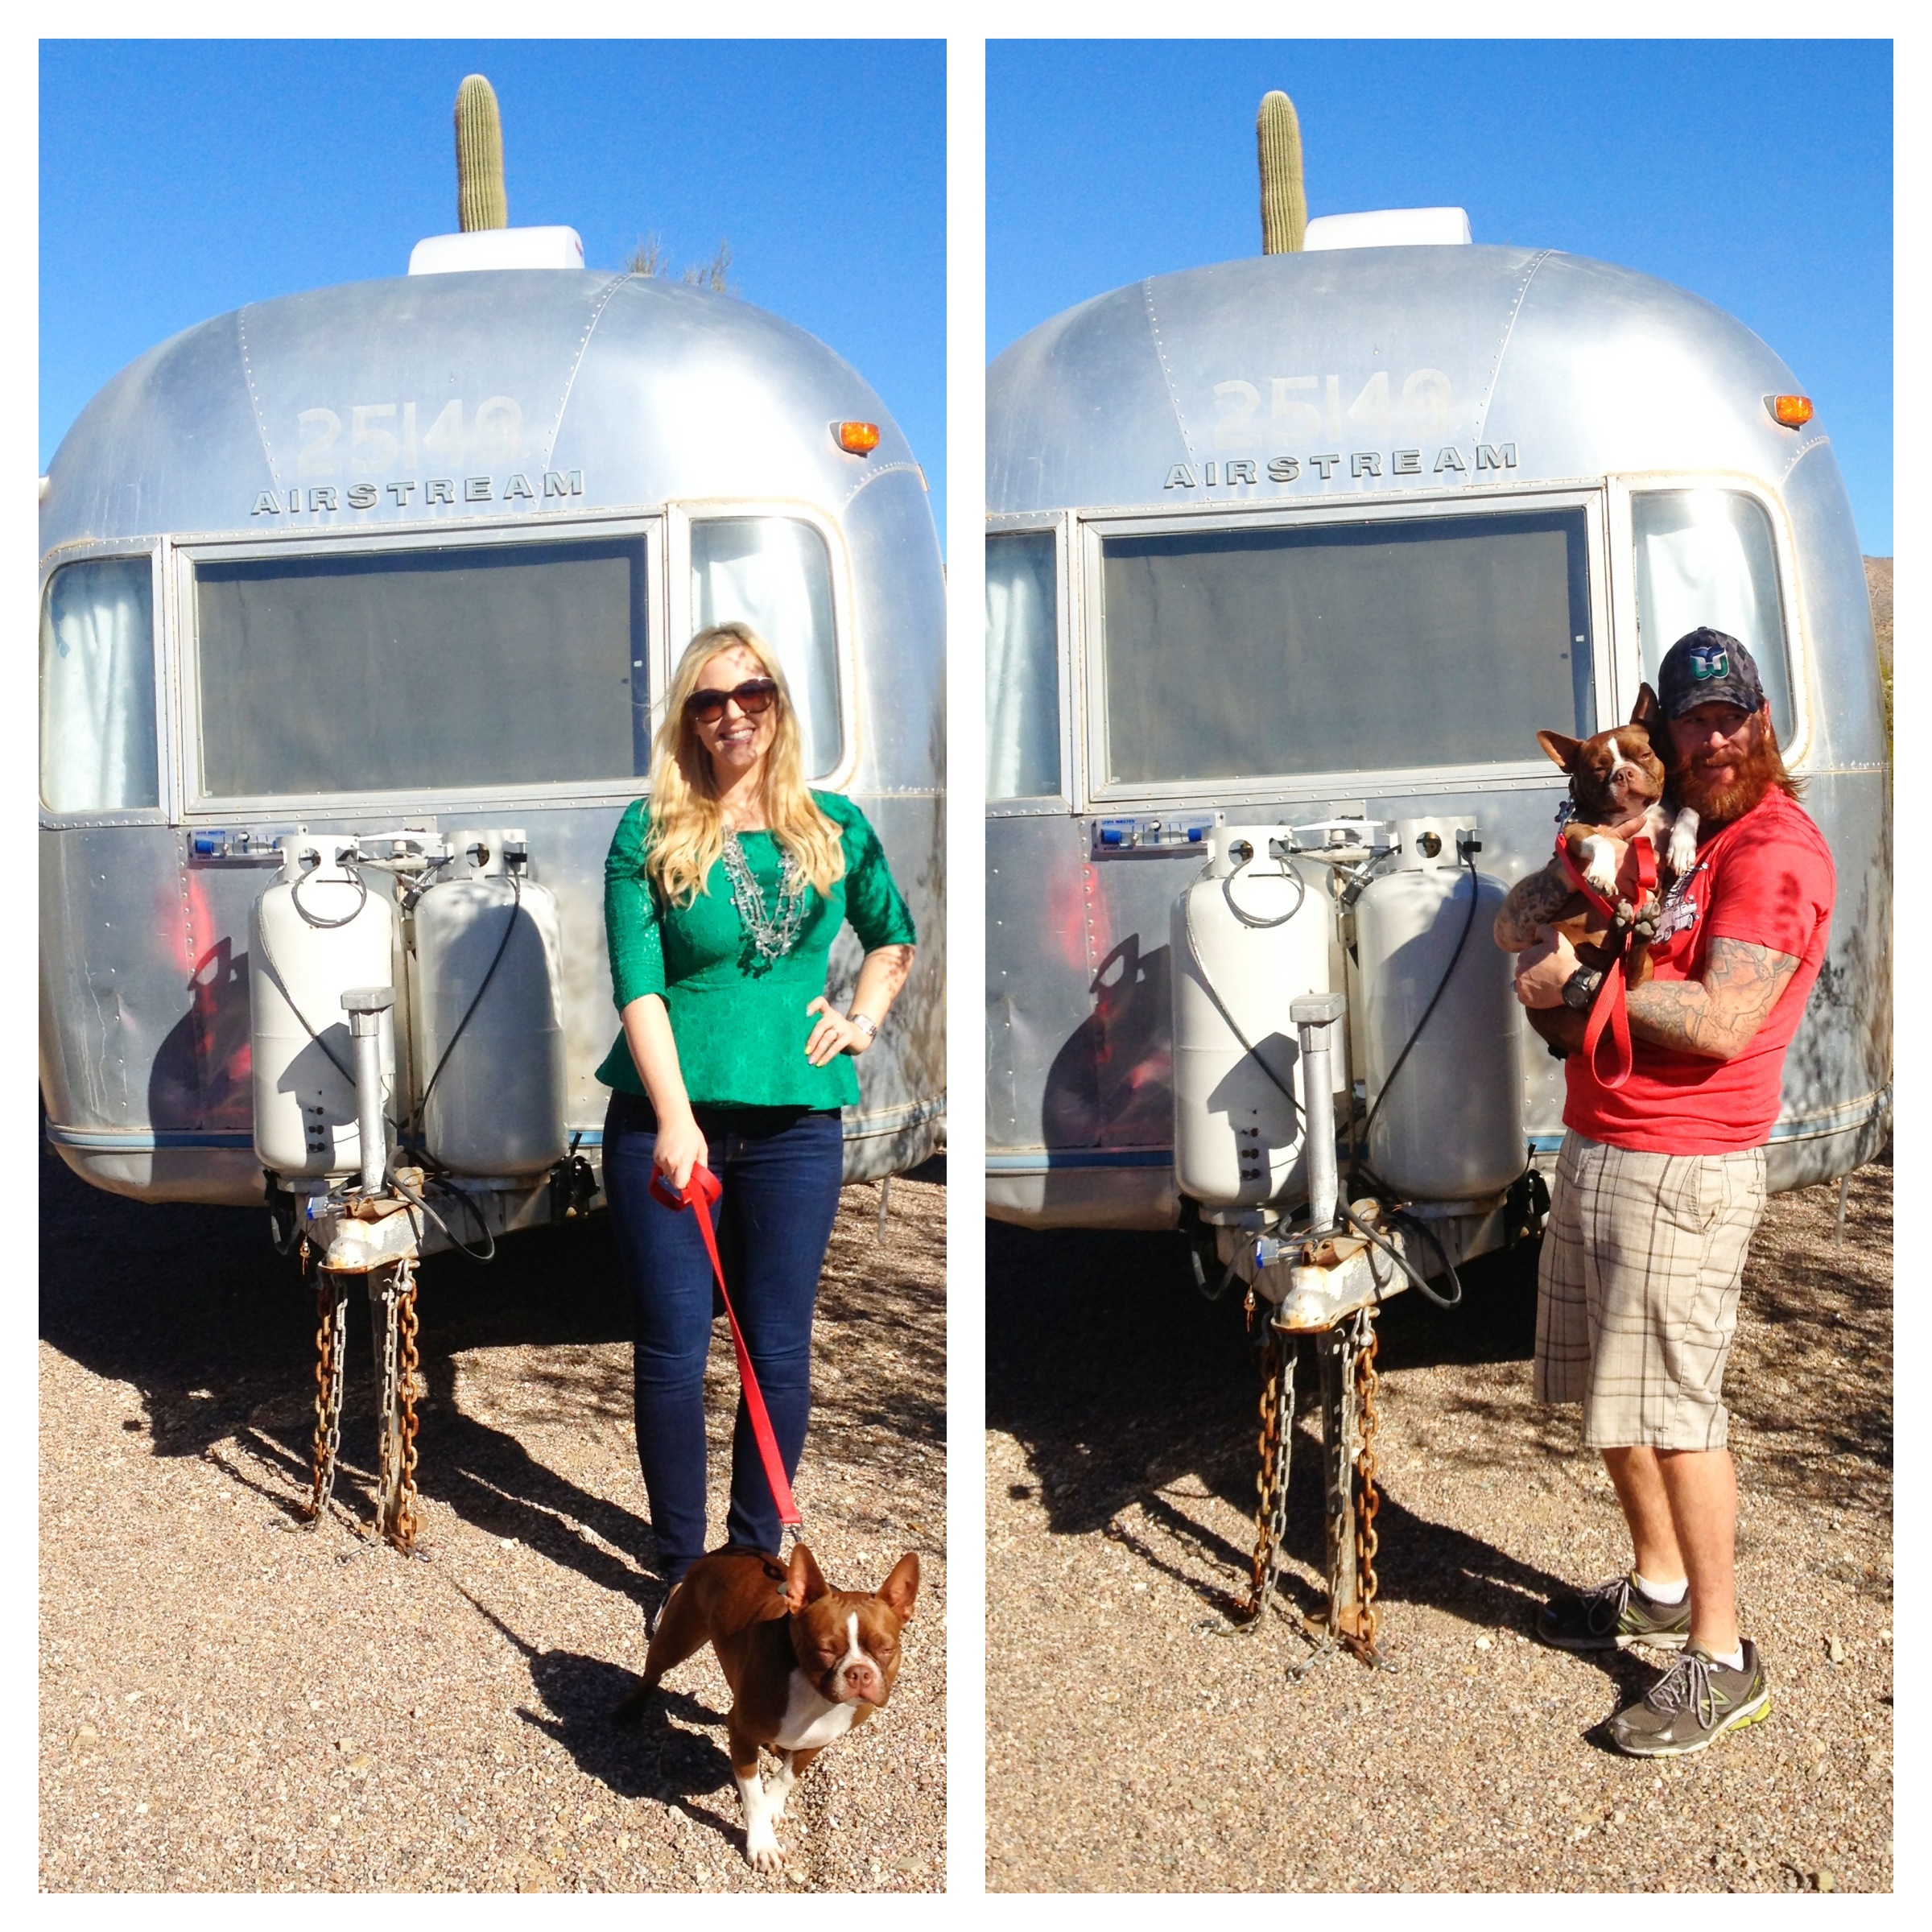
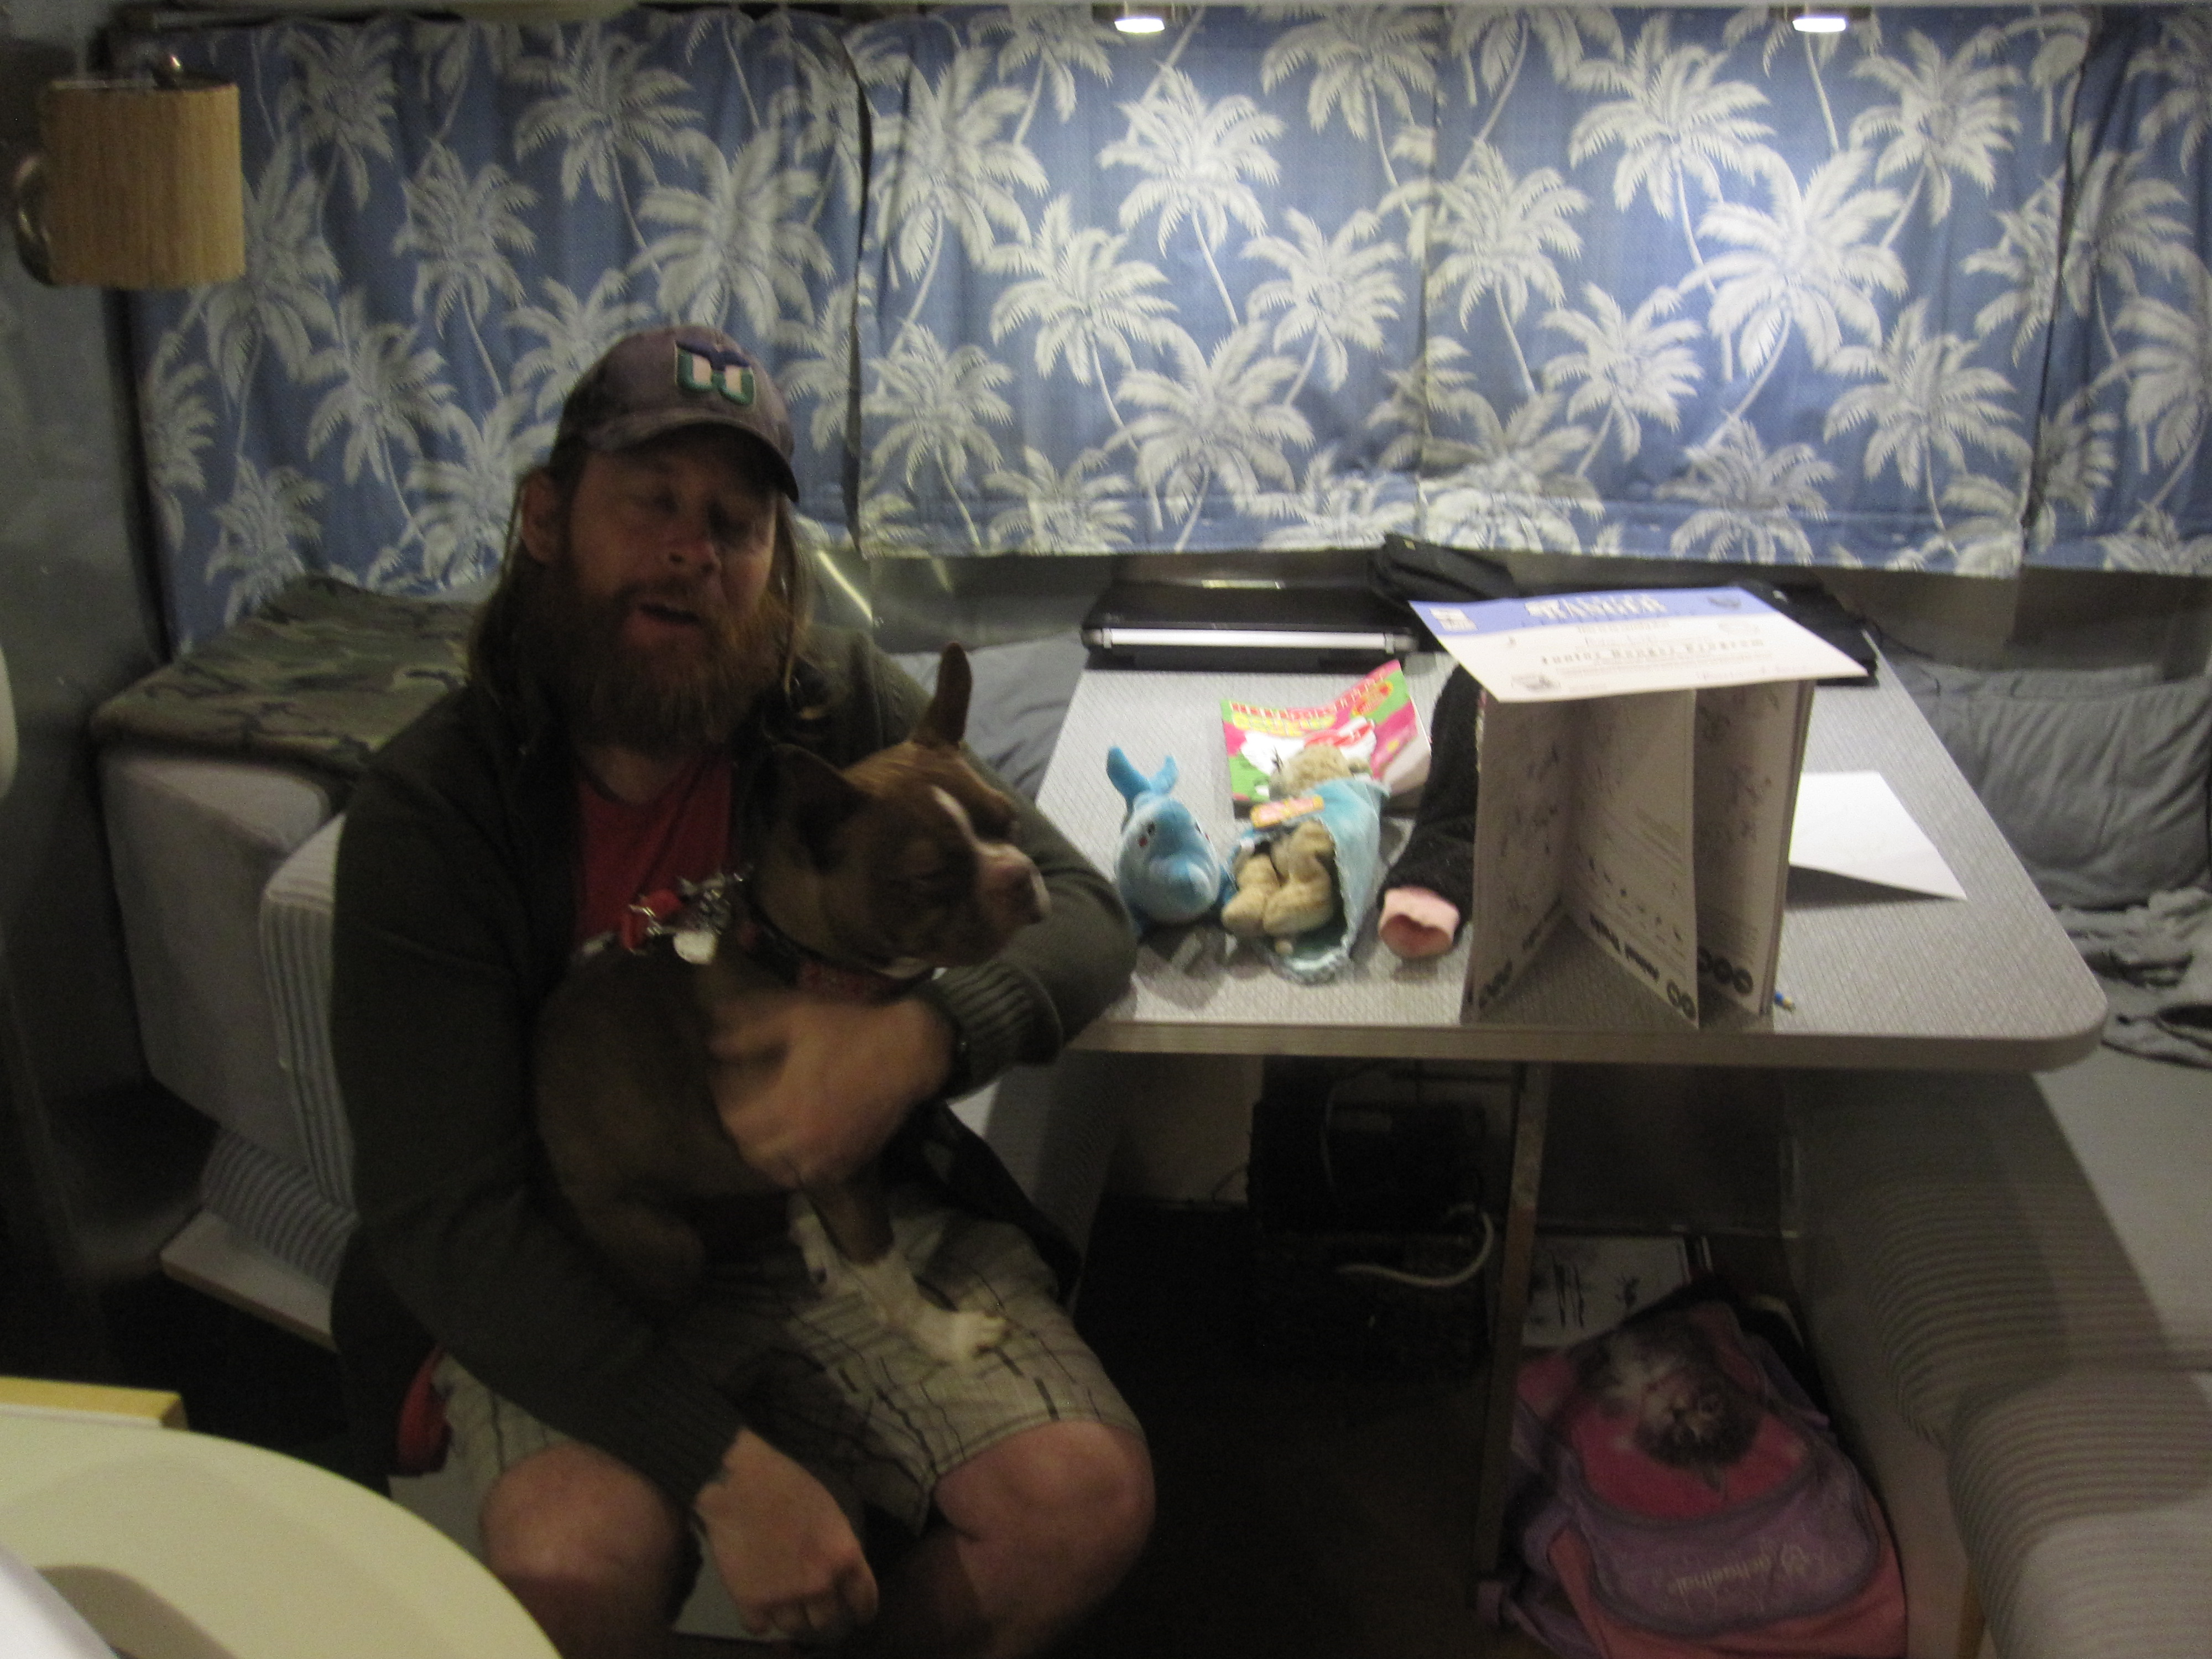
Well, it has been a while since we took Airstreamy out of the driveway. We have been so busy with the holidays and new year that we haven’t had time to take her out on adventures, like we so badly want to. On Instagram, we noticed a lot of fun stuff happening in/around Tucson this weekend. We saw that Mali Mish and Watsons Wander were both going to have their Airstreams down in Tucson. My Instagram handle is @fifilynn and my husband’s is @hibbardcustom. I begged, begged, begged Matt to go down with me for Friday night and we would come home Sunday morning. He agreed and I jumped up and down in excitement. Besides getting to meet fellow Airstreamers, we’d be able to go to the 59th annual Tucson Gem and Mineral show, which is something that I had been wanting to go to for years. We have 3 dogs and knew we couldn’t bring all of them, so we decided it was Hank’s turn for a roadtrip. Meet Hank, our Boston Terrier from the AZ Boston Terrier Rescue. We’ll have had him for a year, come May.

Meet Hank, one of our 3 dogs

The campground of choice for Mali Mish and Watsons Wander was Gilbert Ray Campground located on the West side of the Tucson mountains. We were excited to know that 2 sets of full-timers recommended this campground. Reviews of campgrounds online can be a mixed bag. I’ve come to realize that other airstreamers’ blogs are probably the best place to go for recommendations on the best places to adventure. I haven’t been let down yet!

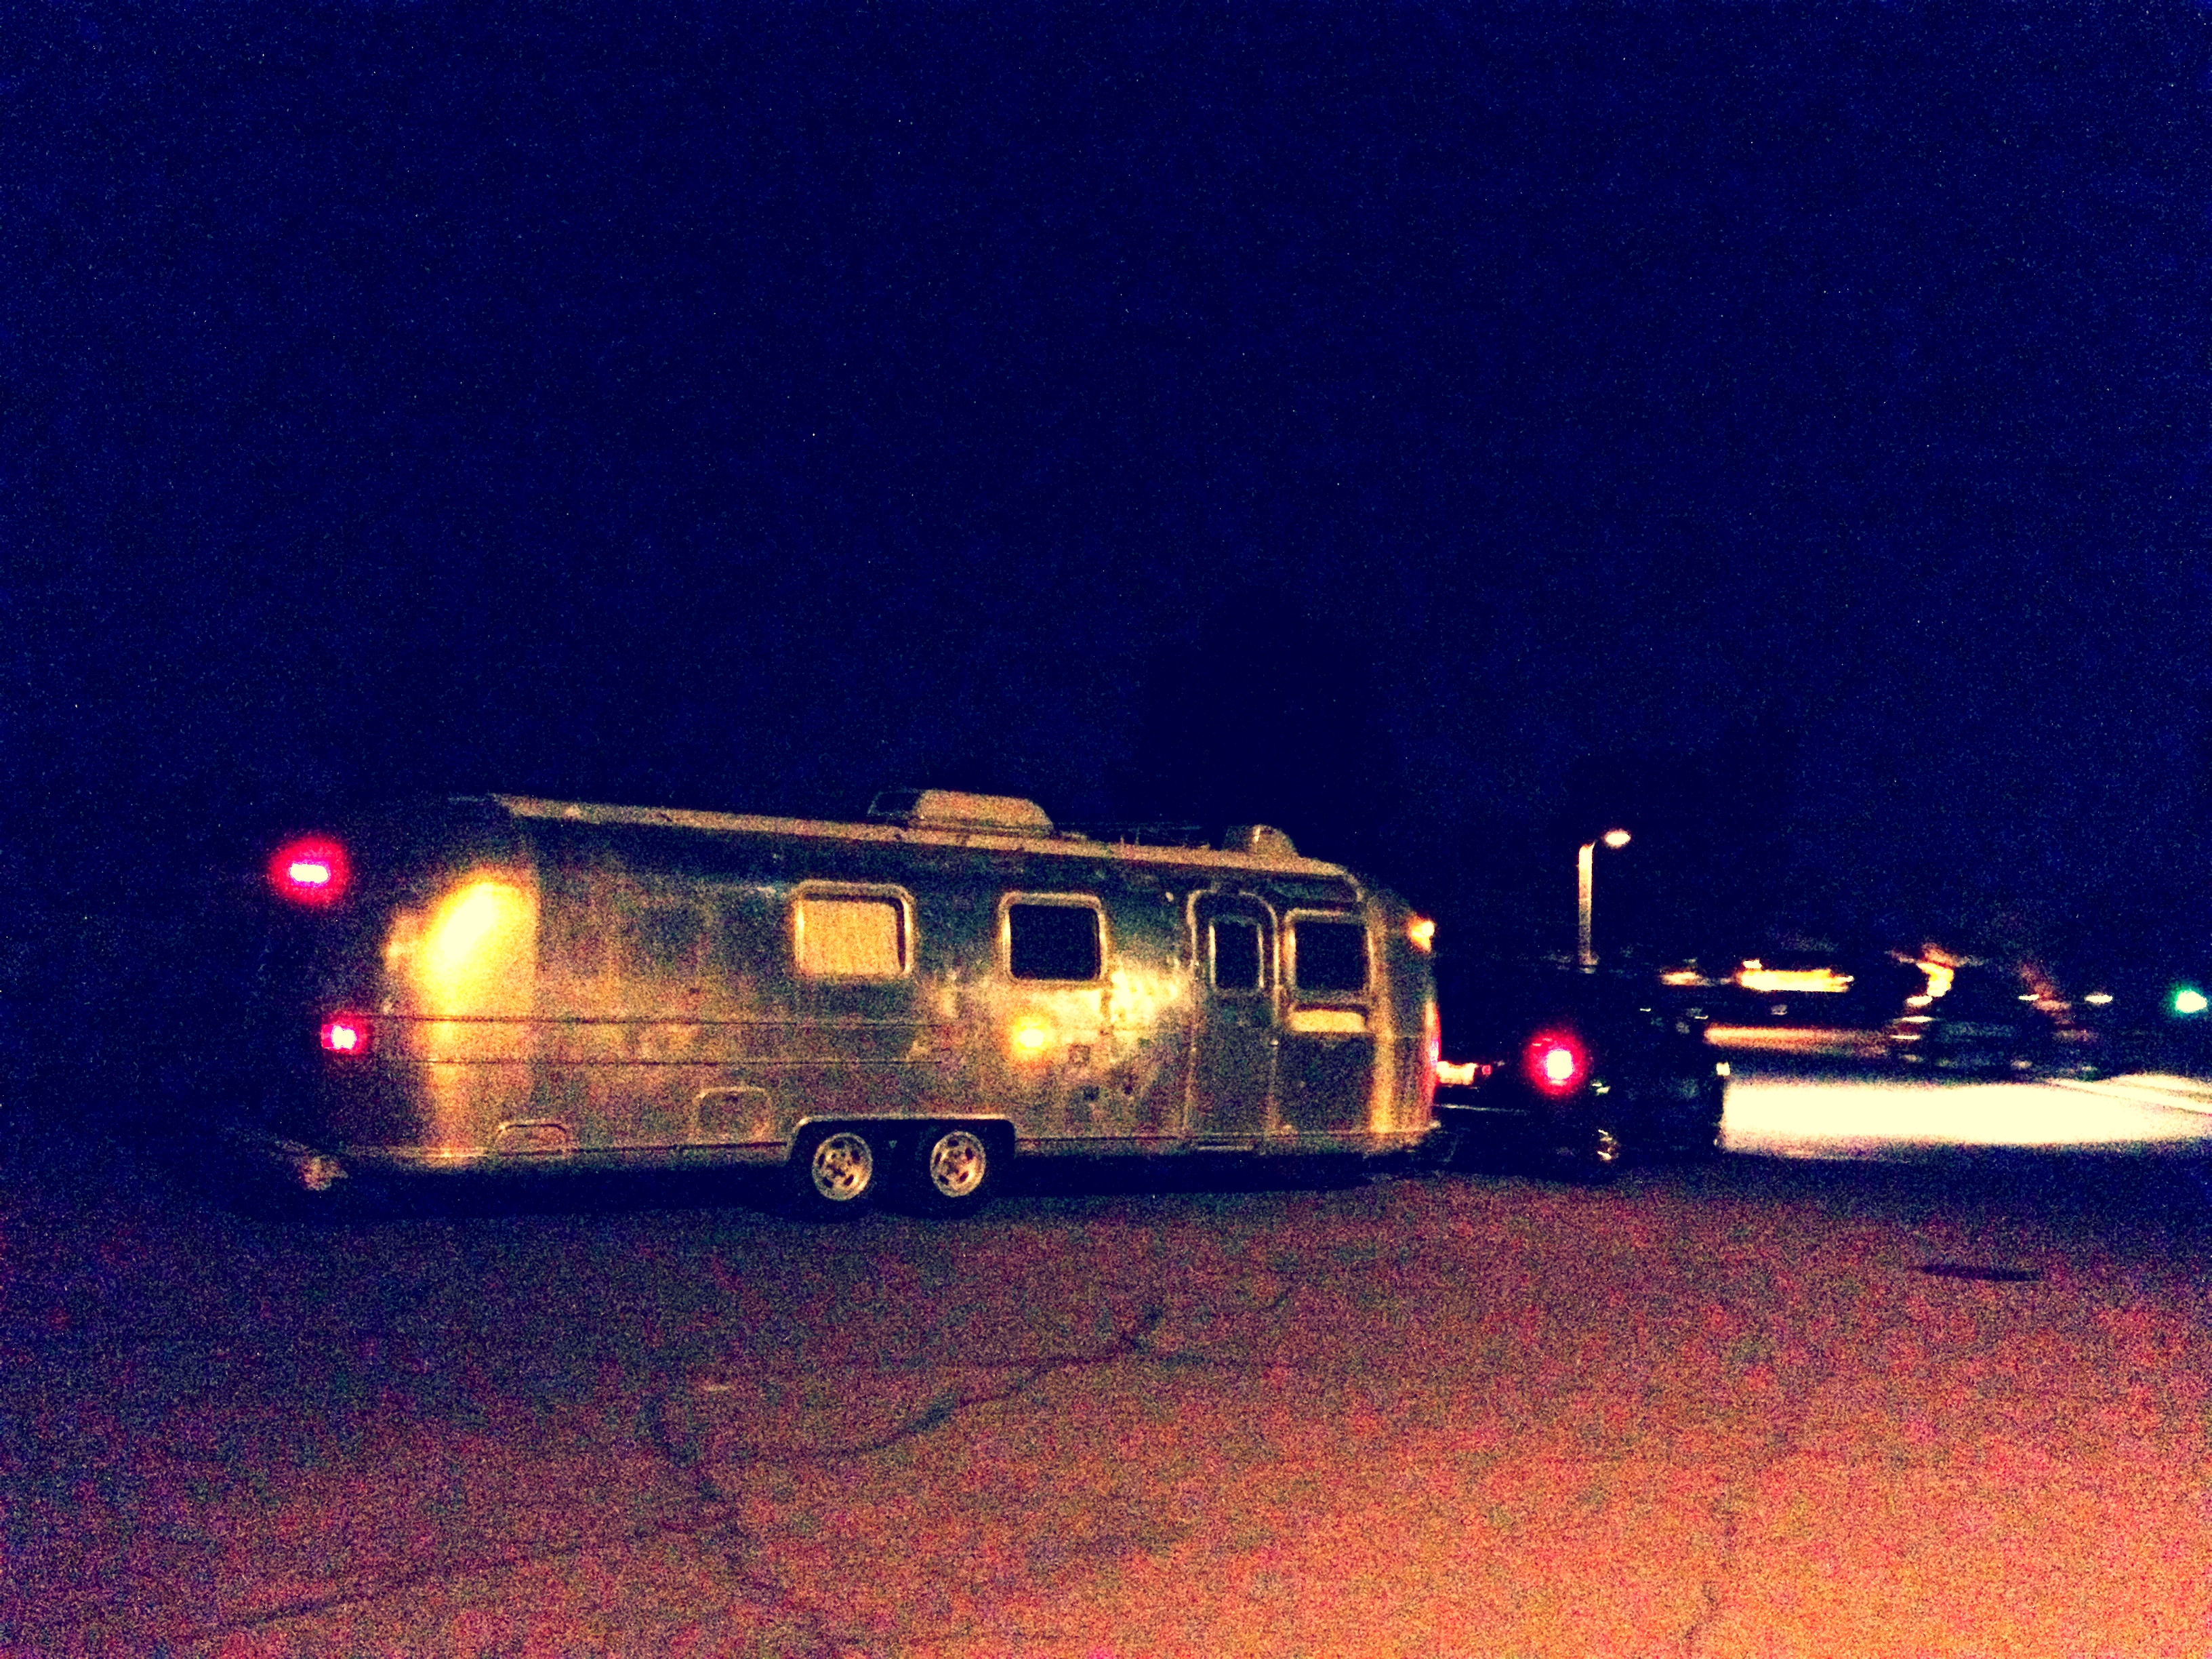
We made the decision to go down to Tucson around 8pm on Friday and by 9:30pm, we were on the road. Matt went to fill up the gas tank on the Expedition and I went to gather weekend necessities. We packed our suitcase, grabbed some food and pulled out of the driveway.

Airstreamy leaving for our Tucson day trip

Coffee....hmmmmm

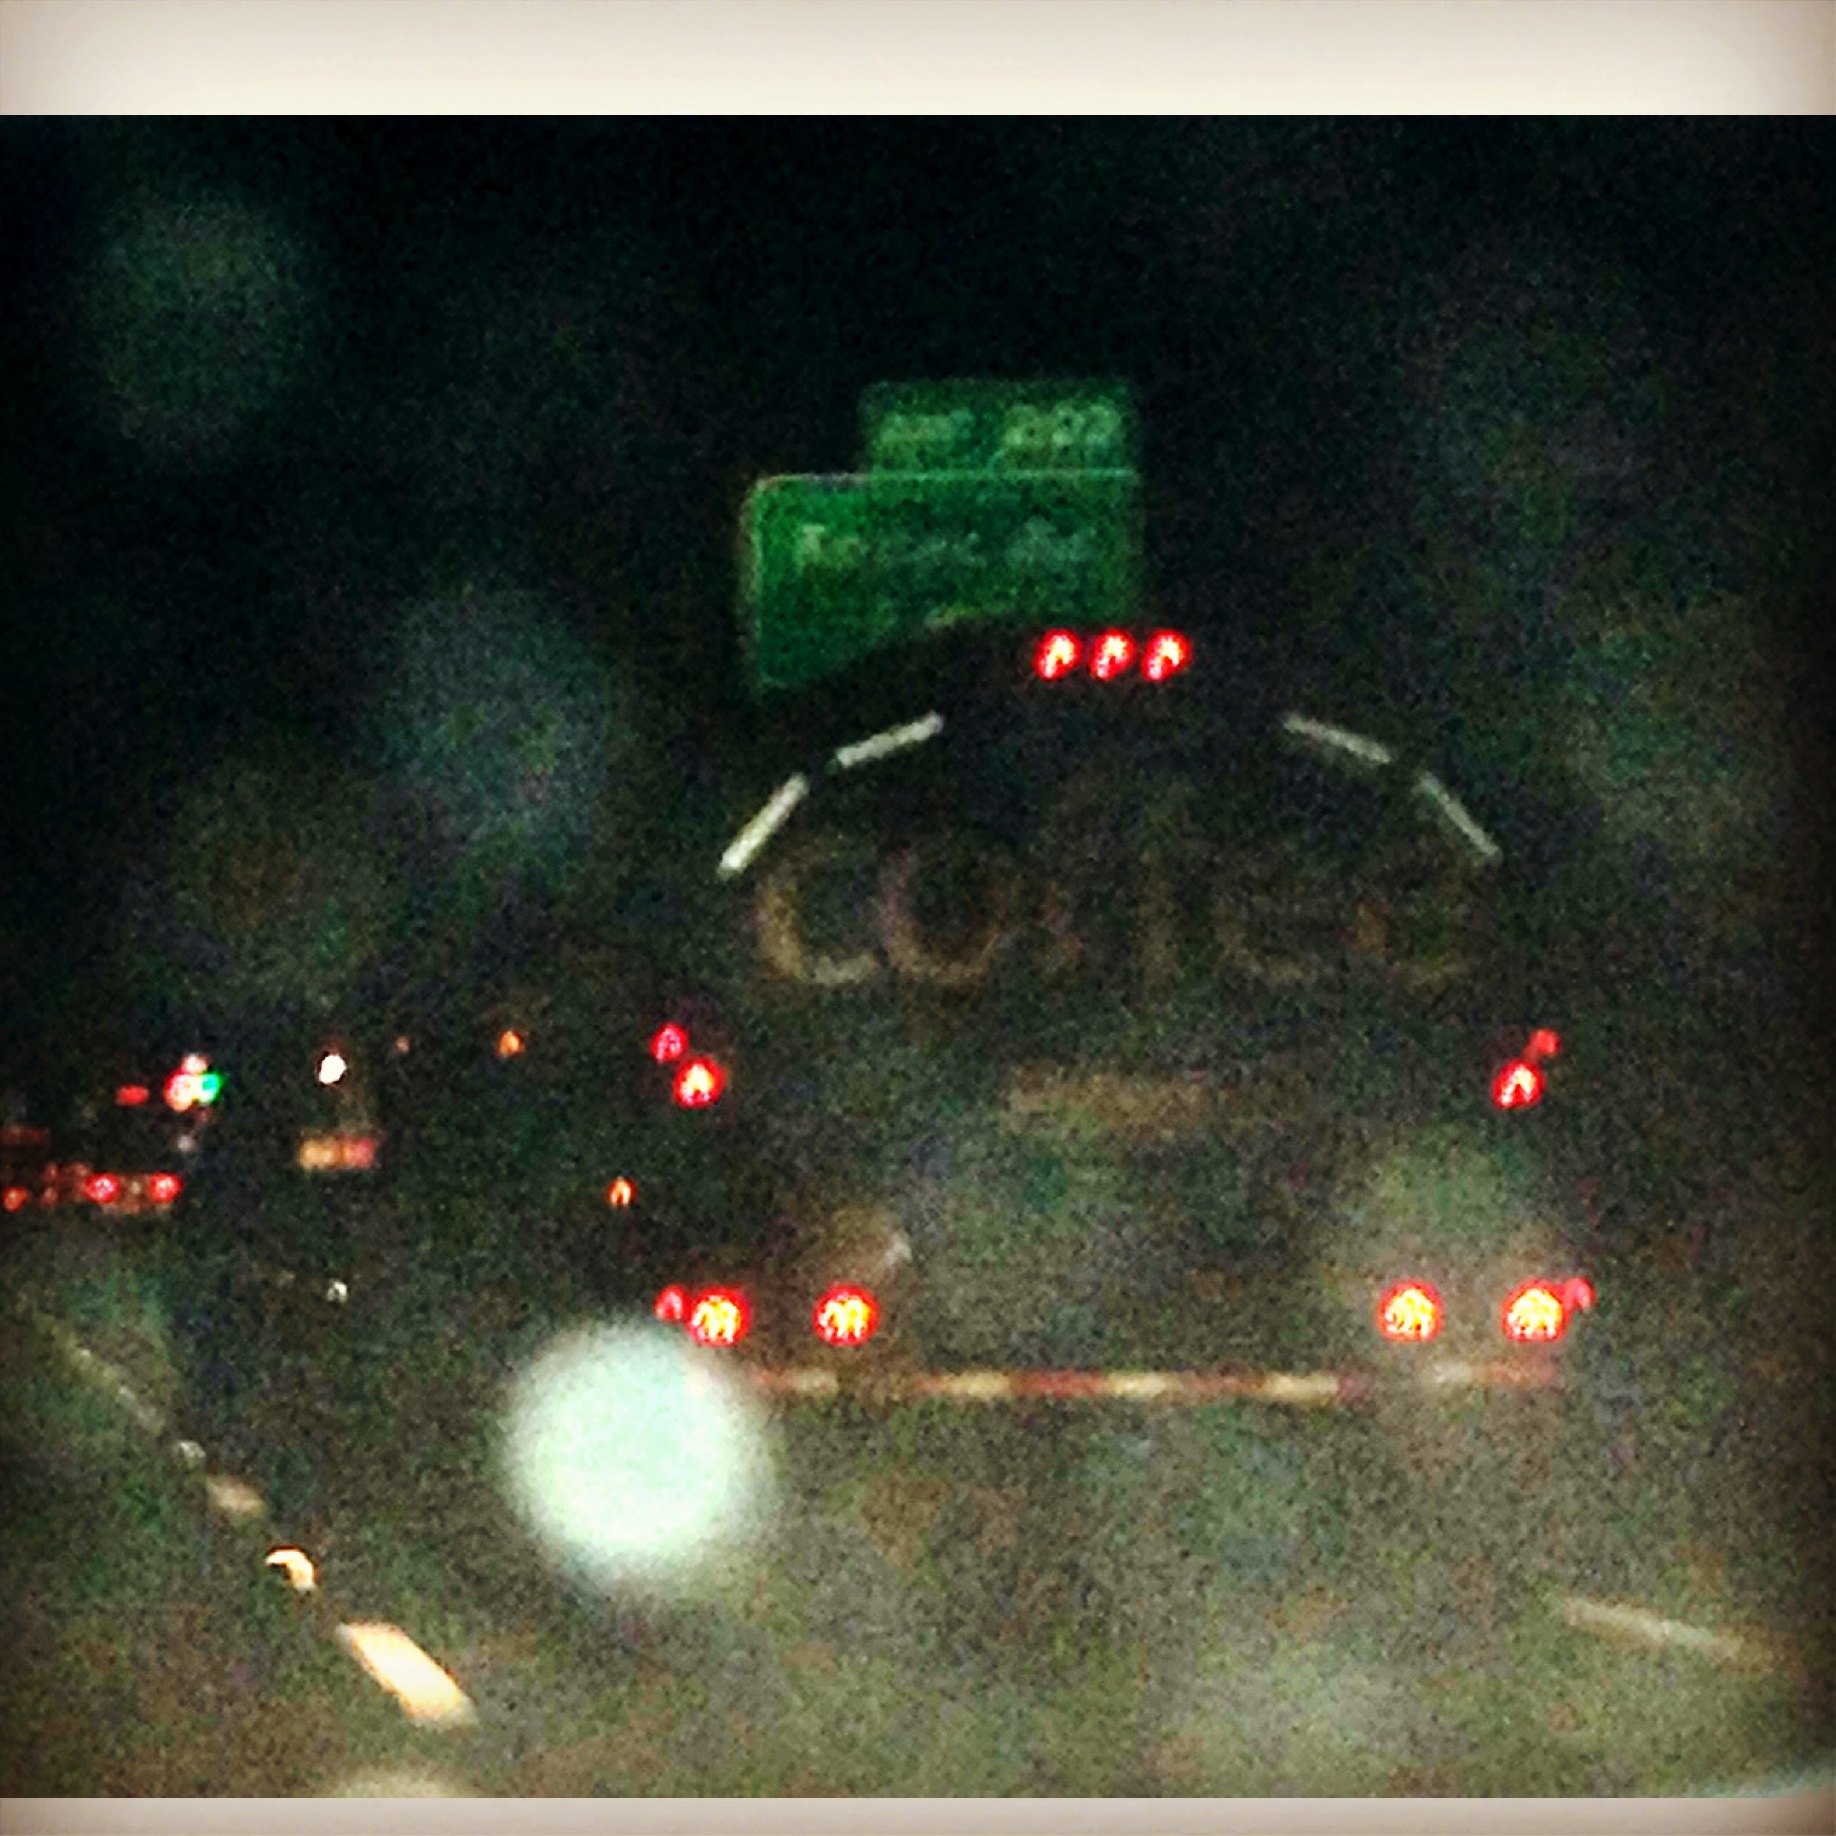
We arrived to Gilbert Ray campground just before midnight. Dan and Marlenne (Mali Mish) let us know that they were in loop A and that there were several vacant sites in their loop. The campground reservation office was closed, so we did a self-check in, found ourselves to loop A and proceeded to back into our spot, 44A.

Here is a map of the campground:

Gilbert Ray Campground map

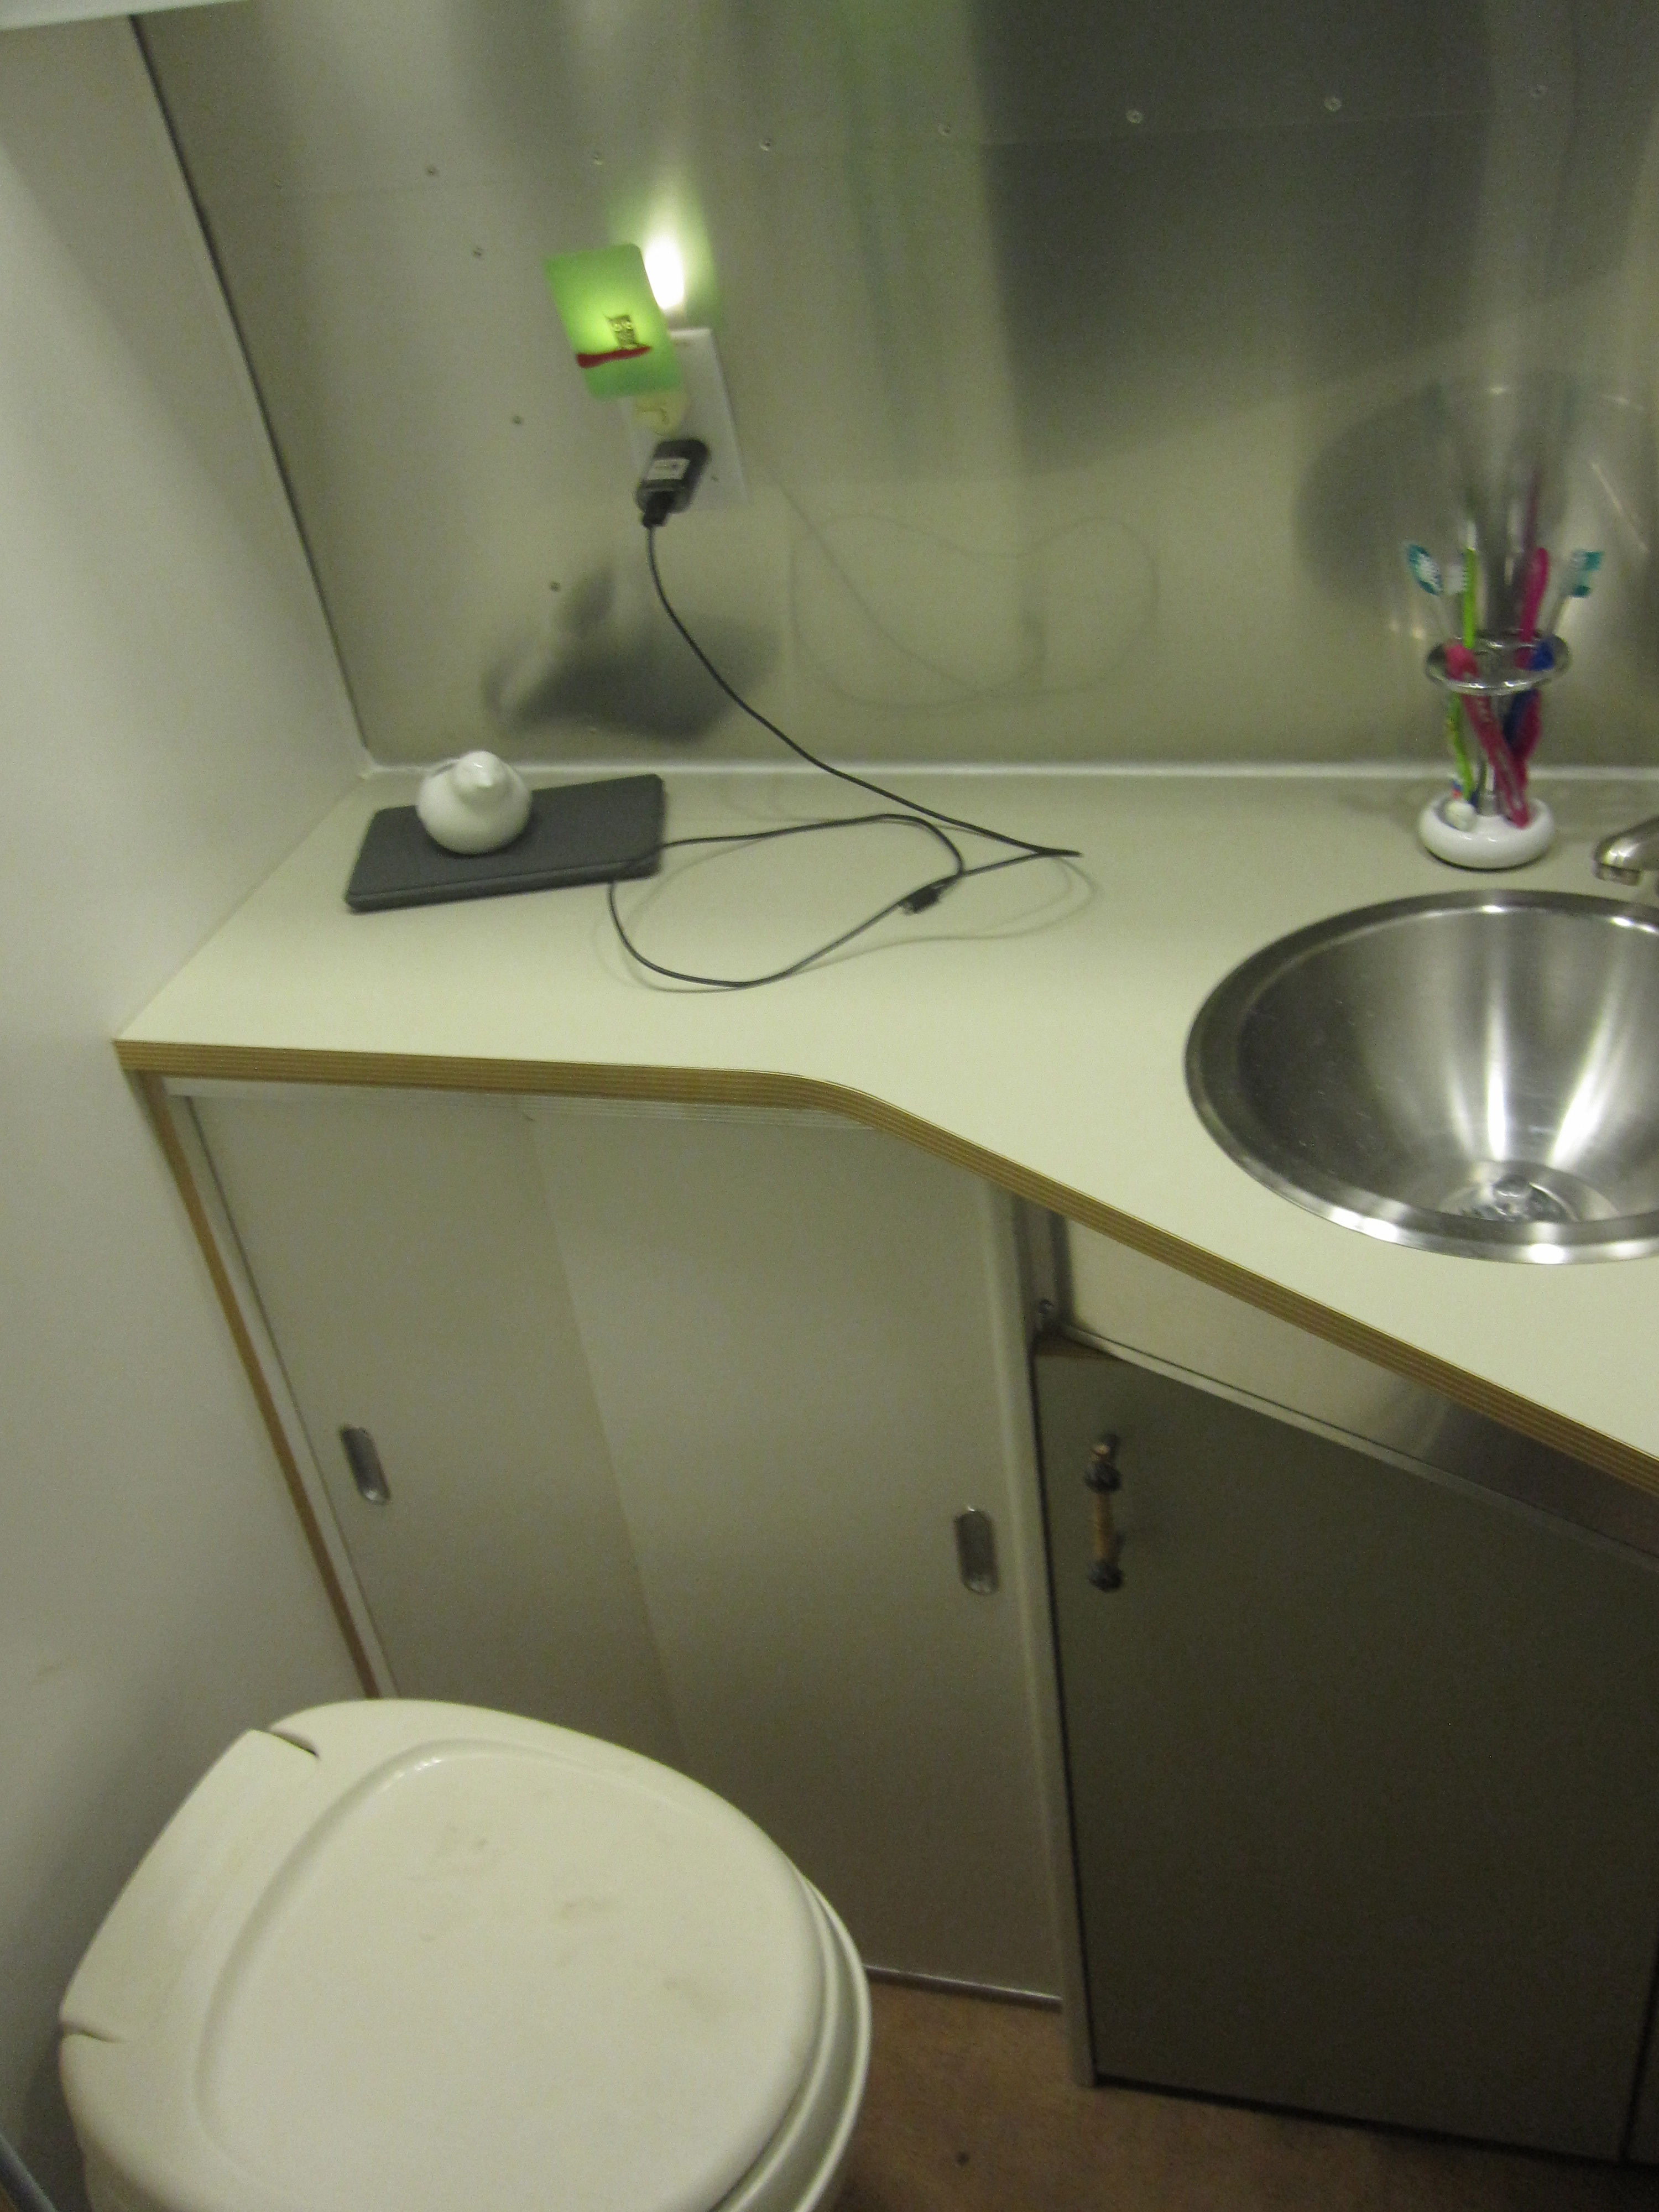
I cleaned the inside of the airstream, while Matt got us all hooked up. Gilbert Ray doesn’t have a sewer or water connection on each site, but for $20/night, we weren’t expecting to have all the amenities. Our water pump wouldn’t work when we got hooked up, so we ended up dry-camping…thank god for dry shampoo and cleansing clothes! And, our heat was being finicky. We woke up freezing in the middle of the night and Matt had to relight the pilot.

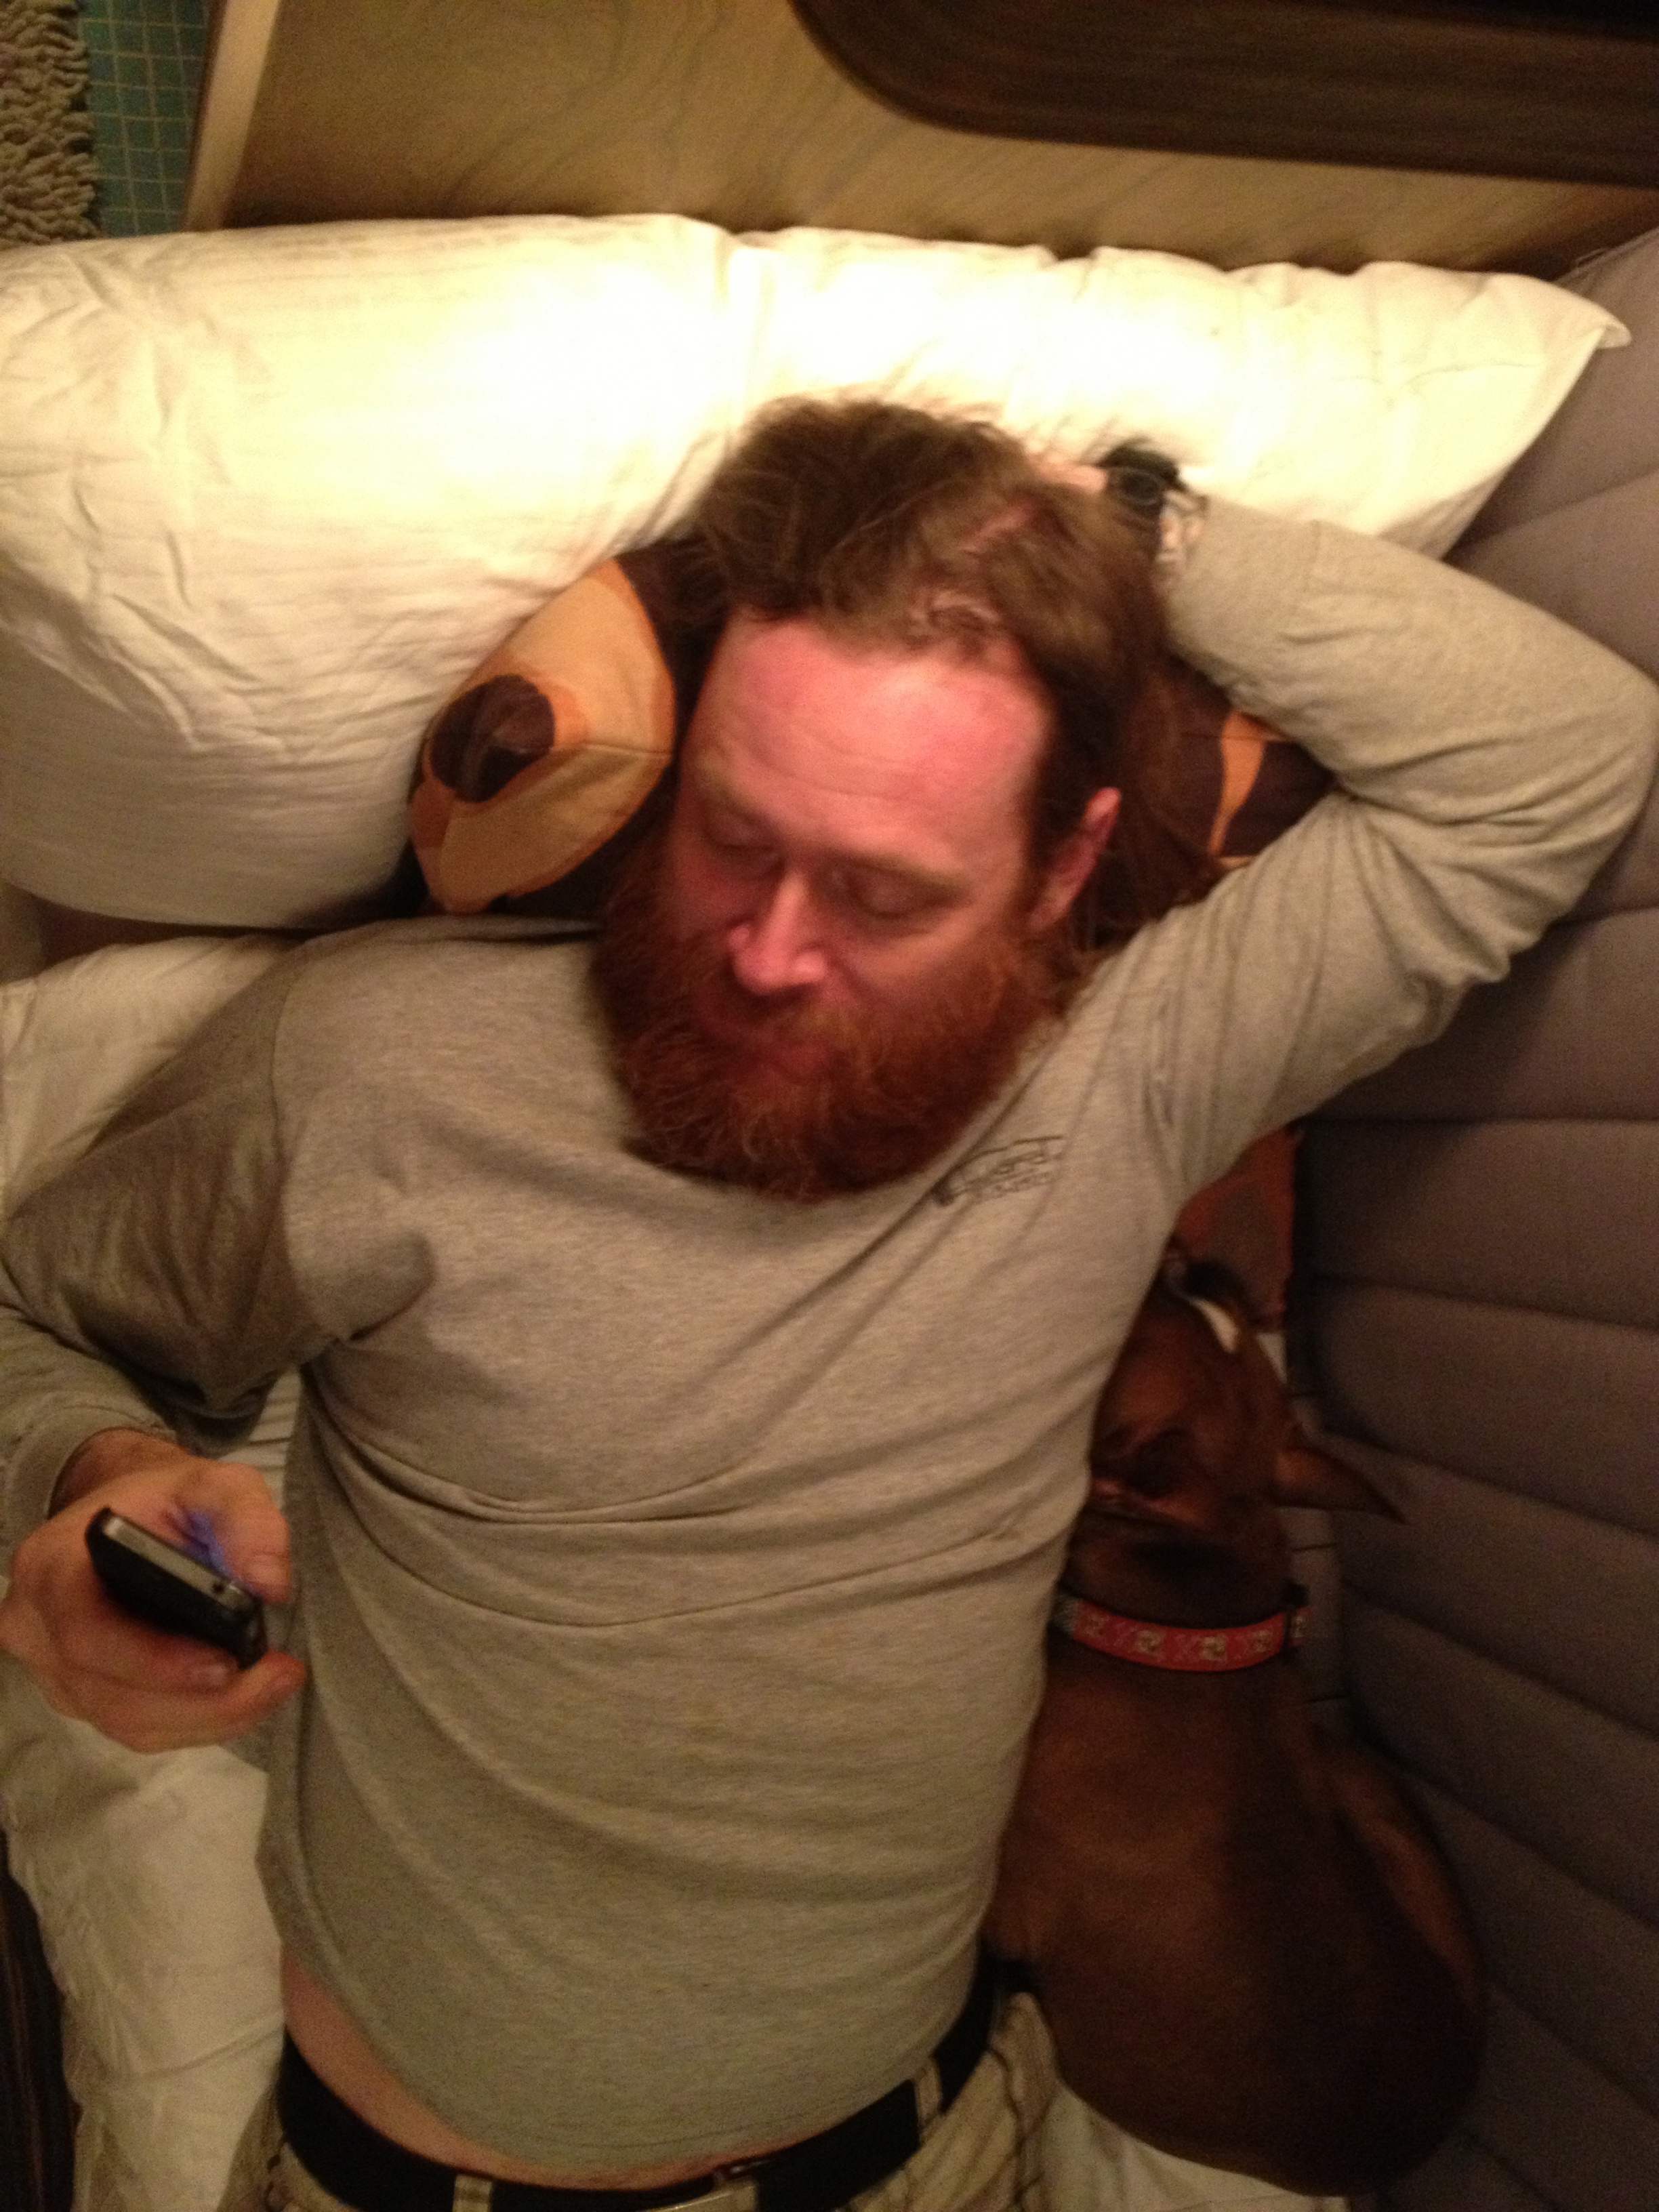
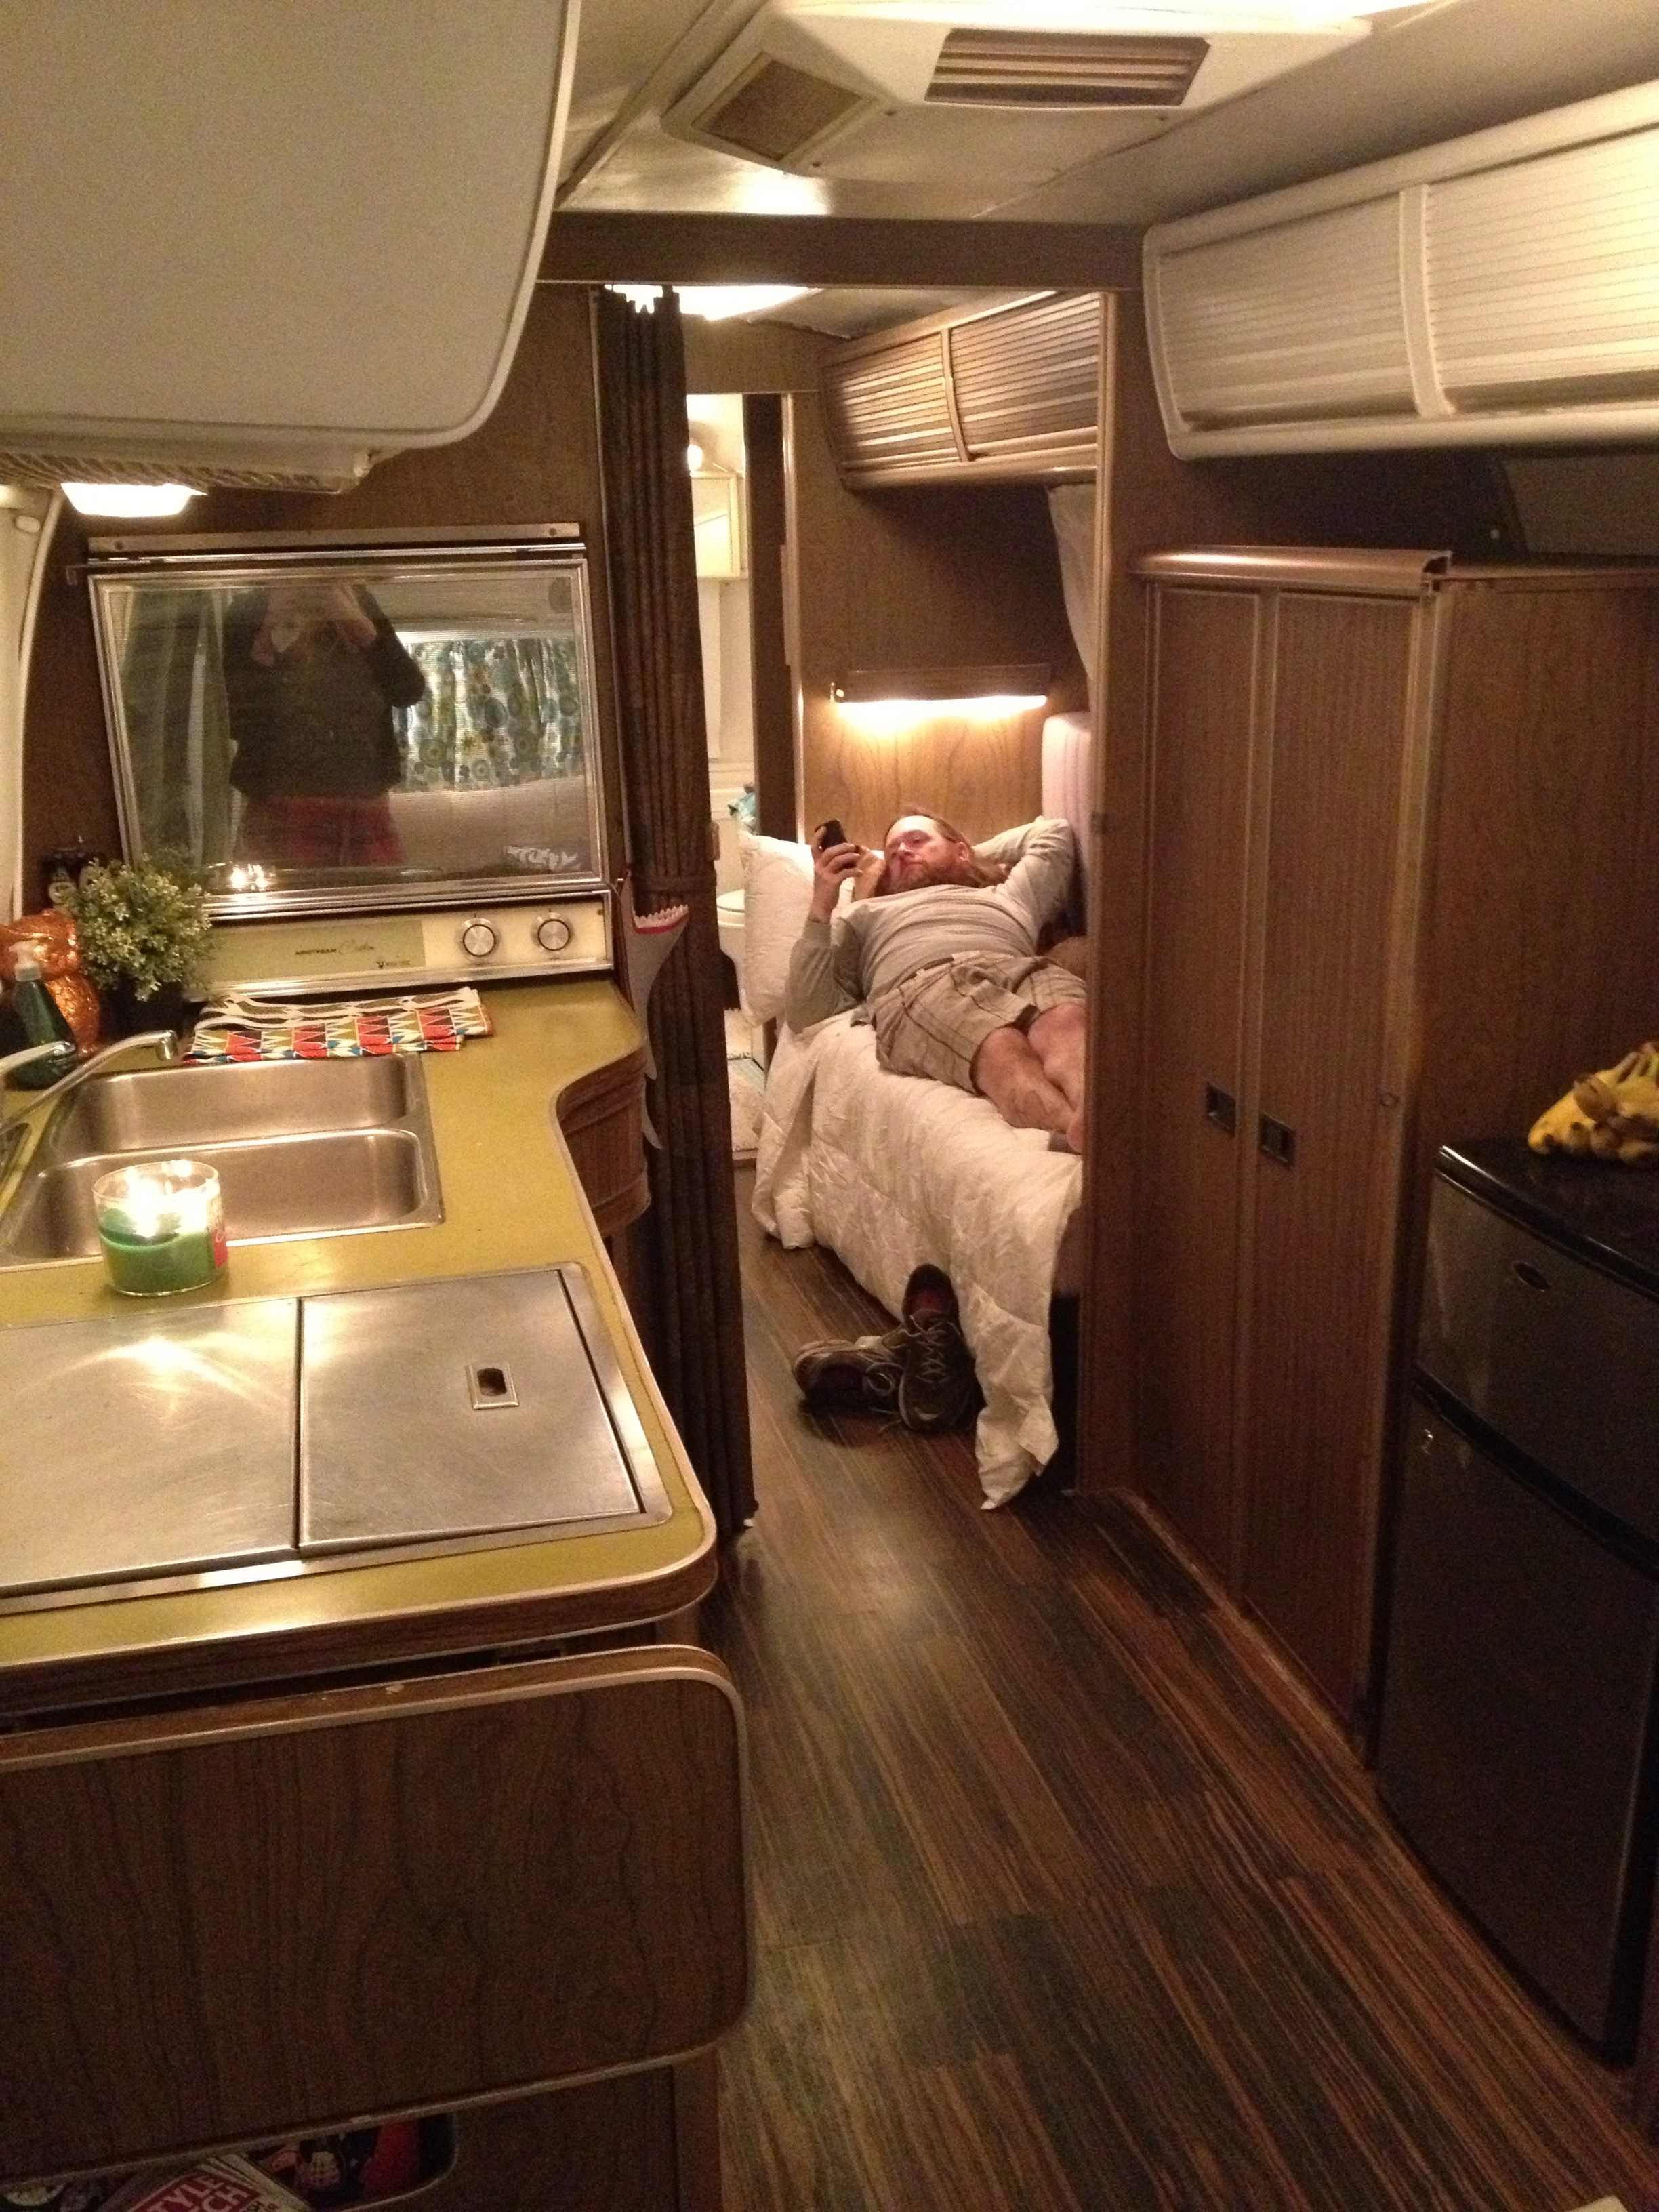
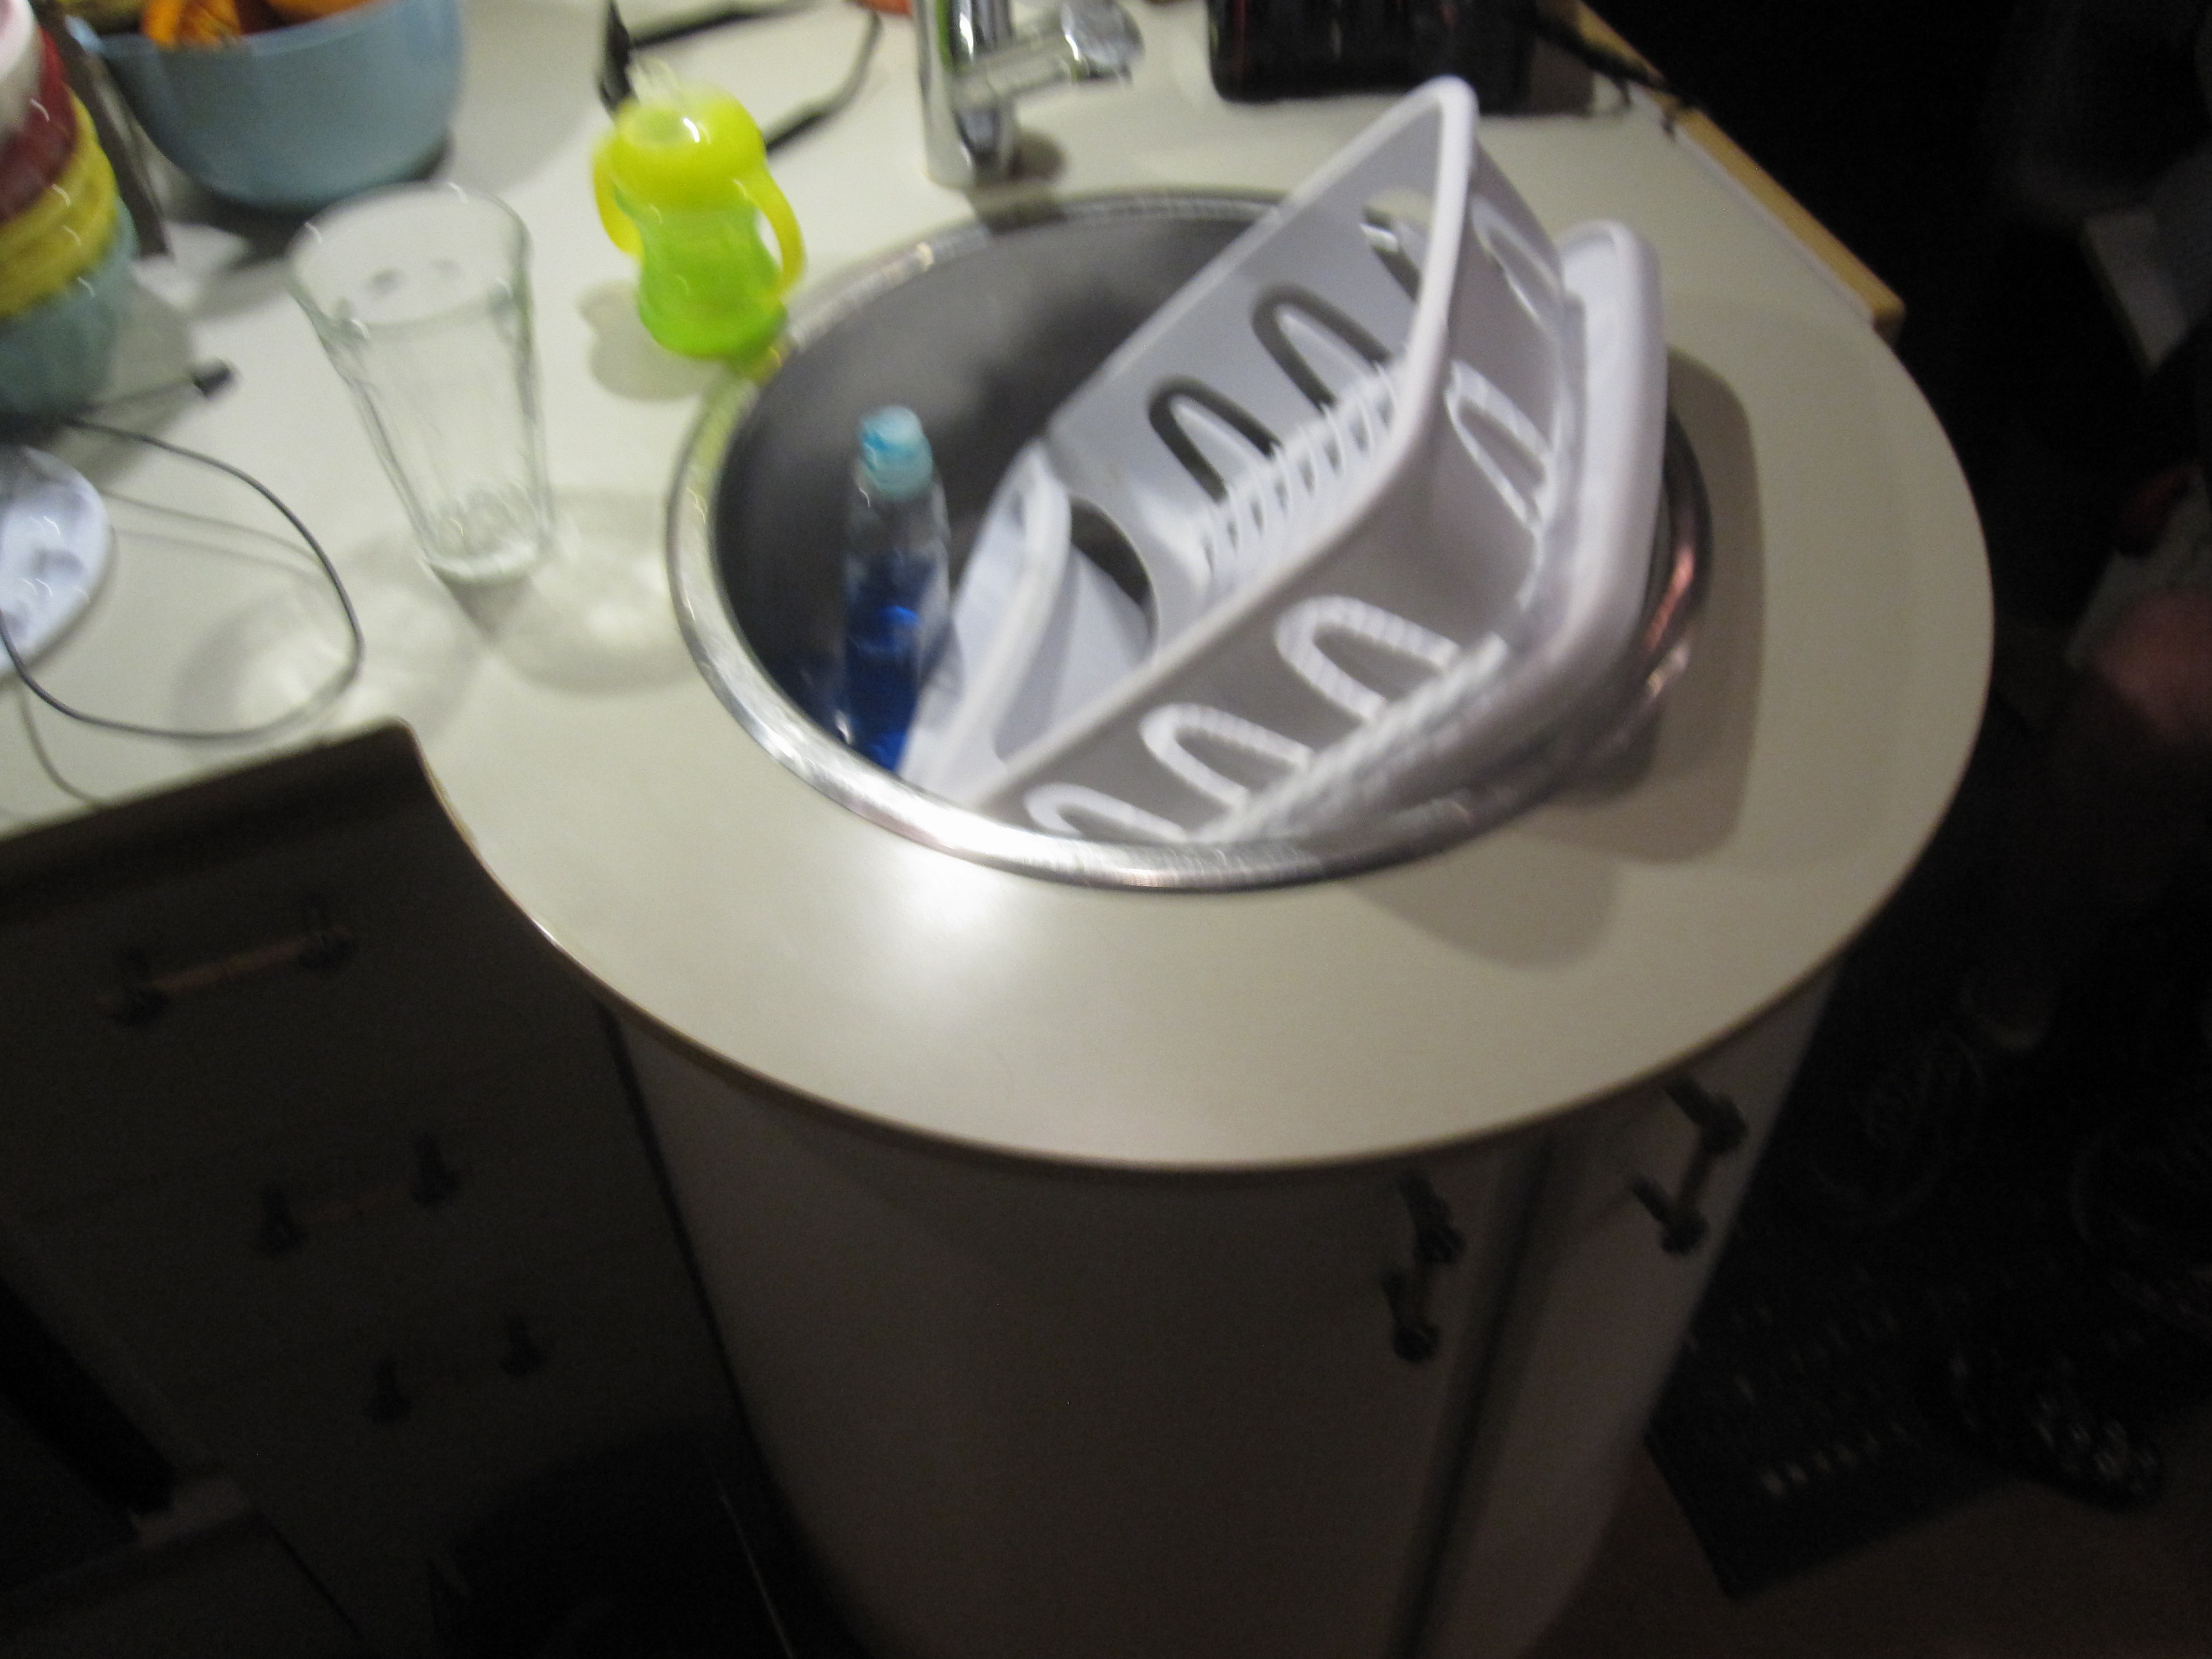
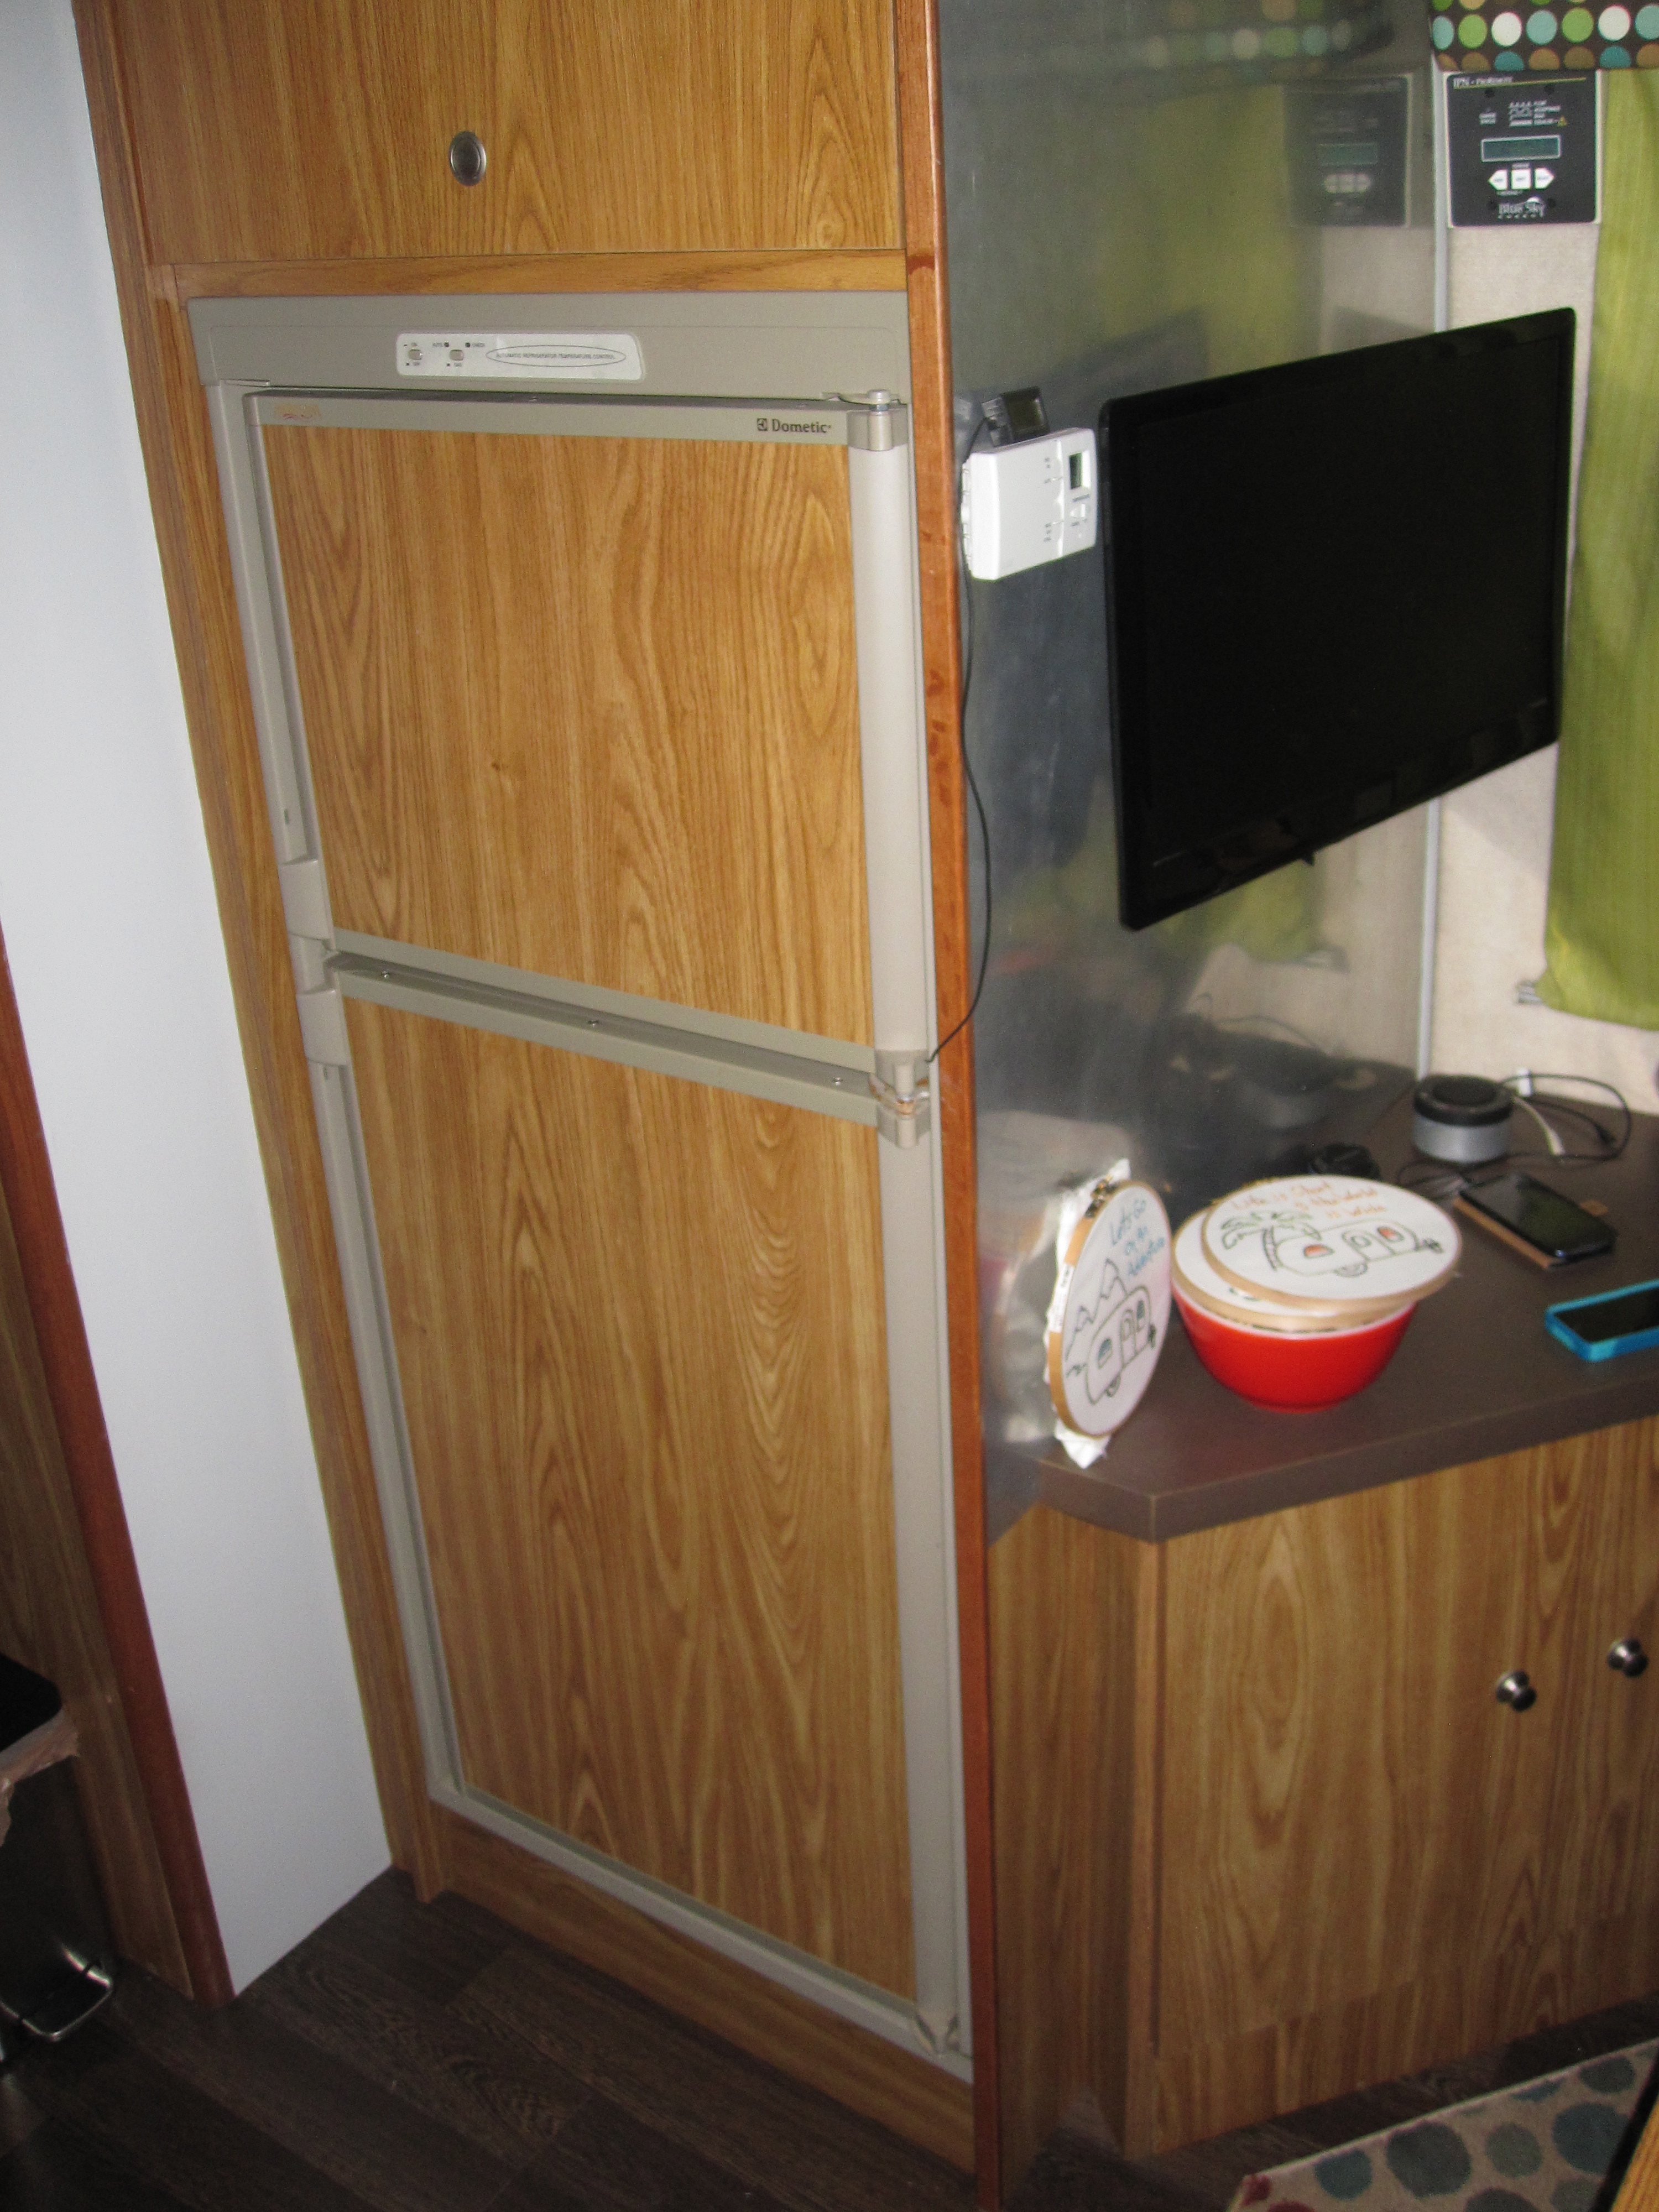
Here’s some photos of the interior on our first night.

Matt and Hank Airstreamy bathroom Airstreamy bedroom IMG_7734 2 Airstreamy living room

I had asked my facebook friends to give me some recommendations for vegan places in Tucson, and I received a lot of responses. We knew we would be out all day, so we decided on places for breakfast, lunch and dinner, in advance. Before heading out for the day, we went on a walk around loop A with Hank.

IMG_7741

Our camp site

Gilbert Ray campground 44A

walk around loop a at gilbert ray

Occasionally, we saw wild animals (kidding). Check out this pomeranian that was flirting with Hank

wild pomeranian at gilbert ray

You can tent camp at Gilbert Ray, too.

you can tent camp at gilbert ray

A panorama of Gilbert Ray campground from loop A

Pano of gilbert ray

I wish I took a better photo of this retro Boler….it was soooo cute! For more info on Bolers, check out Bolerama.org.

A vintage Boler

There were several Airstreams in our loop A

fellow airstreamer at gilbert ray

Pardon my thumb….another Airstream

fellow airstreamer at gilert ray

Hibbards + Airstreamy

Airstreamy at Gilbert Ray campground

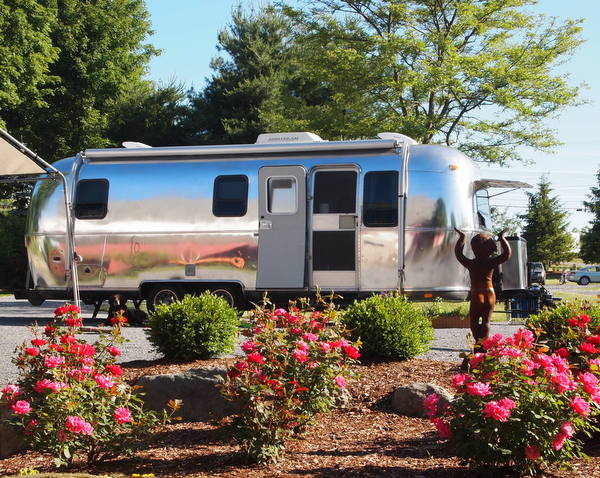
How’s this for a sweet photo of an Airstream in the Tucson desert?!

Airstream at gilbert ray

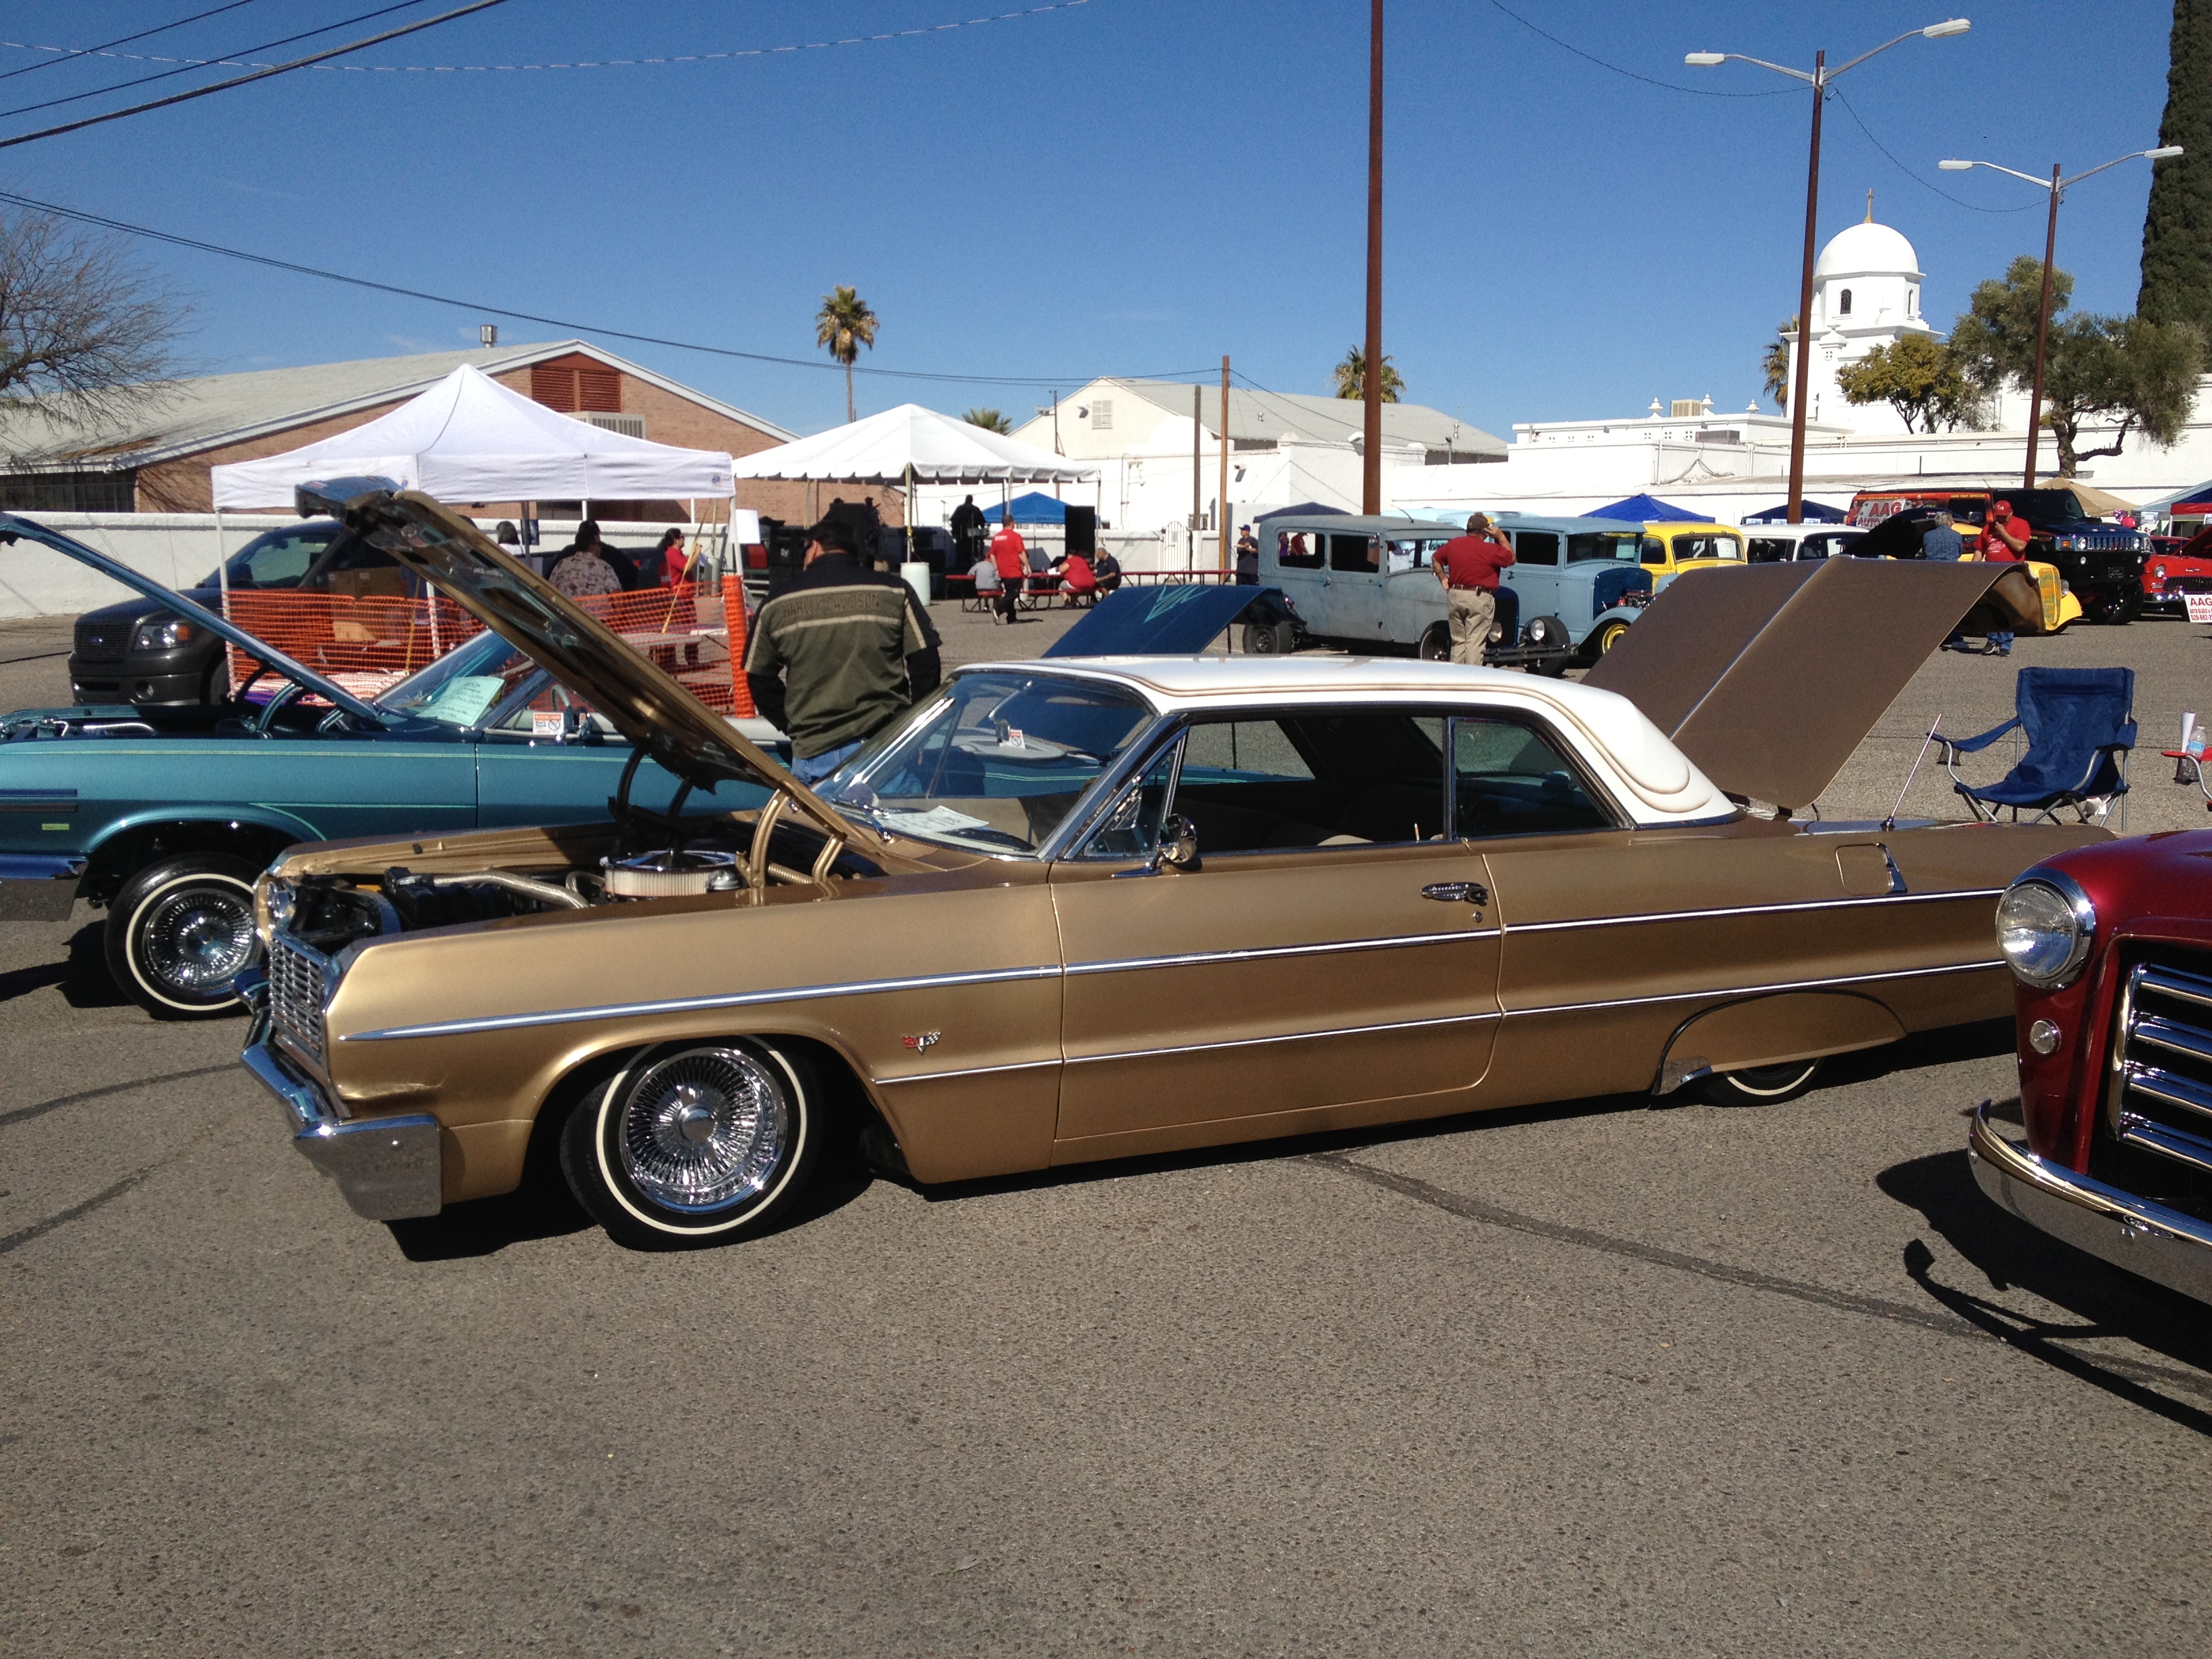
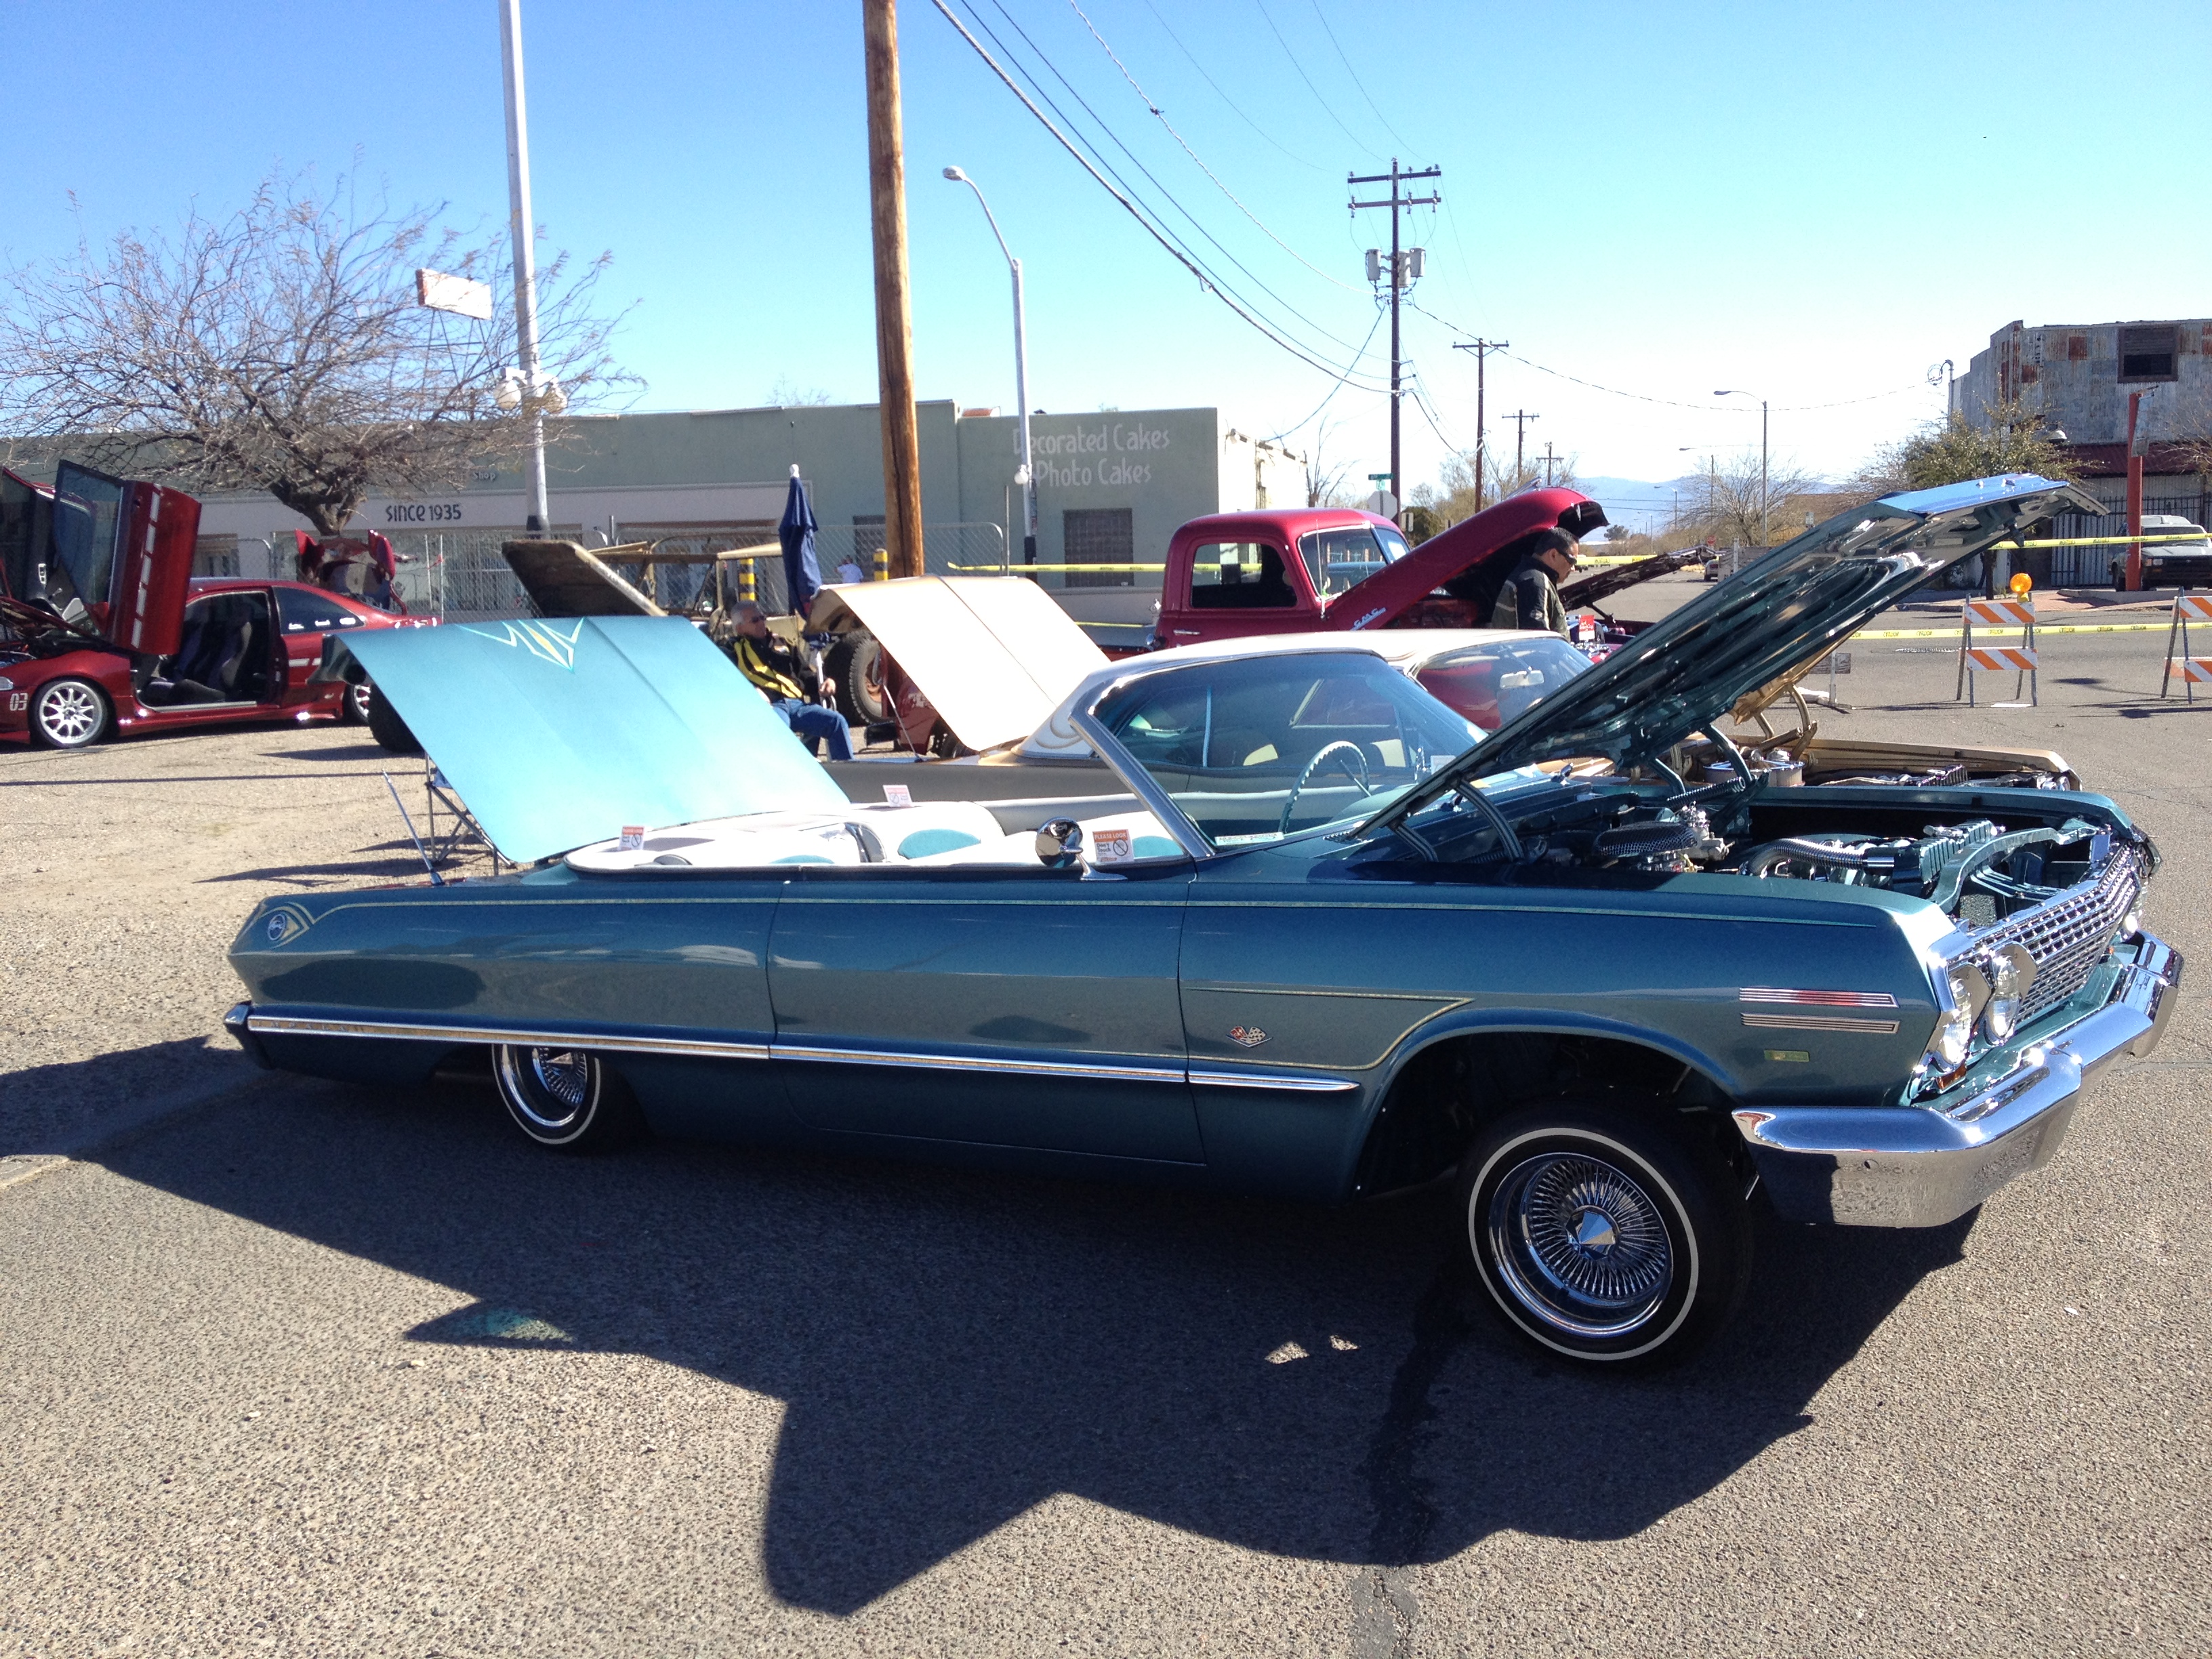
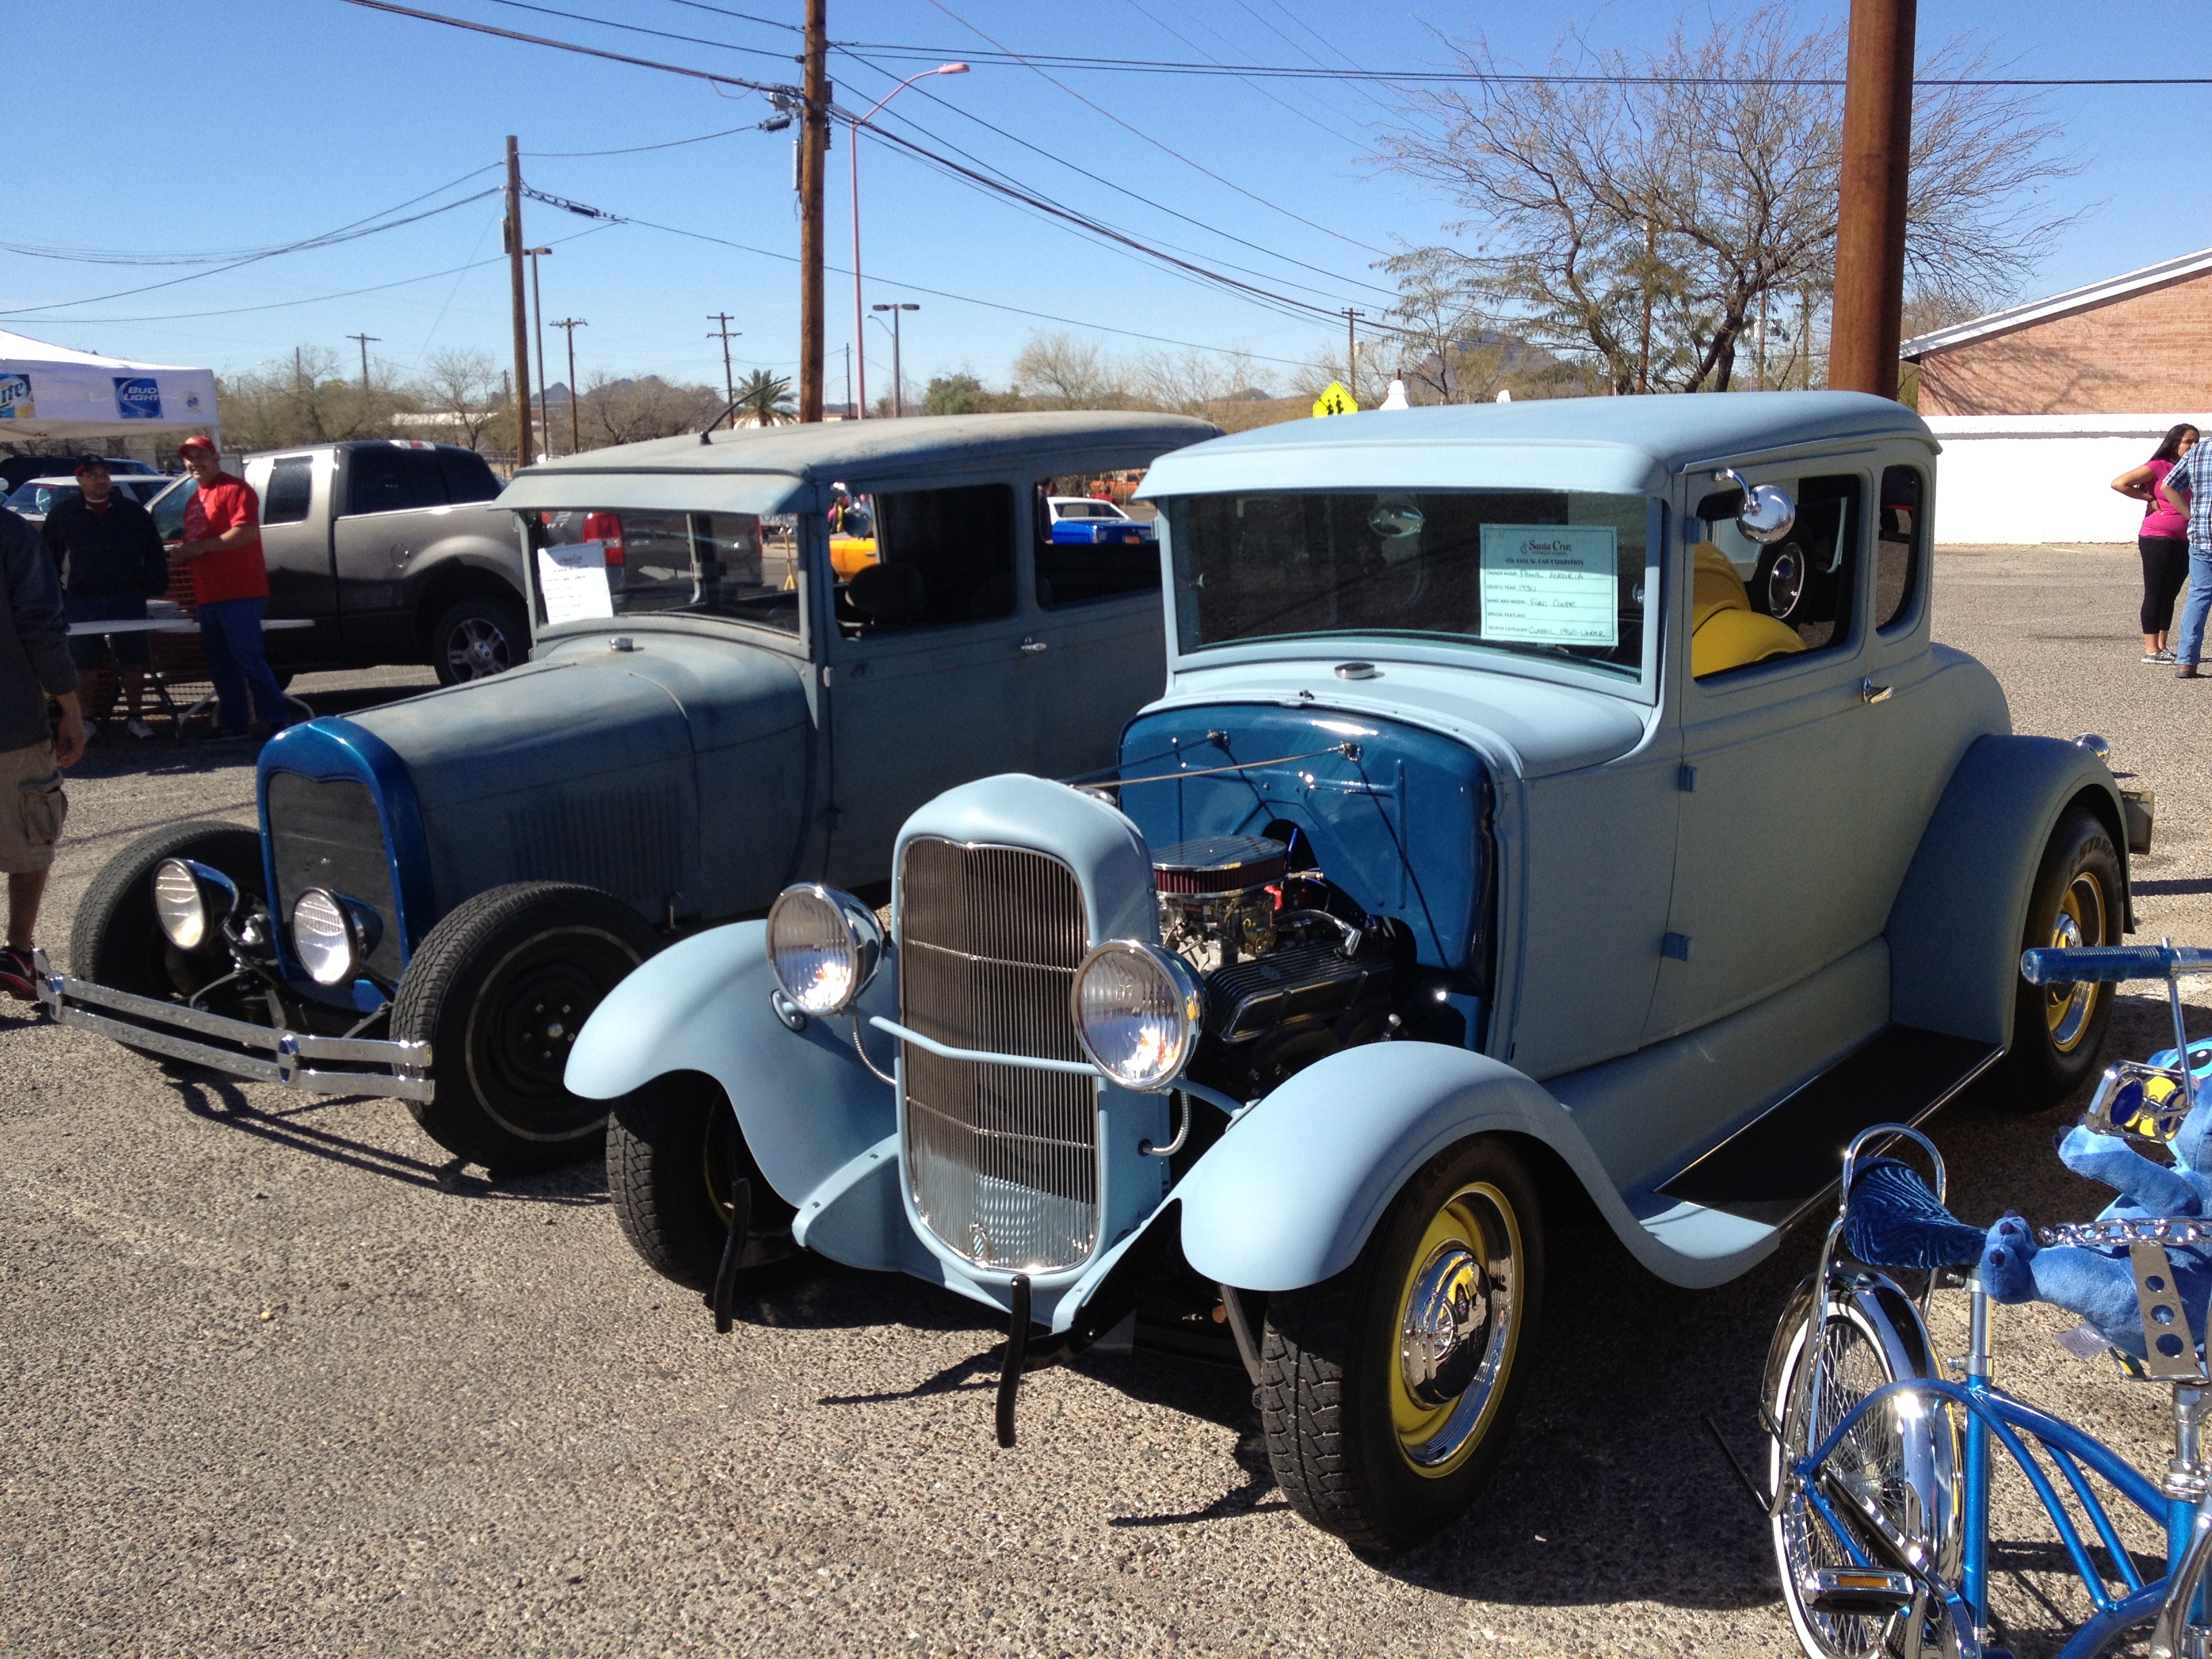
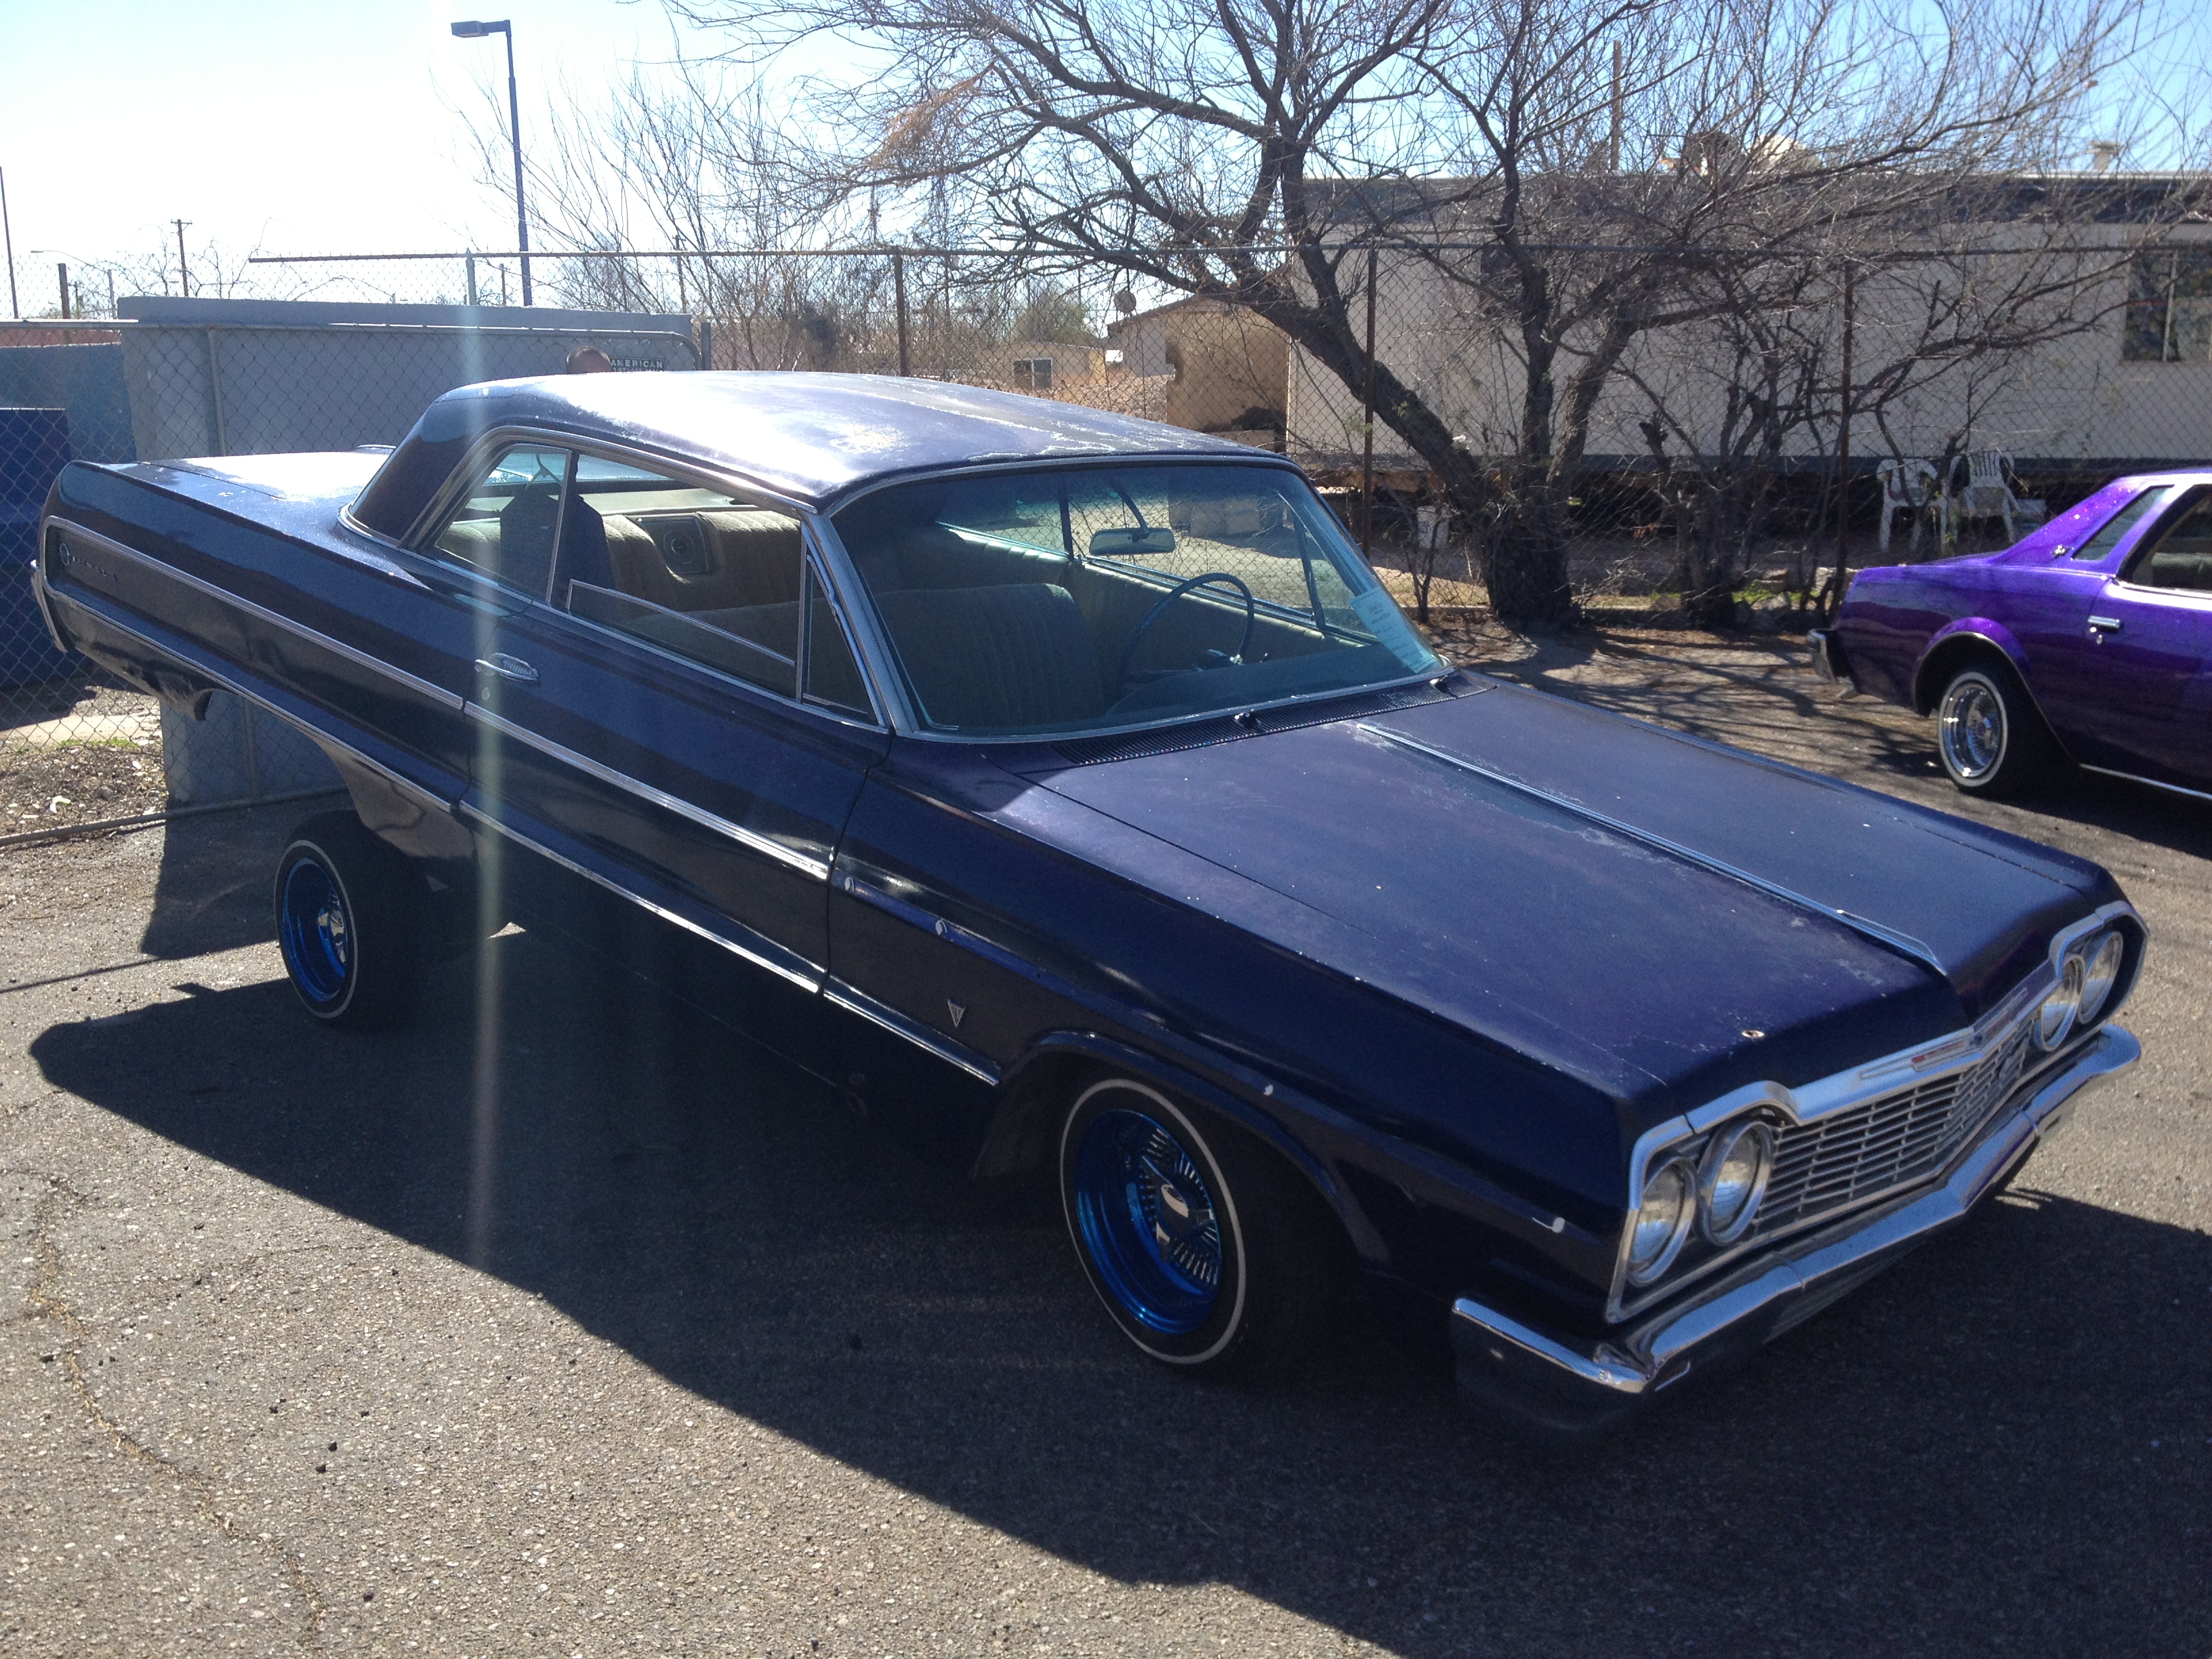
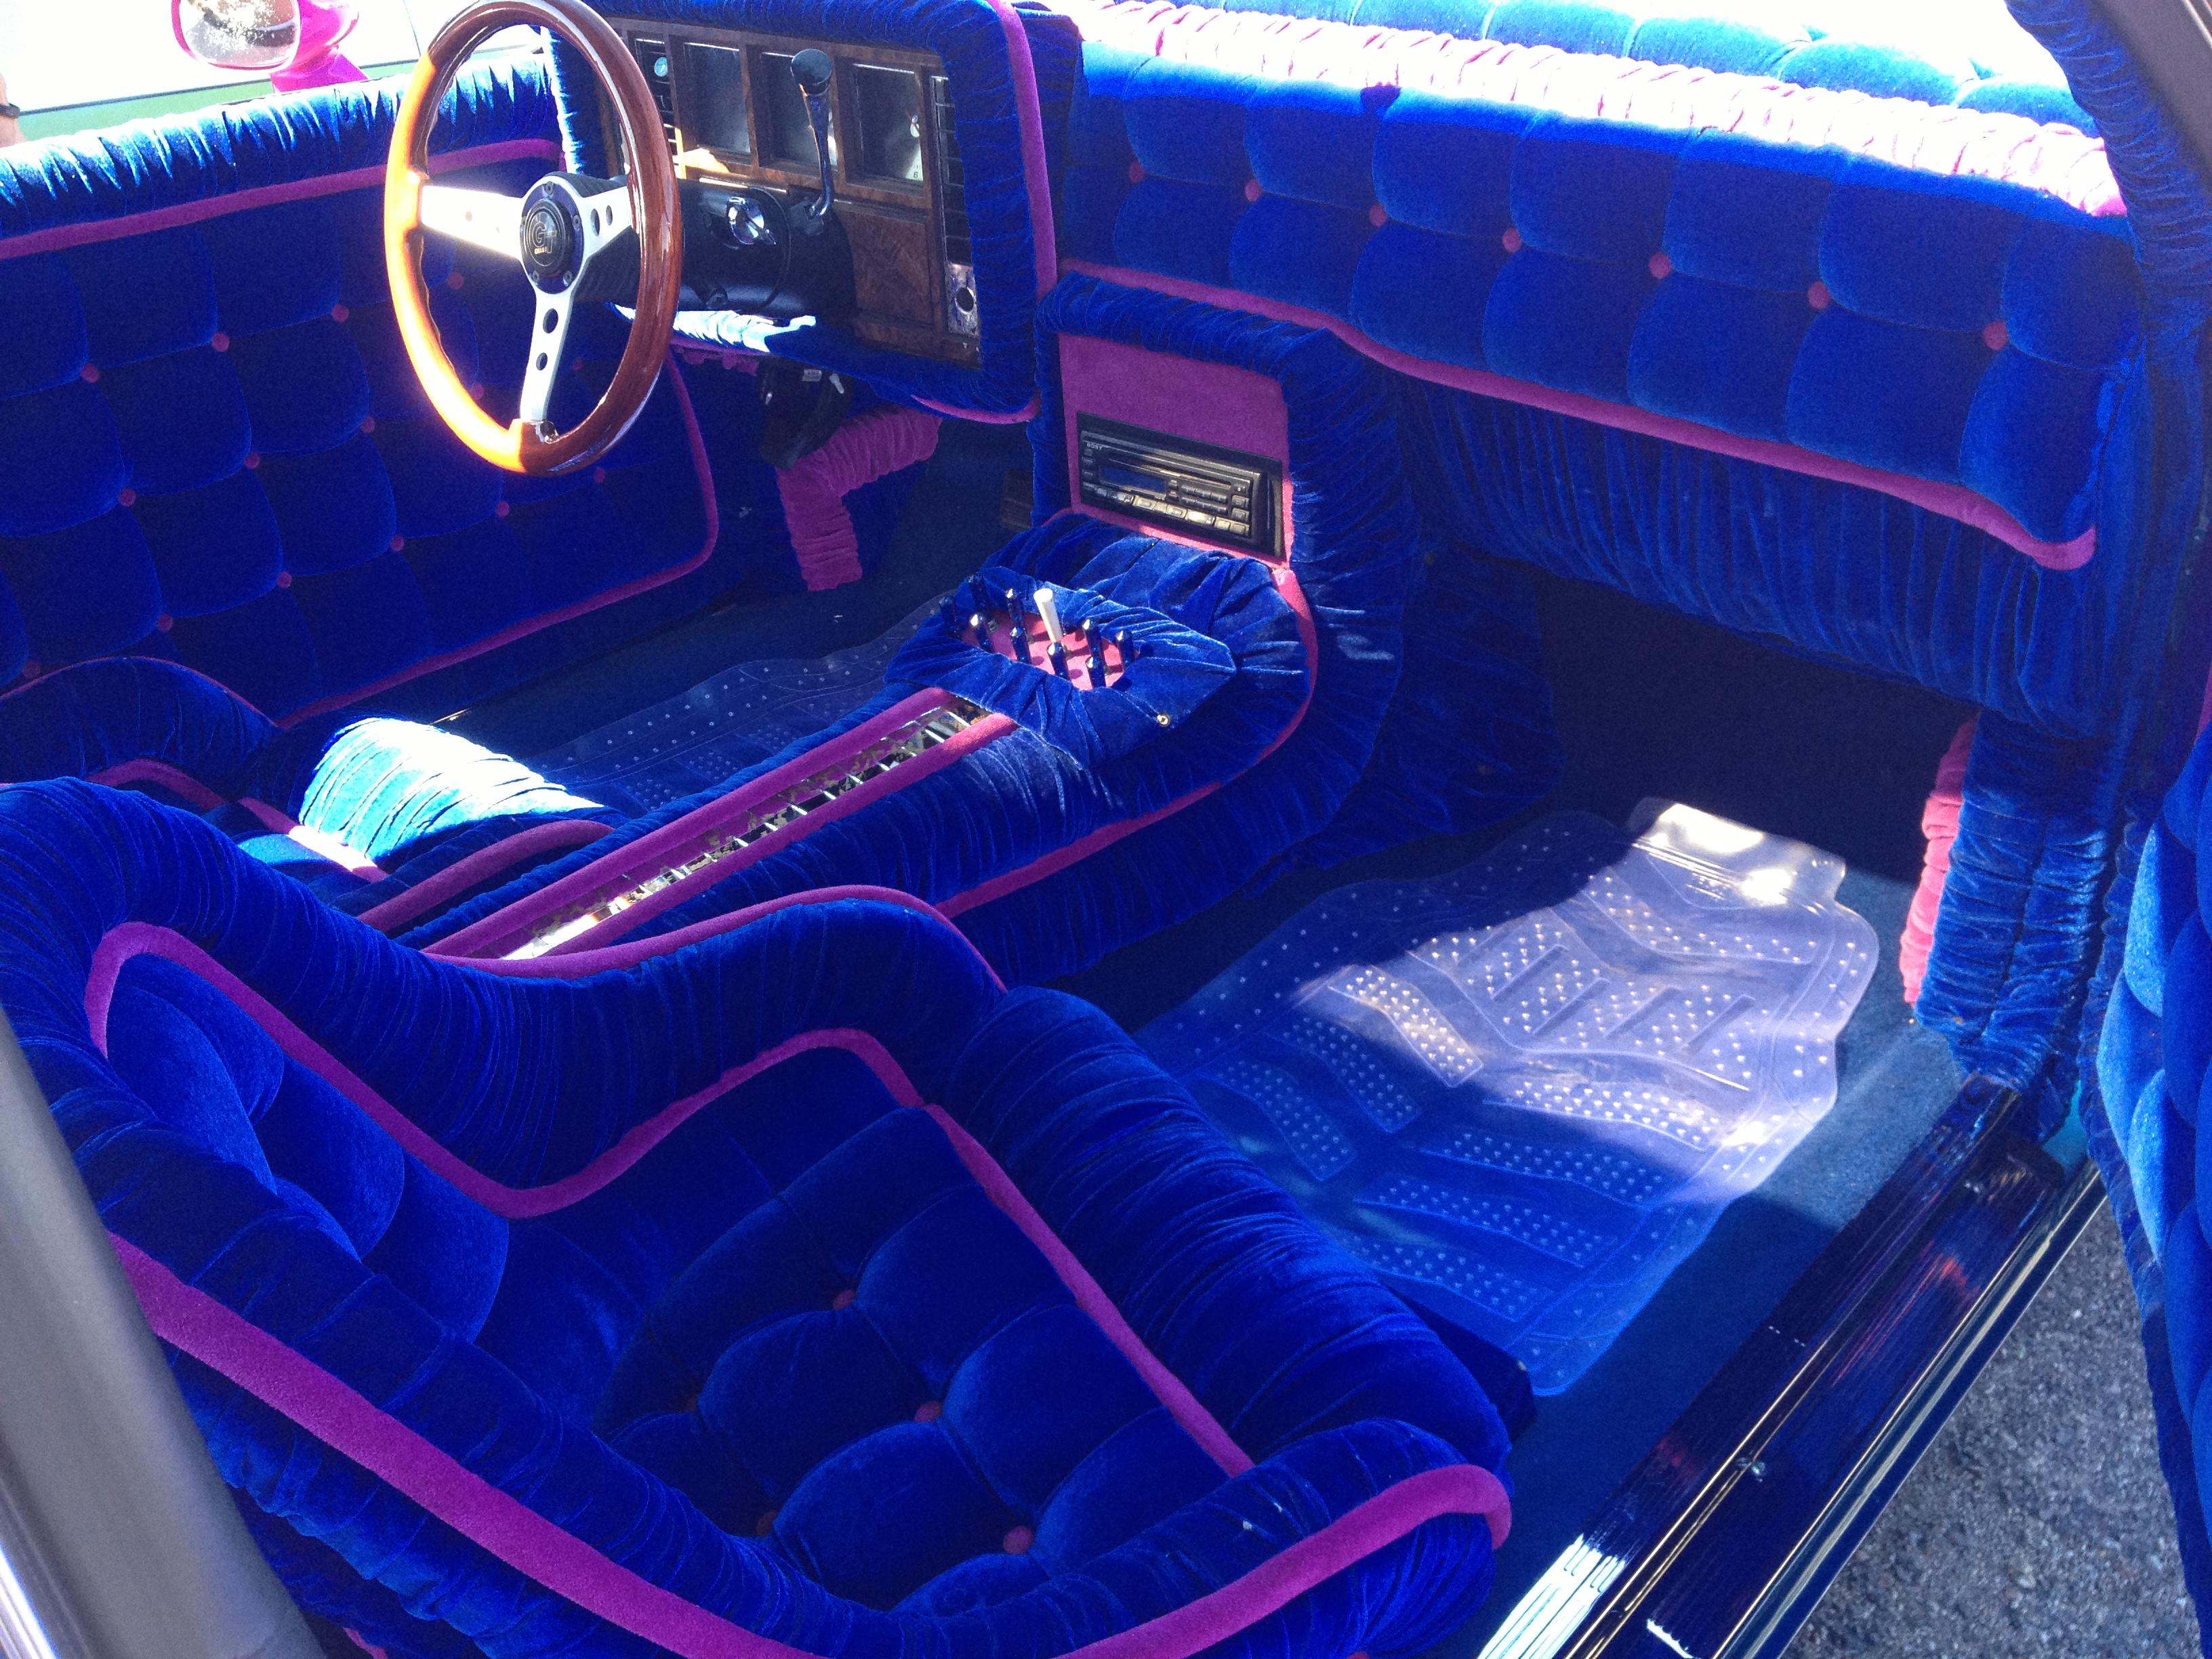
We decided to pack up and head to town for the day. Our first destination, LaCave’s Bakery, a vegan-friendly donut shop. We parked and noticed a car show across the street.

IMG_7785 IMG_7786 IMG_7788 IMG_7789 2 IMG_7791 IMG_7792 IMG_7794 2 IMG_7797 2 IMG_7798 IMG_7799 2 IMG_7800 2 IMG_7801 2 IMG_7802 2 IMG_7805 2 IMG_7807 2 IMG_7809 2 IMG_7810 2 IMG_7813 2 IMG_7814 2 IMG_7815 2 IMG_7816 2 IMG_7817 2 IMG_7818 2 IMG_7819 2 IMG_7821 2 IMG_7824 2 IMG_7825 2 IMG_7826 2 IMG_7828 2 IMG_7829 2 IMG_7831 2 IMG_7834 2 IMG_7837 IMG_7838 2

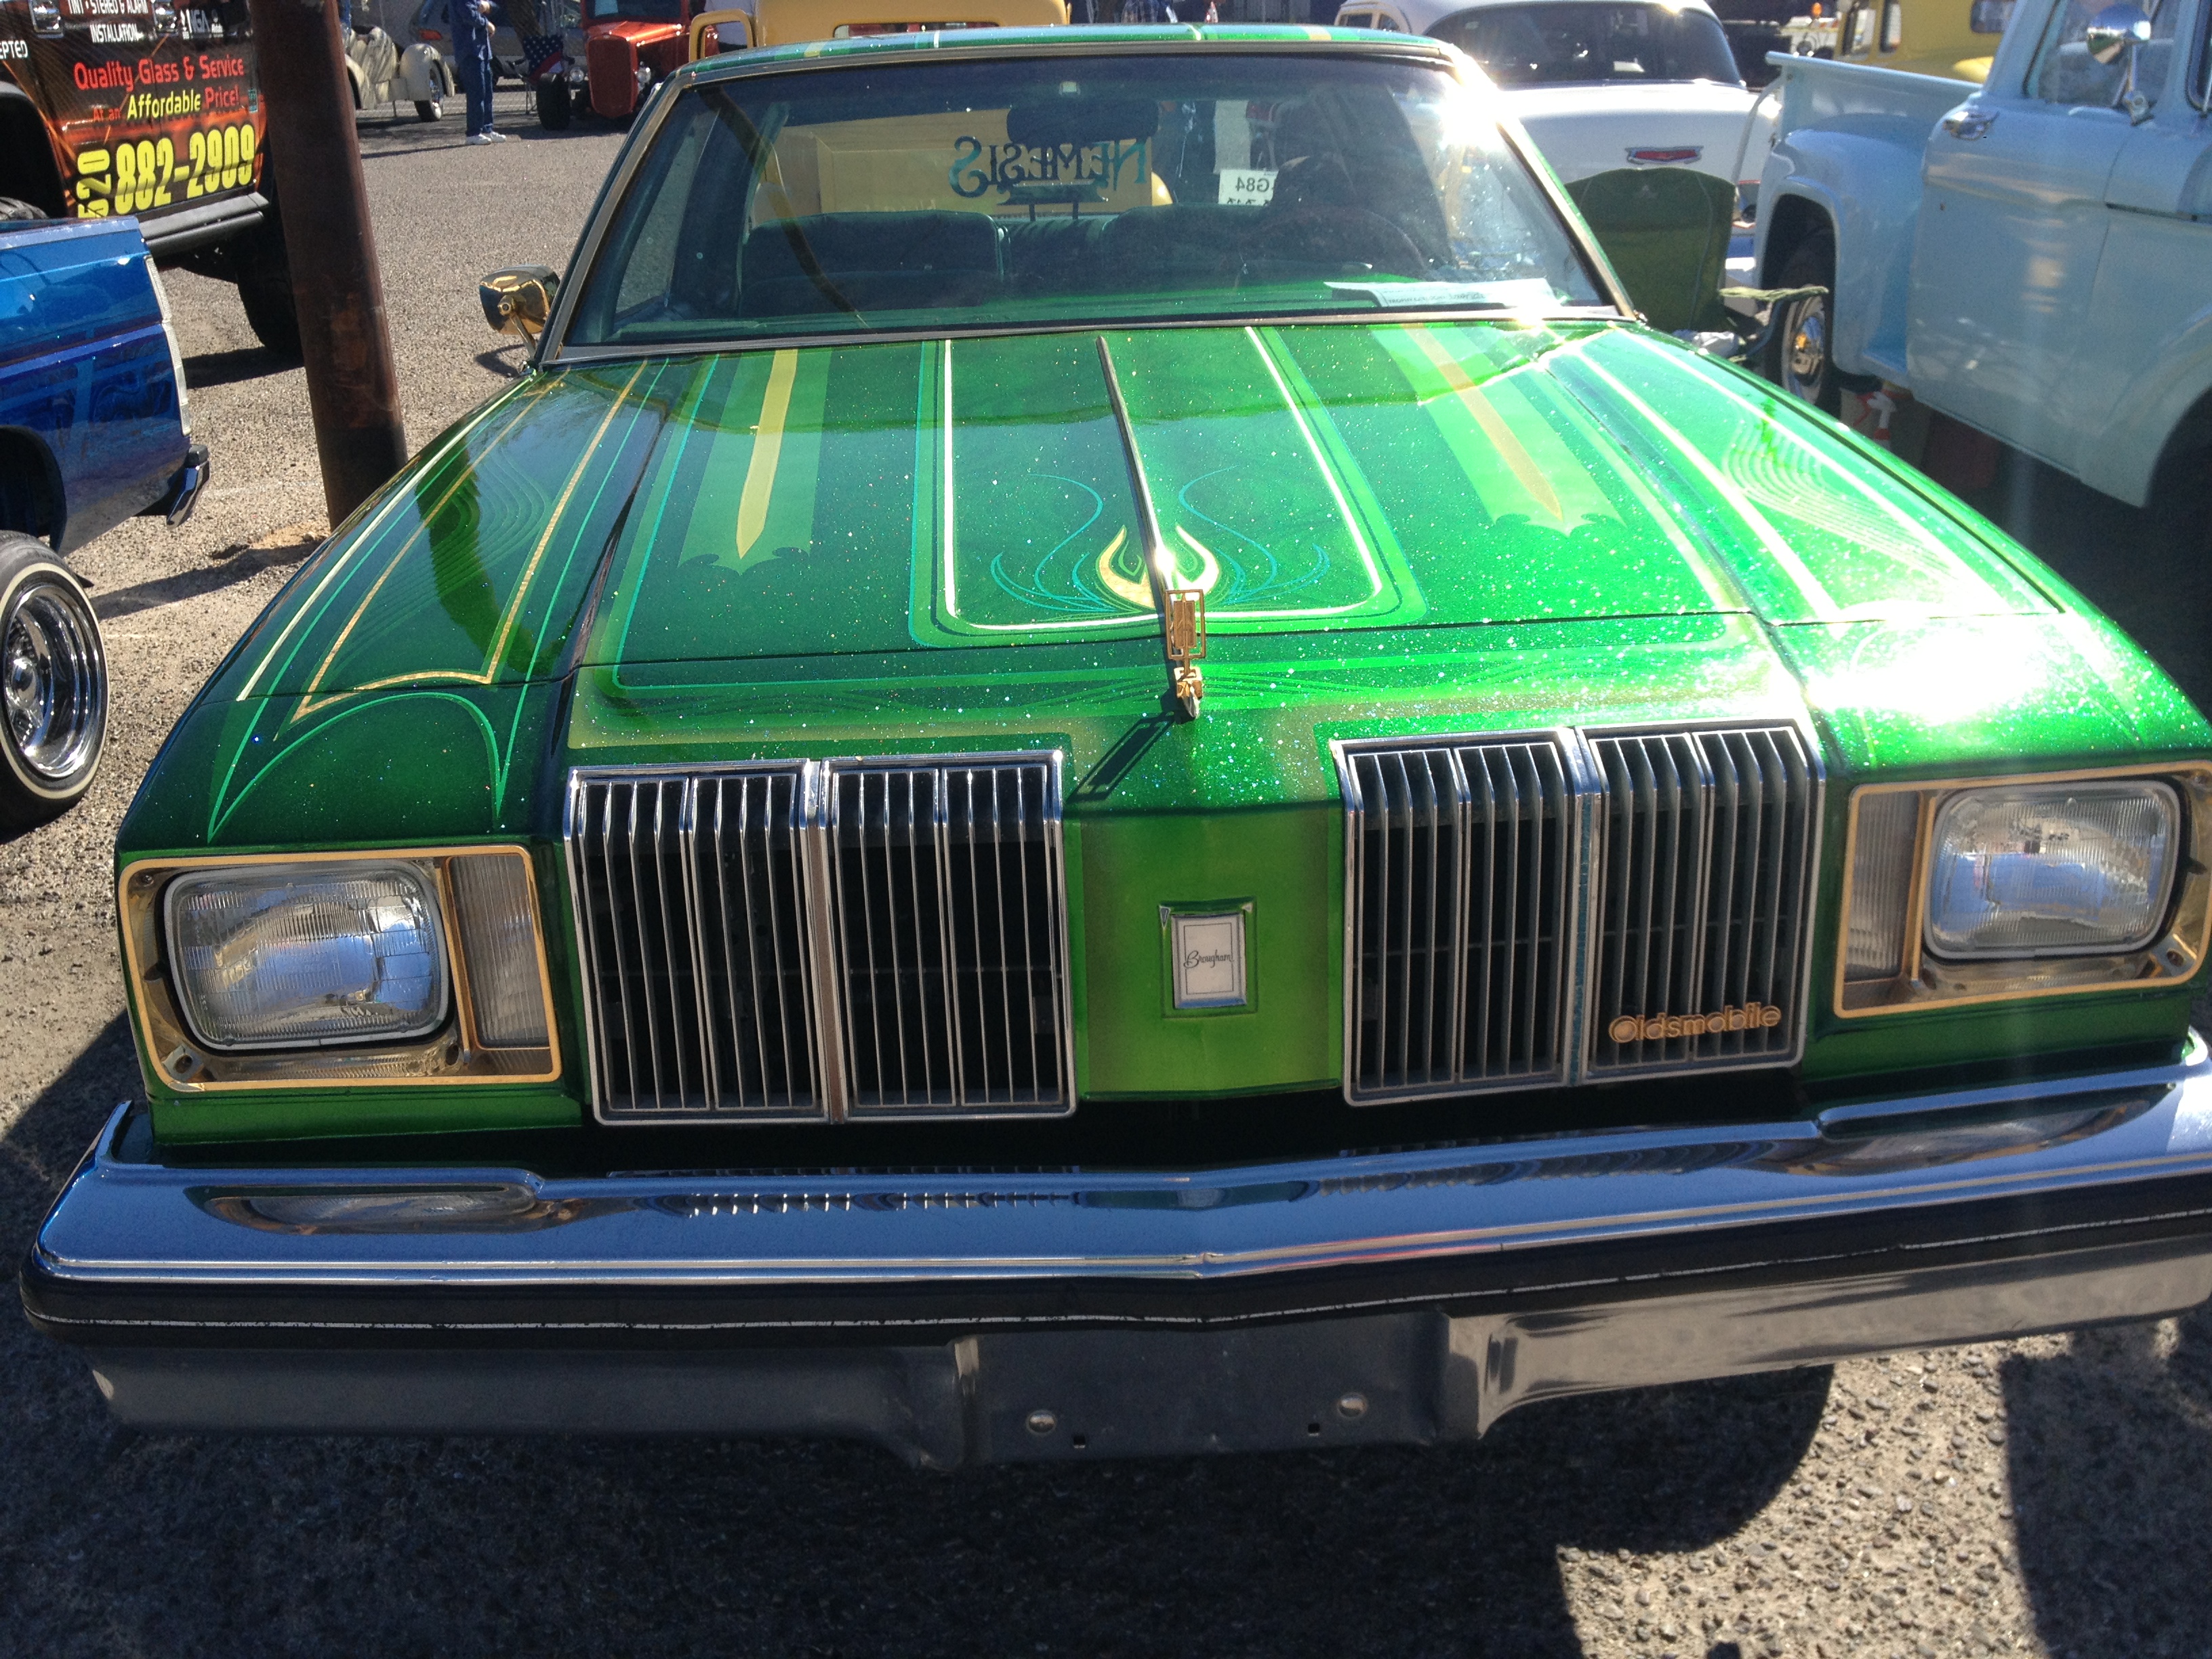
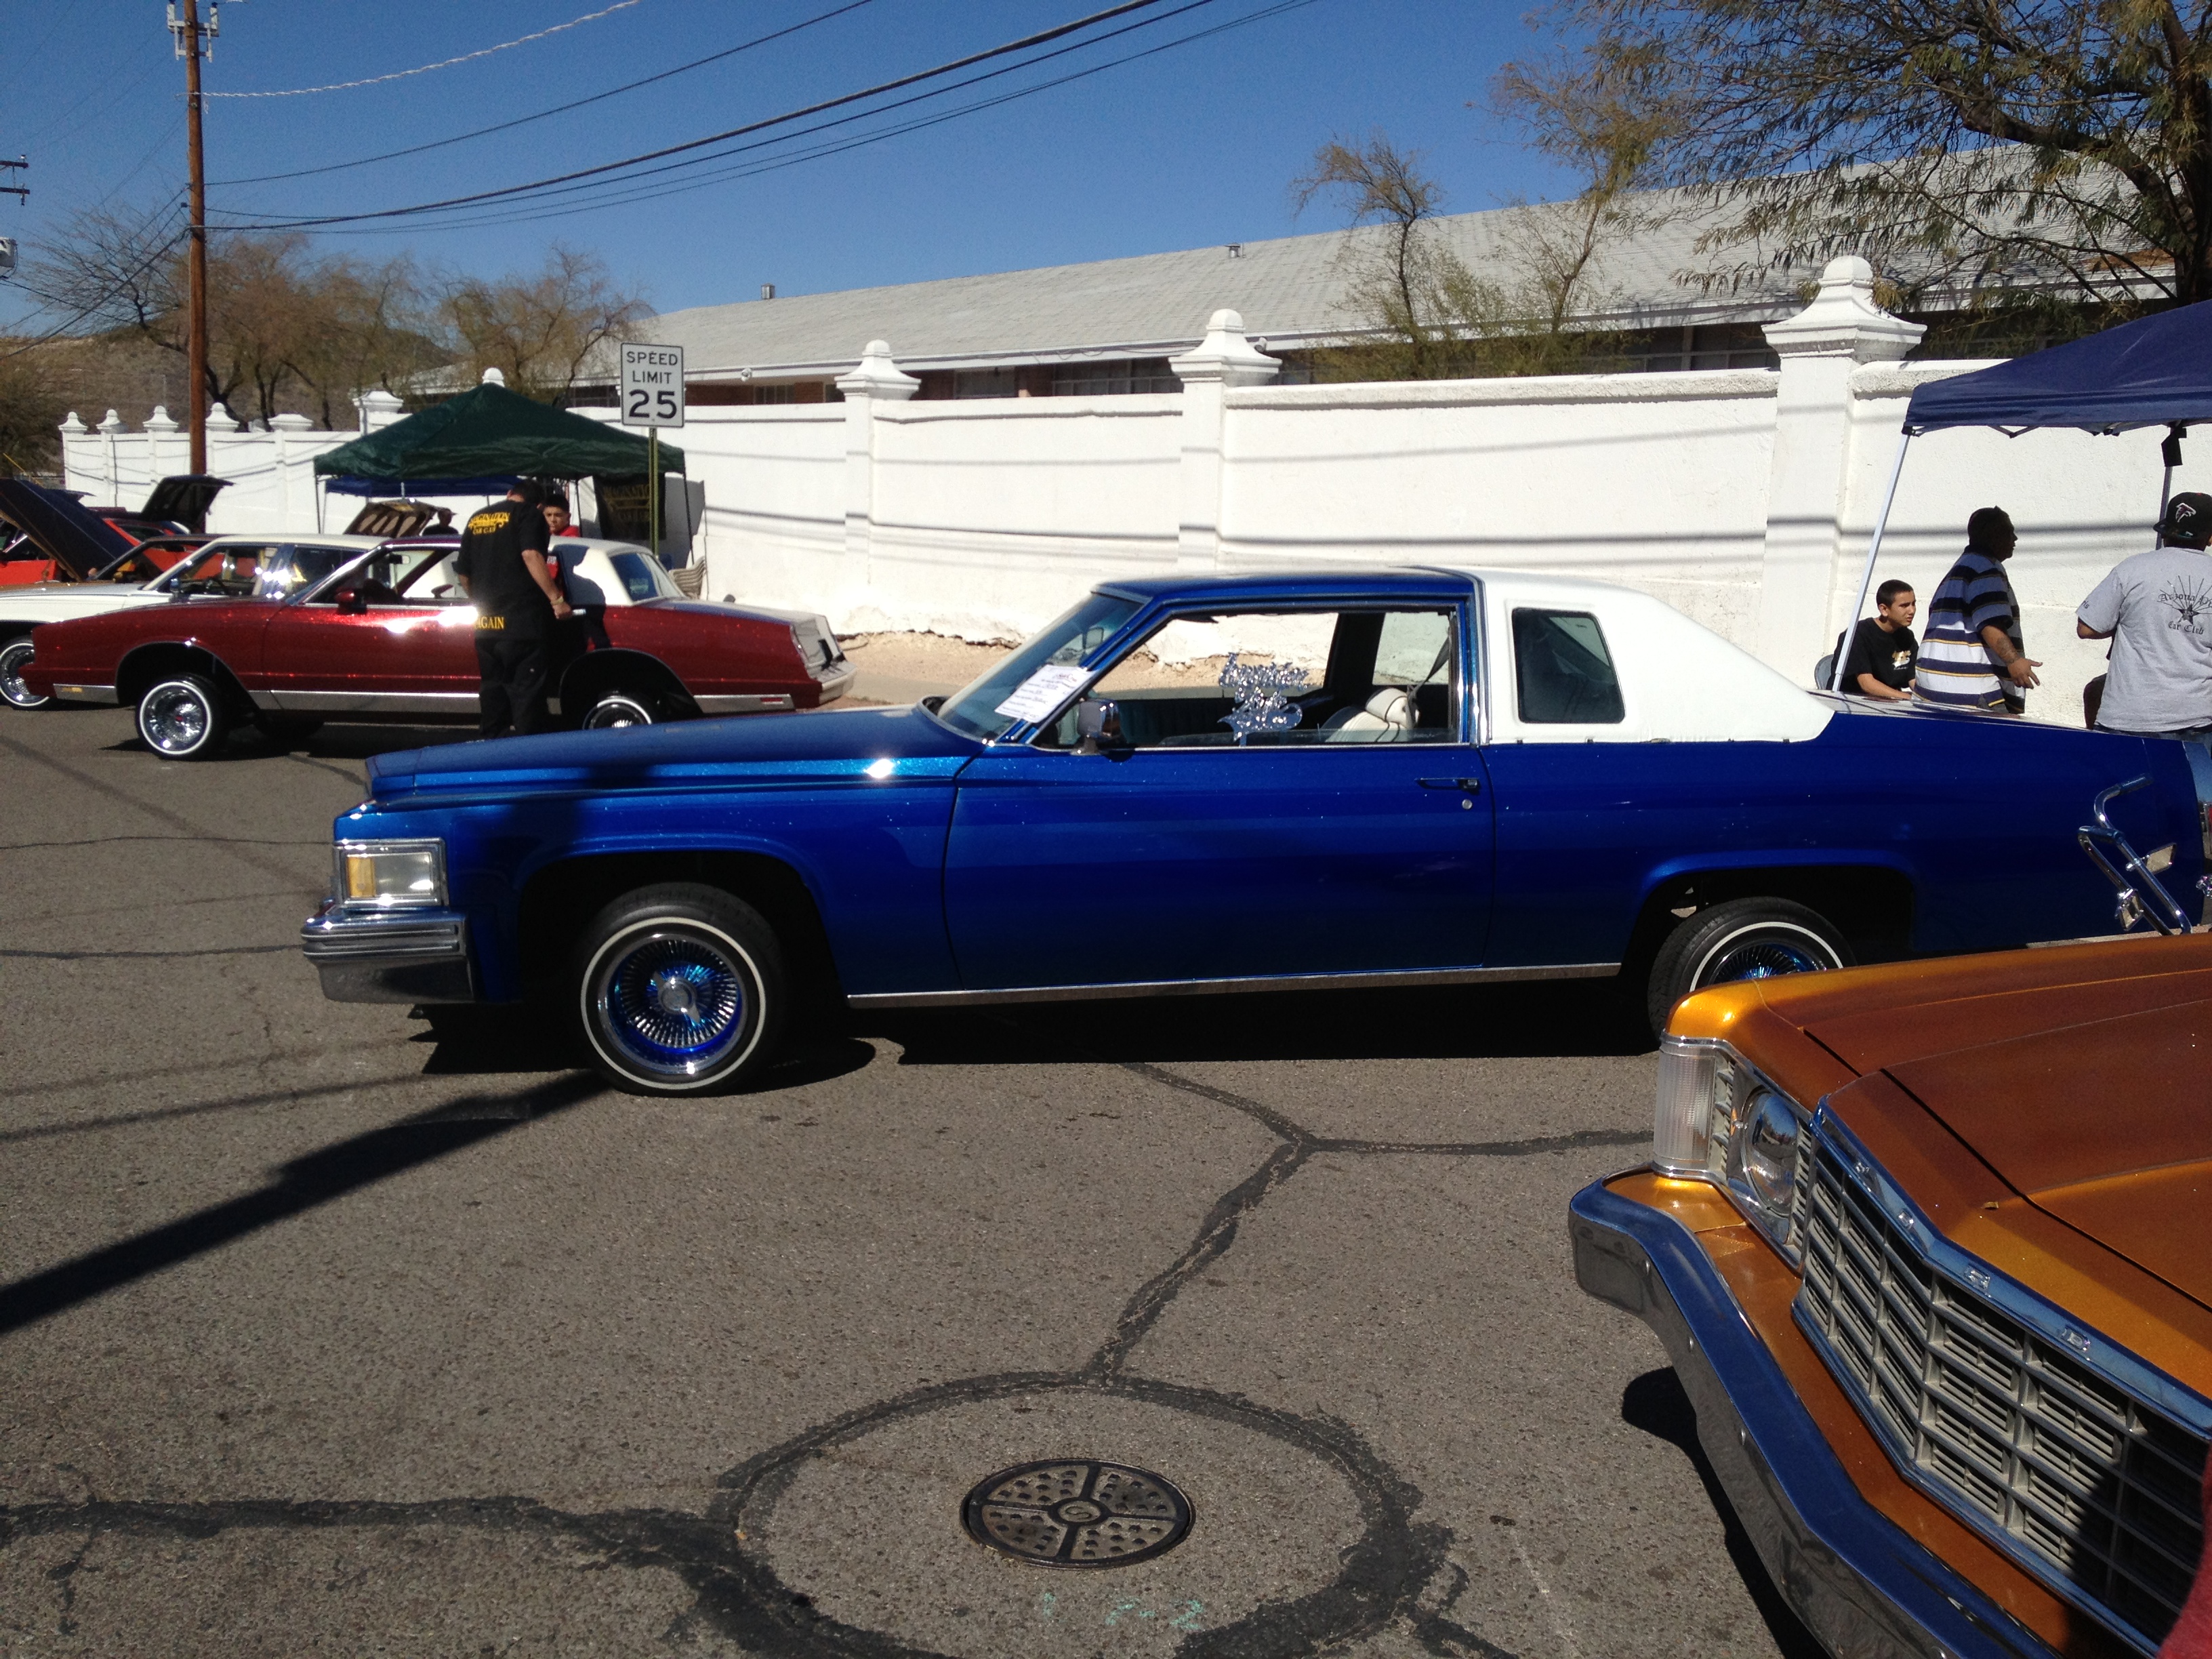
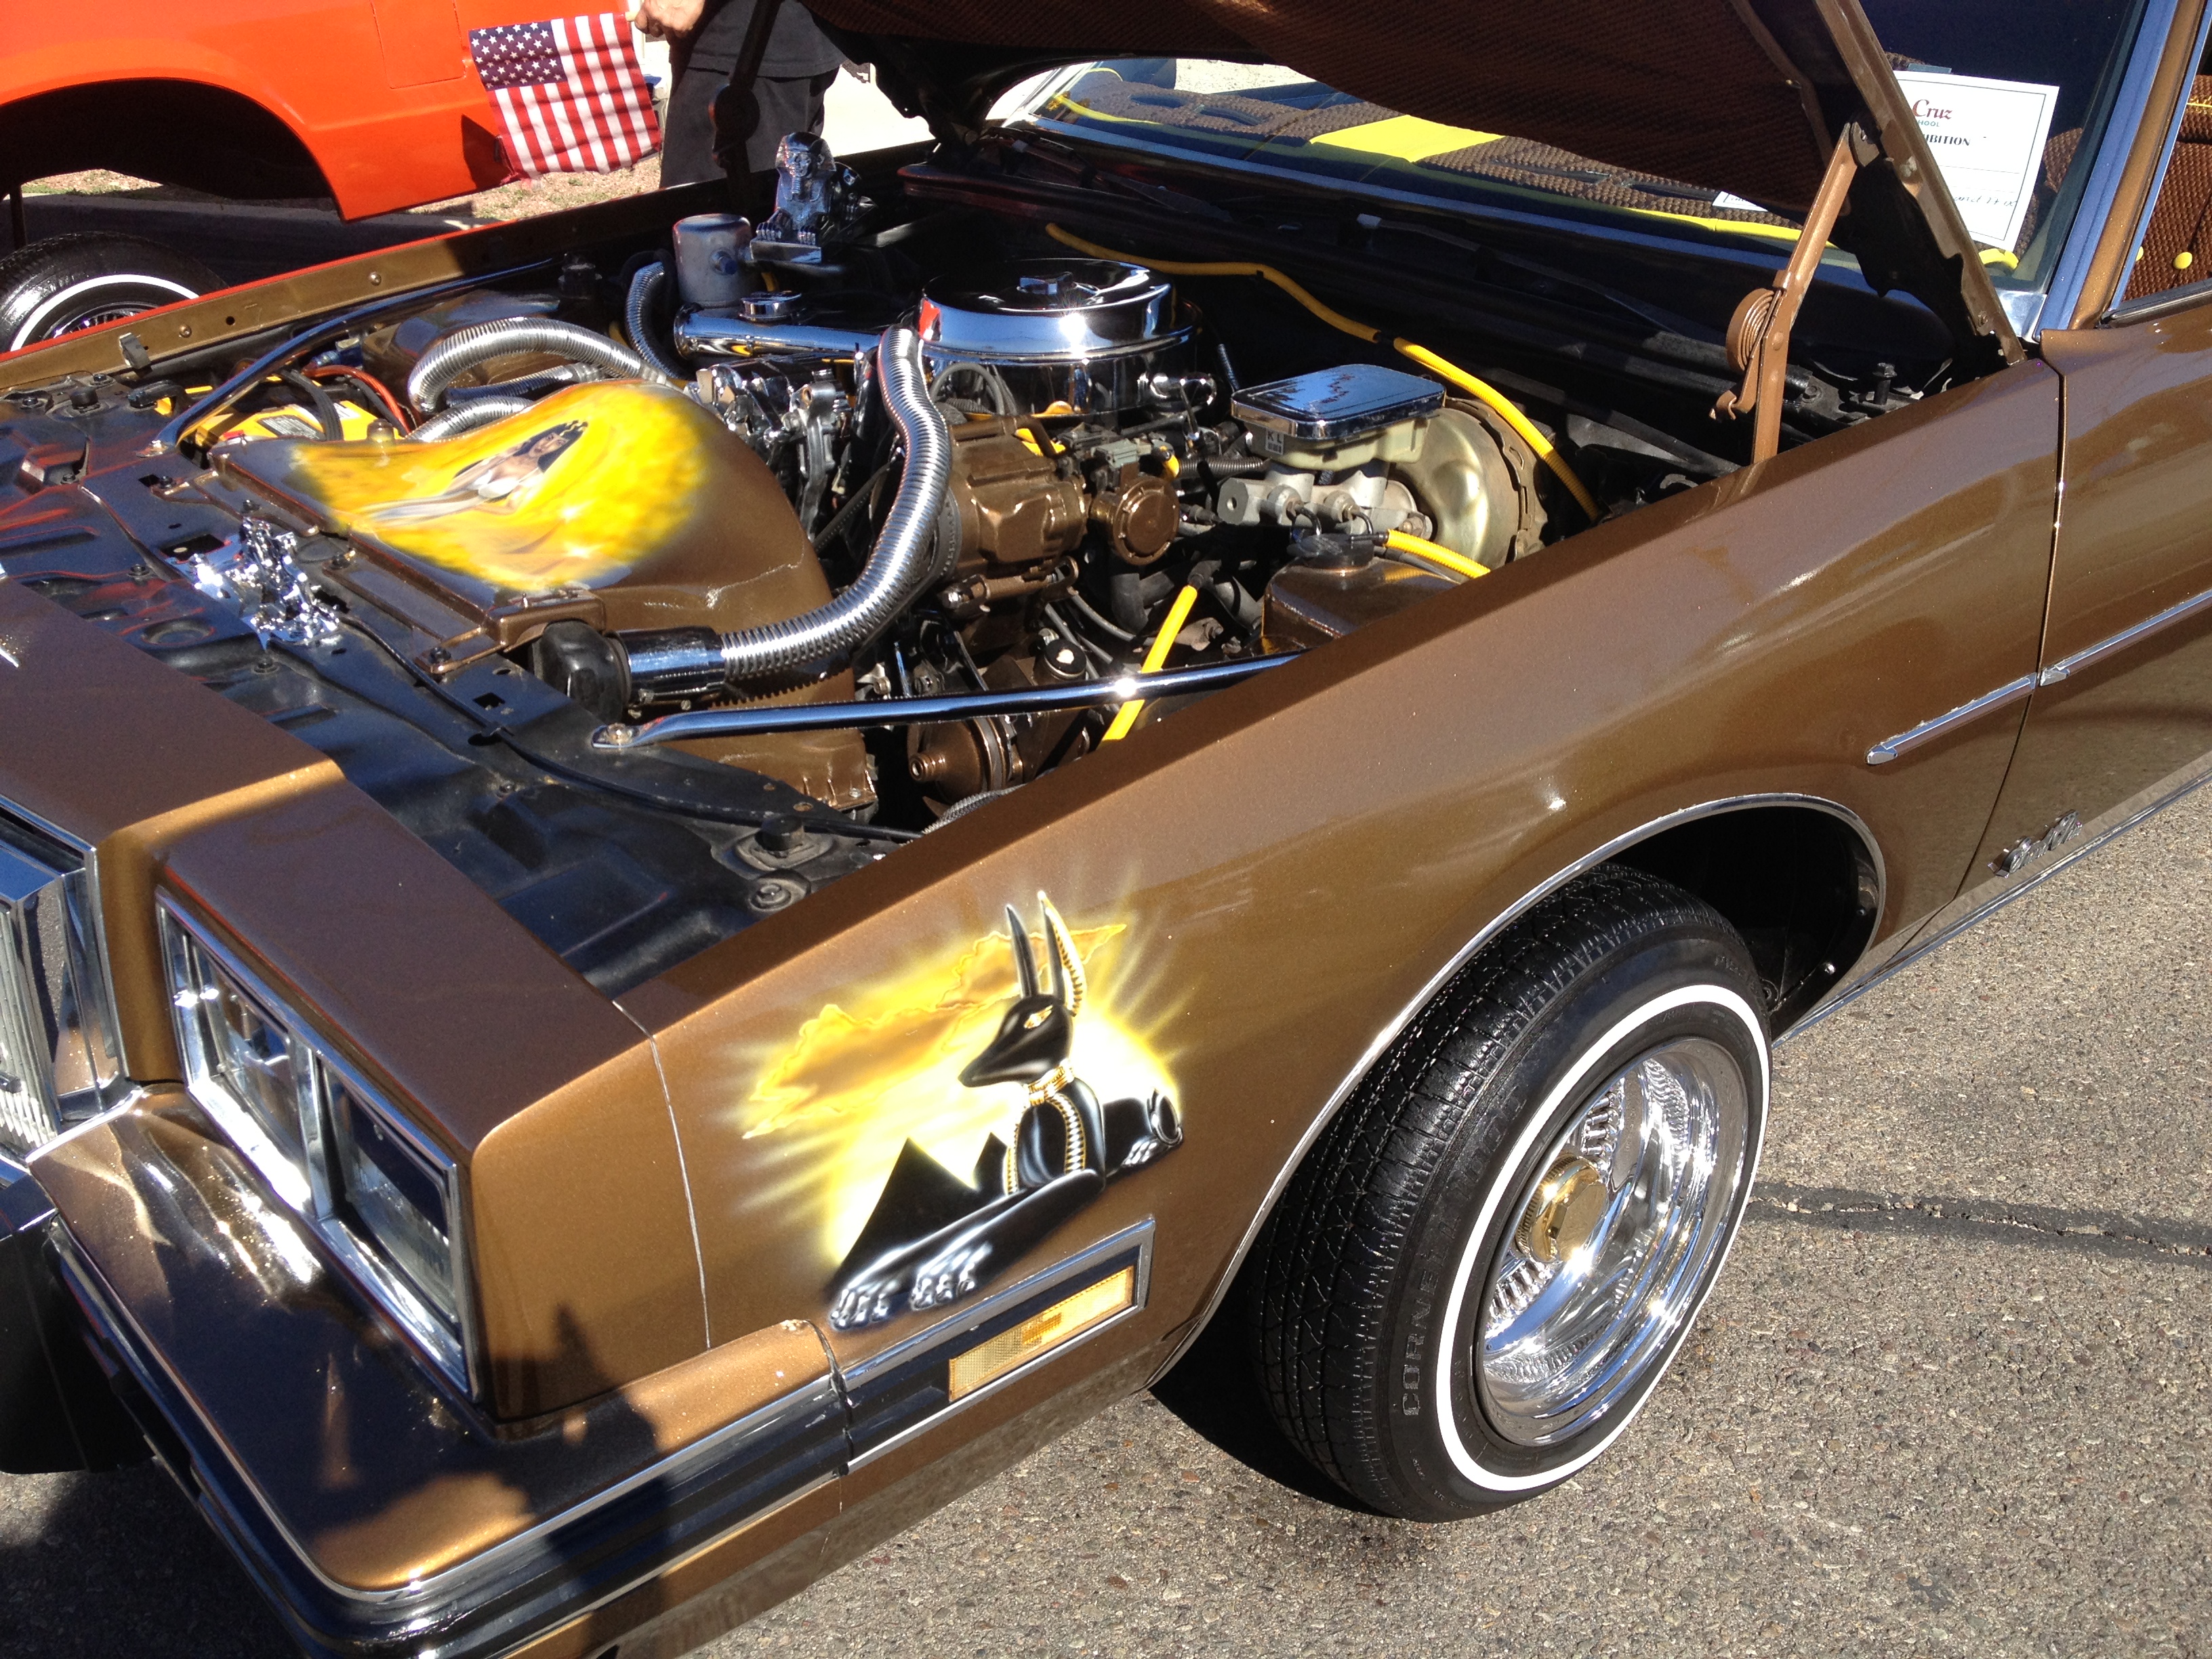
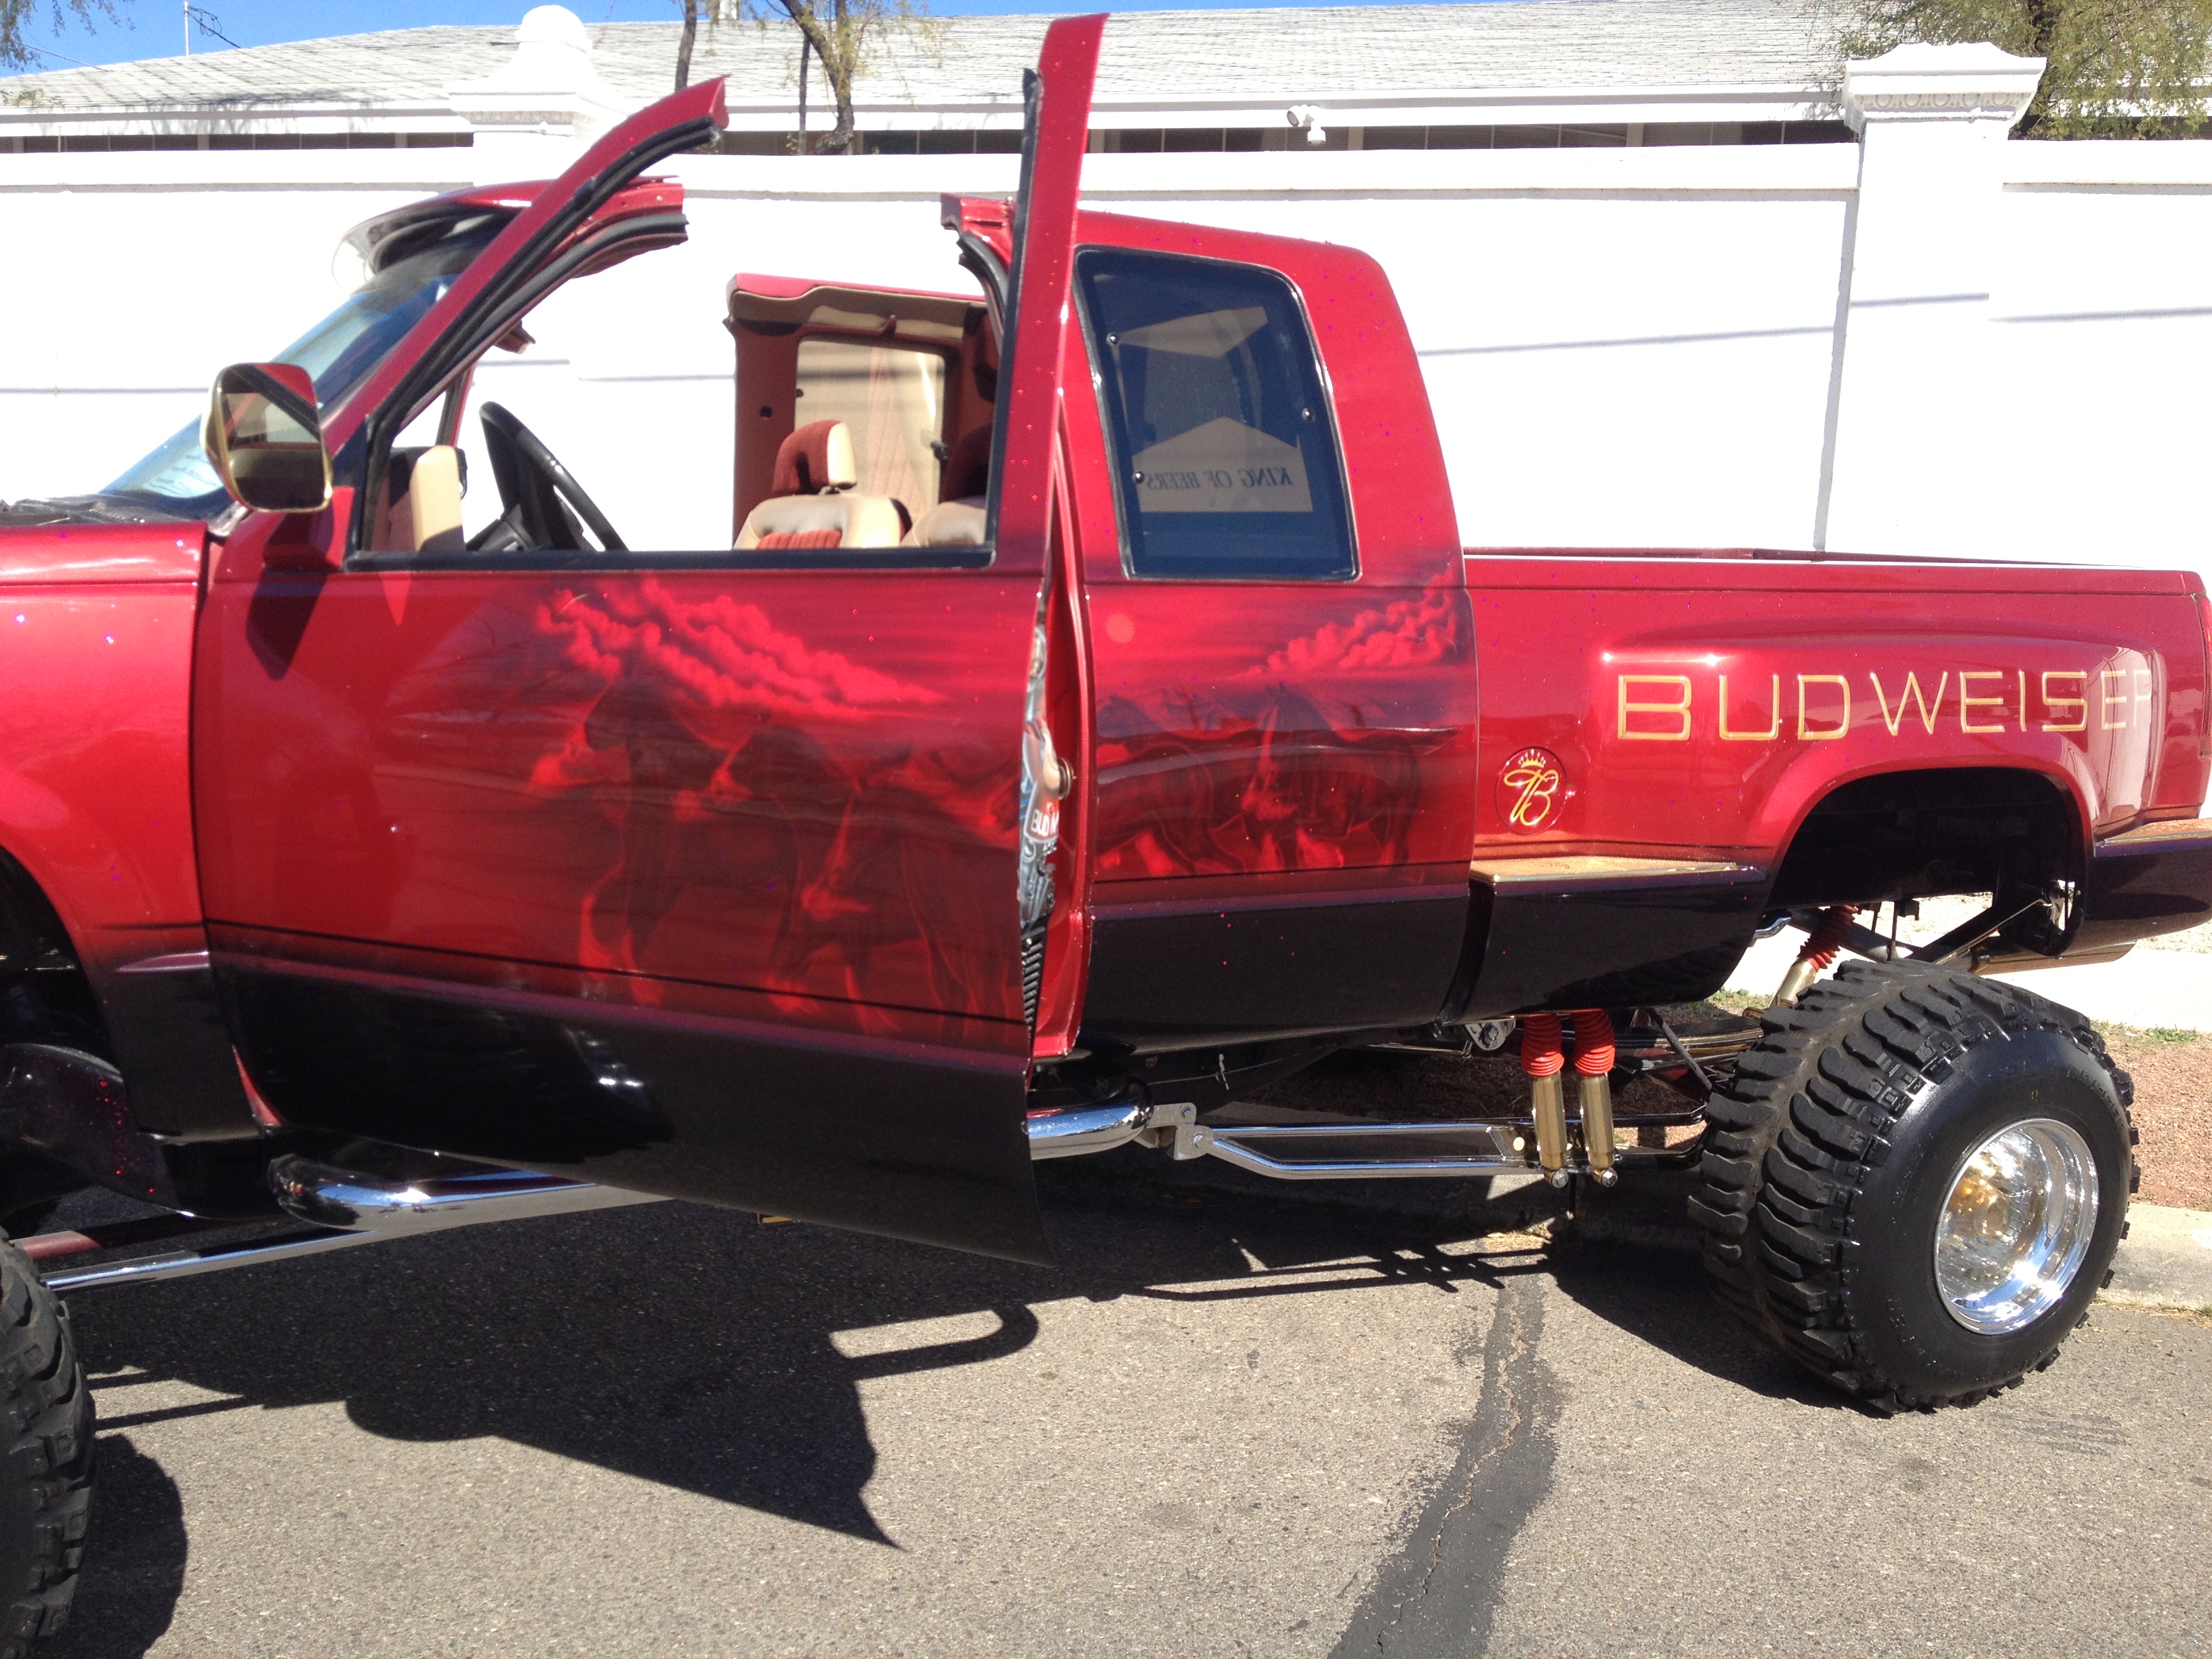
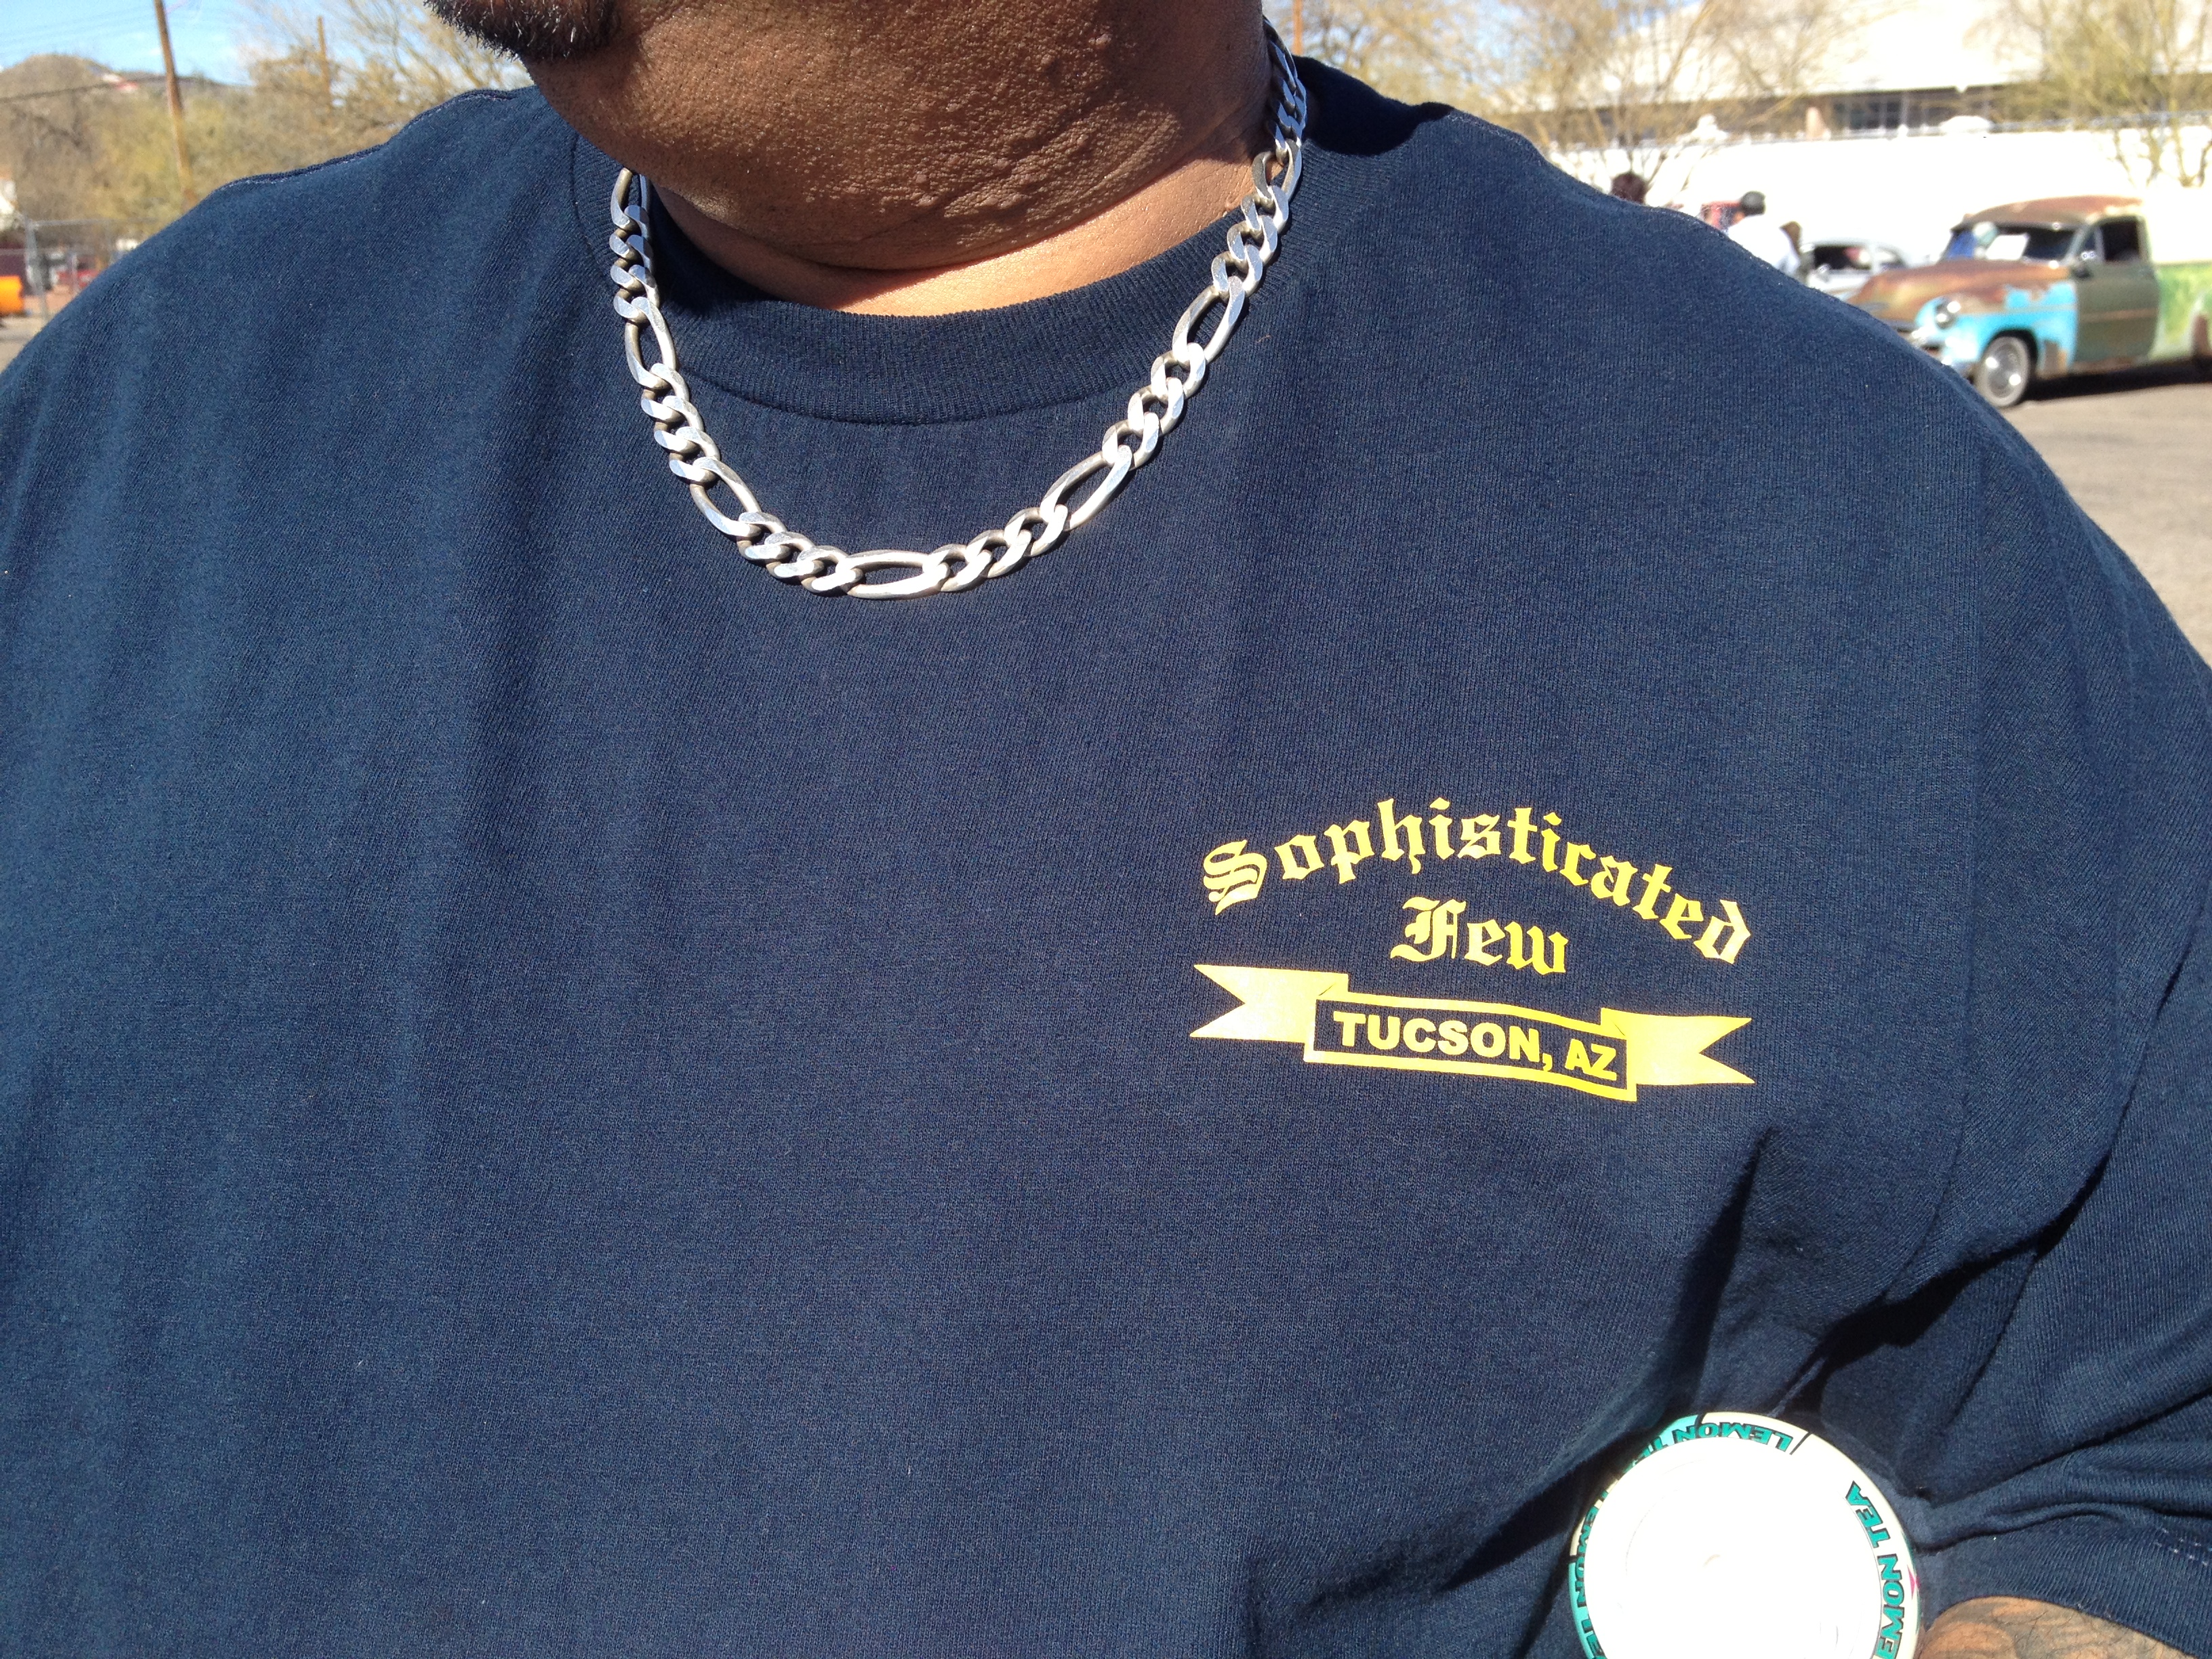
LaCaves Bakery has been around since 1935. The donuts=epic!

We grabbed a dozen donuts (oink, oink) and decided to find the gem show. There were multiple gem shows open this weekend, which made it a bit confusing for us. We showed up at one site, to find out it was the site of a gem show last weekend. Then, we decided to hit the 22nd Street gem show. I thought this gem show was a let-down. I really wanted to see some unique modern pieces.

IMG_7846 2 IMG_7847 2 IMG_7848 2 IMG_7850 2 IMG_7851 2 IMG_7852 2 IMG_7853 2 IMG_7854 2 IMG_7855 2 IMG_7857 2

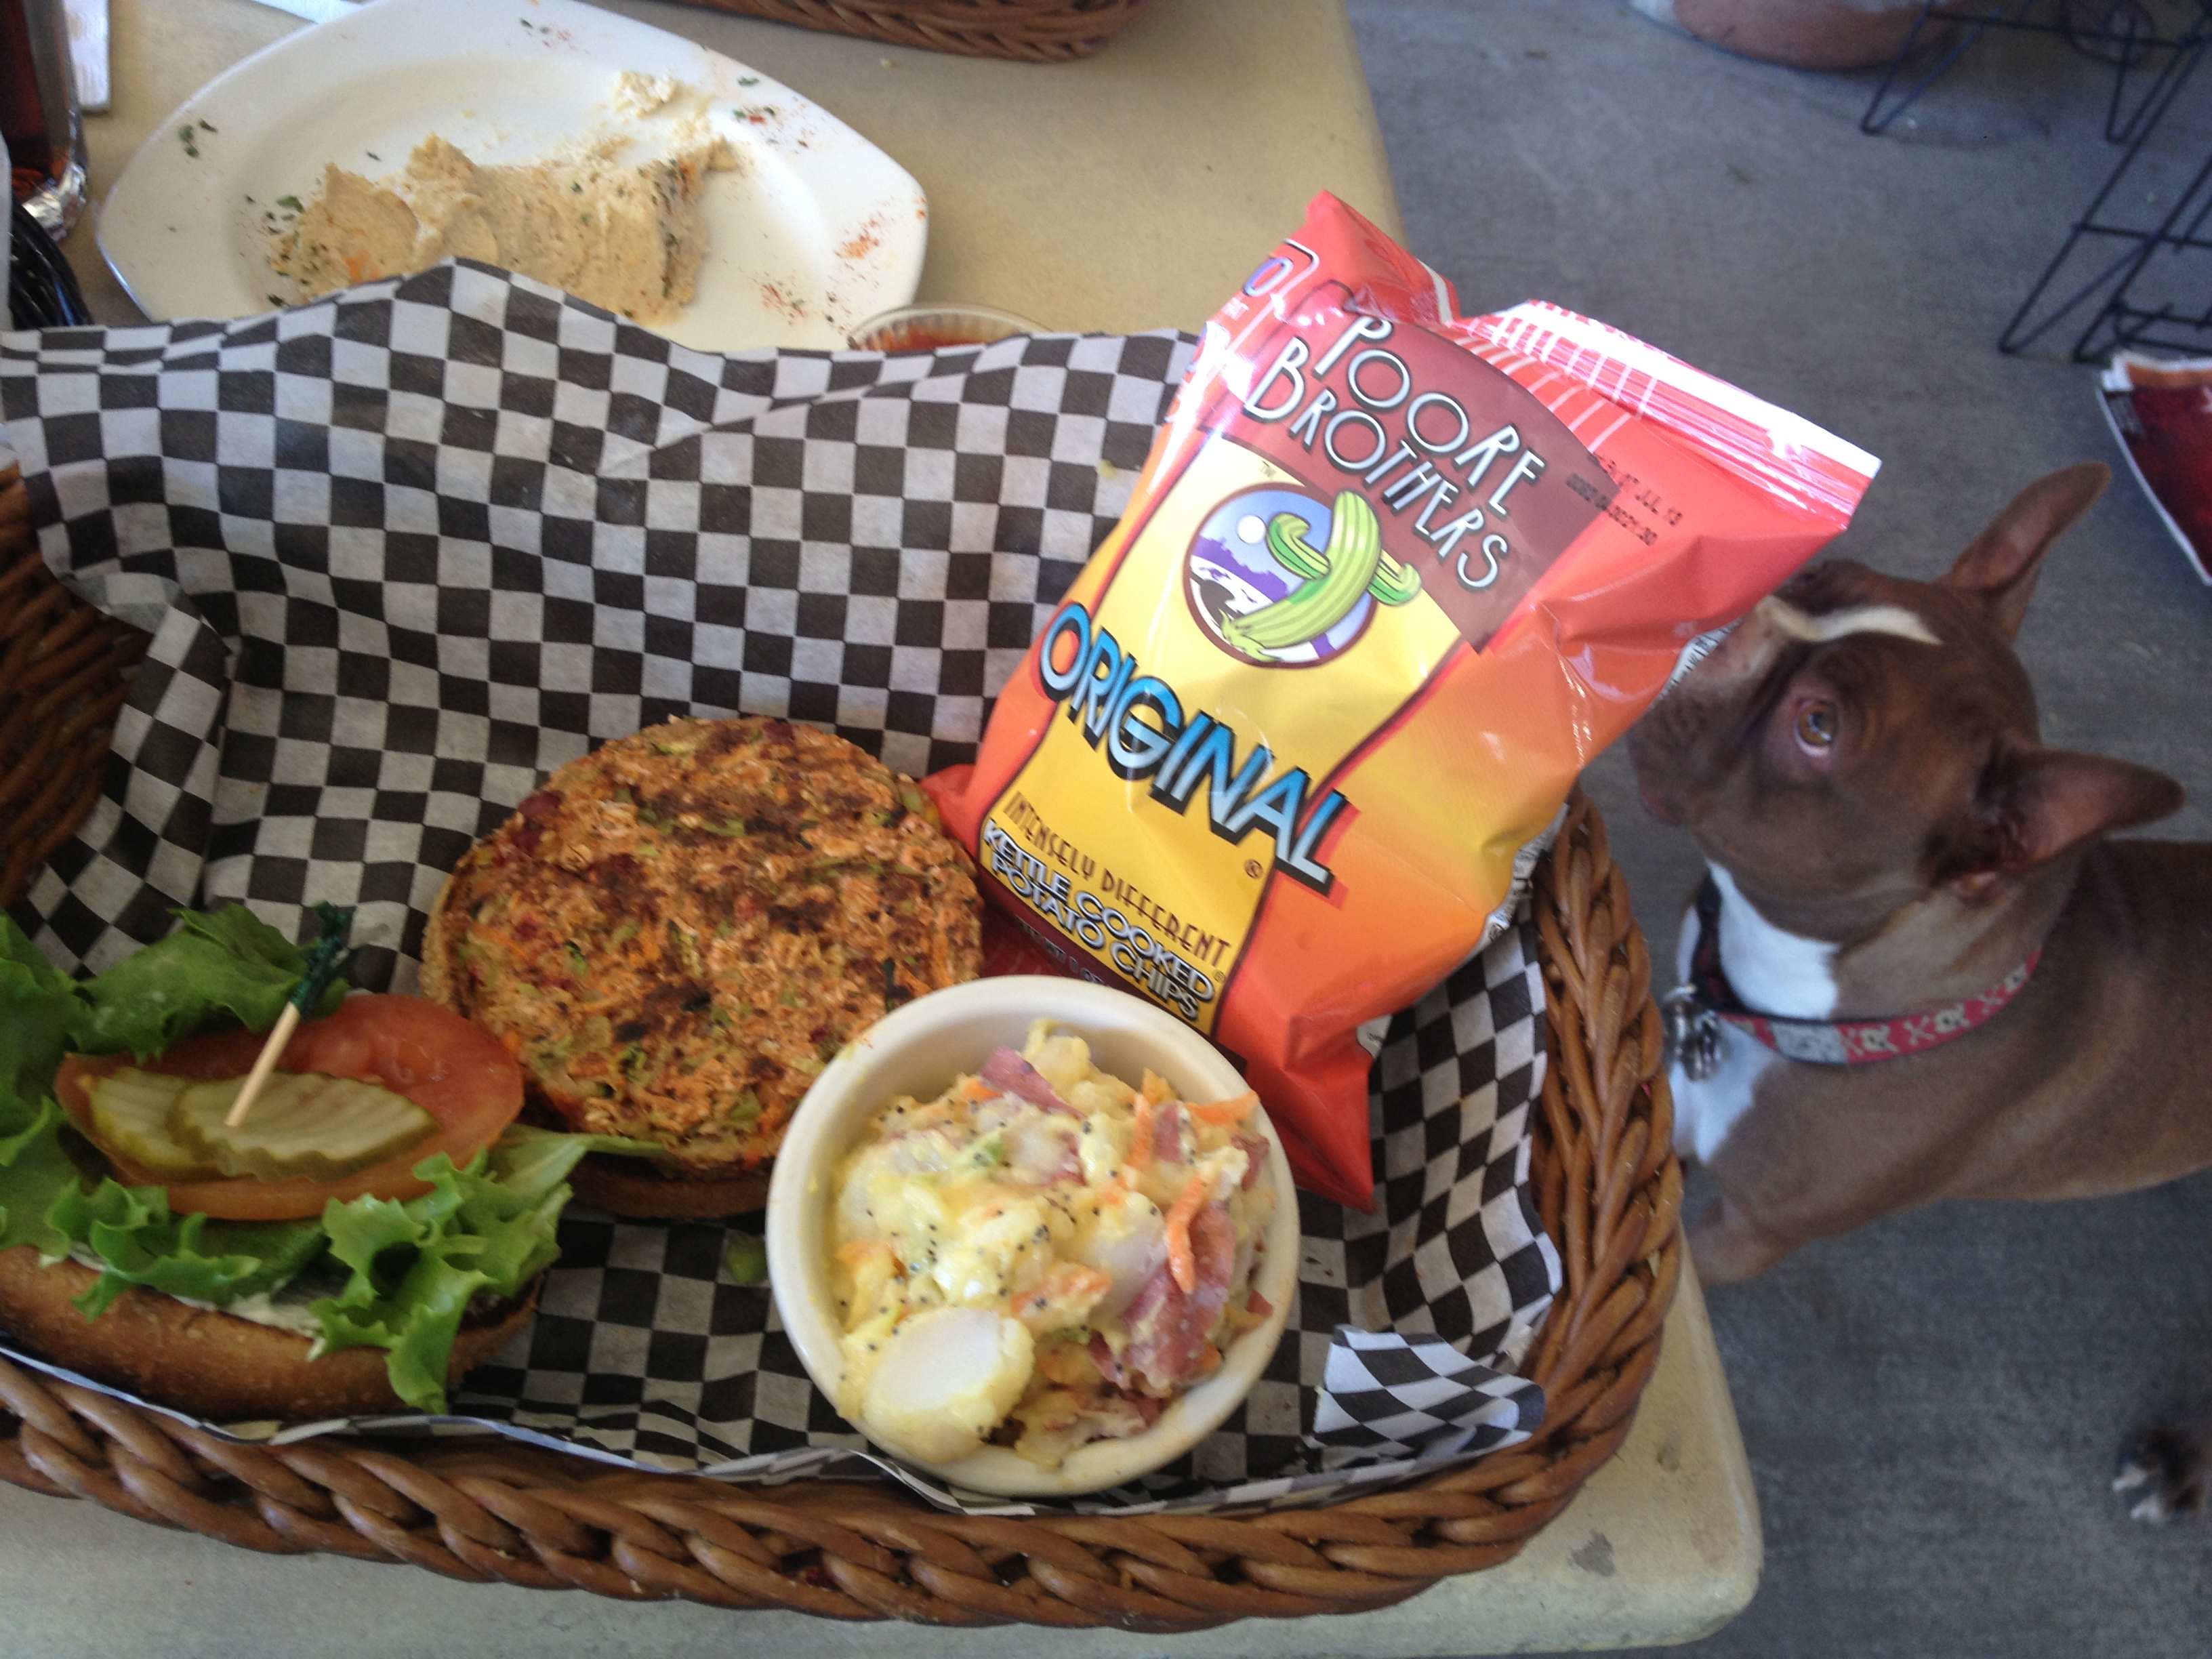
We then went searching for the main gem show, the 59th annual Tucson Gem and Mineral show. Upon pulling up, there was a line for tickets out to the street. I didn’t want to wait in a long line, so we decided to grab some lunch at a recommended vegan joint called Loving Spoonfuls. Matt had the Route 66 cheeseburger and I had the adzuki burger. We really enjoyed our meals, which came with potato salad and chips. They even gave us a water dish for Hank.

Loving Spoonfuls adzuki burger

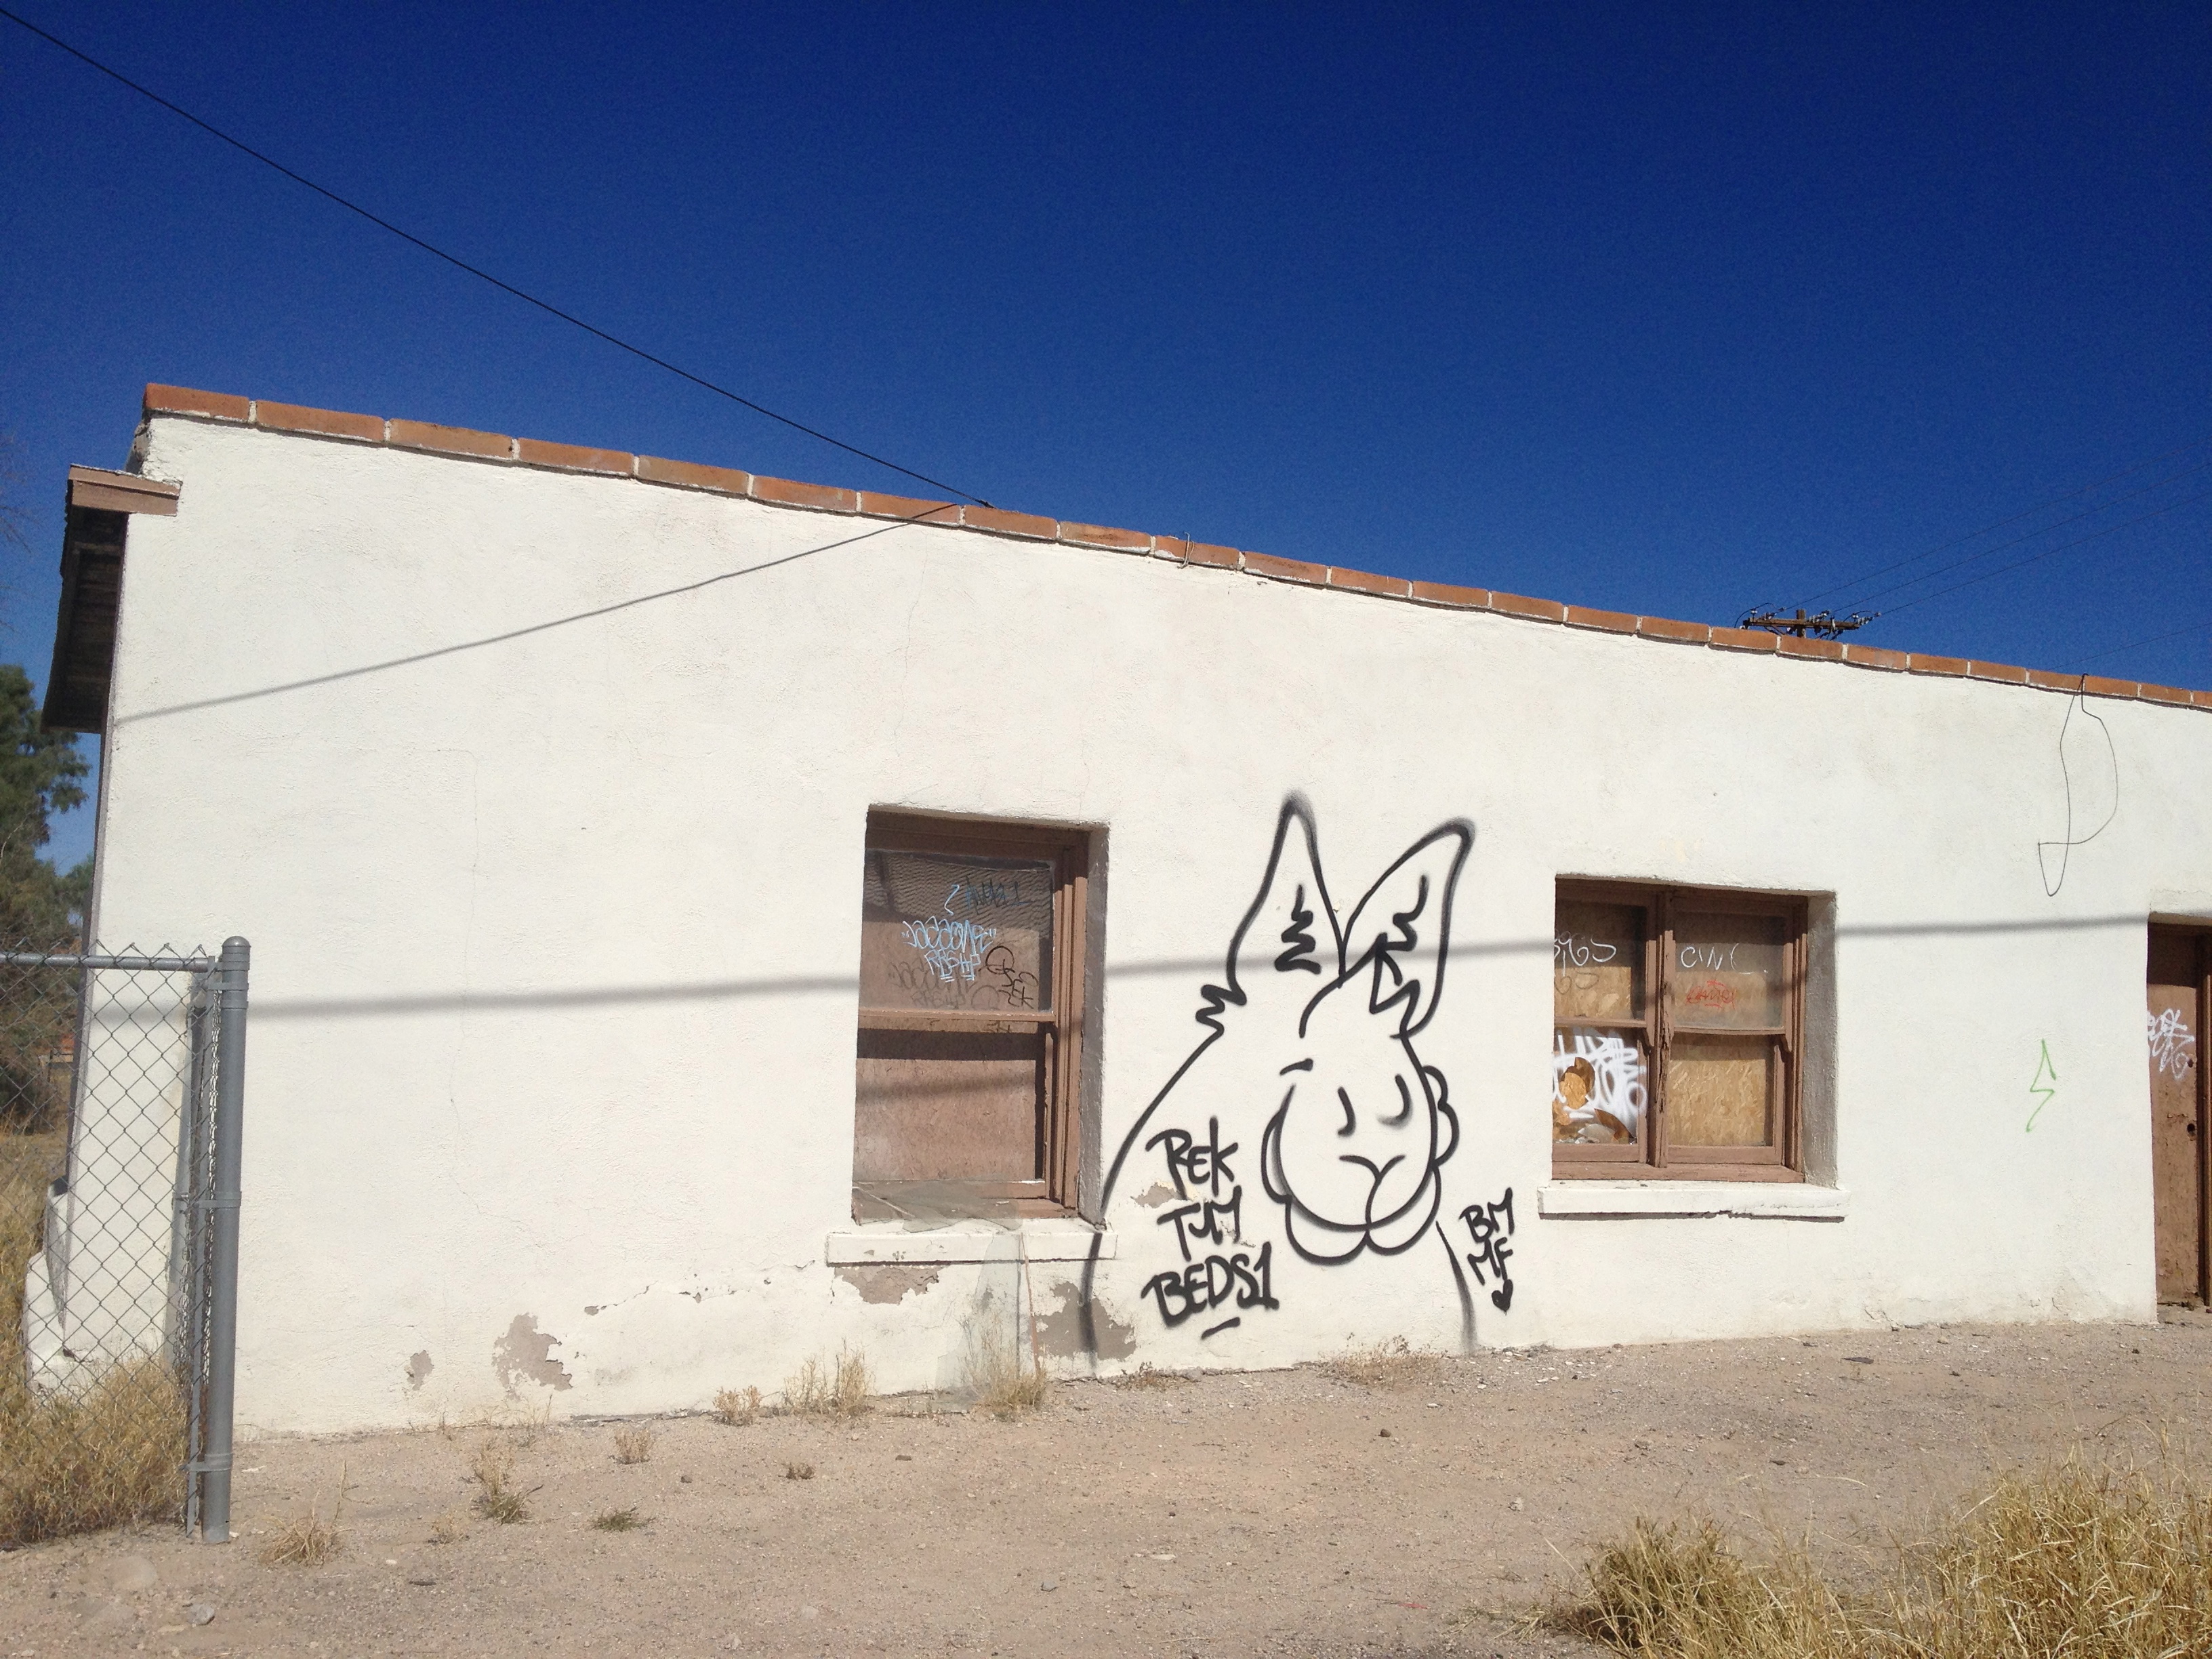
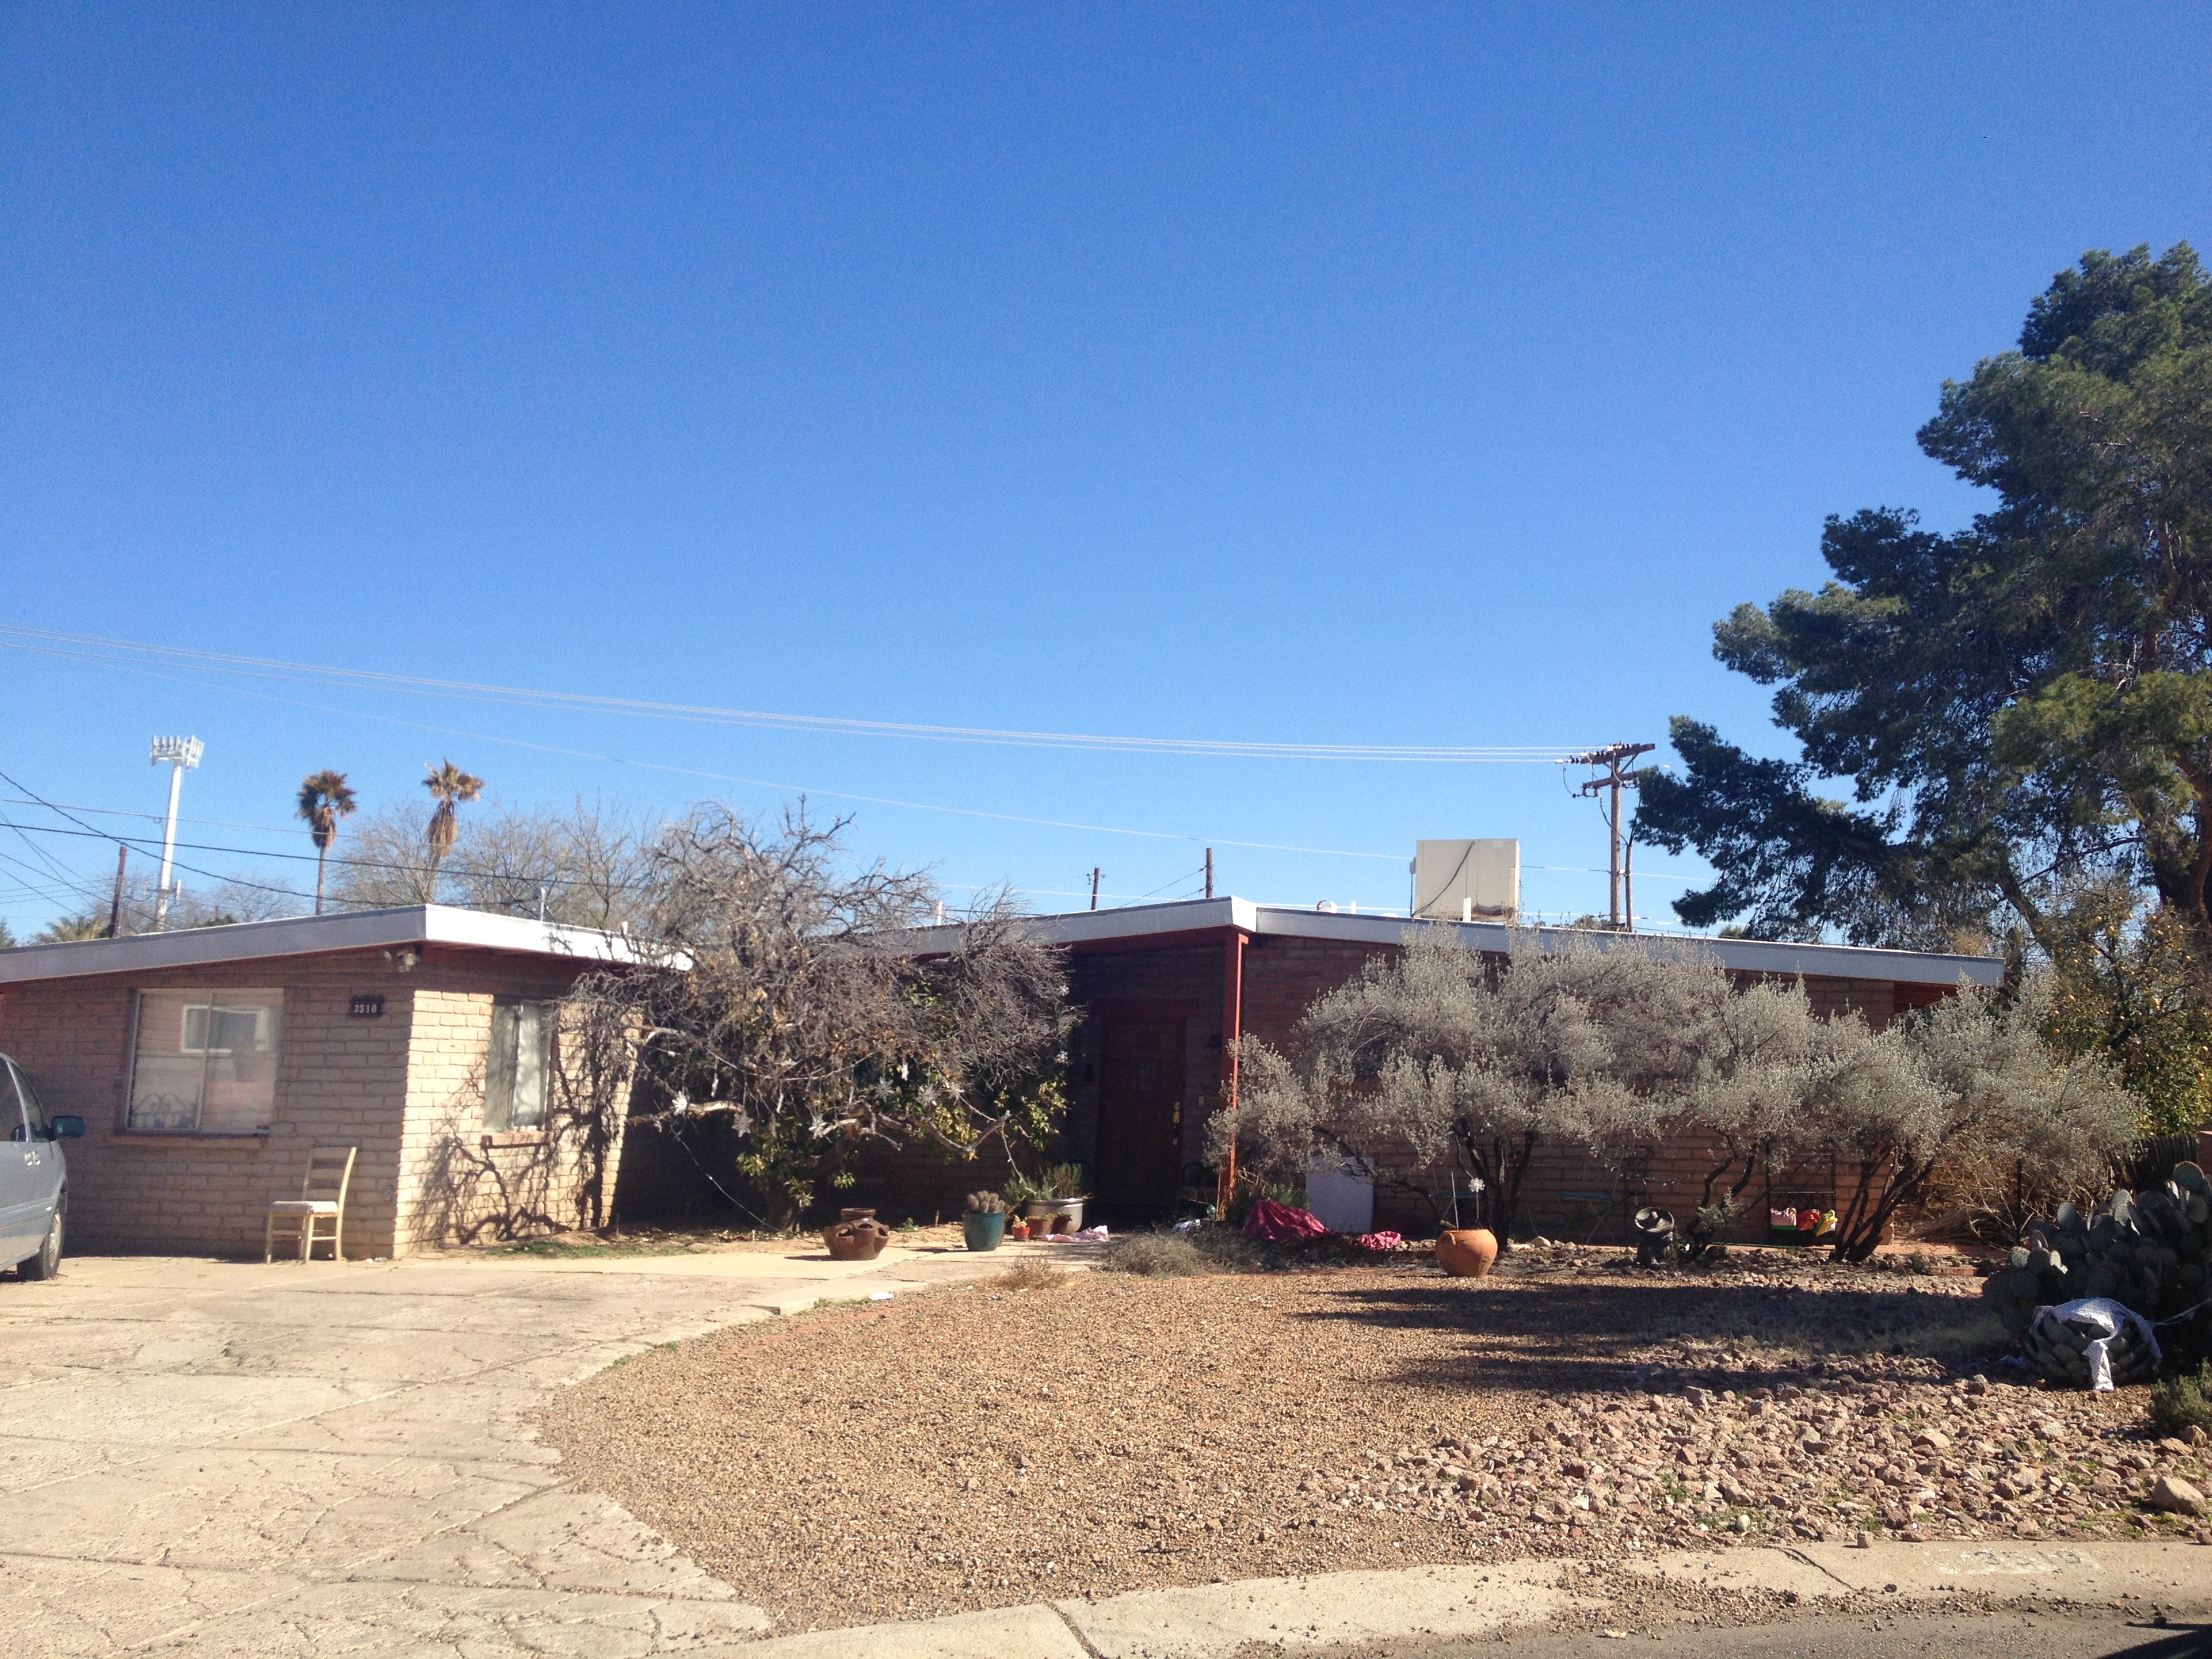
We did a little sight-seeing around town. There are some great mid-century neighborhoods and the cutest historic houses. I found that I took photos of mostly fixer-uppers….I think that is probably the most charming thing about Tucson. A house could be ready to fall down or covered in graffiti, but it sits there; it doesn’t get knocked down like it would here in the phoenix metro area.

IMG_7860 2 IMG_7868 2 IMG_7869 2 IMG_7883

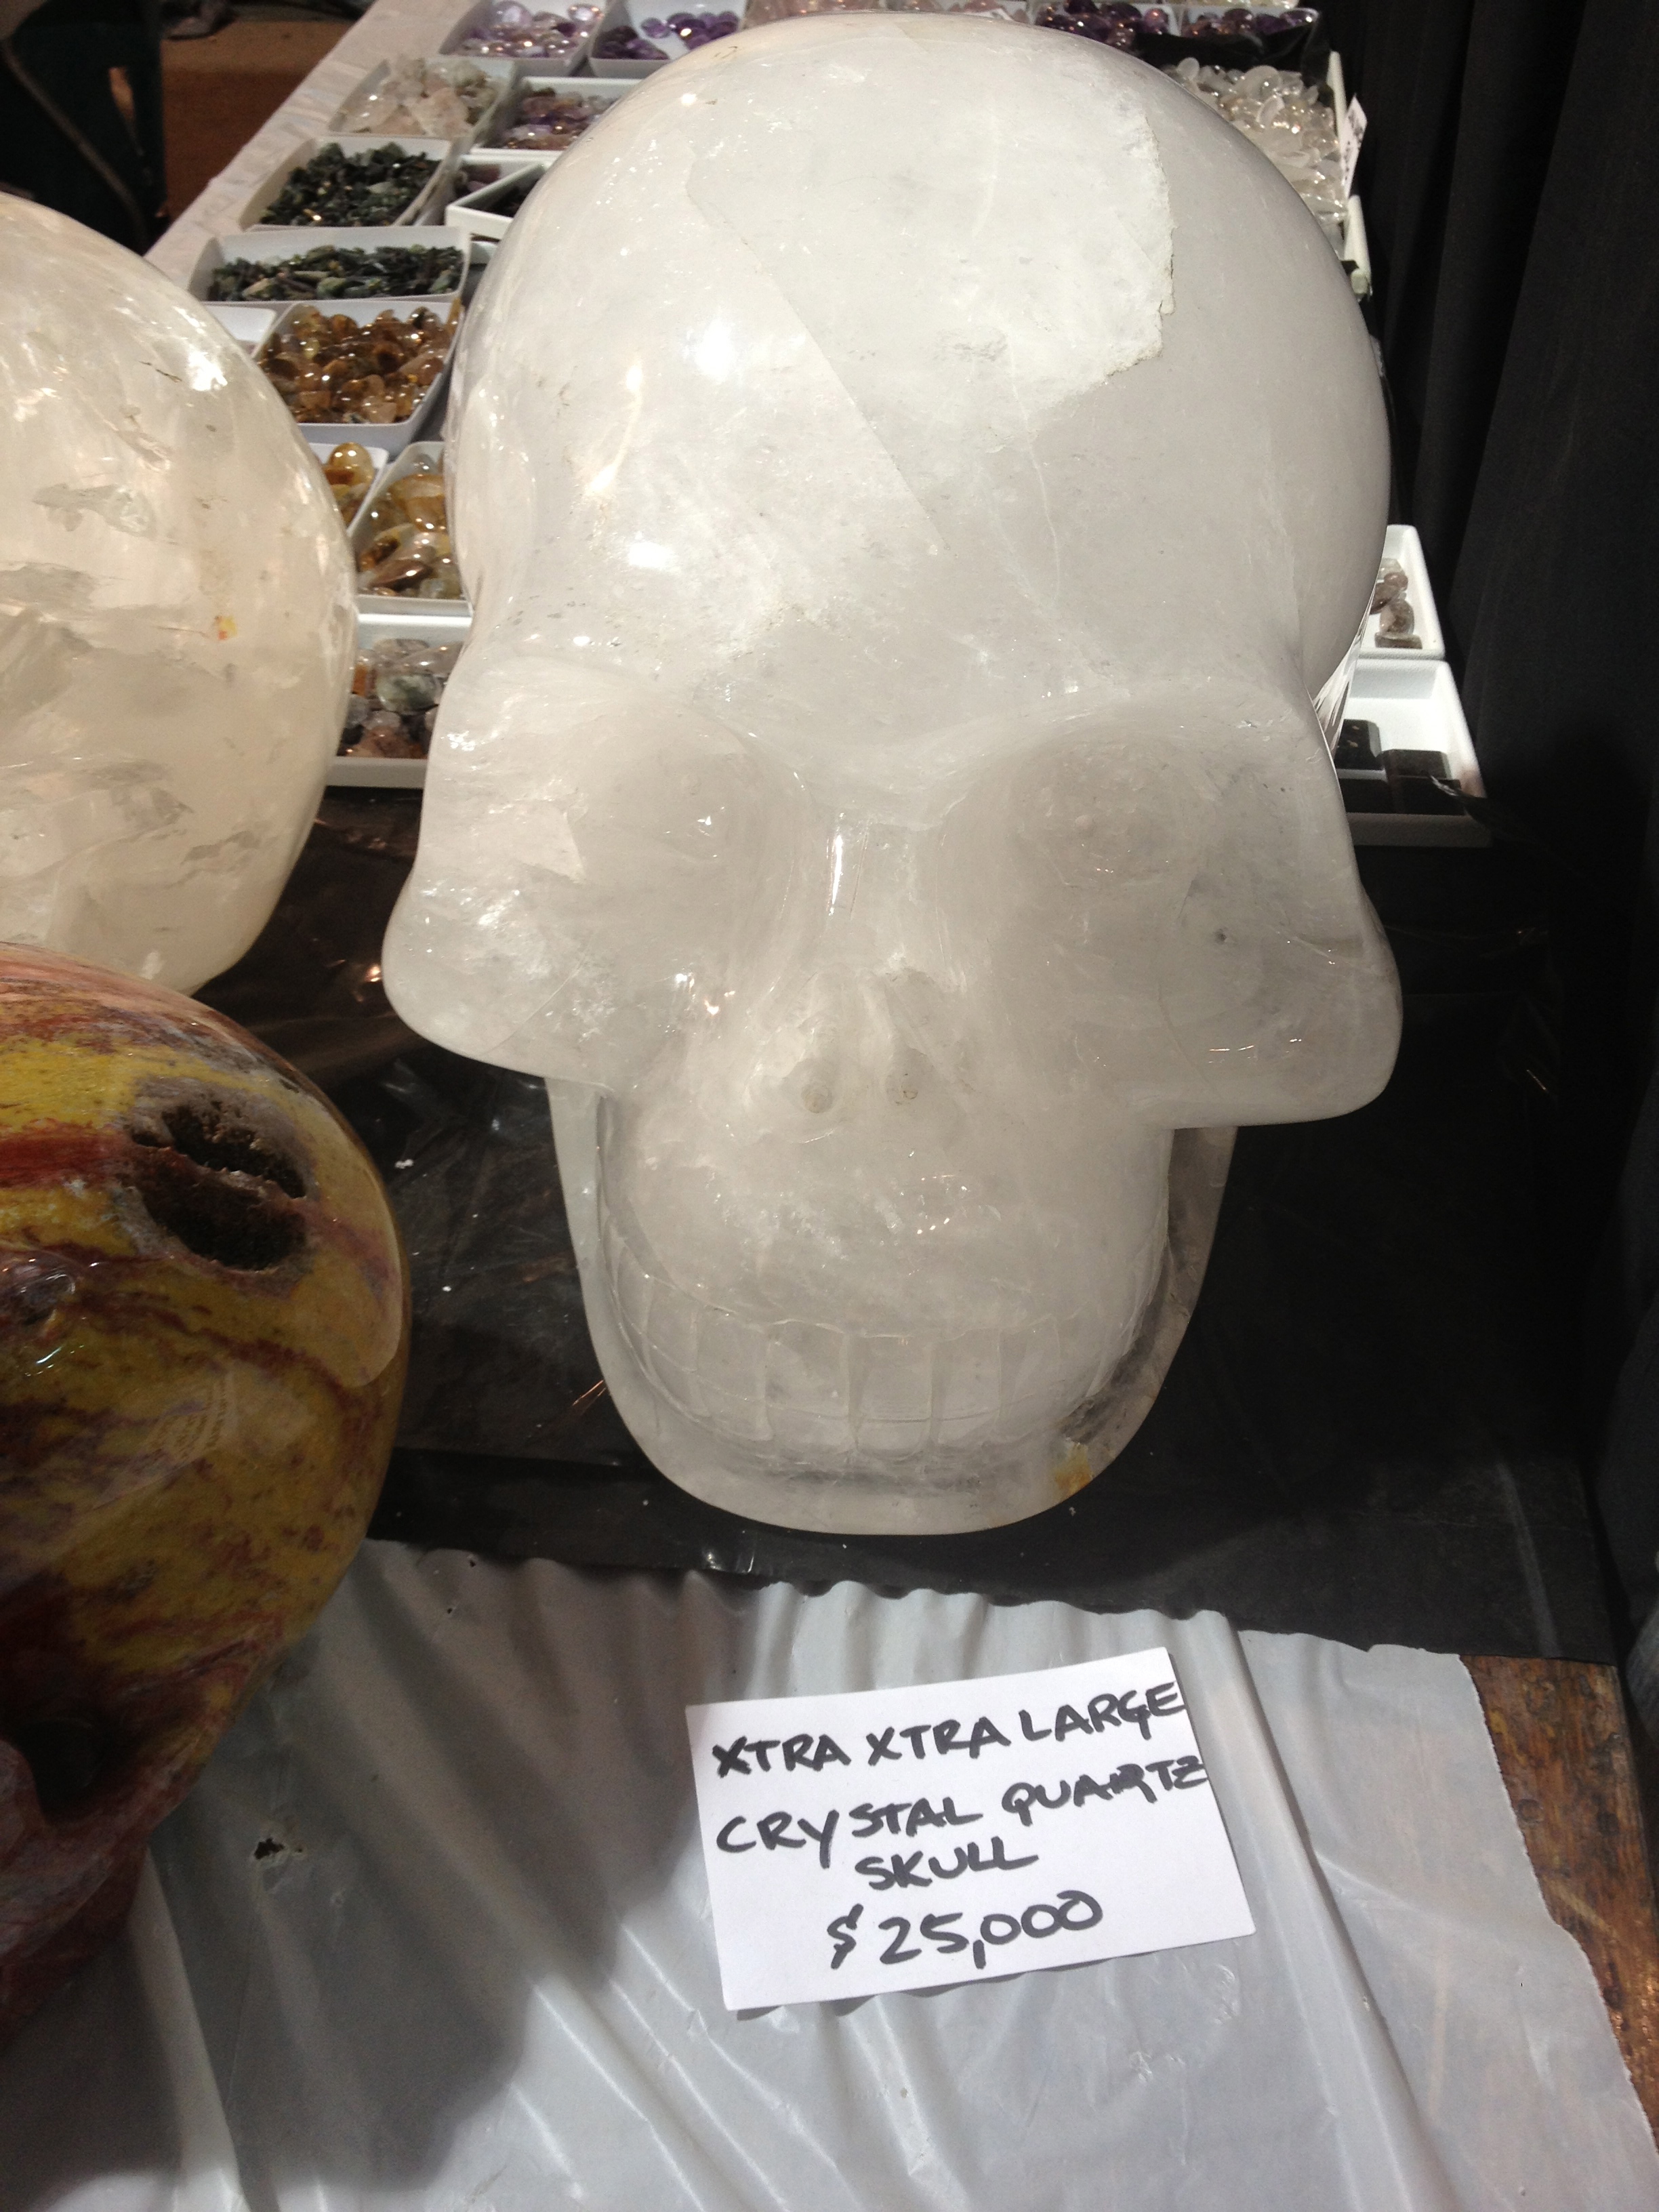
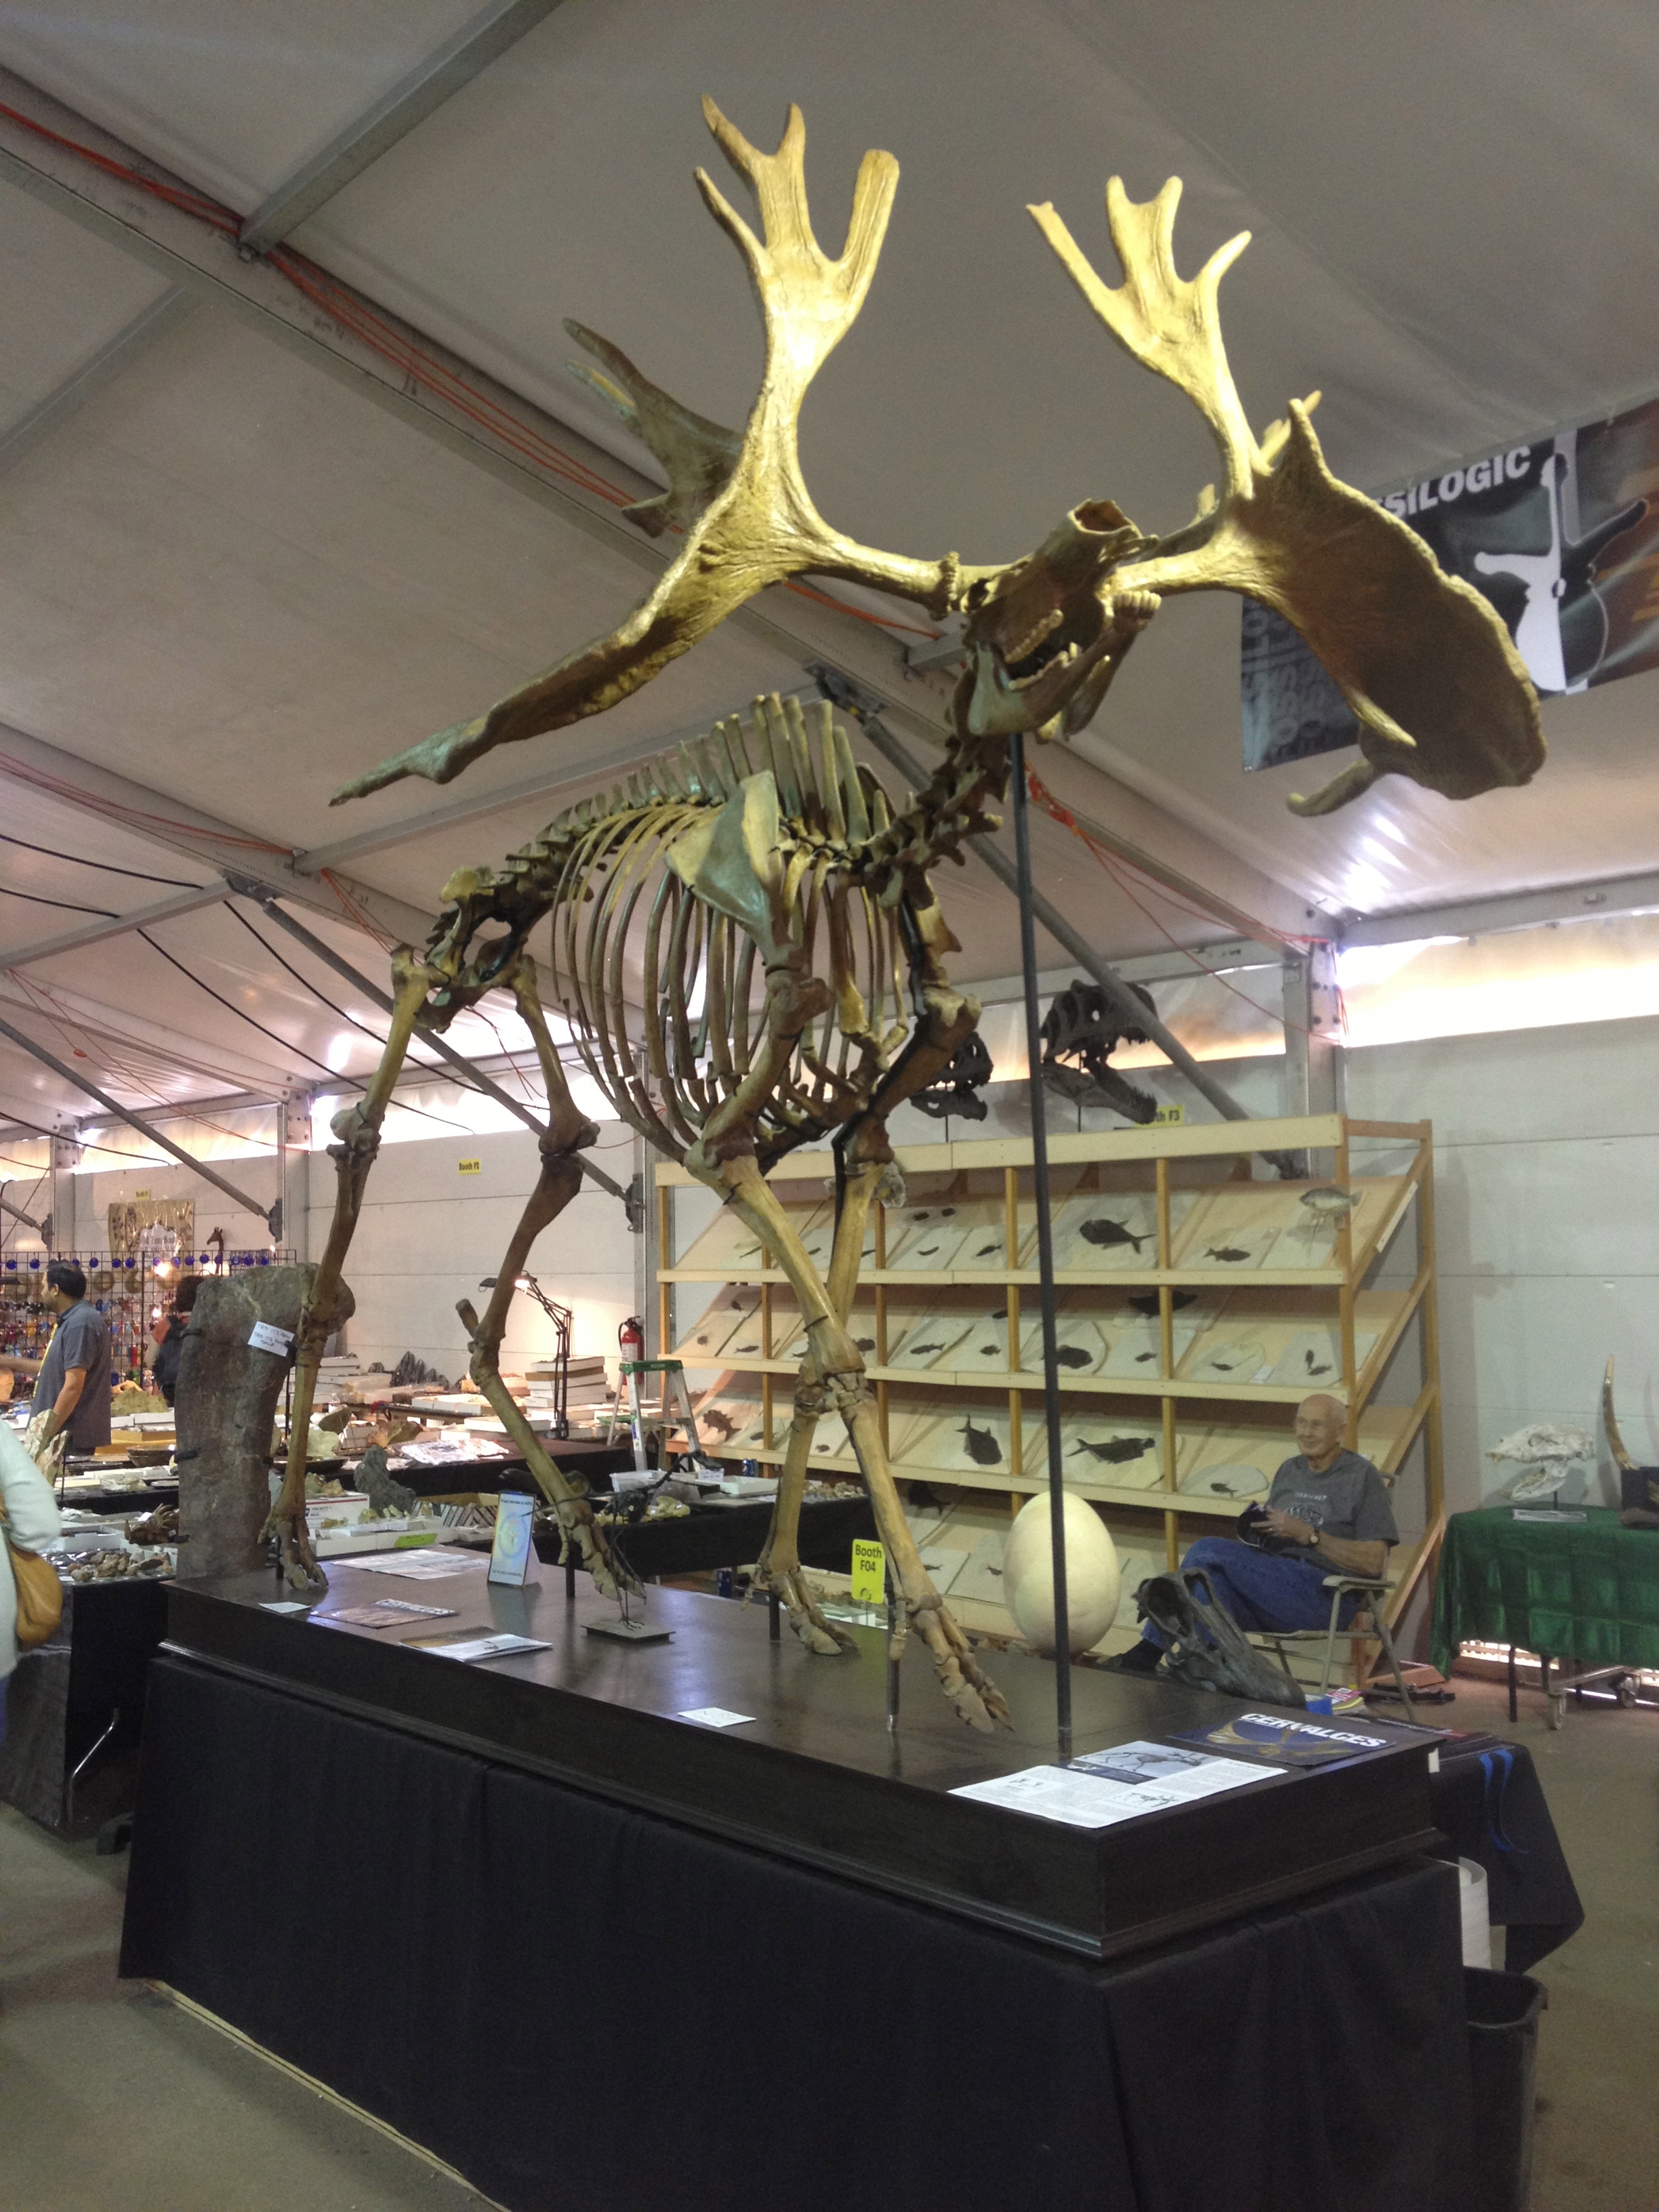
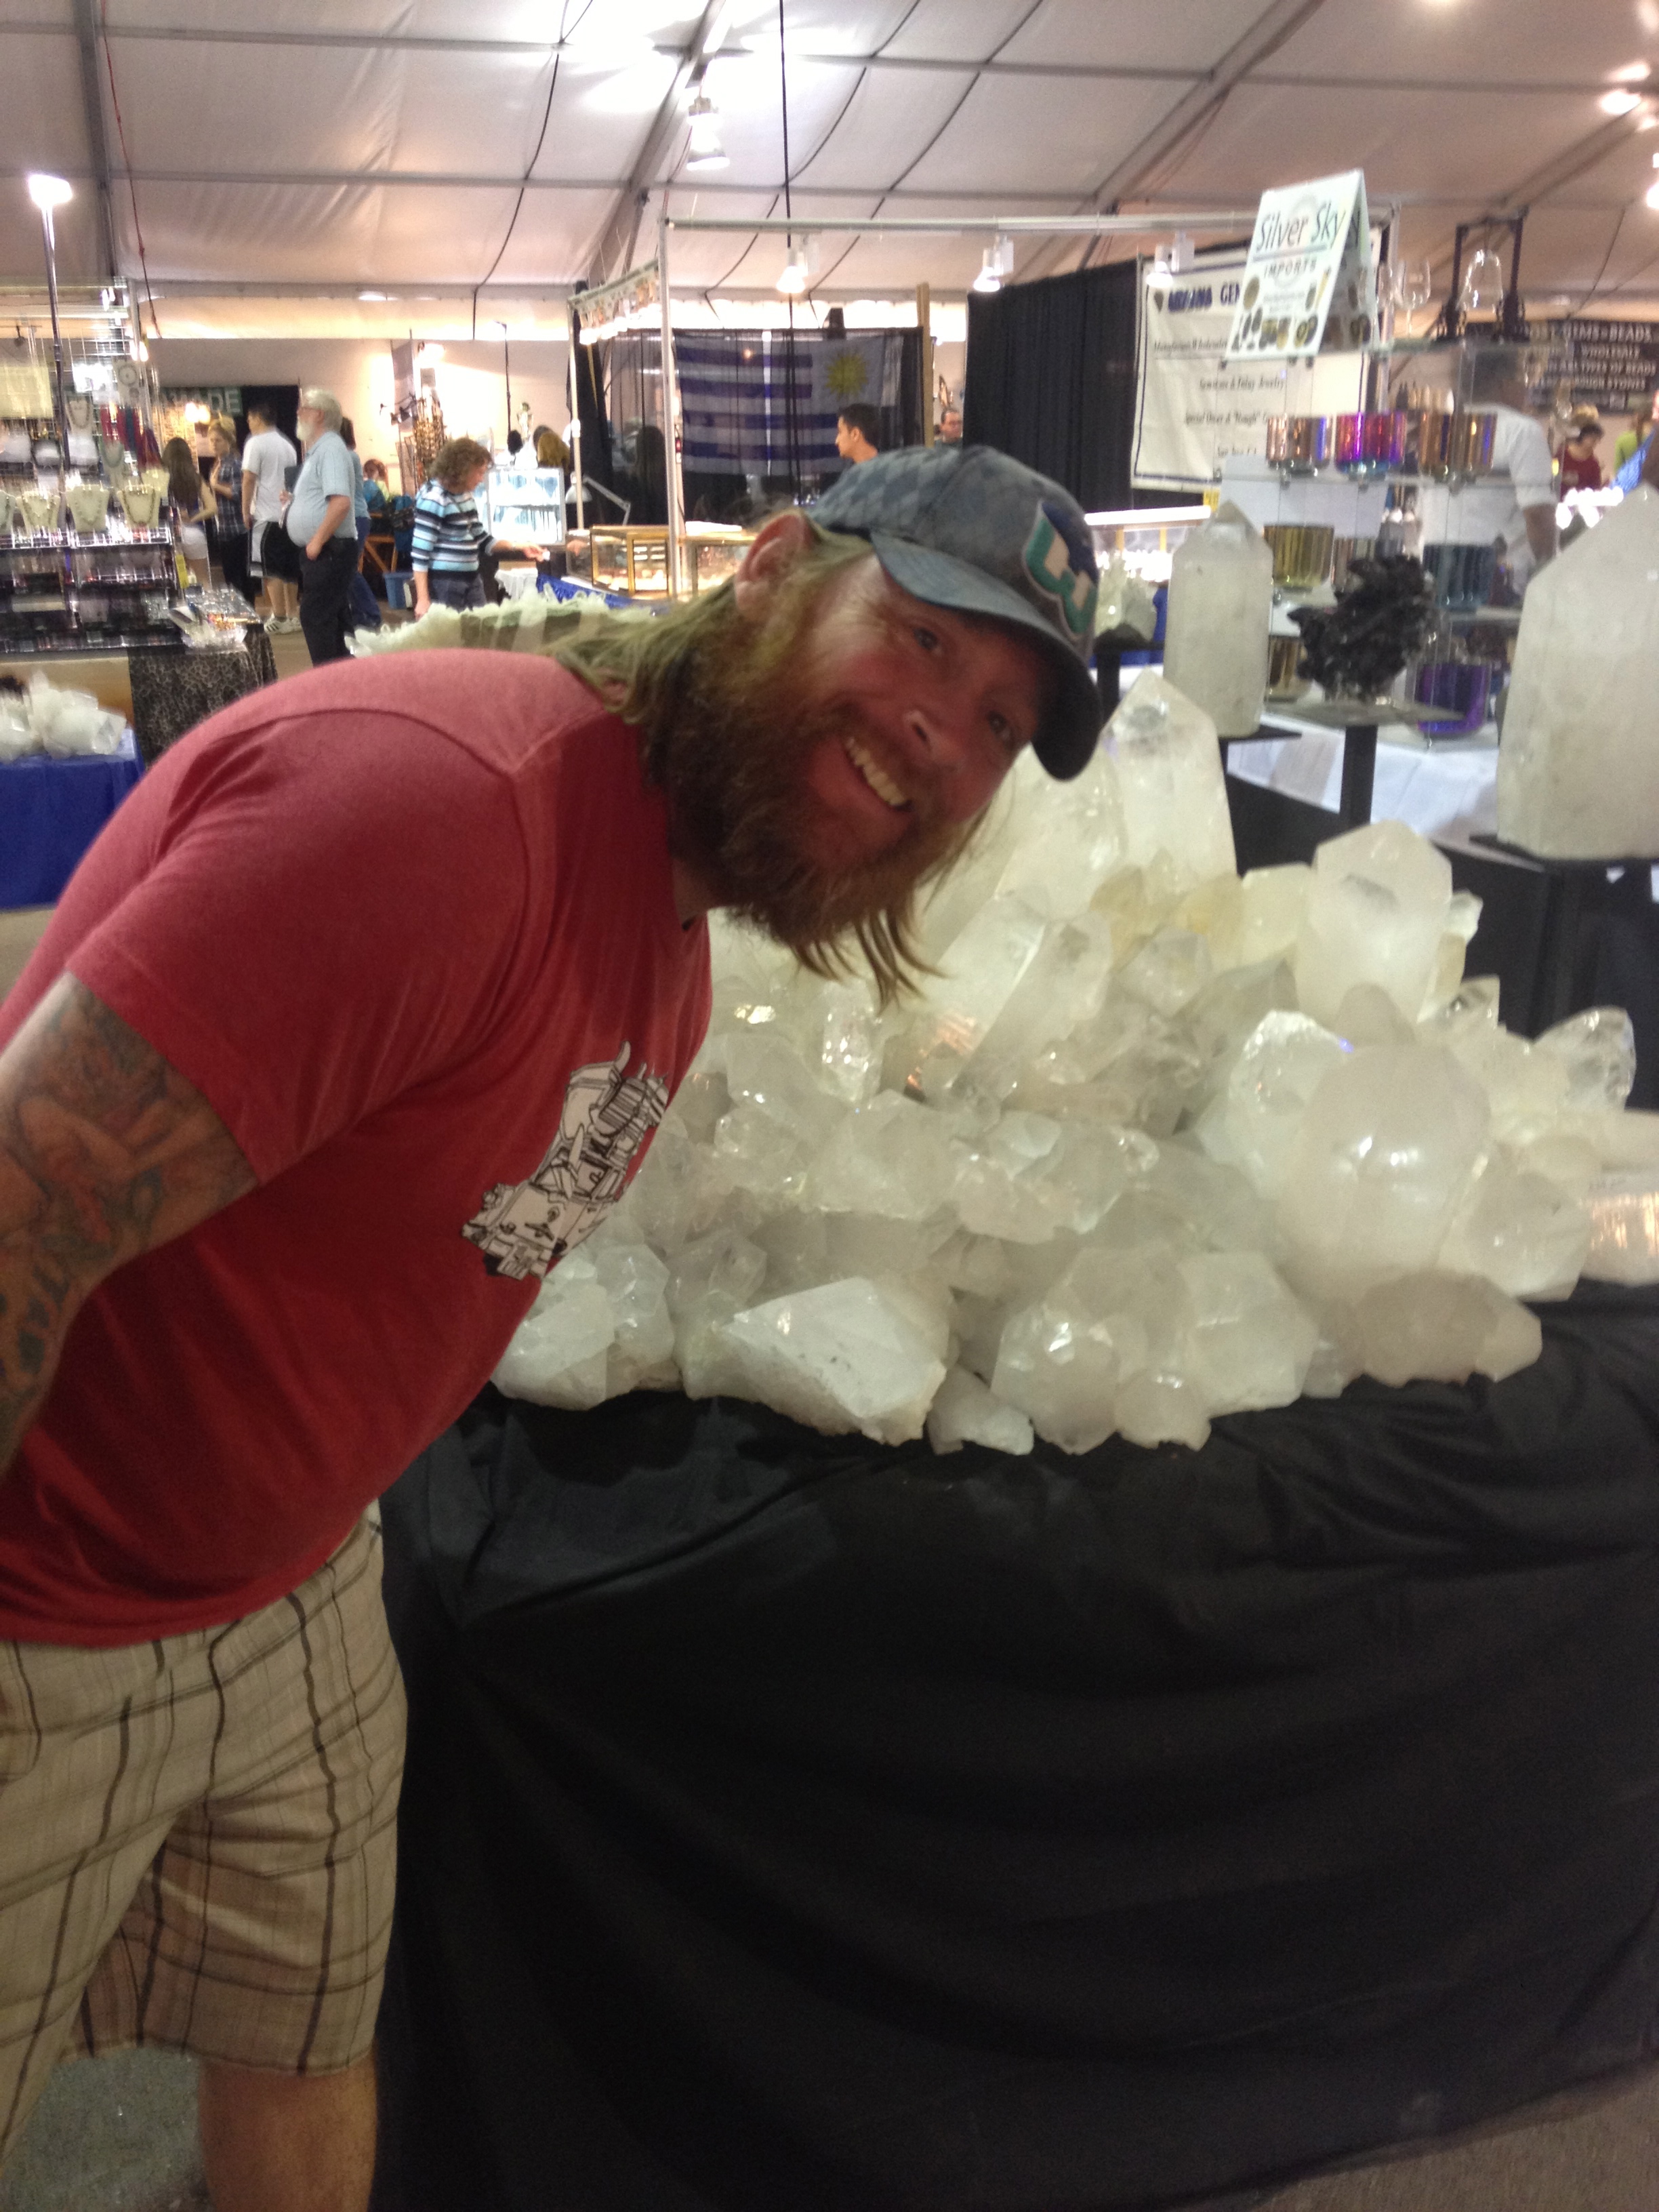
We decided that we would try to go back to the large gem show and the line was gone! I wasn’t expecting there to be sooooooo much to see. The gem show was beyond worth the $10 admission. The dealers here had some of the nicest jewelry I have seen! I honestly could have bought like 20 pieces, but I practiced restraint. I really was on the lookout for modern pieces, and there were at least 10+ dealers with the raddest pieces I’ve ever seen! I told Matt he didn’t have to go in with me, so he took Hank for some sight-seeing. If you decide to go to this large gem show, plan to give yourself at least 2-3 hours there. I felt like I could have easily spent 4+ hours there.

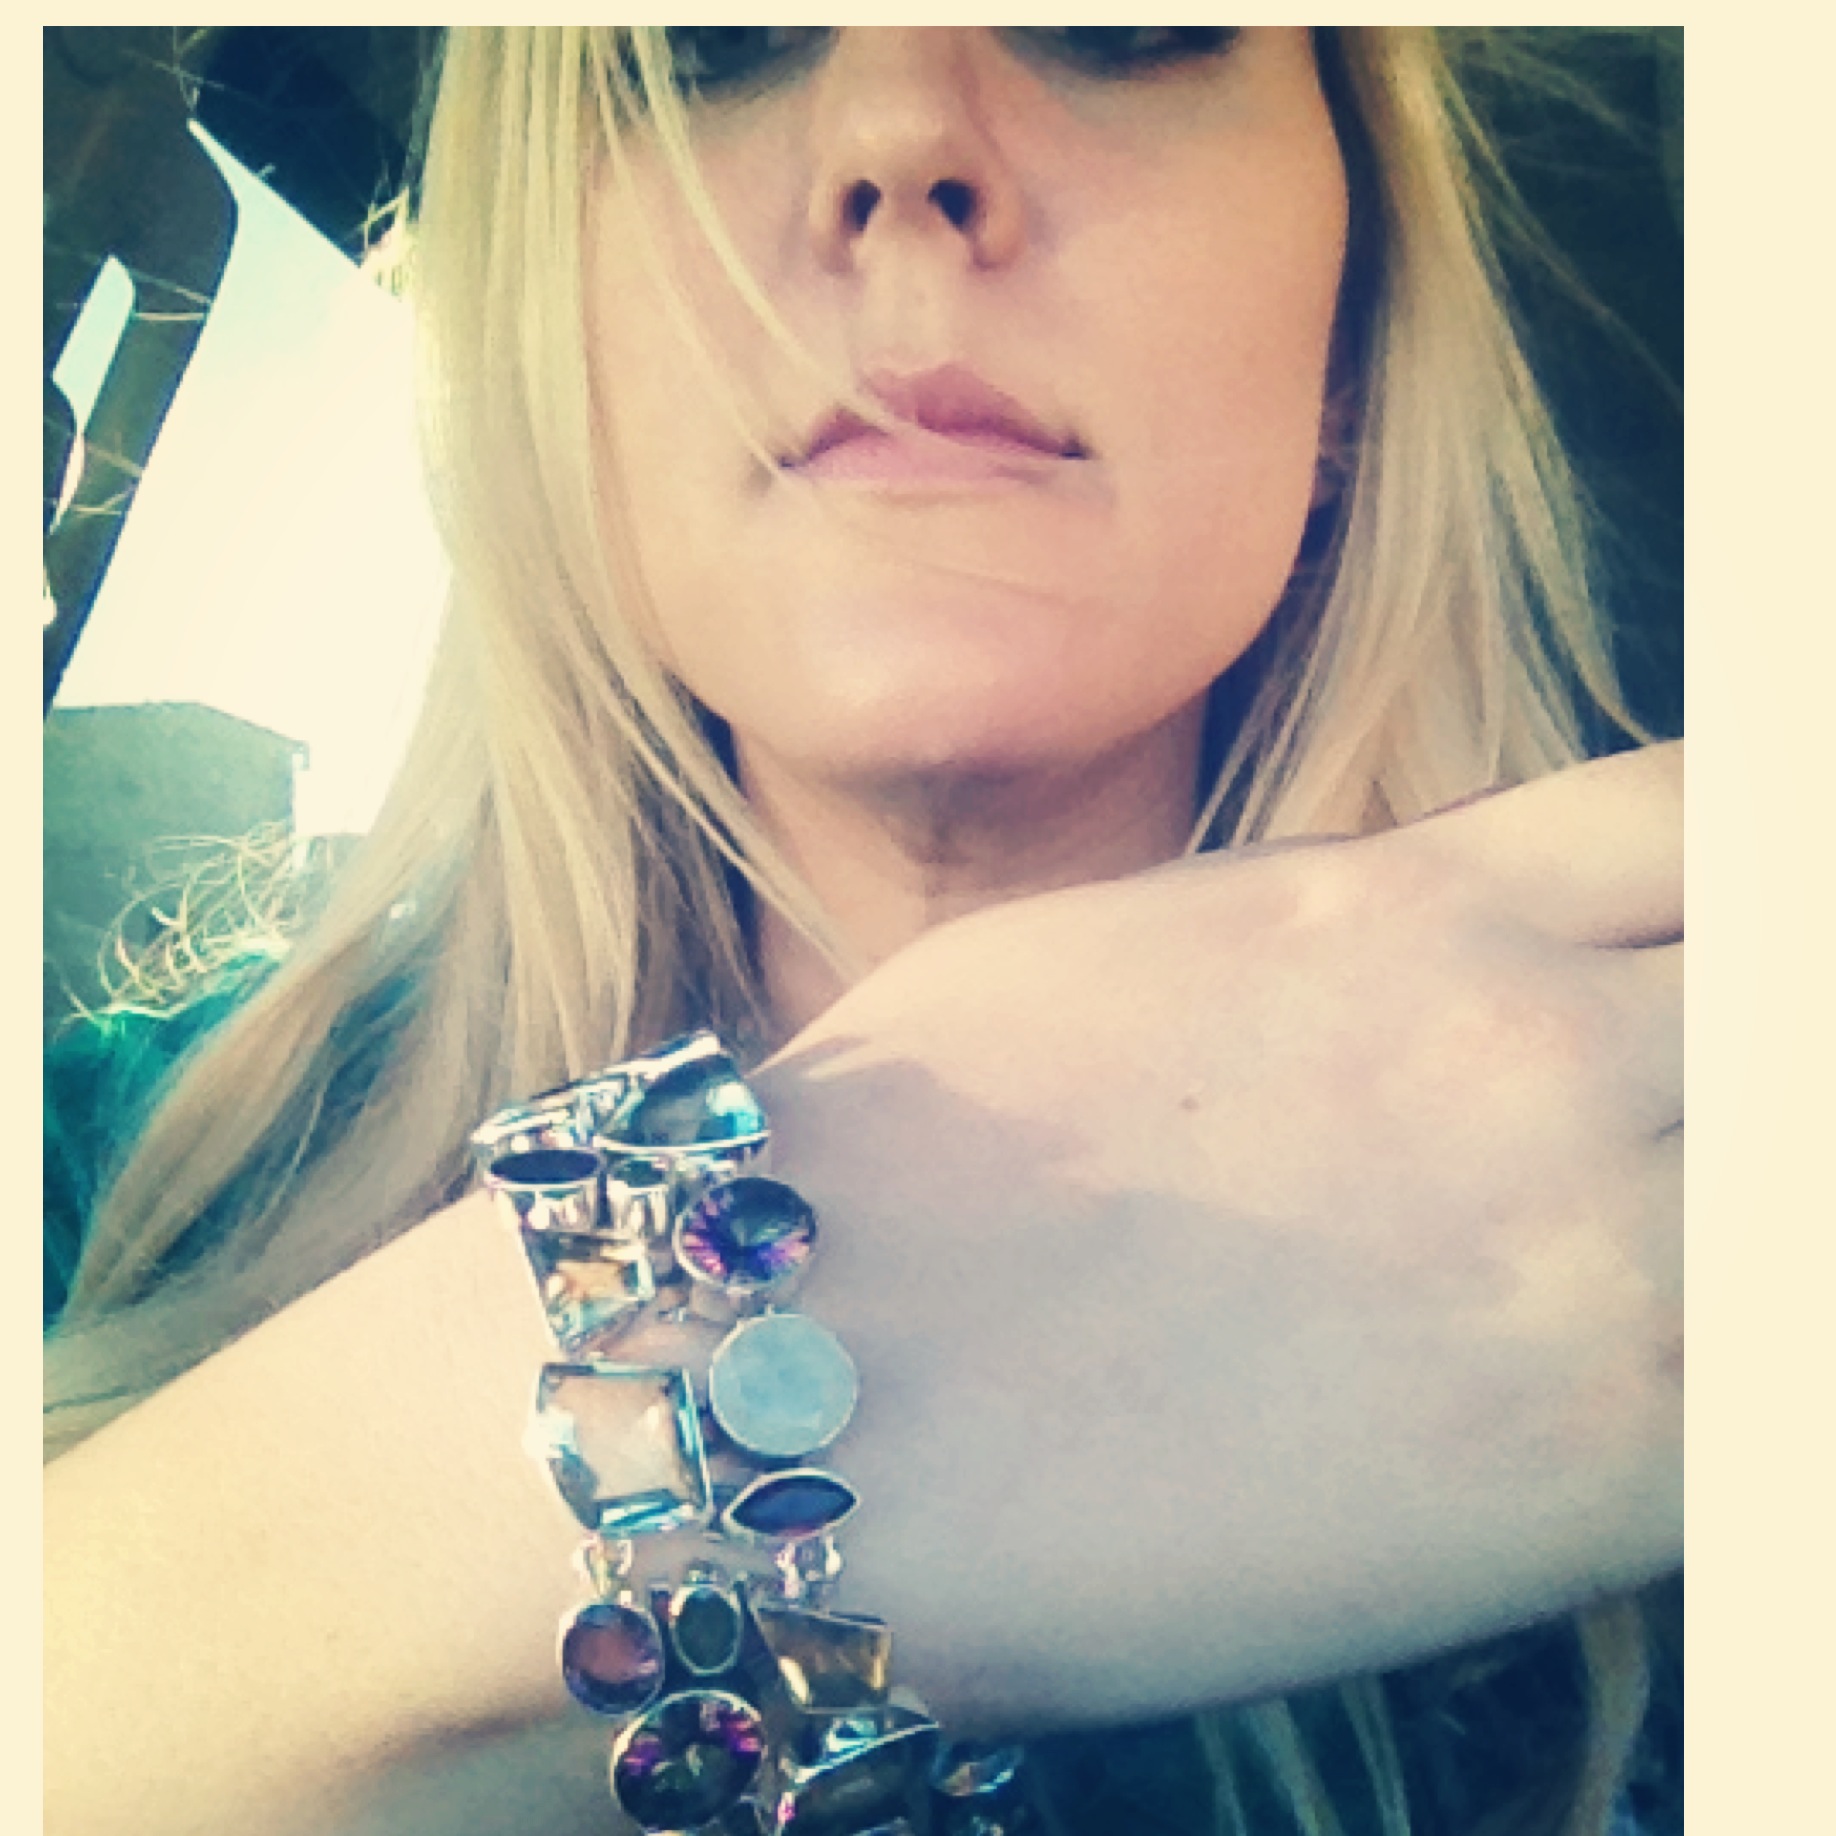
I walked away with an amazing sterling silver and assorted gem bracelet. I really liked the modern style and colors.

Bracelet I bought at the 59th annual Tucson gem and mineral show Bracelet I bought at the 59th annual Tucson gem and mineral show Bracelet I bought at the 59th annual Tucson gem and mineral show

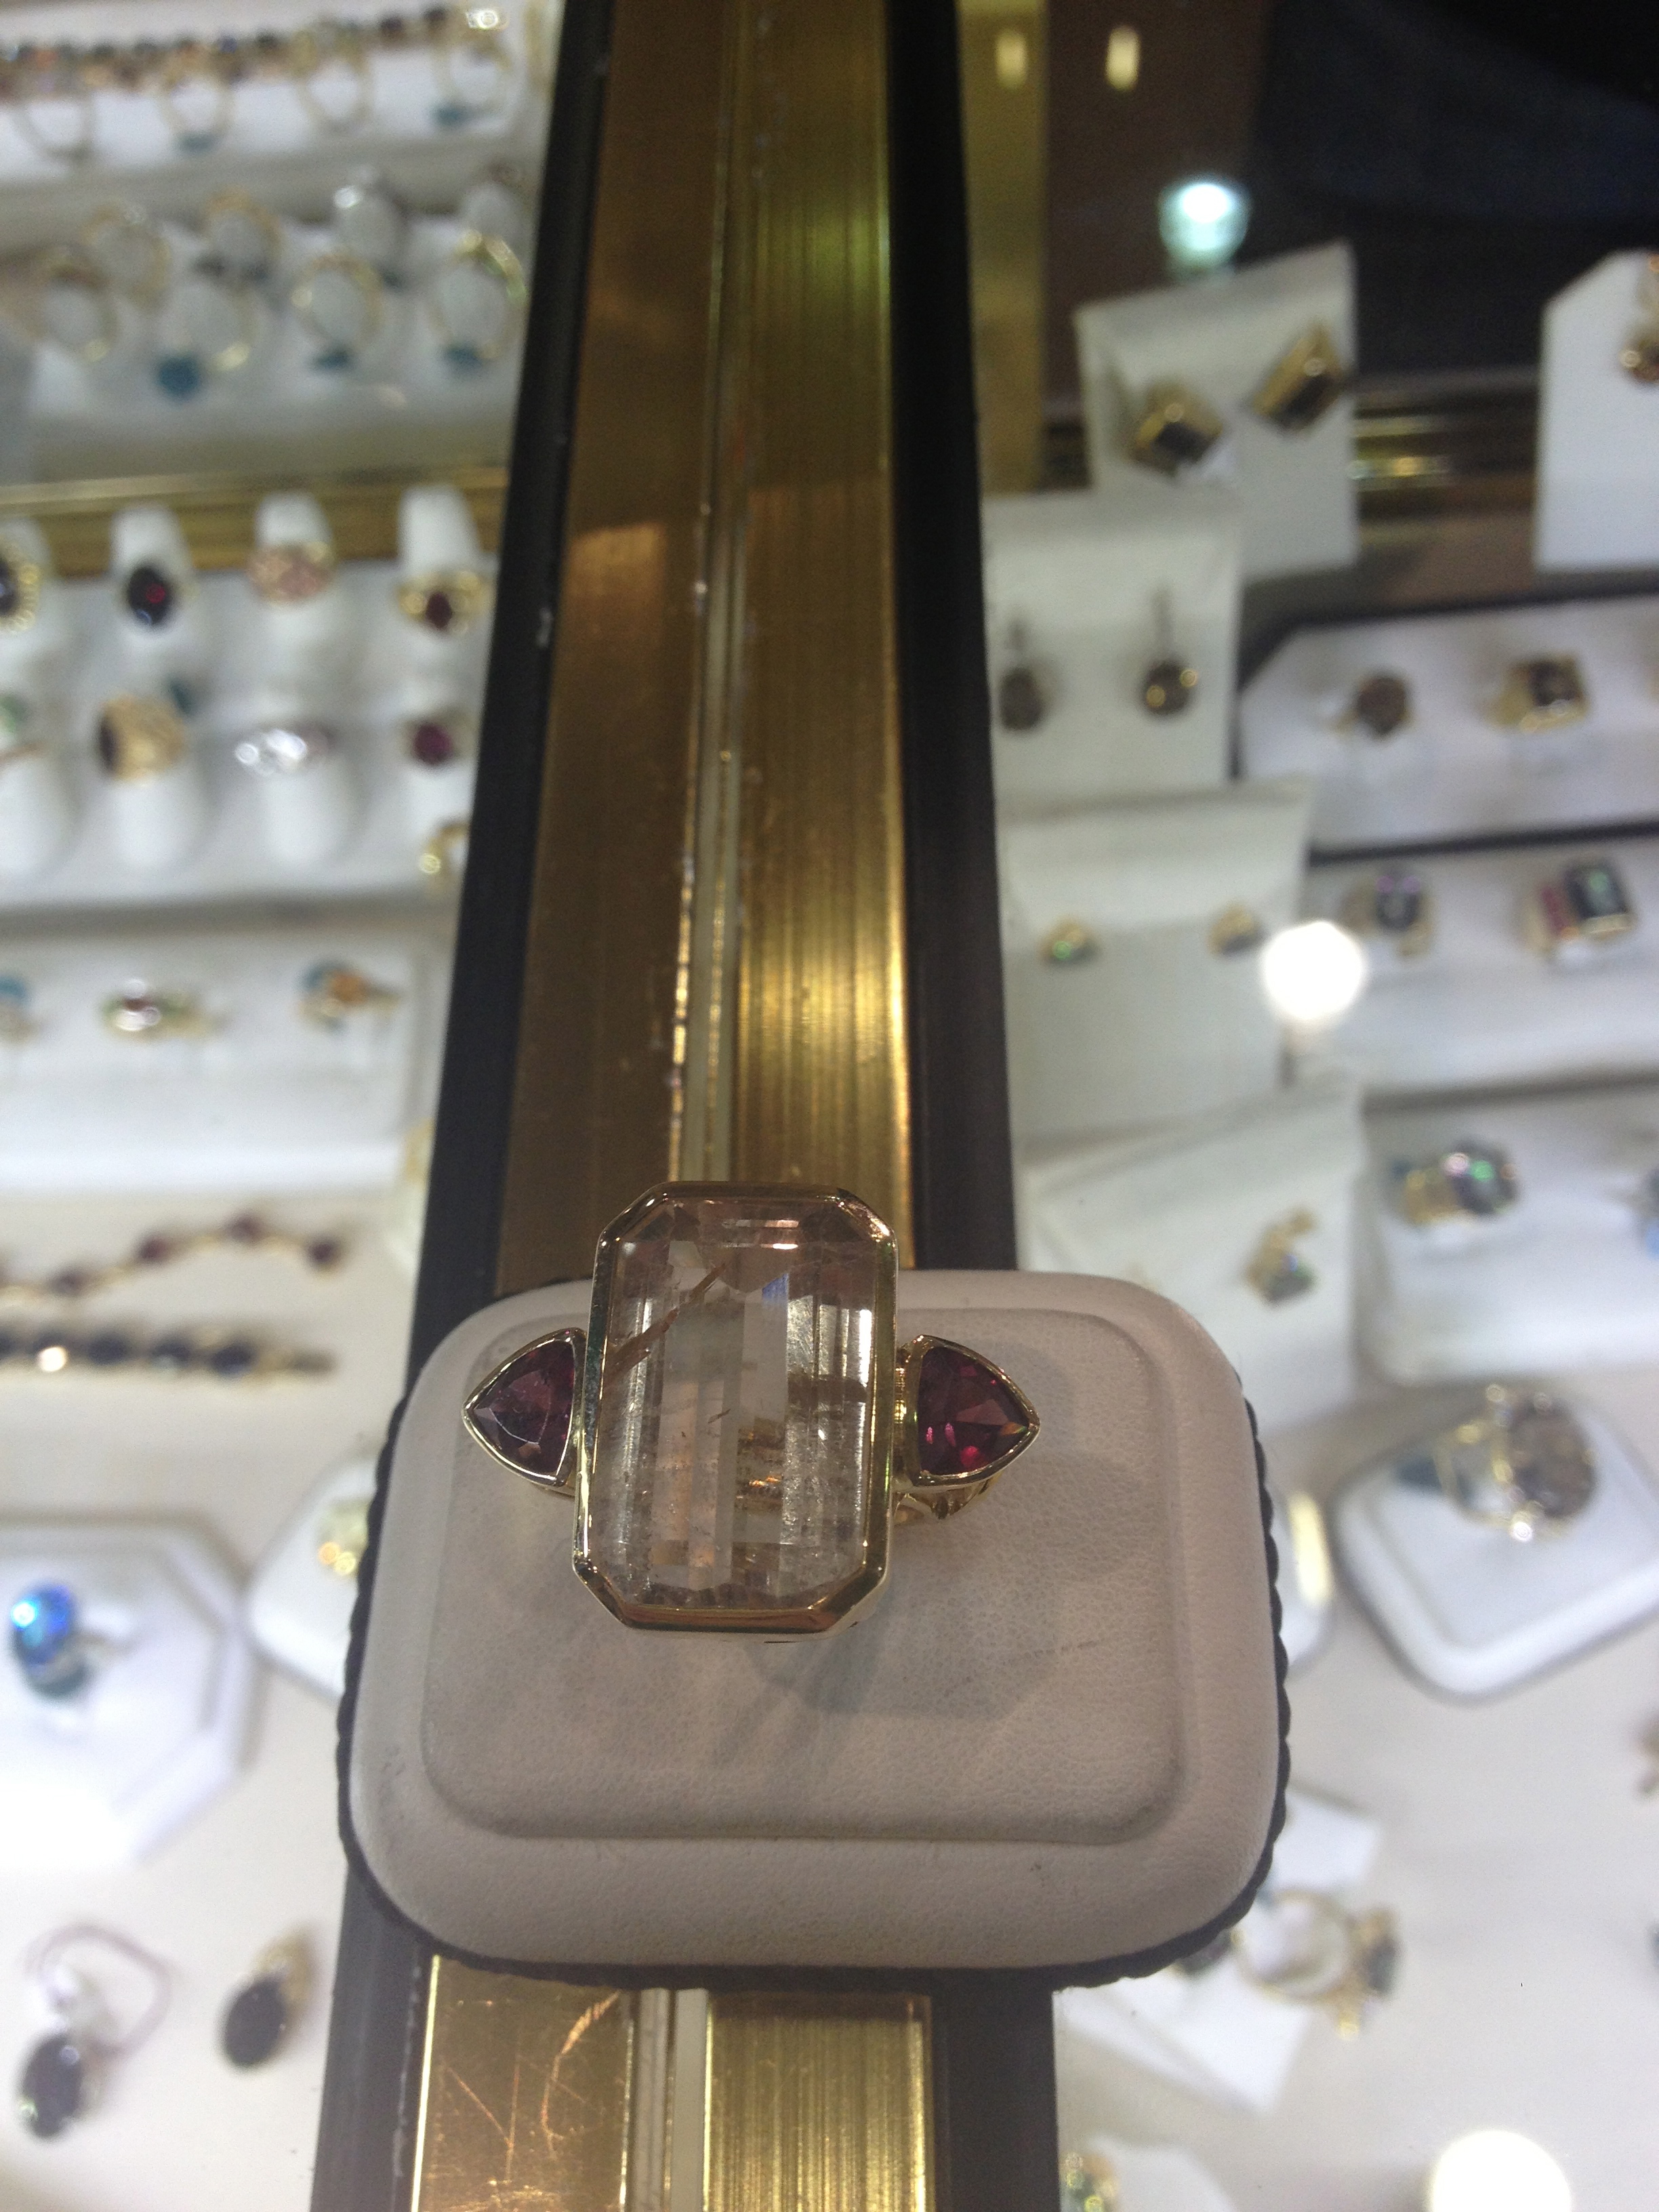
I bought a special ring for my sister, which is very similar in style to the settings in my bracelet

Ring I bought at the 59th annual tucson gem and mineral show

Here are some photos I snapped at the show. I didn’t feel comfortable taking photos of the higher-end designer pieces.

59th annual Tucson gem and mineral show 59th annual Tucson gem and mineral show 59th annual Tucson gem and mineral show 59th annual Tucson gem and mineral show 59th annual Tucson gem and mineral show 59th annual Tucson gem and mineral show 59th annual Tucson gem and mineral show 59th annual Tucson gem and mineral show

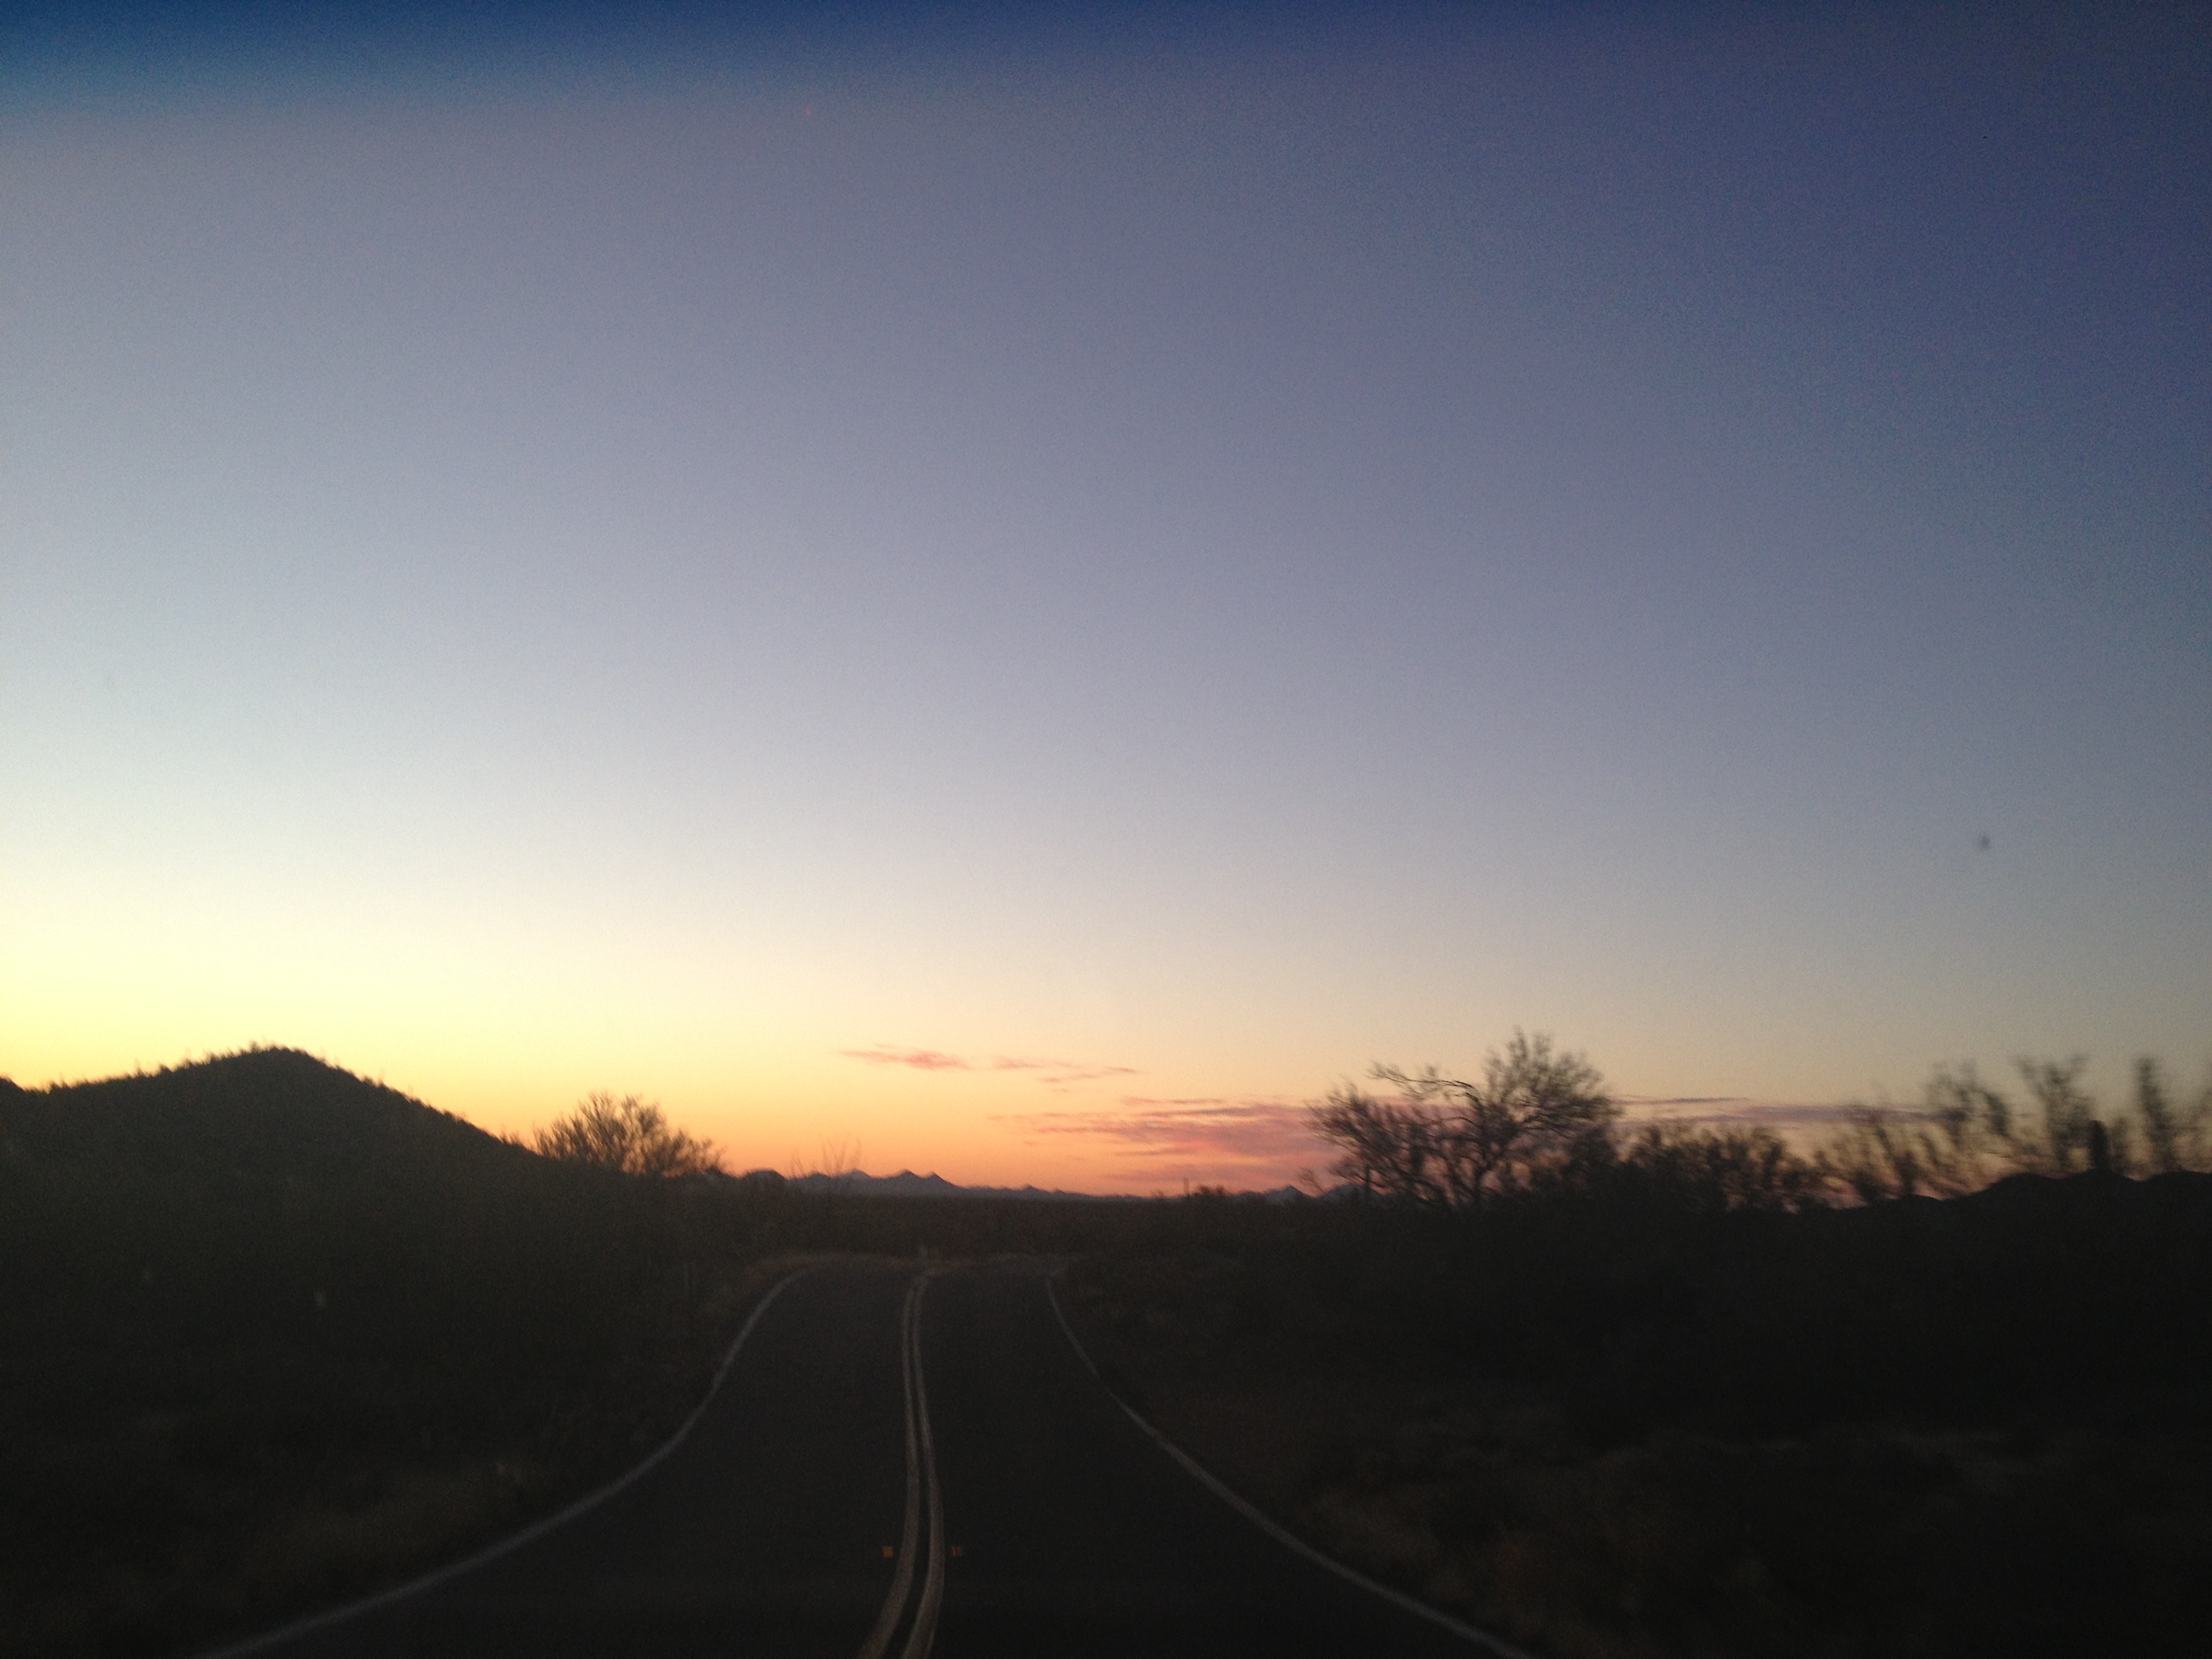
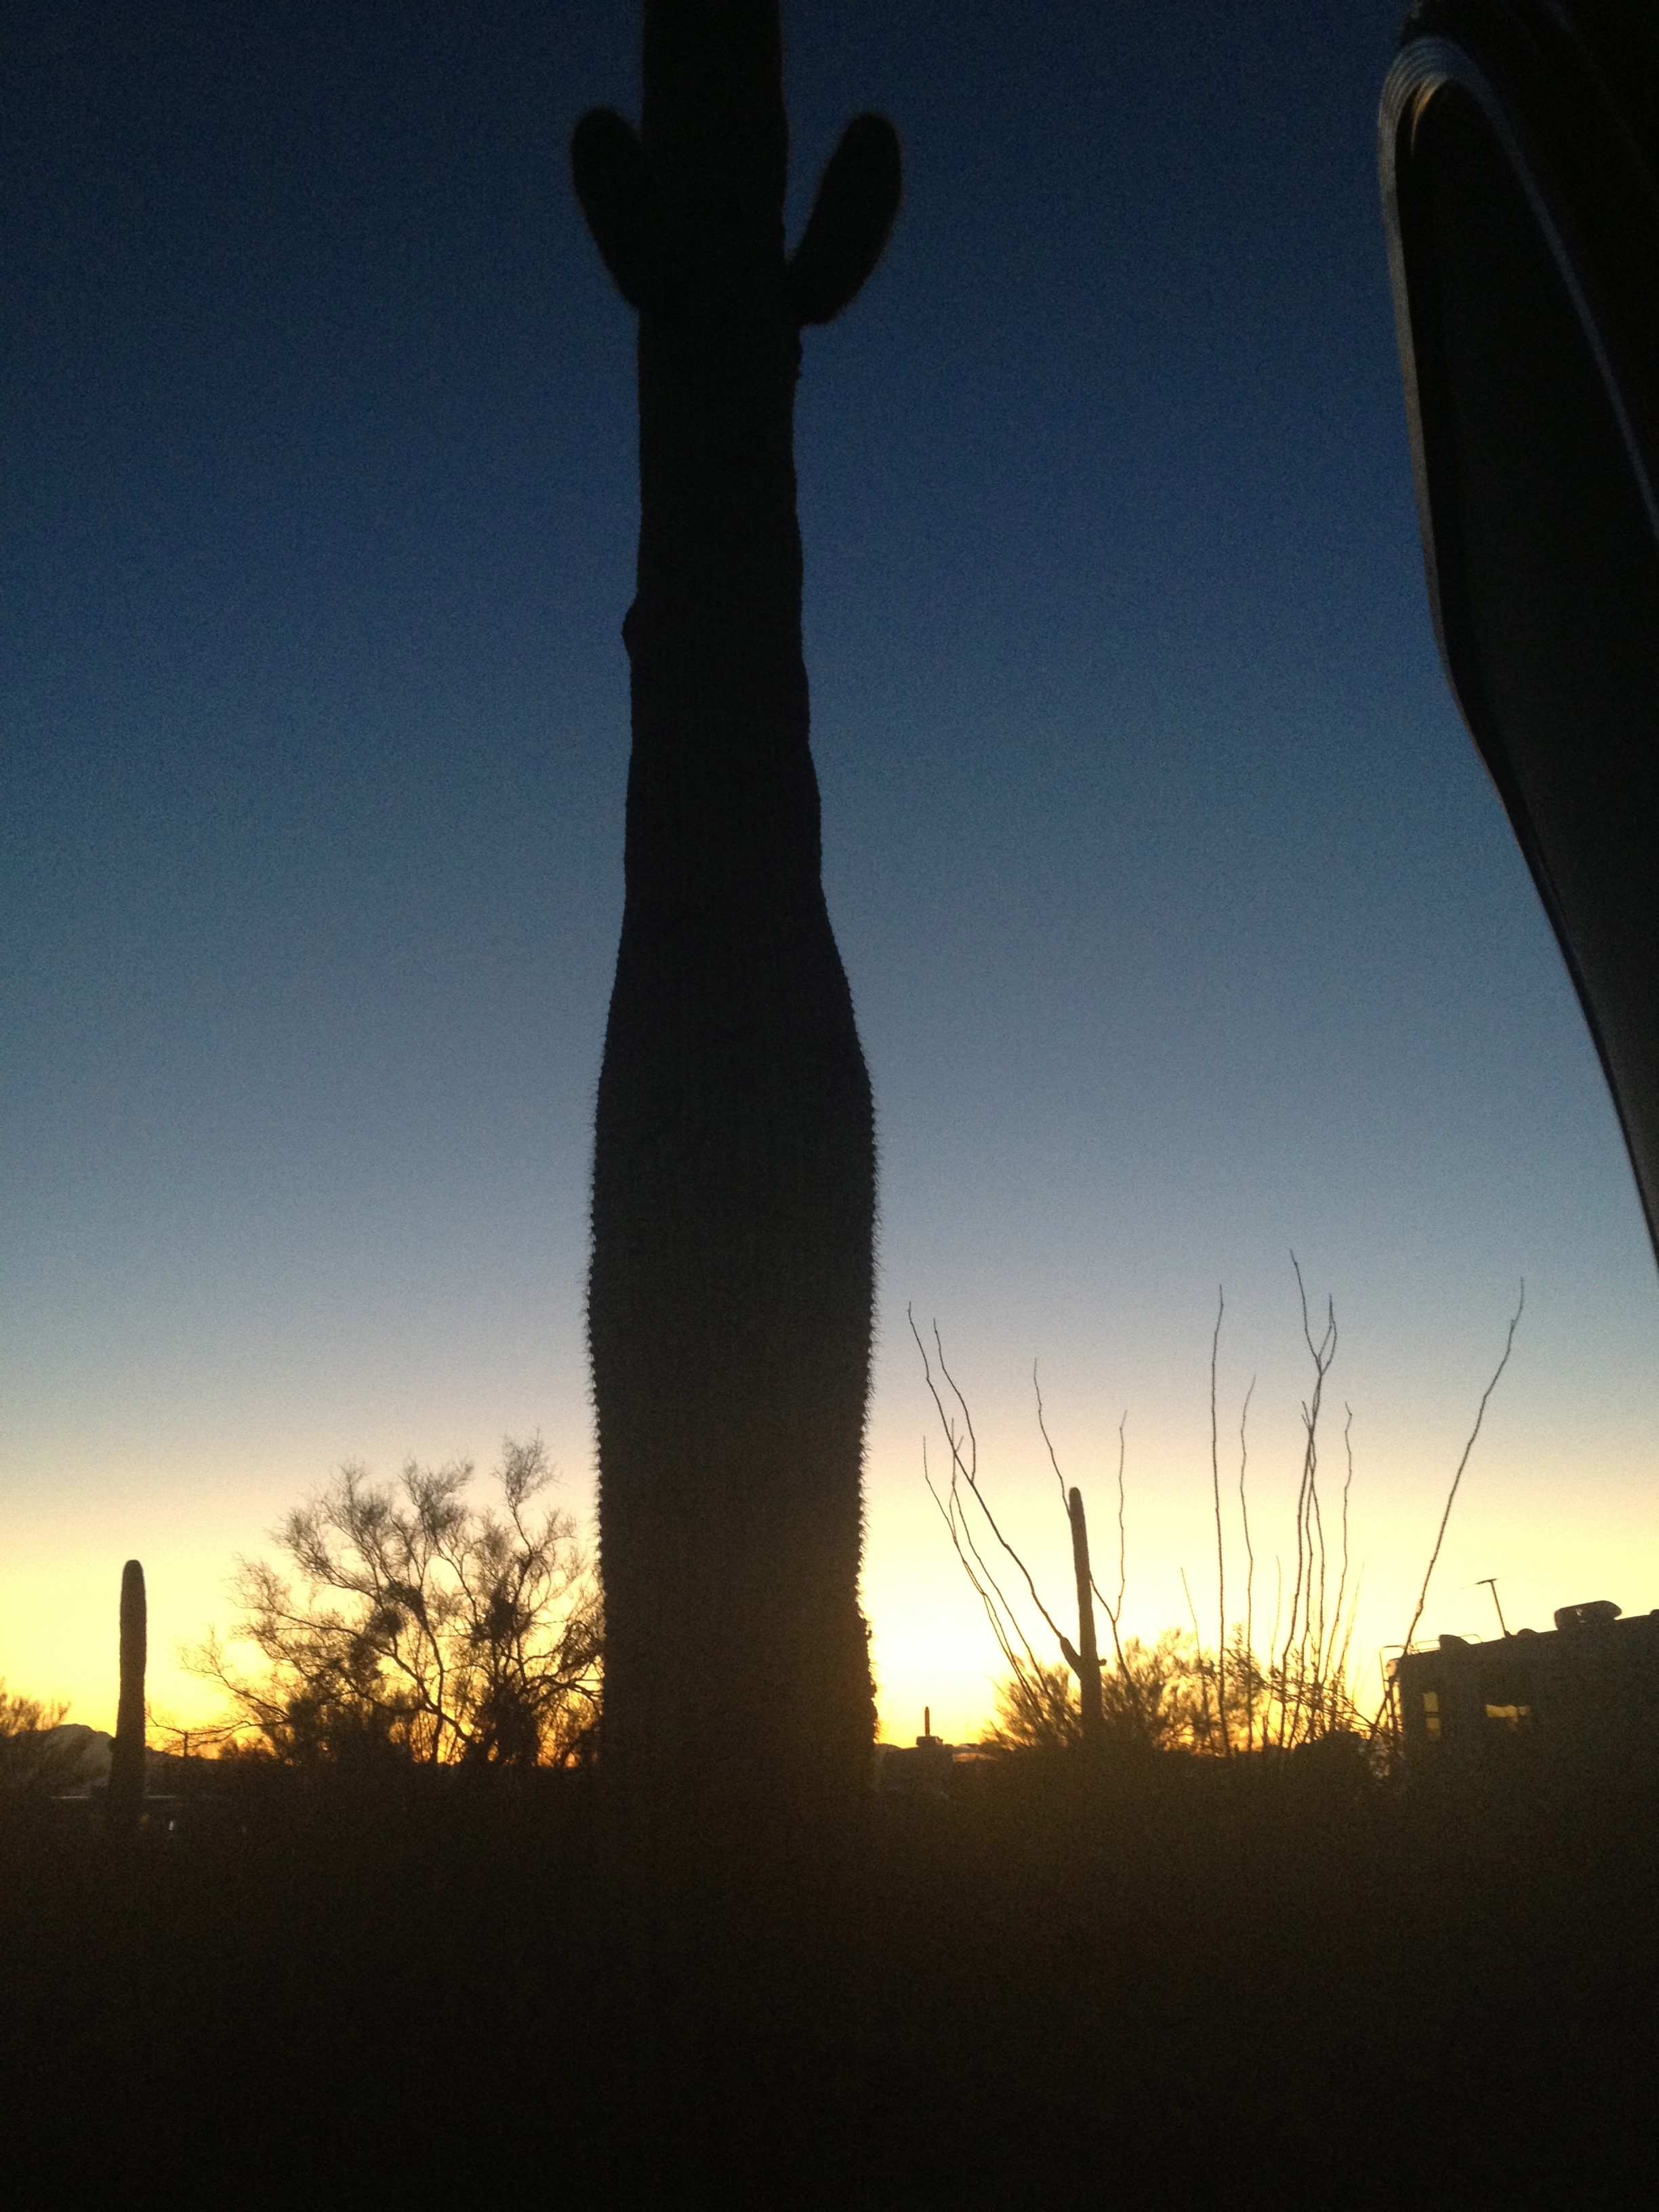
Matt picked me up from the show and we went to find dinner. We had a recommendation of Guilin Chinese, which is vegan-friendly. I got some vegan ‘veg chicken’ fried rice and ‘veg chicken’ kung pao. Matt got regular chicken fried rice and vegetarian egg rolls. This is some of the best vegan Chinese food I have ever had! Yum! We got our food to go, so that we could try to catch the sunset at our camp site. We got back a little too late to get good photos, but we caught the tail-end of the colorful sky.

IMG_7890 2 IMG_7891 2 IMG_7892 2 IMG_7894 2 IMG_7895 2 IMG_7905 2

We ate our dinner and decided to see if we could meet up with Dan and Marlene of Mali Mish. They came over to see our Airstream and then we got a tour of their fabulous airstream. Their airstream is was the 2nd airstream I have ever been inside of. They have a 2007 Airstream International 25FB Ocean Breeze. I loved the color theme and layout, which included a bamboo-look vinyl flooring (this may be an option for our future flooring, when we remodel the kitchen) white cabinetry with bamboo plexiglass doors and a very beachy decor.

Here is a photo from Mali Mish’s instagram feed, from the Gilbert Ray campground

malimish airstream at Gilbert Ray campground

Dan and Marlene allowed us to take a couple photos inside, as we are going to use their interior as inspiration for our future remodeling.

Mali Mish airstream bathroom Matt and Hank inside Mali Mish airstream Kitchen detail in Mali Mish airstream Dan, Marlene, Ava, Mila and Luka: Mali Mish airstream

We hope to run into Mali Mish on future adventures. Check out their blog about their full-time adventures Mali Mish.

We knew another set of airstreamers had just arrived on Saturday, so we messaged with them to arrange to meet up. Amanda and Tim of Watsons Wander have a 1999 25 ft. Airstream Safari. They snagged a great space in loop H of the Gilbert Ray campground. Here is a photo of their Airstream from their blog:

watsons wander 1999 airstream safari

Amanda and Tim are full-timers and have redone the interior of their airstream. It gives us a lot of ideas for cabinetry hardware, flooring, and window coverings.

Love this window covering in Watsons Wander airstream kitchen in Watsons Wander airstream kitchen in Watsons Wander airstream living/dining in Watsons Wander airstream draperies in Watsons Wander airstream Phineas of Watsons Wander airstream

Tim and Amanda, it was so nice to meet you! Hope to see you guys soon!

Tim and Amanda from Watsons Wander airstream

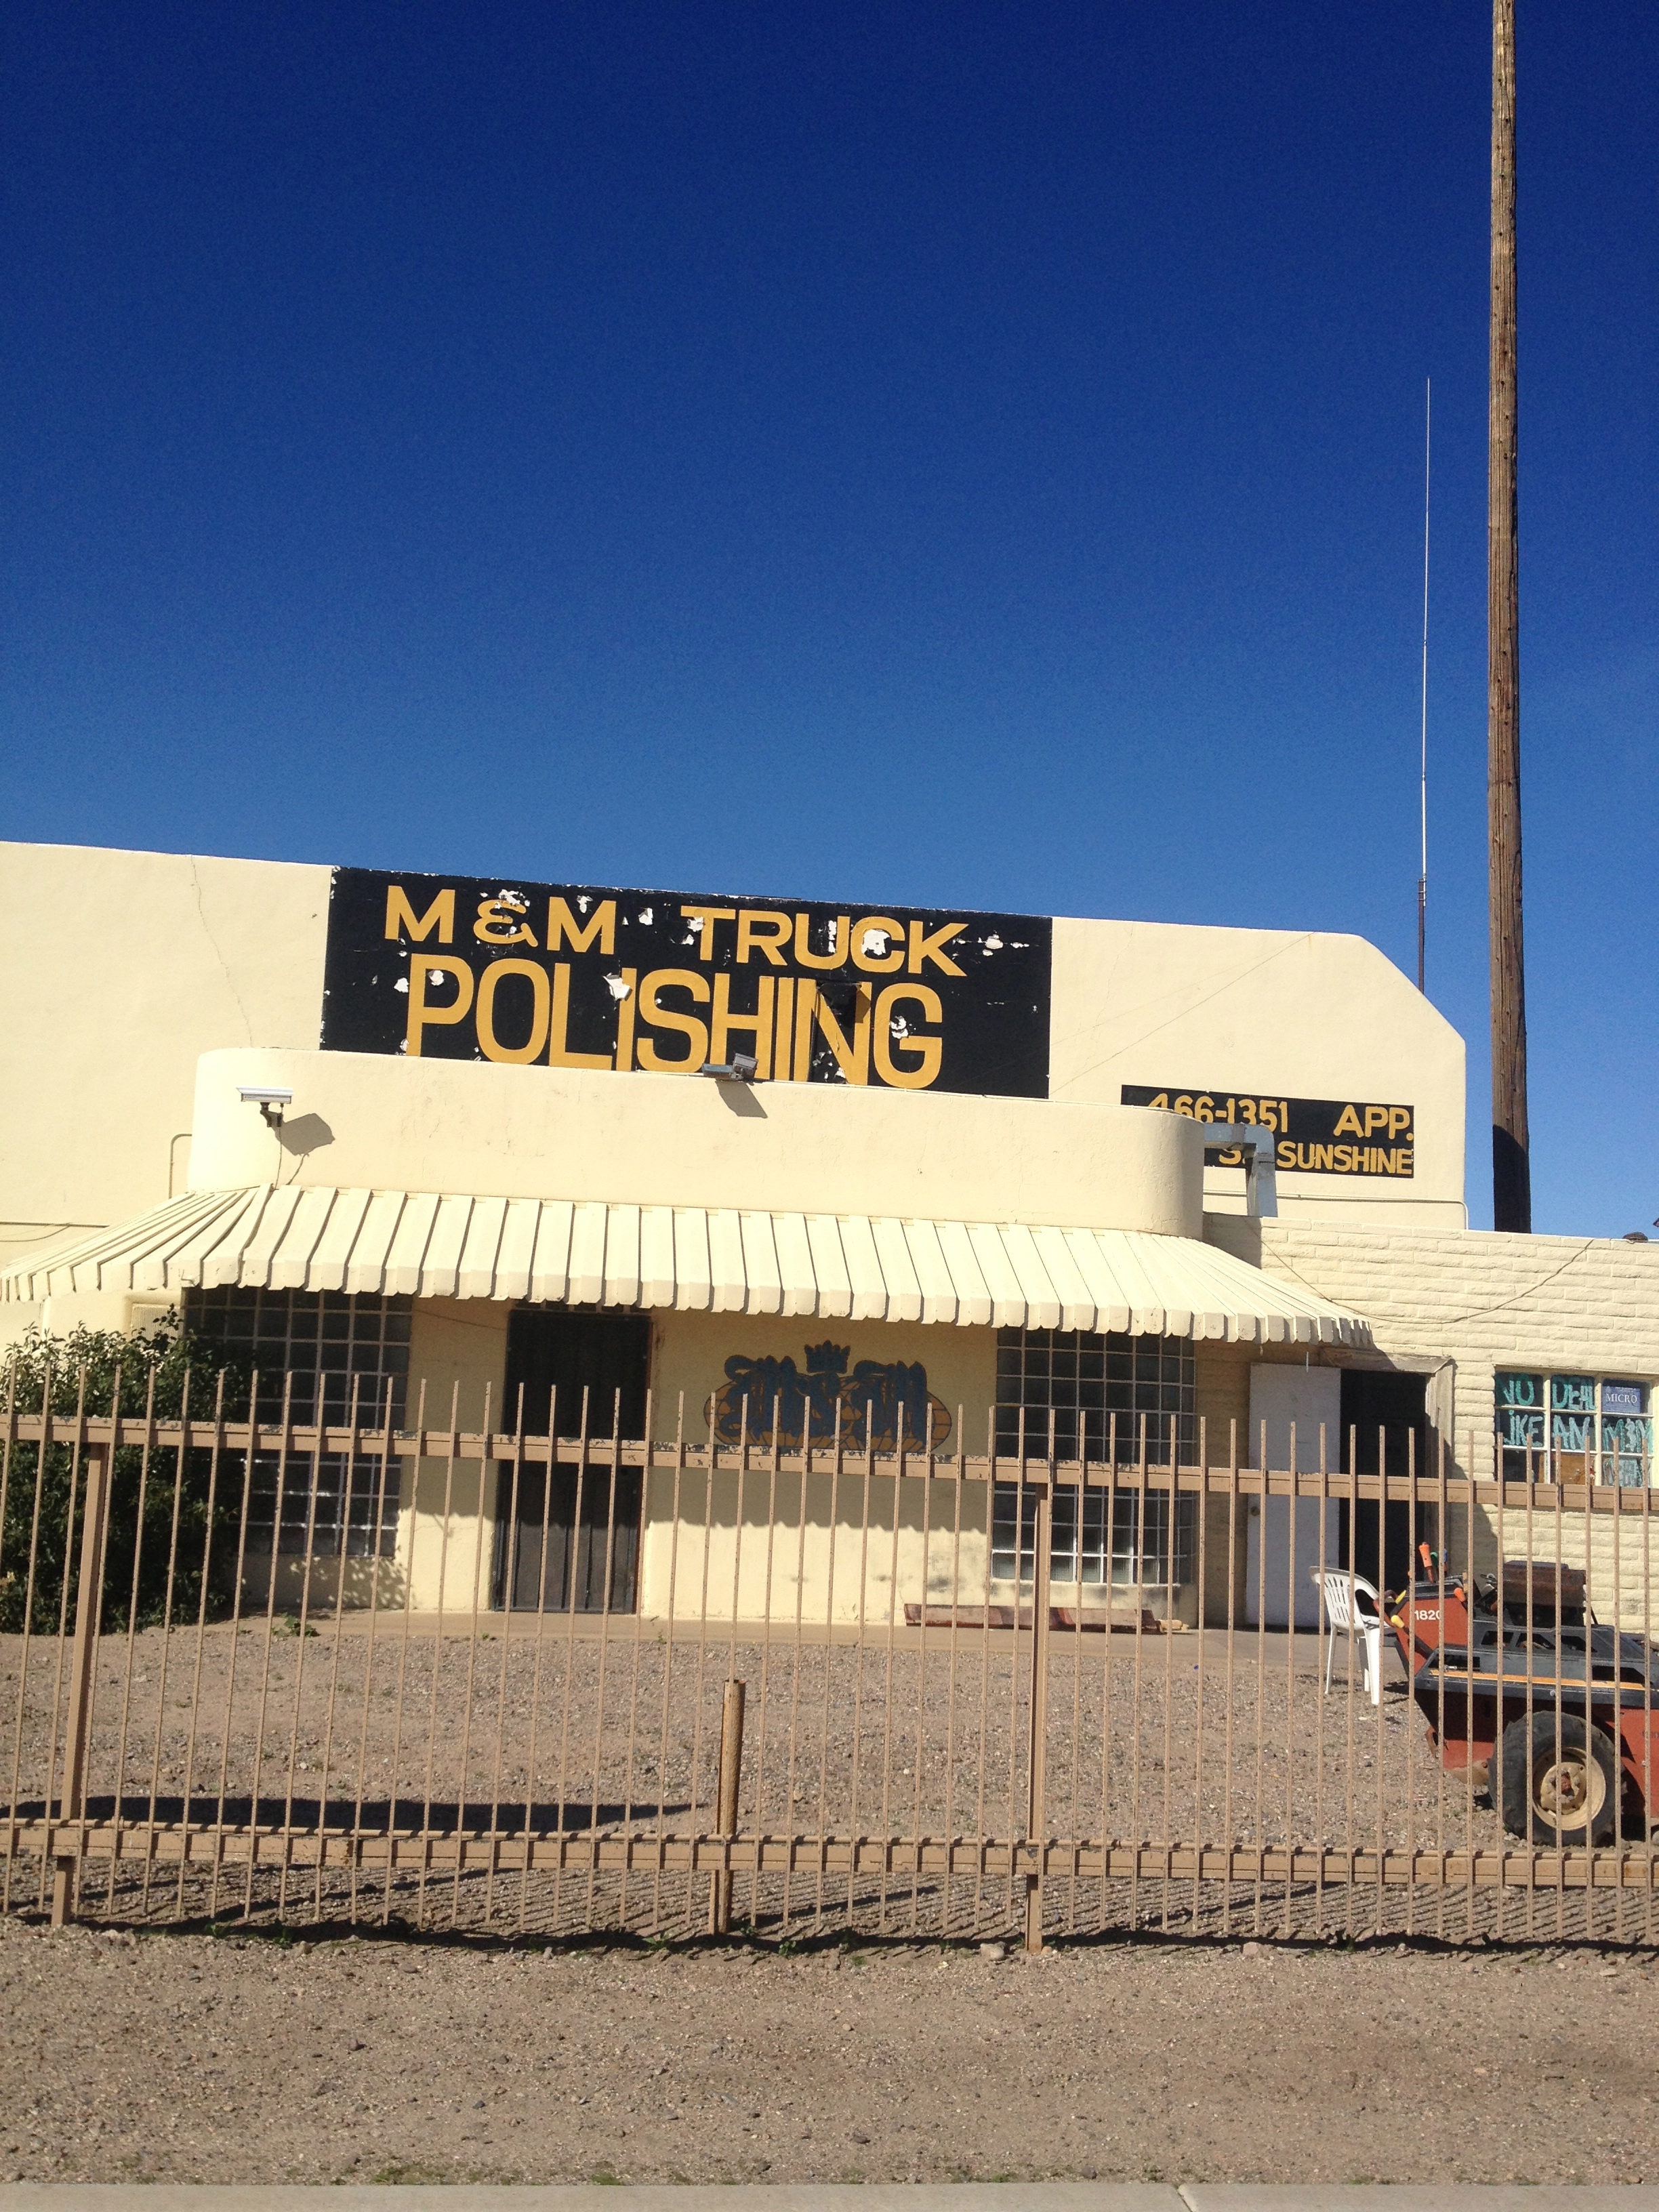
We enjoyed a quiet night in our airstream Saturday night. And, we woke up early to get ready to head back to Scottsdale. Once we hit the road, I recalled that I had read about a truck polishing stop in Eloy, AZ called M & M Truck Polishing on Air Forums. I couldn’t find a phone number anywhere online, so Matt agreed to have us do a drive-by to see if they were open. We found them at 518 S. Penn (it actually ended up being on Sunshine).

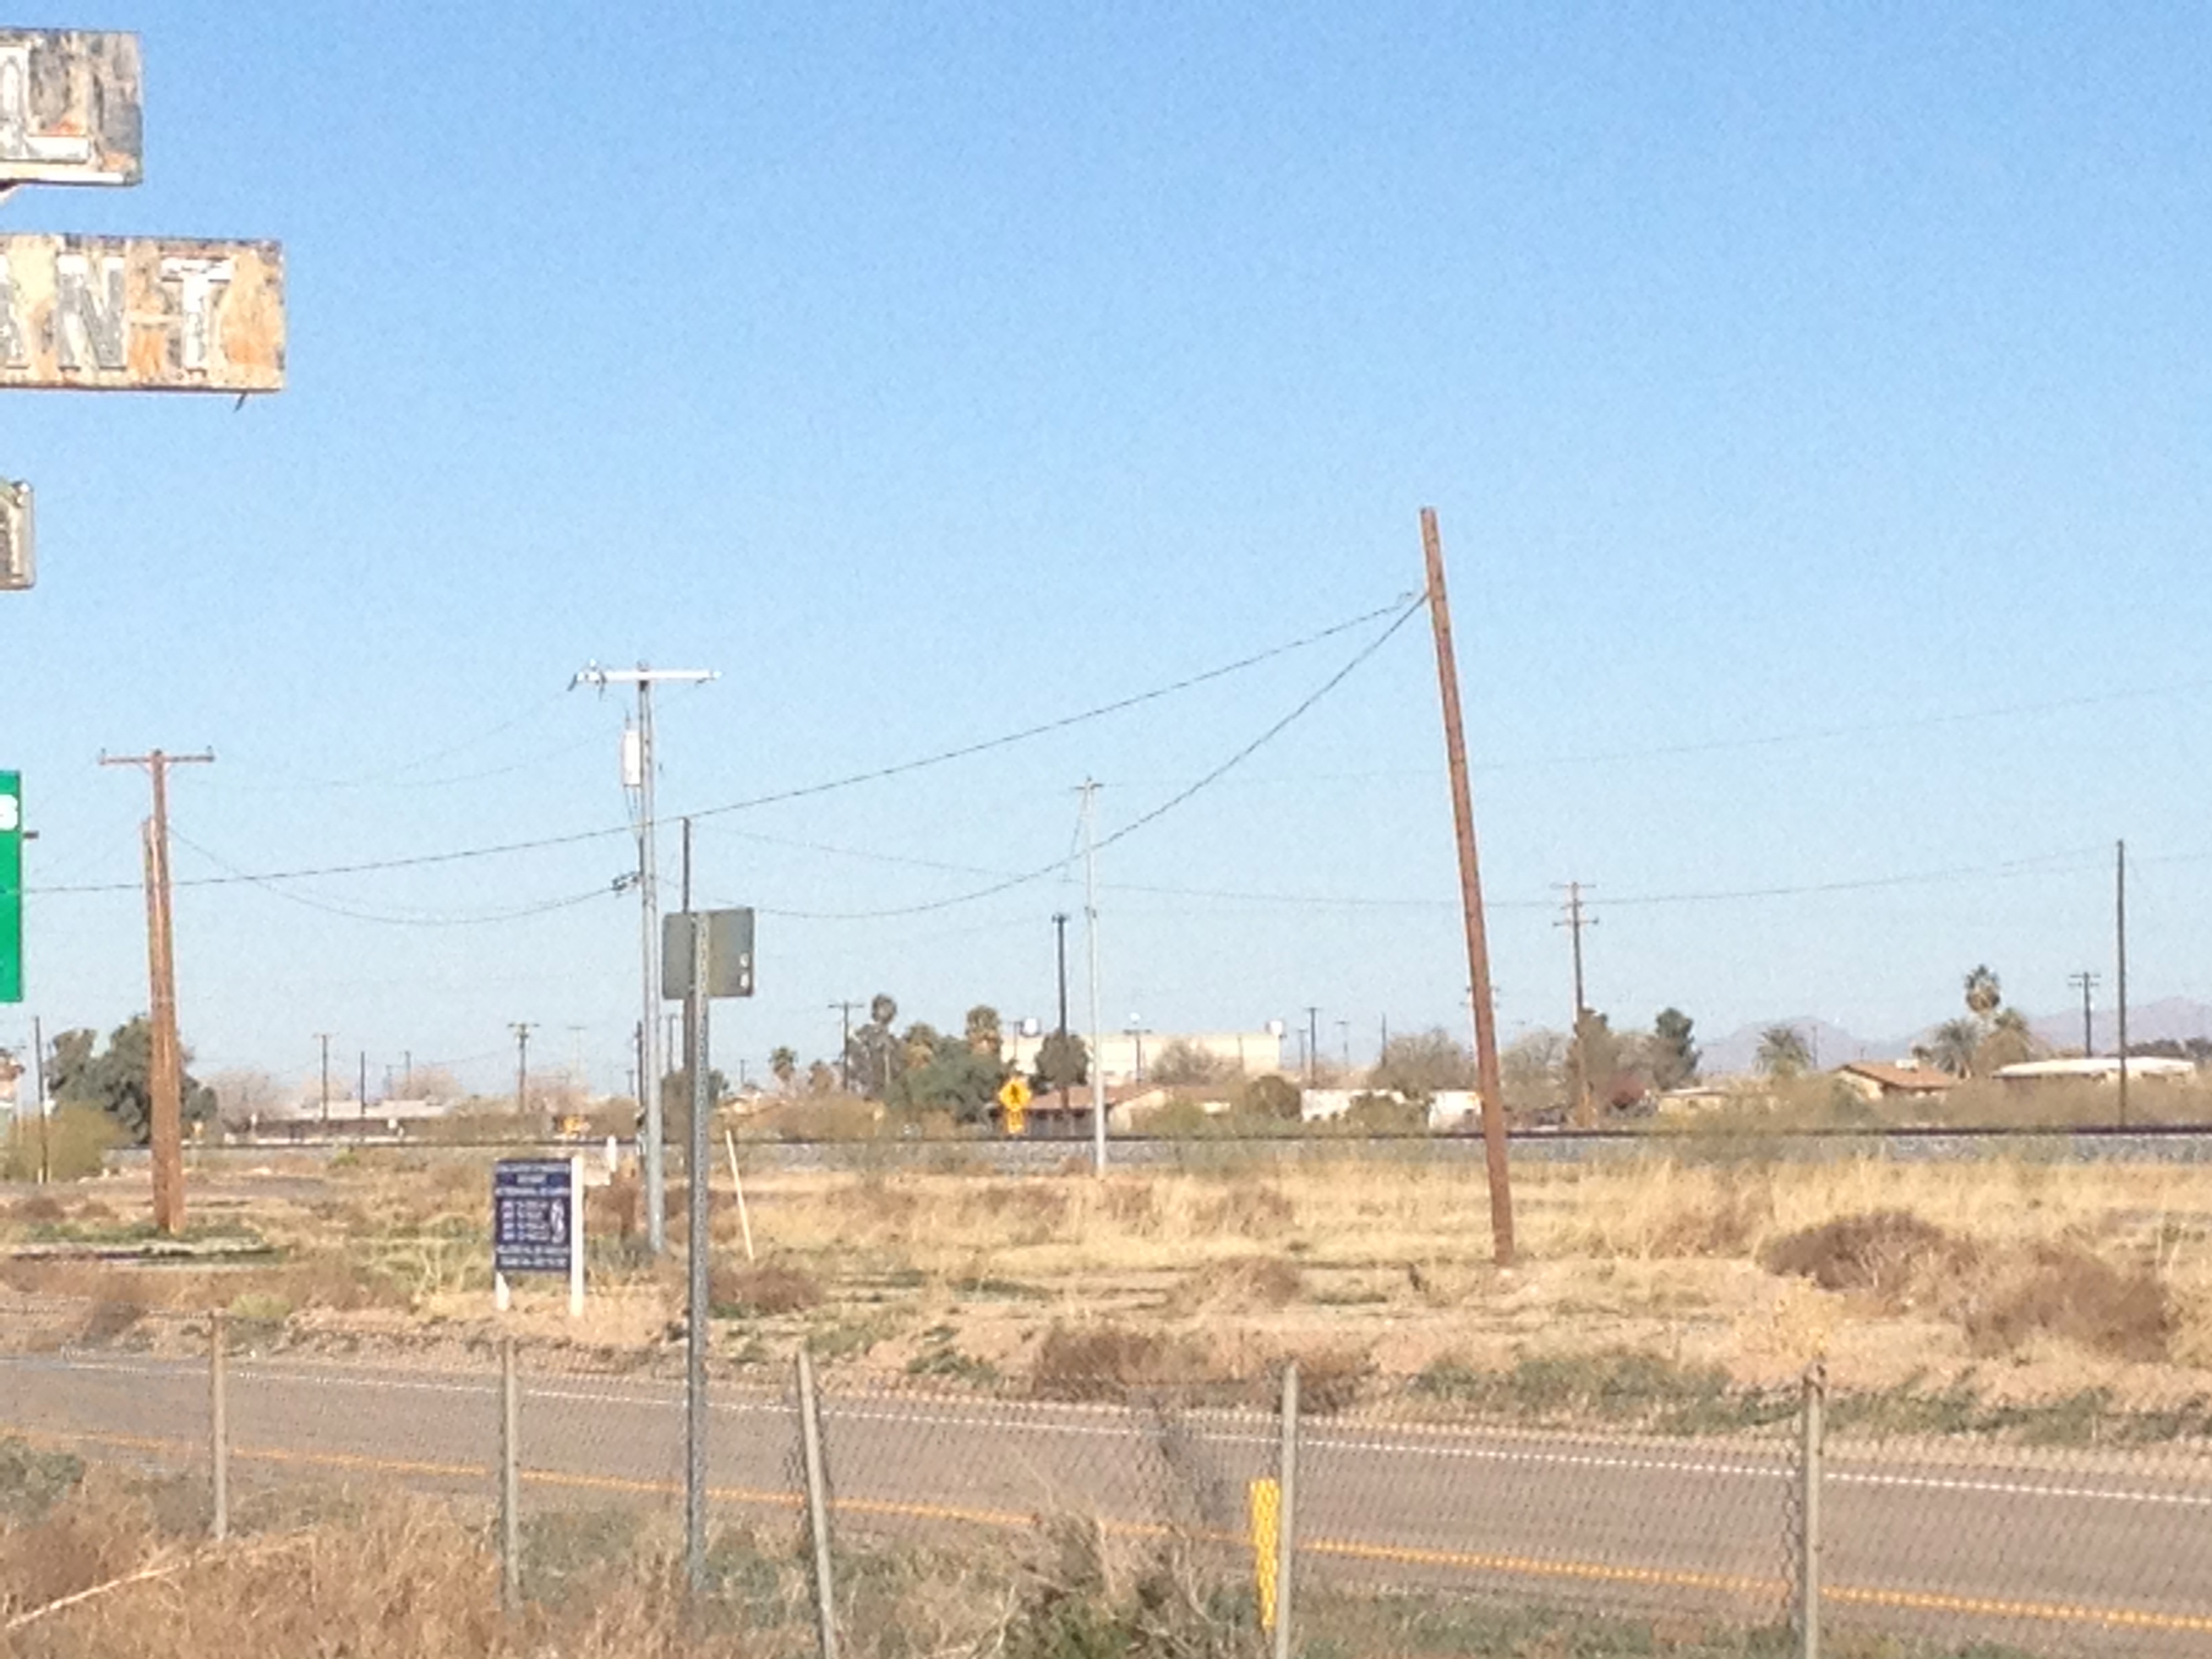
On the way to Eloy, we saw this hotel sign, but it seems that the hotel didn’t exist anymore.

IMG_7928 IMG_7929 2

We got a quote direct from them and at $1500 for our 31 footer, which I think it is a steal. They said that if we make an appointment in advance, they should be able to have it done in 2 days. I can’t wait to see reflections in our airstream very soon!

M & M Truck Polishing in Eloy, AZ M & M Truck Polishing in Eloy, AZ M & M Truck Polishing in Eloy, AZ

We saw an airstream on our way back to Phoenix

IMG_7919 2

I have the travel bug! I envision a future trip to Oak Creek Canyon in AZ as our next day trippin’ adventure.

Read Full Post »

DAY 1:

We hit the road on our maiden voyage on Tuesday November, 20th, 2012. We wanted to hit the road at 7:30am, but due to the need for a stop at Camping World in Avondale, about 30 minutes away, we decided to leave at 8:30am instead. We didn’t really know how much time it would take to get to Malibu, but we were guessing 7-8 hours.

We pulled out of the driveway and I felt a sense of accomplishment; we got the airstream ready in time!


Matt drove the whole time, while Christie and I napped (I didn’t sleep the night prior, as I wanted to get everything I could done before we left).
We stopped for gas 3 times on the way and arrived to Malibu Beach RV Park right before sunset. We checked in, were shown to our spot (#19, overlooking the beach!) and proceeded to get the systems connected. One thing we forgot was a cable wire. We ended up buying one at the RV store onsite, so we could watch TV on thanksgiving….watching the parade and dog show are family tradition.

Malibu Beach RV Park is located above the Pacific Coast Highway, about 3.5 miles from the Malibu Pier, overlooking the ocean. Rates at this time (Oct 1st-May 23rd are $47/ night weekday and $52/night weekend. There is a 3 day minimum and a $20/day extra fee for the thanksgiving holiday stay).

As the sun was setting, I wanted to take progress photos of the interior, after we unpacked.

Check out the dreamy view out the bathroom window!

Once I got done snapping some interior shots, the sun was setting. It was magical….this is reason enough to stay at Malibu Beach RV Park. We didn’t have any neighbors on our first night stay either. We paid for a full hook-up including 30 amp service, water, sewer and cable.

Day 2 is our Disneyland adventure!

Read Full Post »

We had to kick our projects into high gear, in order to have the airstream ready for our maiden voyage.
The laundry list of items that got done quickly by having ASAP Mobile RV Service over the last couple weeks were:

Project 20- Smart Charger

We realized that our charger was constantly charging the battery and was inefficient. We had a new smart charger added, which will shut off once the battery is charged.


Project 21- Replace the heater blower motor

The Suburban heater blower motor was not working, so we had to get a new blower motor installed. It was chilly at night on our maiden voyage…thank goodness for heat!!!


Project 22: Install smoke detector, LP detector and carbon monoxide detector

We were concerned about gas leaks and being able to get out in the event of a gas or fire emergency. We had all 3 detectors installed and hard-wired in.


Project 23: Replace kitchen faucet

The old kitchen faucet was leaking, once we were finally able to test the water. ASAP had a replacement on their truck, so they hooked it up and there were no leaks.


Project 24: Install LED running lights

Matt ordered LED running lights to replace the old regular lights. Matt had to crimp the new wires in, but we got them all hooked up perfectly.


Project 25: Install the custom black and gray water tanks

We have had the tanks for months and months, but it was quite an undertaking to get them installed. I bought Matt a welder and he made brakets and supports for the front and back of the tanks. We didn’t get the tank plumbing done until we hit a Camping World on the way to California.

Project 26: Get a new fridge

We had to ditch the white fridge that came with the airstream, as it broke a couple months ago. I researched LP refrigerators and thought they all looked super expensive…like $1400 and up! I just wanted something to get us through our first few trips, as I knew we would be looking for full hook-up locations. I scoured amazon and craigslist and found a $100 mini fridge with good-sized freezer. It worked great on our maiden voyage.

Project 27: Install new shower mixer valve

I went to home depot, lowes and ace hardware to try to find a replacement shower valve, but came up empty-handed. After Matt tried Camping World, he stumbled across Central AZ Supply and they had what we needed. It turned out that we needed Moen mixing valve, which installed perfectly. AZ Central Supply even cleaned up our trim piece and it looks like new!


Project 28: Install max air vent

We had bought a fantastic fan to replace a leaking vent in the front of the airstream. When we went to have ASAP install the fantastic fan, we realized we would have to look our great lighting up front-NO WAY! So, Matt ran to Camping World and bought a max air vent to replace the vent cover that was leaking. We are planning to install the fantastic fan between the bedroom and bathroom, which is an area that would benefit from ventilation.


Project 29: New pex plumbing in the shower area

There was a major freeze at sometime before we purchased the airstream. Our uneducated selves would have never known this. Ah, the things you learn along the way! ASAP ended up replacing the burst copper with pex.

Project 30: Install shower curtain rod and curtain

I did this all by myself with a power drill. I ordered an ikea wire drapery wire, as it could be installed from the ceiilng to the wall. Once I installed it, I folded over a standard shower curtain liner (that looks like a finished curtain) and it fit perfectly!

Project 31: Test the oven

I decided to test the oven before our maiden voyage to ensure thanksgiving would be successful. I made cinnamon rolls in the oven; they cooked perfectly, but I burnt the bottoms. I asked some friends for advice on gas ovens and went out to buy a silicon mat for my cookie sheets and an oven thermometer to verify the tempurature.

NOW WE ARE READY TO HIT THE ROAD ON OUR MAIDEN VOYAGE TO MALIBU, CALIFORNIA!


Read Full Post »

A week before we left for our maiden voyage, I decided to try my hand at tiling. We had leftover tile from a few years ago when we remodeled our hall bathroom. So, I asked Matt to pick up some thinset, grout and other tiling supplies. I spent a few hours a night working on the tile.

I started by cutting the tile to a dry fit, then applied the tile using a V-notch trowel and thinset.

I had to cut some corner tiles and didn’t need to get too close to the toilet.

Then, I applied grout and waited 24 hours to survey the final product. I found that the grout shrunk after 24 hours, so I proceeded to apply more grout. Luckily, the next night (the night before our maiden voyage), the grout was perfect and we were able to seal it.

Here is the finished product. We are still working on the sink and tub skirting, but that will come soon.

Read Full Post »

We are still planning on having our maiden voyage to Malibu starting in under 2 weeks! I’ve been spending my evenings sewing curtains, cleaning and decorating Airstreamy. I’ll have a whole post on the curtains, once I get all the parts and have them installed. I am sewing in the black out fabric tonight, on all my panels. We still have some work needed to get the LP and water systems up and running. We had RSVP Mobile RV Service out yesterday and the owner, Joe, is awesome and very knowledgeable. He came out and hooked up our propane tanks (regulator and hoses) and installed our water heater. Joe is coming back out on Monday with another tech to get us fully connected to LP and water. We have a few issues in the lines that they will hopefully be addressing come Monday. Matt is on task to get the black and gray water tanks installed.

We ordered a stabilizer kit and a break connection for Matt’s Expedition, which are being installed on Monday.

Our propane tanks are in!

Matt helped rivet some of the bathroom trim back into place last night.

He also bought me some edgebanding to finish the trim in the bathroom.

Here is the epoxied counter and the metal trim that all needed edgebanding.

Here is an example of the finished edgebanding….I still have to caulk around all trim and find a way to get paint off of metal, without scraping it. I think I am going to try nail polish remover.

The old trim was yellowed and gross…along with everything else in the trailer. I just looked at a bathroom photo from when we bought Airstreamy….ew! One of the first things I did last year was rip out the old trim and epoxy all cabinet, sink and shower surfaces. The epoxy is holding up good. I had a few small nicks in the finish….one day I will get around to fixing them.

Check out this ‘before’ and a ‘current progress’  shot….still gotta caulk, clean and get the flooring down, but whoa!

I have been working on making our hotel on wheels feel more like a hotel than a trailer. I bought a rug and took some pillows, stackable chairs and a long tall table from my pool house to spruce things up. The table will be perfect for working on the computer, eating meals or setting stuff on.  It will have to move around, once the couch is extended to a bed, but it will wake a good night stand, too. Magically, all of the colors work with the curtain material I bought. I just set up 1 of the 2 front curtain panels to see how it would look….still waiting for our order from Inland RV, which has all our T and S hooks that we need to install them to the existing track. The other curtains are the ones that came with the trailer…can’t install the new ones until our parts come in. 😦

Lala likes to work in Airstreamy with me.

One of our pantry cabinet handles decided to stop holding the door in place last night….gotta find a replacement and figure out how to keep it shut on the road, in the meantime!

Read Full Post »

So Christie and I decided to sleep in Airstreamy a few weeks ago. We got so excited about taking it out for trips that we wanted to know what it would be like! We turned the AC down to 60…..brrrrrr. We brought blankets, pillows, a TV, computer and popcorn out into the airstream for a movie night sleepover.  We watched Home Alone 2…..my favorite movie ever is Home Alone, but we misplaced the dvd. We even brought out some fall decorations. The funny thing is that there was no working water in the trailer, so we didn’t get the full experience of camping. I can’t wait until we have running water…faucets and toilet! I figure it will be pretty infrequent that we use the shower, but that will be fun, once it is hooked up.

We realized that we’ll need some good window coverings and lots of blankets, when we go camping for real in November. We have been planning our maiden voyage and booked our first RV location at Malibu RV Park. We have a whirlwind of stuff that we have to do before we take the trailer anywhere. We plan to visit family in Pasadena for Thanksgiving and spend a day at Disneyland (should be decorated for Christmas, as of November 12th!).

This is a photo of the Malibu RV Park….looks heavenly!

I am trying to find good tutorials for making the old school curtains that came in the airstream originally. We have the upper and bottom tracks, and we ordered the glides that attach to the curtains. I haven’t settled on a fabric yet…I think I need to get something thicker than I was originally planning. As long as I can figure out the pleats, we’ll be set.

My goal is to have them look something like this (Photos from Pinterest):

I have been trying t find cute vintage-esque vinyl tiles for the bathroom and could only find good ones with like $100 shipping, since I was only ordering a small quantity! So, I went out into our pool house today and grabbed some leftover blue mosaic tile we had from our hall bathroom remodel. I laid it out to see how it would look….very hard to get a good visual of it, but I am excited. It is lightweight, basically cost $0 and is ready to install as soon as Matt elevates the floor 3/4 inch. He thinks the floor needs support back there and I think the tile will lay easier on a nice new subfloor! I’ll be finishing up cosmetic stuff inside, while Matt handles all the big stuff.

Read Full Post »

Christie and I have been dreaming of going camping, so we decided to get serious about getting the airstream camp-ready. We basically took a long hiatus because the Airstream needs SO much work. We decided to focus on the plumbing, as this is the system that needs the most work. We already have the toilet. Today we went to Camping World to pick up supplies for installing the toilet. We bought black and gray water tanks last year. We need to mount them, which requires a lot of work. It’s amazing how much goes into making all the systems work. A 70s airstream like a classic car and a old house combined; repairs aren’t always as simple as they seem.

After a lot of research, we decided against getting a tankless water heater for the airstream. The reviews online are surprisingly bad. I was looking forward to reducing the trailer weight and contributing to a green renovation, but all research pointed to an LP 6 gallon water heater. We bought our new Suburban water heater through PPLmotorhomes.com. We’ll be spray-painting the new exterior door silver, so it matches the airstream.

I took some photos of Airstreamy today, as motivation to get it on the road! Can’t wait to go glamping! It’s sooooo dusty inside…time to clean!

Read Full Post »

We have been throwing around ideas for how to renovate an airstream, long before we actually bought one. We first thought we would gut the interior and start from scratch. That would be the easiest way to get a fresh modern-looking interior. However, we don’t want to sink $5,000+ into the airstream, if we don’t have to. We figured out that we are going to try to salvage any of the walnut finishes throughout and work off that wood tone for decorating. I’m sure we’ll think of more work that needs to be done, but these are our priority items for the renovation:

Kitchen

-Paint walls and ceilings white (done)

-Clean the cooktop, sink and stove (sink and stove done)

-Clean the inside of all cabinets

-Replace ceiling light panel with new white one

-Replace the worn and broken tambour fronts on the kitchen cabinetry

-Replace the cracked countertop with a white, orange or green laminate

-Install new drapery

-Replace receptacles and covers with decora white ones

-Install a new RV refrigerator

-Install new dark wood laminate flooring

Living Area

-Paint walls and ceilings white (done)

-Clean the inside of all cabinets

-Install new dark wood laminate flooring

-Replace ceiling light panel with new white one

-Replace the front reading lights with silver ‘bullet-style’ sconce covers

-Install new drapery

-Replace receptacles and covers with decora white ones

-Replace the 8 track player with a stereo and aux jack (we’ll keep the 8 track player, in case we decide to ever use it again)

-Install a wall mounted long countertop with a pull out dining table (Matt will make this piece)

-Install a sofa bed (one that can be turned into a lounger, sofa and bed)

-Get a couple comfy chairs for lounging or dining

-Spray paint the speaker surrounds white to match the new white paint throughout

Bedroom Area

-Paint walls and ceilings white (done)

-Install new beds (done)

-Clean the inside of all cabinets

-Replace ceiling light panel with new white one

-Replace missing window screens

-Get new pull trim piece for tamboured cabinet door

-Install new center support beams for twin to queen mattress conversion

-Get bedding and pillows for the new beds

-Replace receptacles and covers with decora white ones

-Install new drapery

-Install new dark wood laminate flooring

Bathroom

-Paint walls and ceiling white (done)

-Epoxy bathtub, sink and counters (done)

-Install new large pebble, mosaic tile or retro thick linoleum flooring

-Install matchstick bath and sink skirting

-Change out the cracked amber plexiglass in shower door for new opaque plexiglass and paint brass frame silver

-Change out bathtub fixture

-Change out sink faucet

-Install new RV toilet (just arrived today from Amazon)

Mechanicals/Systems

-Remove evaporative cooler from roof and patch roof with riveted metal (hopefully happening tomorrow)

-Set up a battery charger

-Re-key the door and all outside storage bins (done)

-Install a 30 amp receptacle in our garage to provide enough power to test the AC (currently the 15 amp one doesn’t provide enough power)

-Install a missing black water tank

-Install a missing gray water tank

-Install 2 new propane tanks

-Get the old suburban heater, stove and cooktop checked out professional

-Install a new water heater

-Install new window and door seals (ordered from out of doors mart online)

-Replace burnt out light bulbs inside and out

-Check all plumbing

-Check all electrical

-Replace the awning

-Buff and polish the exterior

We’re making good progress in the short 8 days we’ve owned it.

Read Full Post »

From my previous posts, you’ve probably seen that plastic from the 1970s doesn’t age well. It turns yellow and stains really easily. After watching a rad tutorial online from the show Classic Rides, I learned how I could transform my tub, sink and counters with epoxy paint. We went to Lowes to find epoxy and came across one that didn’t say it was suitable for plastic, but we took a risk with it and bought it. The results are nothing short of amazing. The new finish was applied with a 6″ foam roller and a 2″ foam paint brush. 3 hours of applying two coats of epoxy and it’s ready for some pretty new fixtures.

This slideshow requires JavaScript.

Read Full Post »

After everything was primed throughout, we painted with Olympic no voc paint in a natural white. It is amazing what a difference paint makes!

This slideshow requires JavaScript.

Read Full Post »

Older Posts »