Feeds:
Posts
Comments

Posts Tagged ‘cooktop’

We have been wanting to remodel the airstream kitchen, since we purchased it in 2011. We tried to live with it the way it is, with cracked counters, broken tambour, cabinet bottoms failing and latches not functioning. After our last road adventure in February, we realized that the end was near. We’ve been so busy with work (my sister and I own a real estate company and my husband, Matt, is a carpenter) that we have been putting off our various airstream projects for lack of spare time. That….oh, and the heat! Our 1974 air conditioning is a champ when it is under 100 degrees, but struggles hard when it is hotter. The heat is such a motivation-killer! In about 1-2 months, the weather in AZ will be perfect. And, hopefully, by then we’ll be able to start our adventures again, once the kitchen is finished.

We agreed to start demoing 1 side of the kitchen at a time, so we started with the refrigerator side. I can’t tell you how satisfying it is to get started on this project!

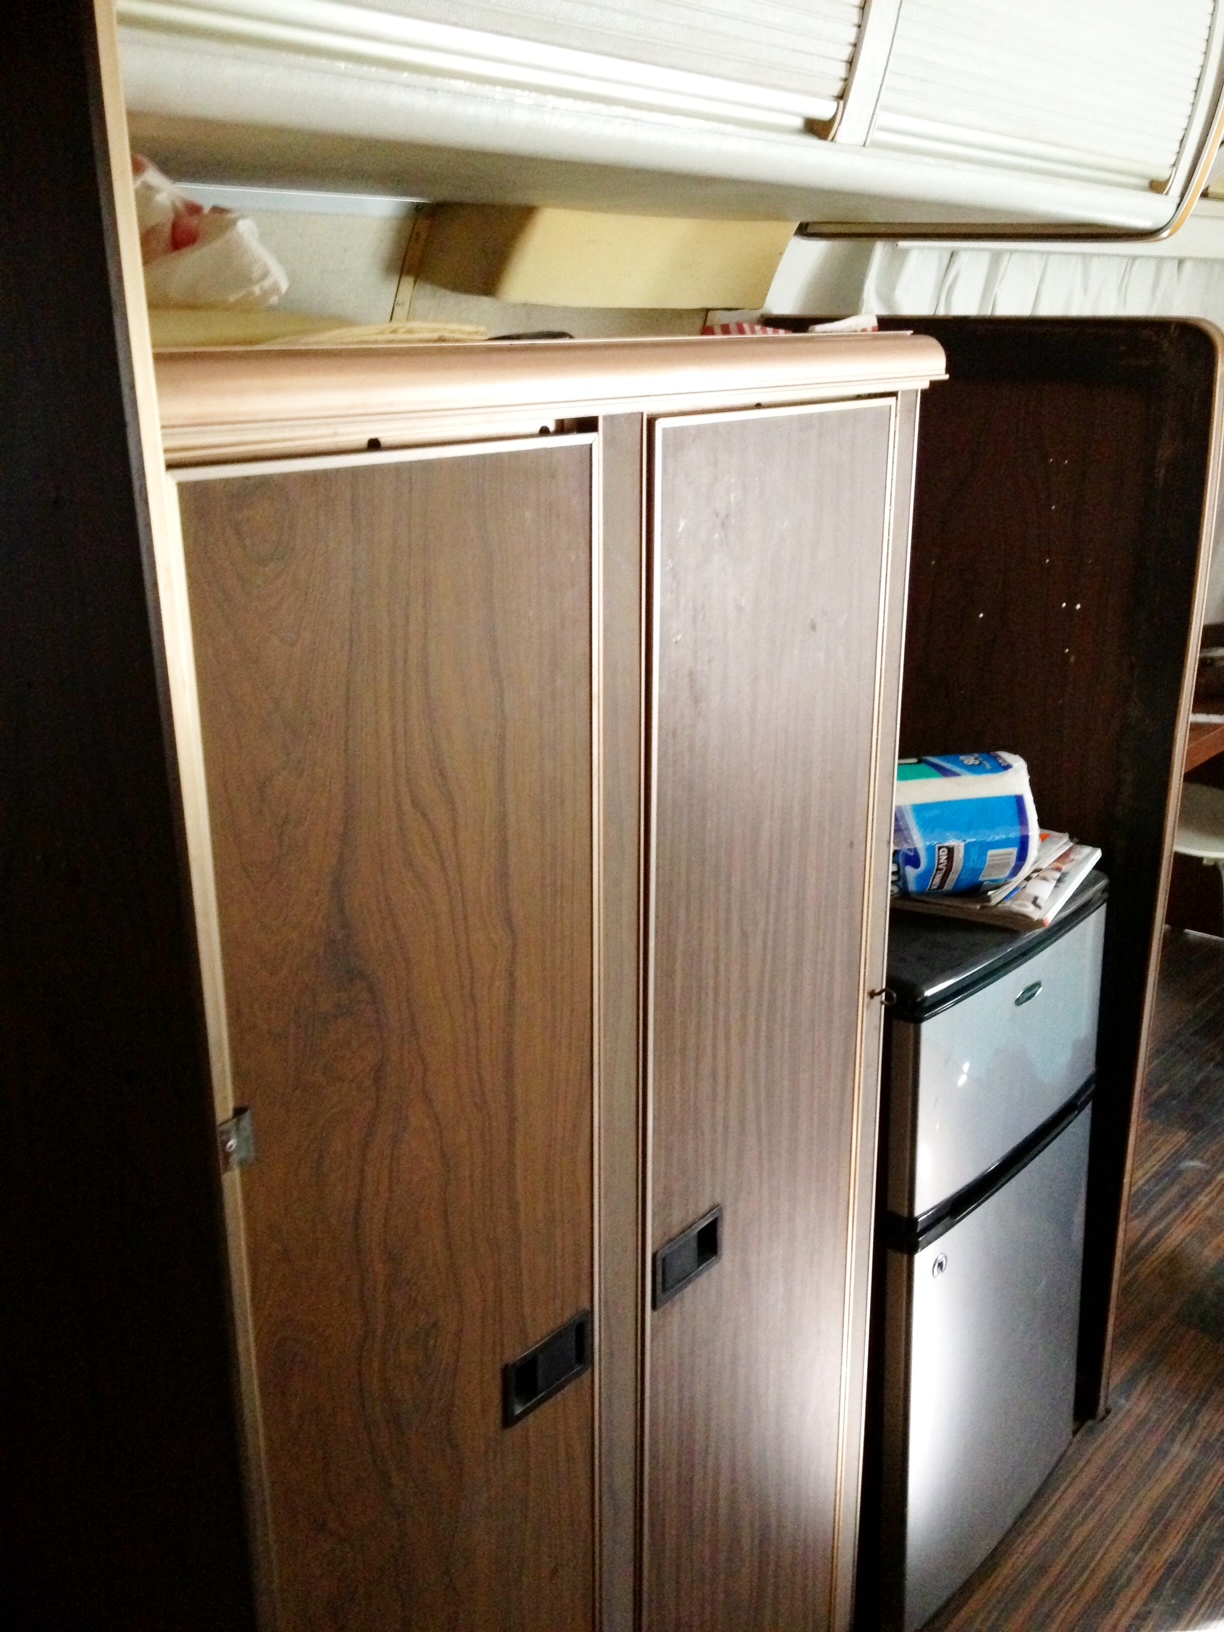
Here are a couple before photos of the refrigerator side of the kitchen:

photo 9 photo 7

Tearing it apart:

photo 8

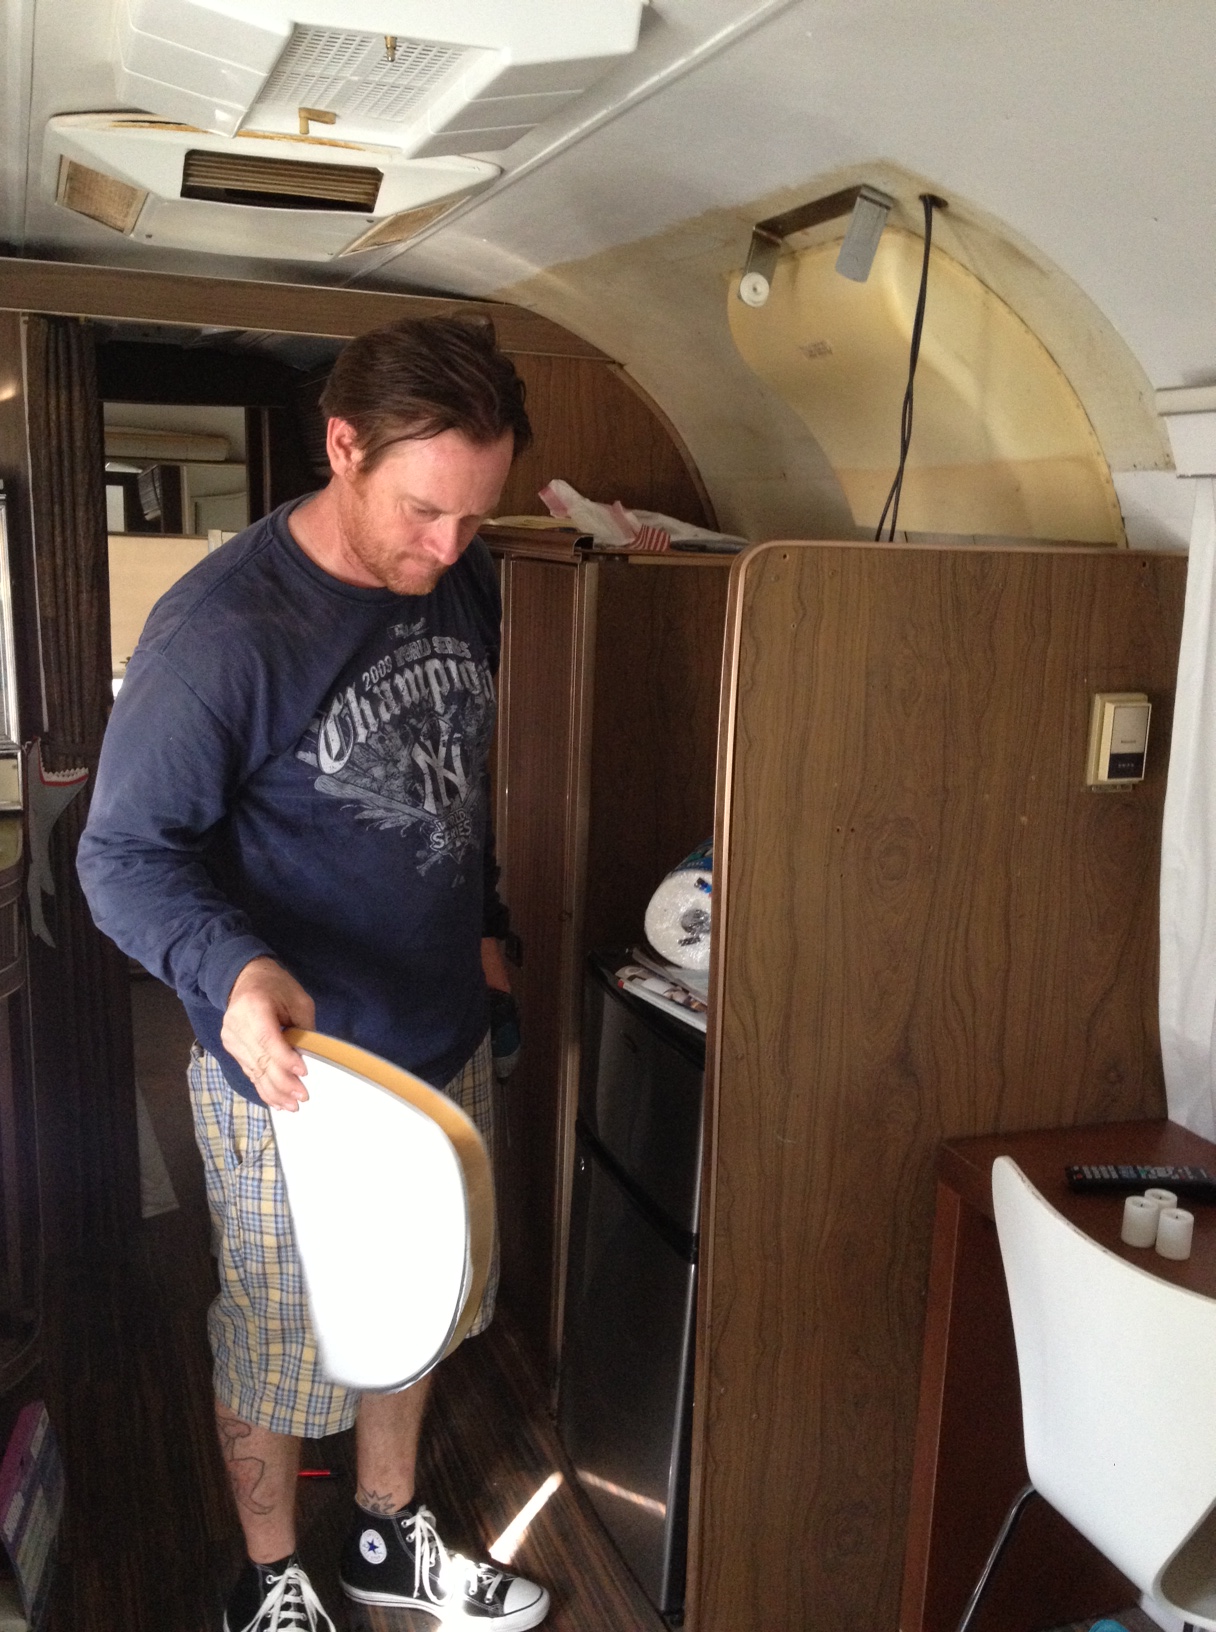
Here is the empty space, as it stands now. The side panels will be replaced with new walnut veneered panels:

photo 1

We have the old refrigerator venting, which we are going to build a cabinet around, until we purchase a 2-way refrigerator. Right now, since we aren’t planning to take more than a few weekend trips a year, we are totally fine with our electric mini fridge/freezer.

We’ve decided to go with a walnut veneer for the cabinets, green formica for counters (just like the original counters), circle latch knobs and eventually a new 2-way refrigerator. We’ll be reusing the cooktop (it is very hard to find a new 4 burner stove), the oven and the sink. I am going to paint the entry door to match the one below.

Here are a few photos of the abused sink side of the kitchen:

photo 2 photo 3 photo 6 photo 10

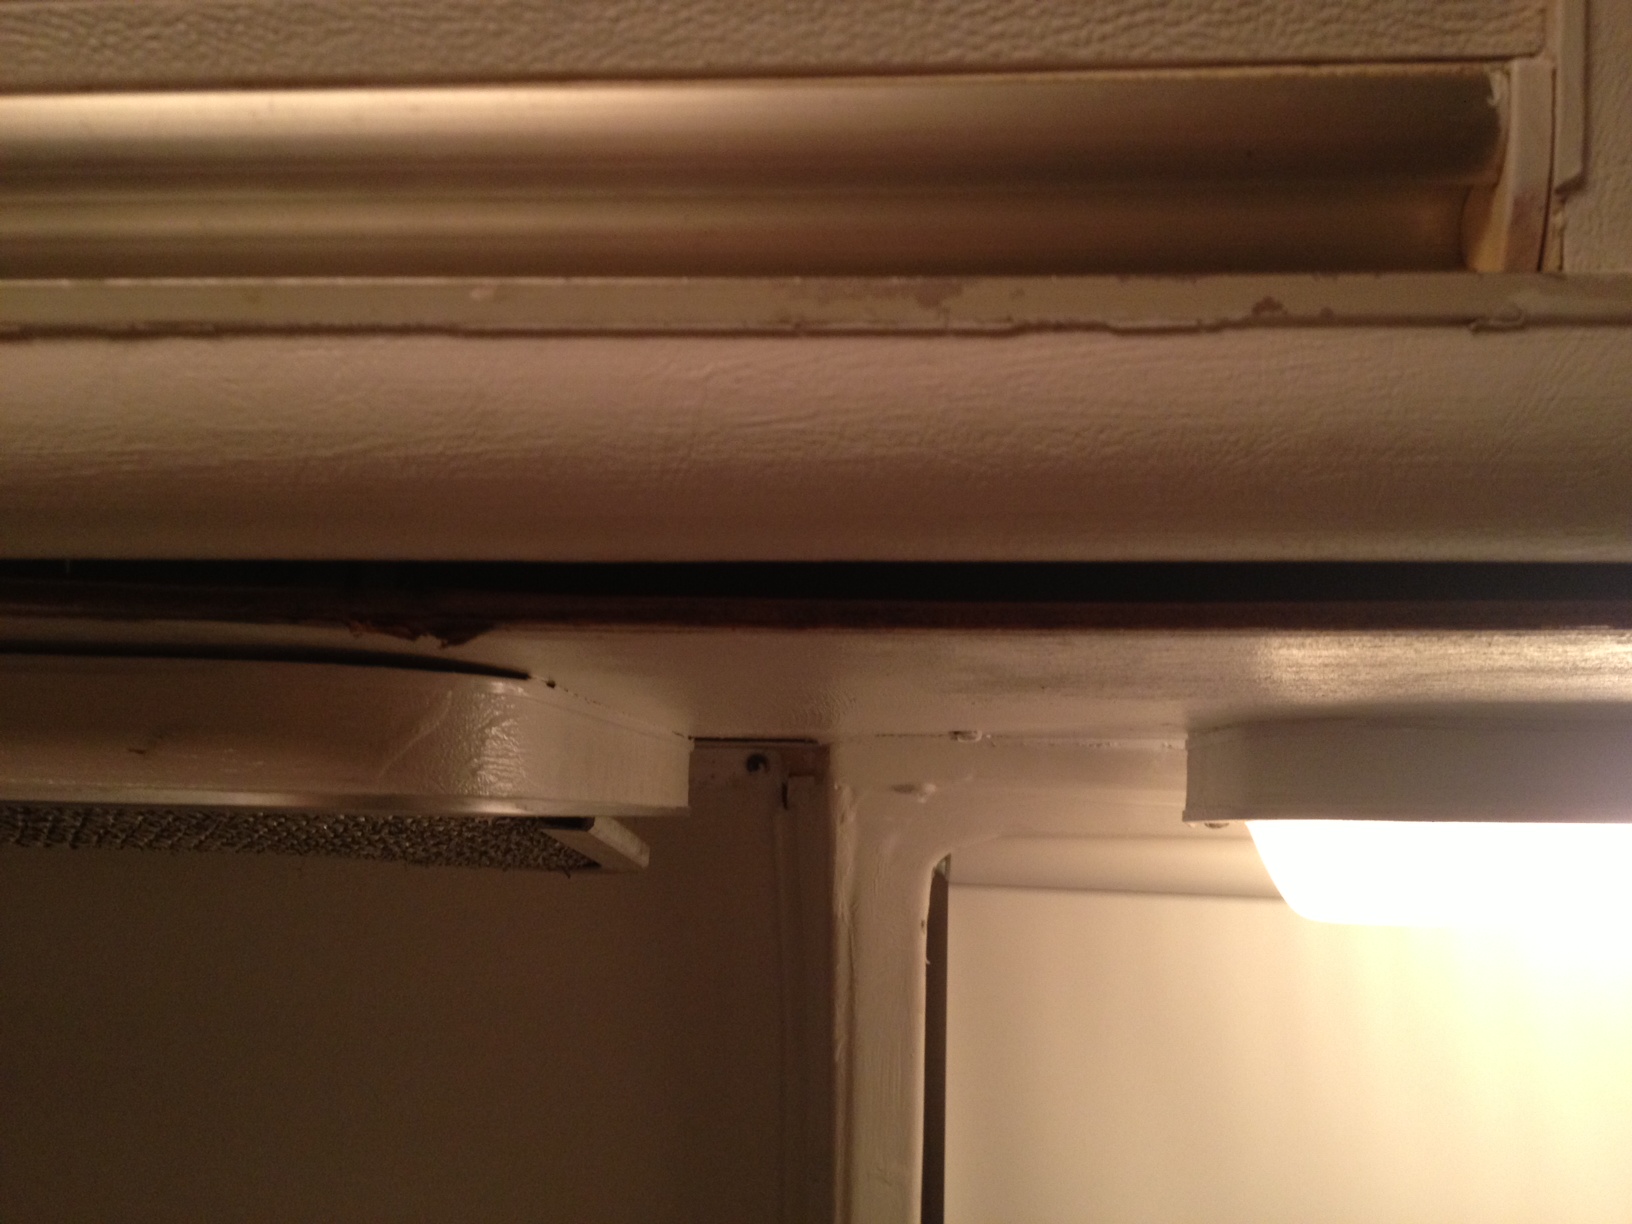
When disassembling the kitchen, we noticed the metal brackets in the kitchen were stamped ‘airstream’. Pretty groovy.

photo 11

Here is our inspiration board for the sink side of the kitchen.

Airstreamy kitchen design (sink wall)
And our refrigerator side of the kitchen:
Airstreamy kitchen design (refrigerator wall)


Read Full Post »

DAY 3:

Our 2nd full day in Malibu was Thanksgiving. We went to Whole Foods in Thousand Oaks the night we arrived, so that we could stock up on food for our stay. We bought prepared turkey and gravy, Gardein for me, mashed potatoes, green beans, stuffing, cranberry sauce and rolls.

We decided to set a timer on the camera and shoot more photos of us being silly by the airstream. Fun times!

3 turkeys in an airstream for Thanksgiving!

We hadn’t done much exploring at Malibu Beach RV Park, so Matt and I decided to go on a walk up the hill and down the bluff.

There were 4 Airstreams, including ours, at the park. This one had 3 tires on each side, so we are guessing it was larger than our 31 footer.

There was a lovely Argosy facing the ocean down a few spots from us.

These people had the right idea….next time we’ll bring bikes. They also had movies playing on a screen on the side of their RV at night!

RVers apparently get very into holiday decorations. Love this turkey inflatable. Also, we saw lots of dogs walking around. Some people even set up little pens or tents for their dogs to run around in.

It wouldn’t be an RV park without flamingos.

You are on a hillside, so snakes live around these parts.

We are in the front row, but there are elevated sites up higher…pretty incredible views.

Pretty much anywhere in the park has an amazing view.

Lots of palm trees and greenery, with a beachy backdrop

Mandatory ocean background photos

Airstreamy got some neighbors overnight…we are on the right.

There were some $$$ coaches here….some I looked up were like $450,000 RVs!

Like this Prevost one… $$$$

Nice view from a large site up top

We walked down a path below the park and looked up to see Airstreamy.

I totally forgot to buy some of this wine at the onsite store! Happy Camper is the coolest name ever!

We got back to the airstream and started prepping for thanksgiving dinner. Matt worked on the green beans.

I worked on stovetop preparations, with the gravy, green beans and stuffing. We only brought 1 pan with us, so we ended up having to spend $22 at the onsite store to buy a couple more.

Matt lit the oven for me, so we could bake my gardein and heat up their turkey.

Matt stung up some Christmas lights our grandma had given us.

Then, we started our feast at sunset (which is at like 4:30 in the afternoon).

My plate is gardein, stuffing, mashed potatoes, green beans, a roll and cranberry sauce.

We had a blast!

Seriously….beyond epic views (epic is a major California word that I brought back to AZ with me).

Tomorrow is a lazy beach day!

Read Full Post »

Christie and I have been dreaming of going camping, so we decided to get serious about getting the airstream camp-ready. We basically took a long hiatus because the Airstream needs SO much work. We decided to focus on the plumbing, as this is the system that needs the most work. We already have the toilet. Today we went to Camping World to pick up supplies for installing the toilet. We bought black and gray water tanks last year. We need to mount them, which requires a lot of work. It’s amazing how much goes into making all the systems work. A 70s airstream like a classic car and a old house combined; repairs aren’t always as simple as they seem.

After a lot of research, we decided against getting a tankless water heater for the airstream. The reviews online are surprisingly bad. I was looking forward to reducing the trailer weight and contributing to a green renovation, but all research pointed to an LP 6 gallon water heater. We bought our new Suburban water heater through PPLmotorhomes.com. We’ll be spray-painting the new exterior door silver, so it matches the airstream.

I took some photos of Airstreamy today, as motivation to get it on the road! Can’t wait to go glamping! It’s sooooo dusty inside…time to clean!

Read Full Post »

This is still a work-in-progress, but many Mr. clean magic erasers and steel wool pads later, the cooktop is looking better. We bought some oven cleaner which we are going to use to finish the job of polishing up the stainless steel cooktop.

This slideshow requires JavaScript.

Read Full Post »