Feeds:
Posts
Comments

Posts Tagged ‘before photos’

Our most recent airstreamy trip was to Prescott last weekend. I first called Point of Rocks RV park, but they wouldn’t allow us to bring our 3 dogs; they have a 2 dog maximum. So, I called Willow Lake RV park and they allowed us to bring the dogs. There aren’t many recent reviews for the Prescott RV parks, so we were hoping for the best. In our traditional last minute fashion, Matt and I decided to take Airstreamy out of town on Friday. Our 11 year wedding anniversary was on October 19th, which is why we decided it would be fun to get away. We got on the road around 9:30pm and arrived in Prescott around 11:30pm. The temperature was a crisp 40 degrees when we arrived; just what I wanted! Being a Phoenix native, cold weather is a welcome novelty.

I called the office when we arrived, as it was after hours. The night person then met us at the office and guided us to to our site. We didn’t have anyone on either of the neighboring sites, so that was nice. There isn’t a map of the RV park anywhere online (and we didn’t get on on-site) . We also didn’t get to choose our location in the park, but I was happy with the one we were given. If I had my choice, I would have liked one of the sites overlooking the granite dells, but they might not have been big enough for our 31 footer.

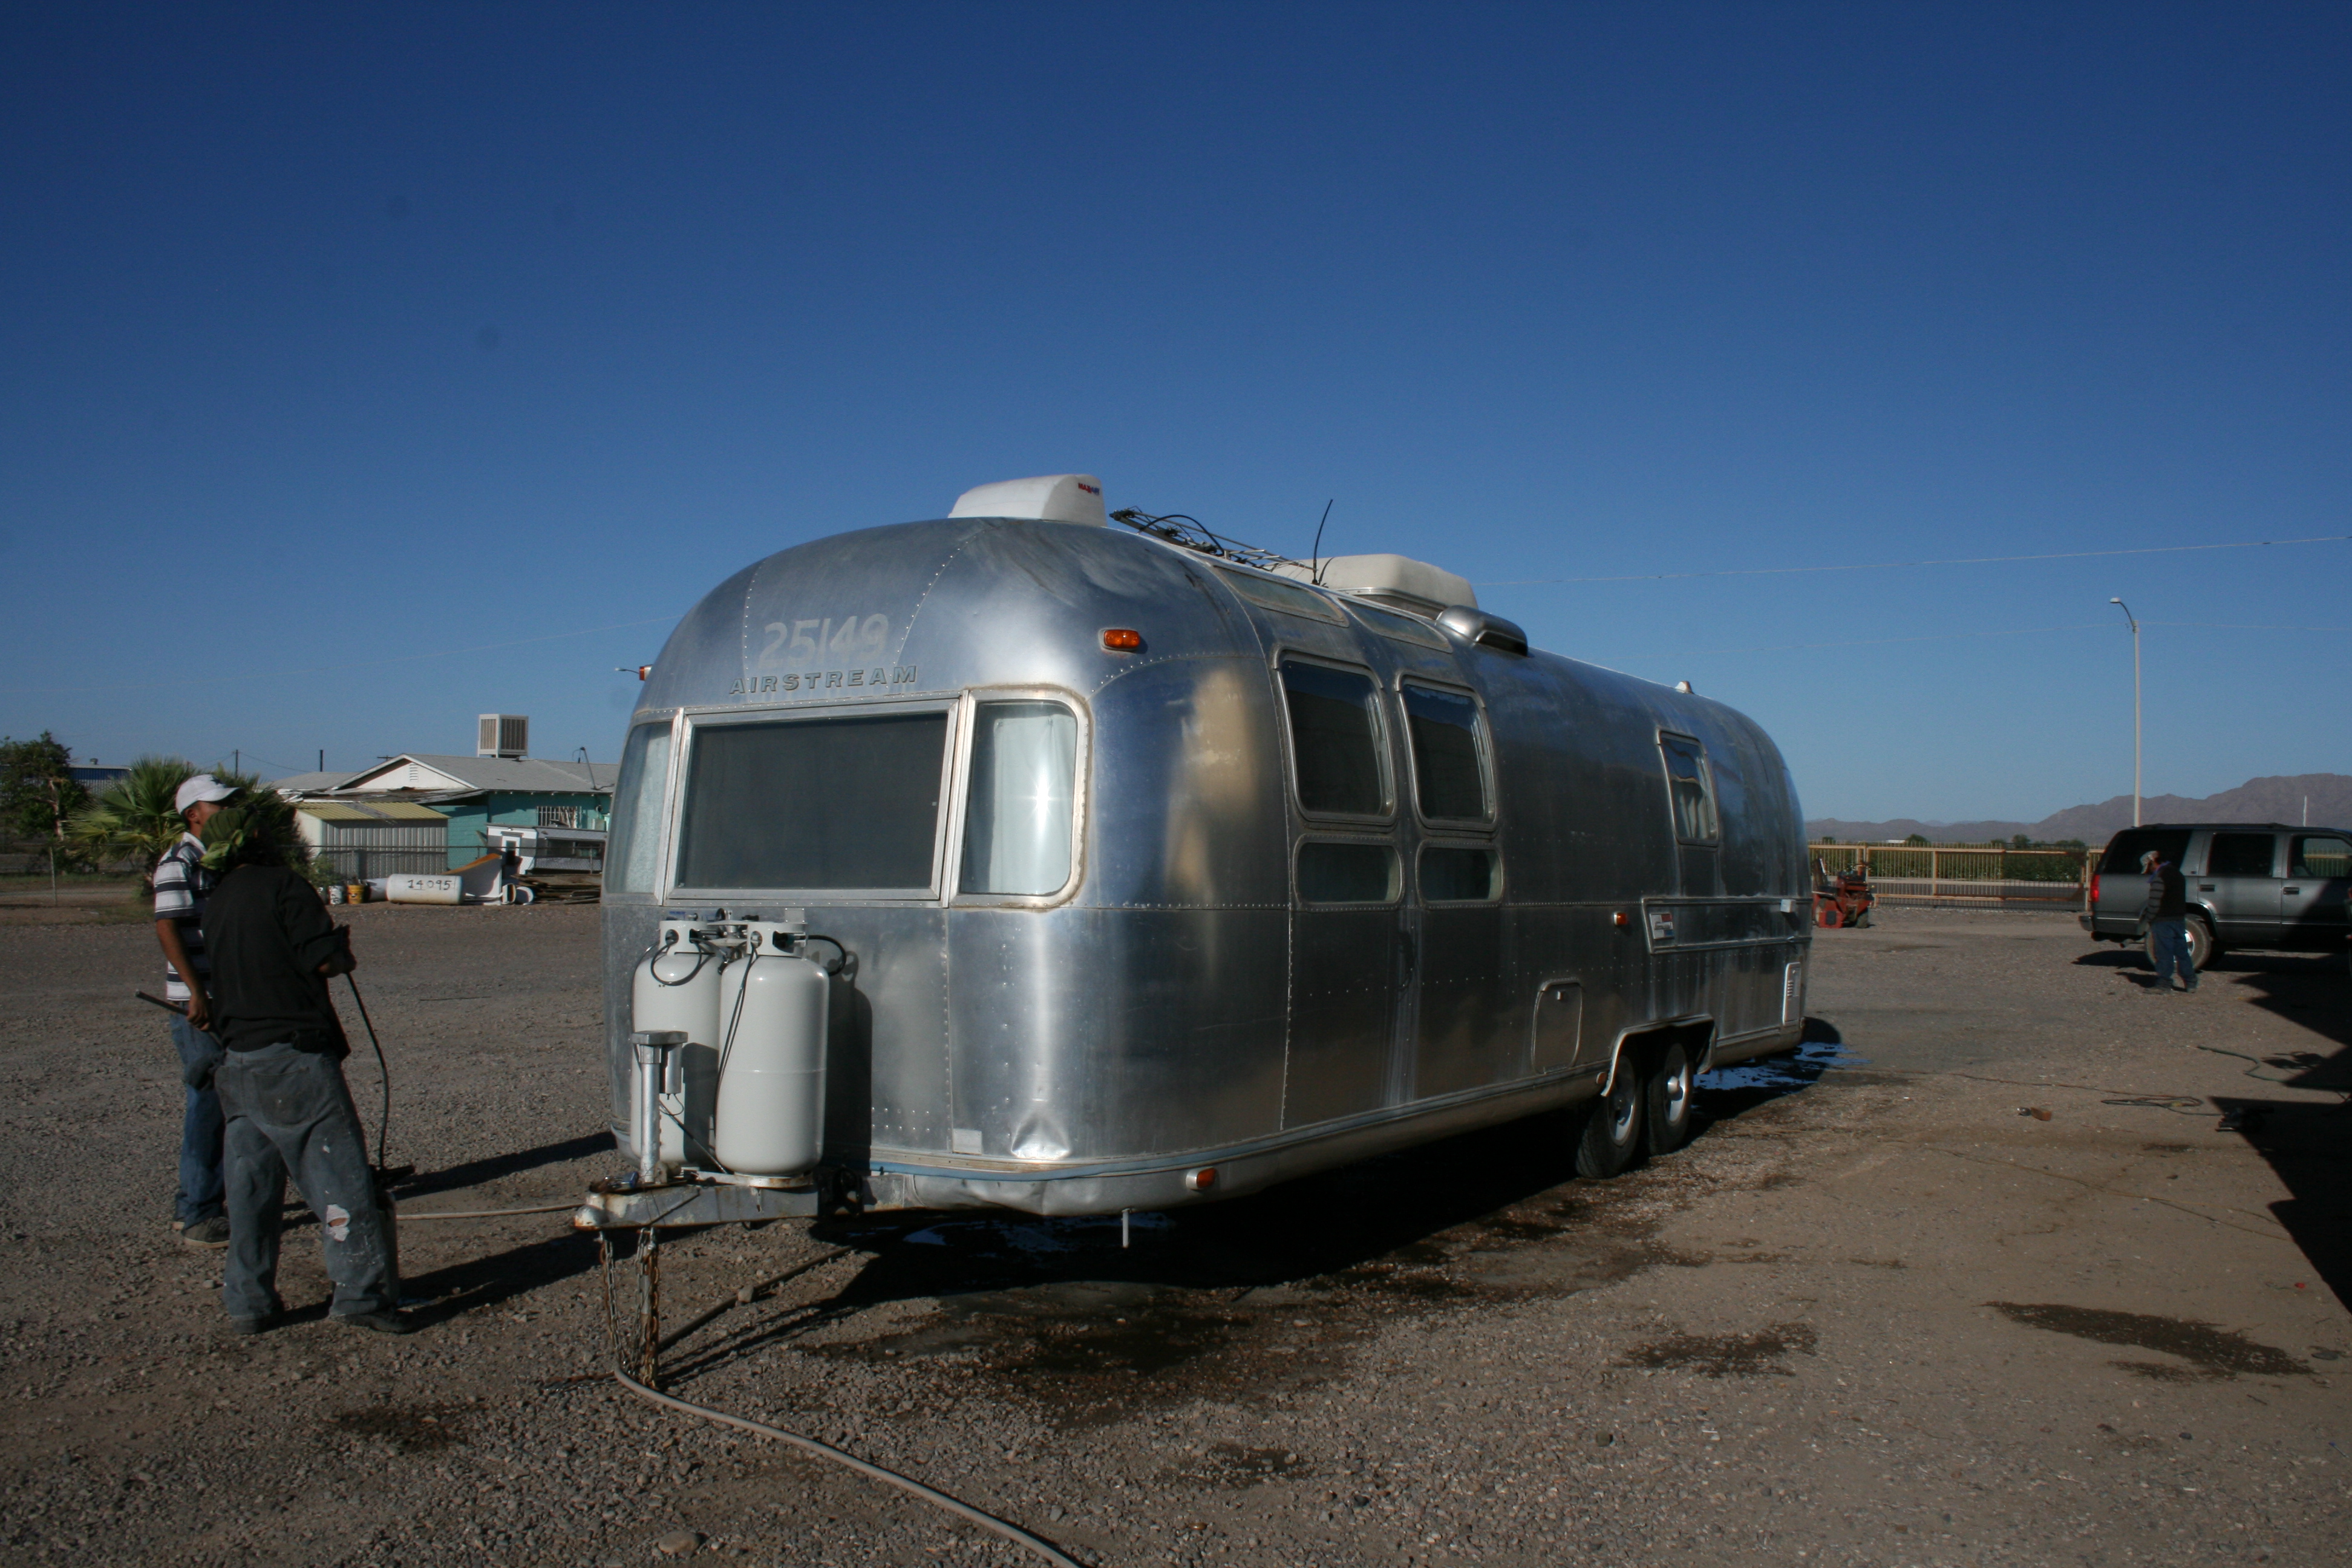
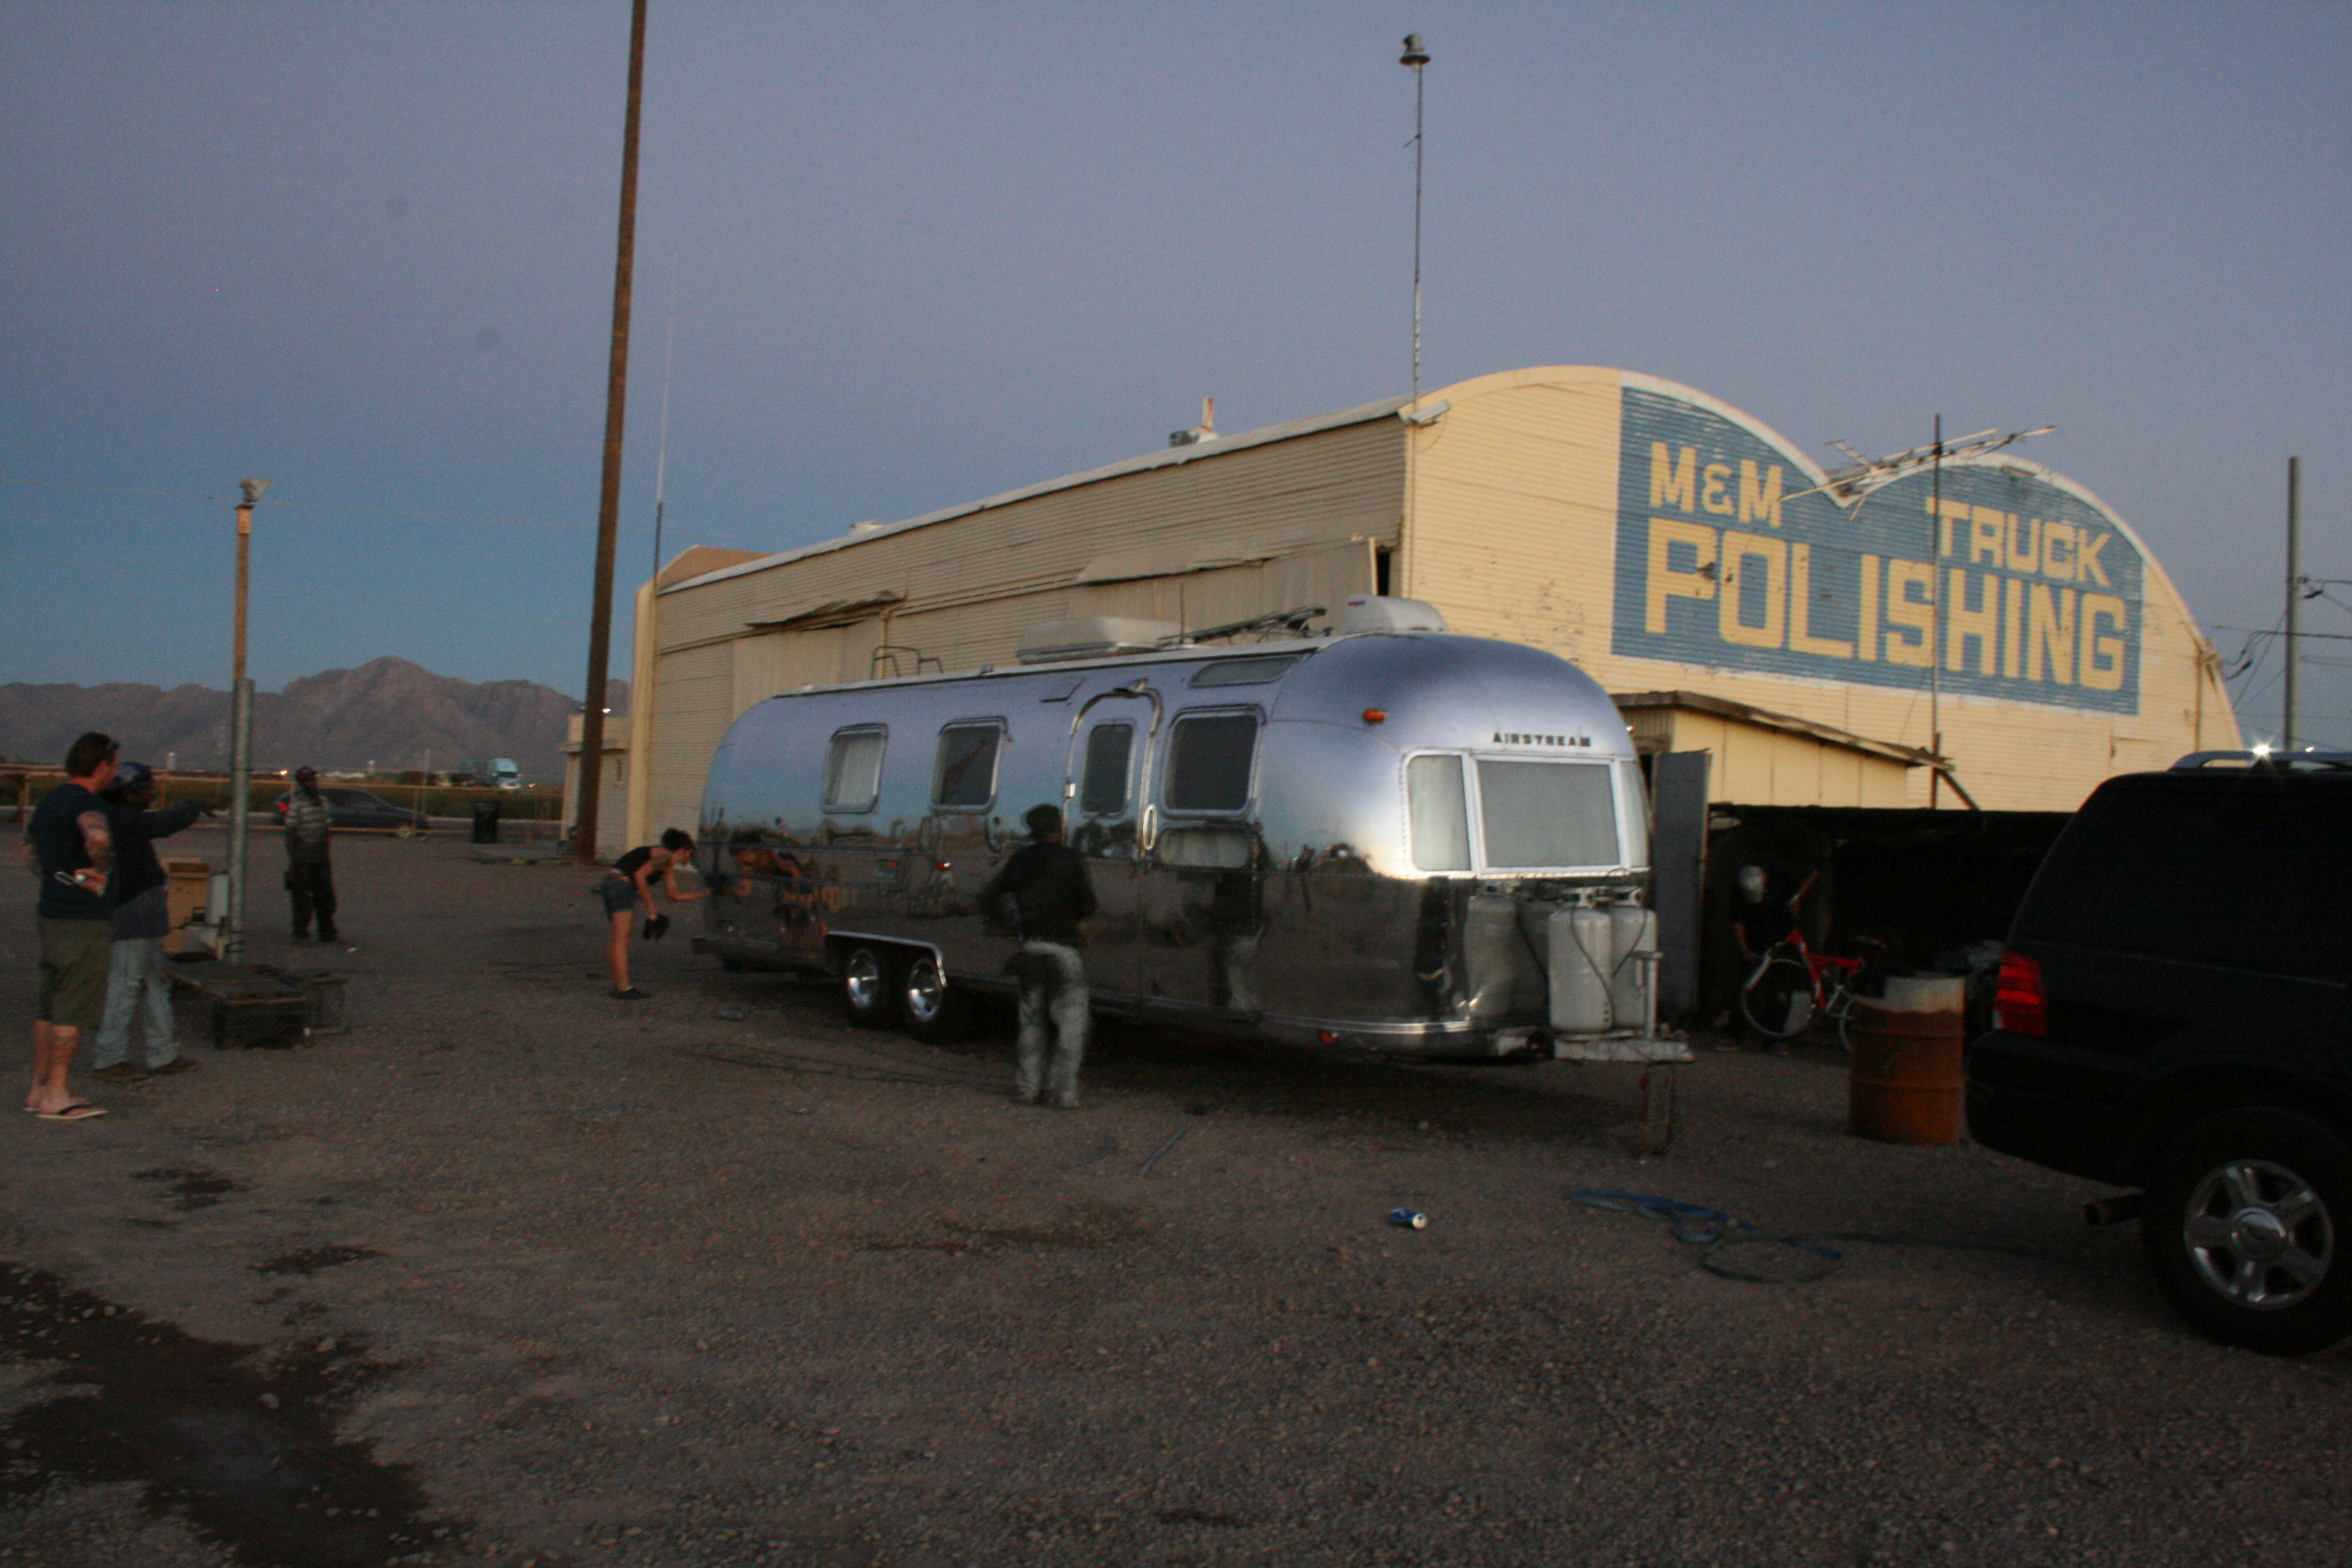
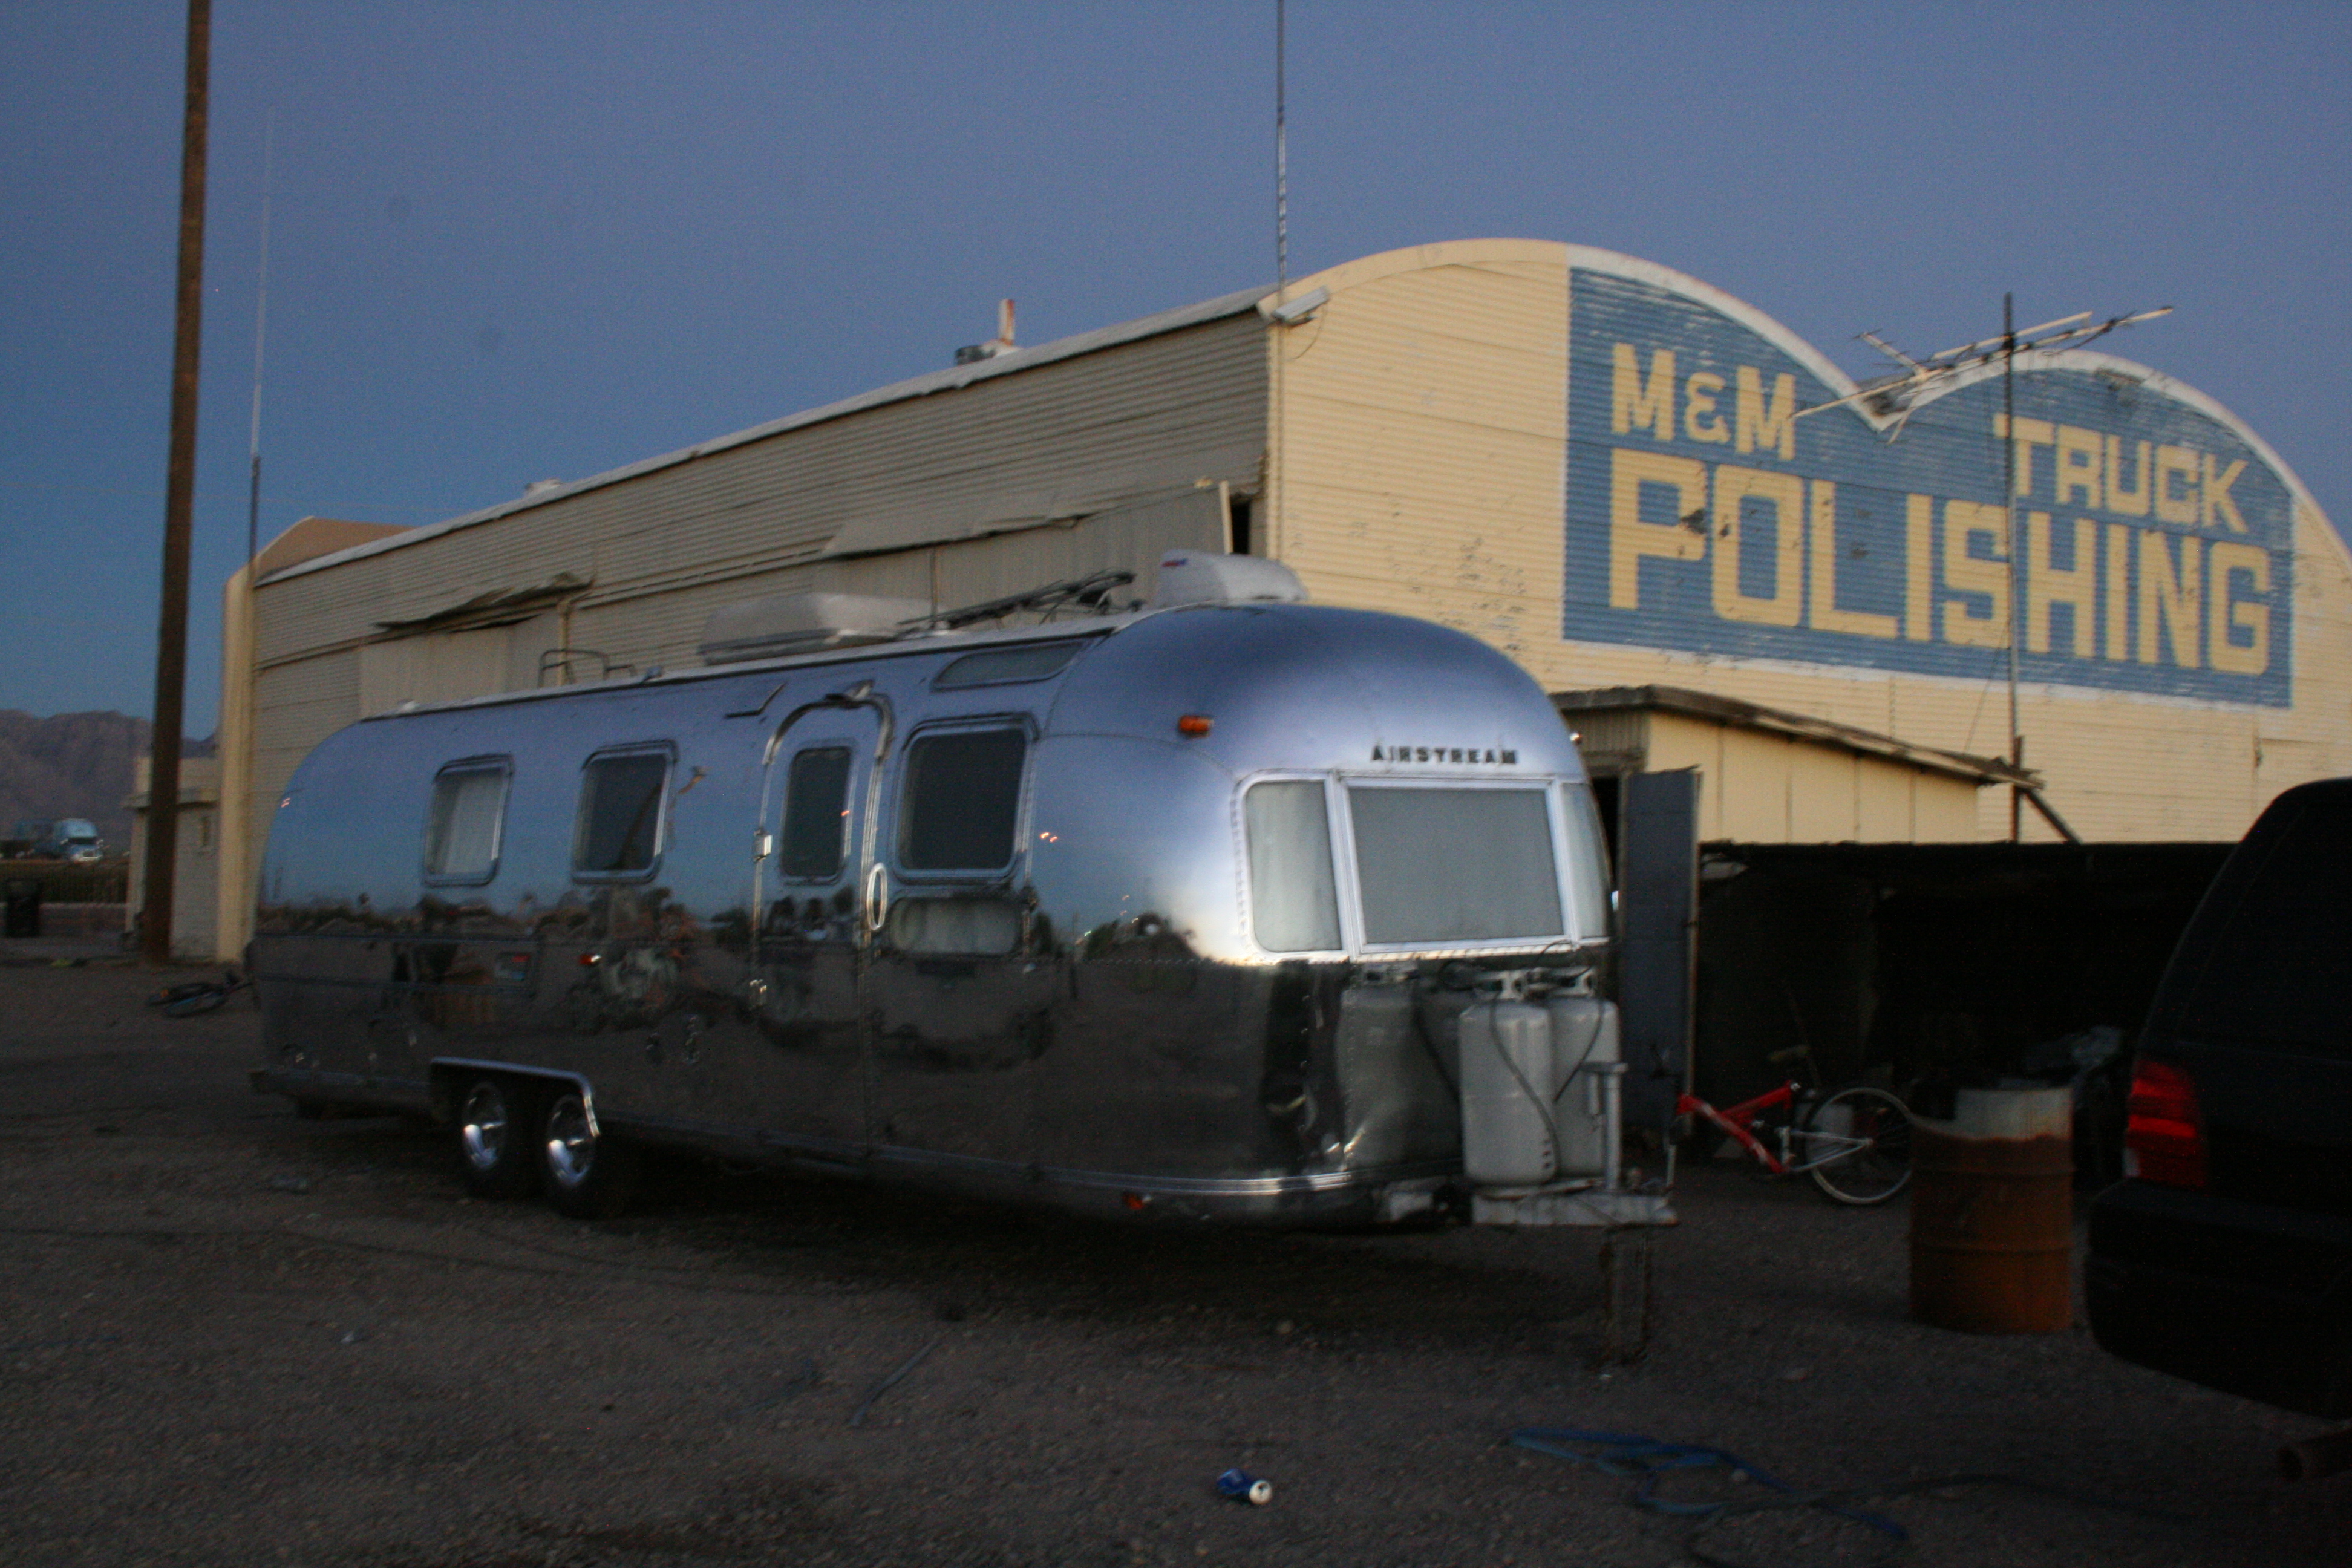
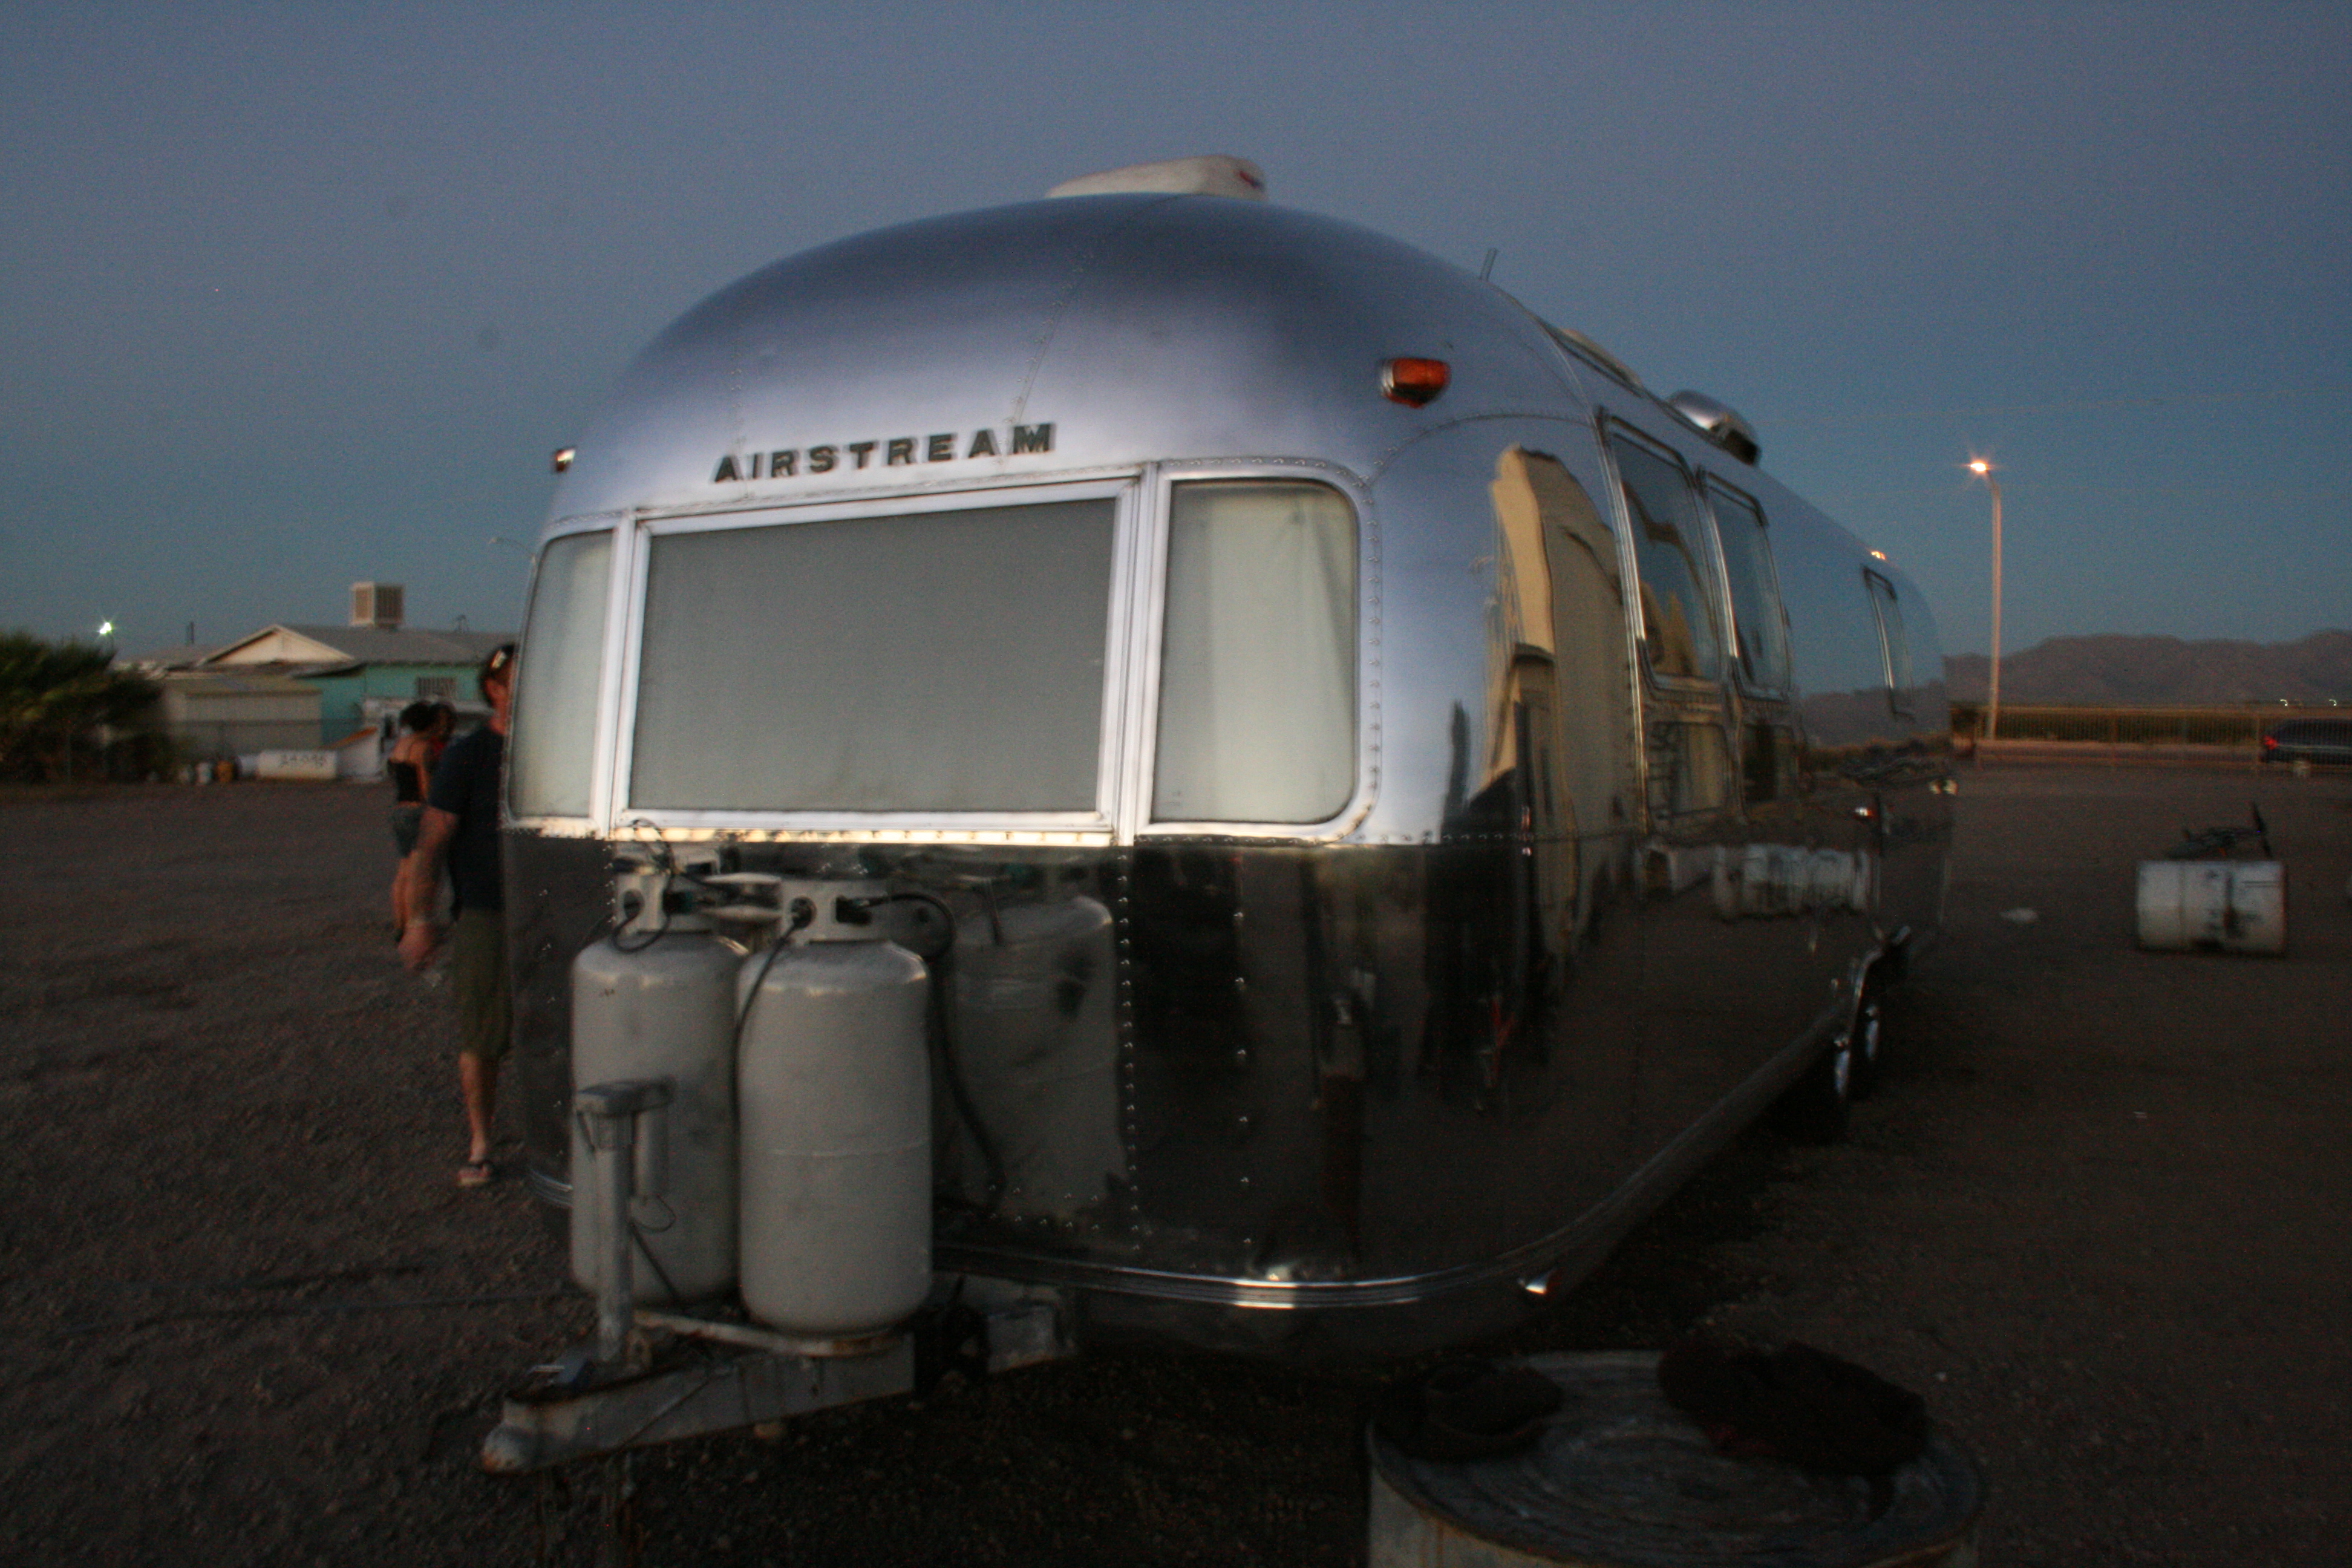
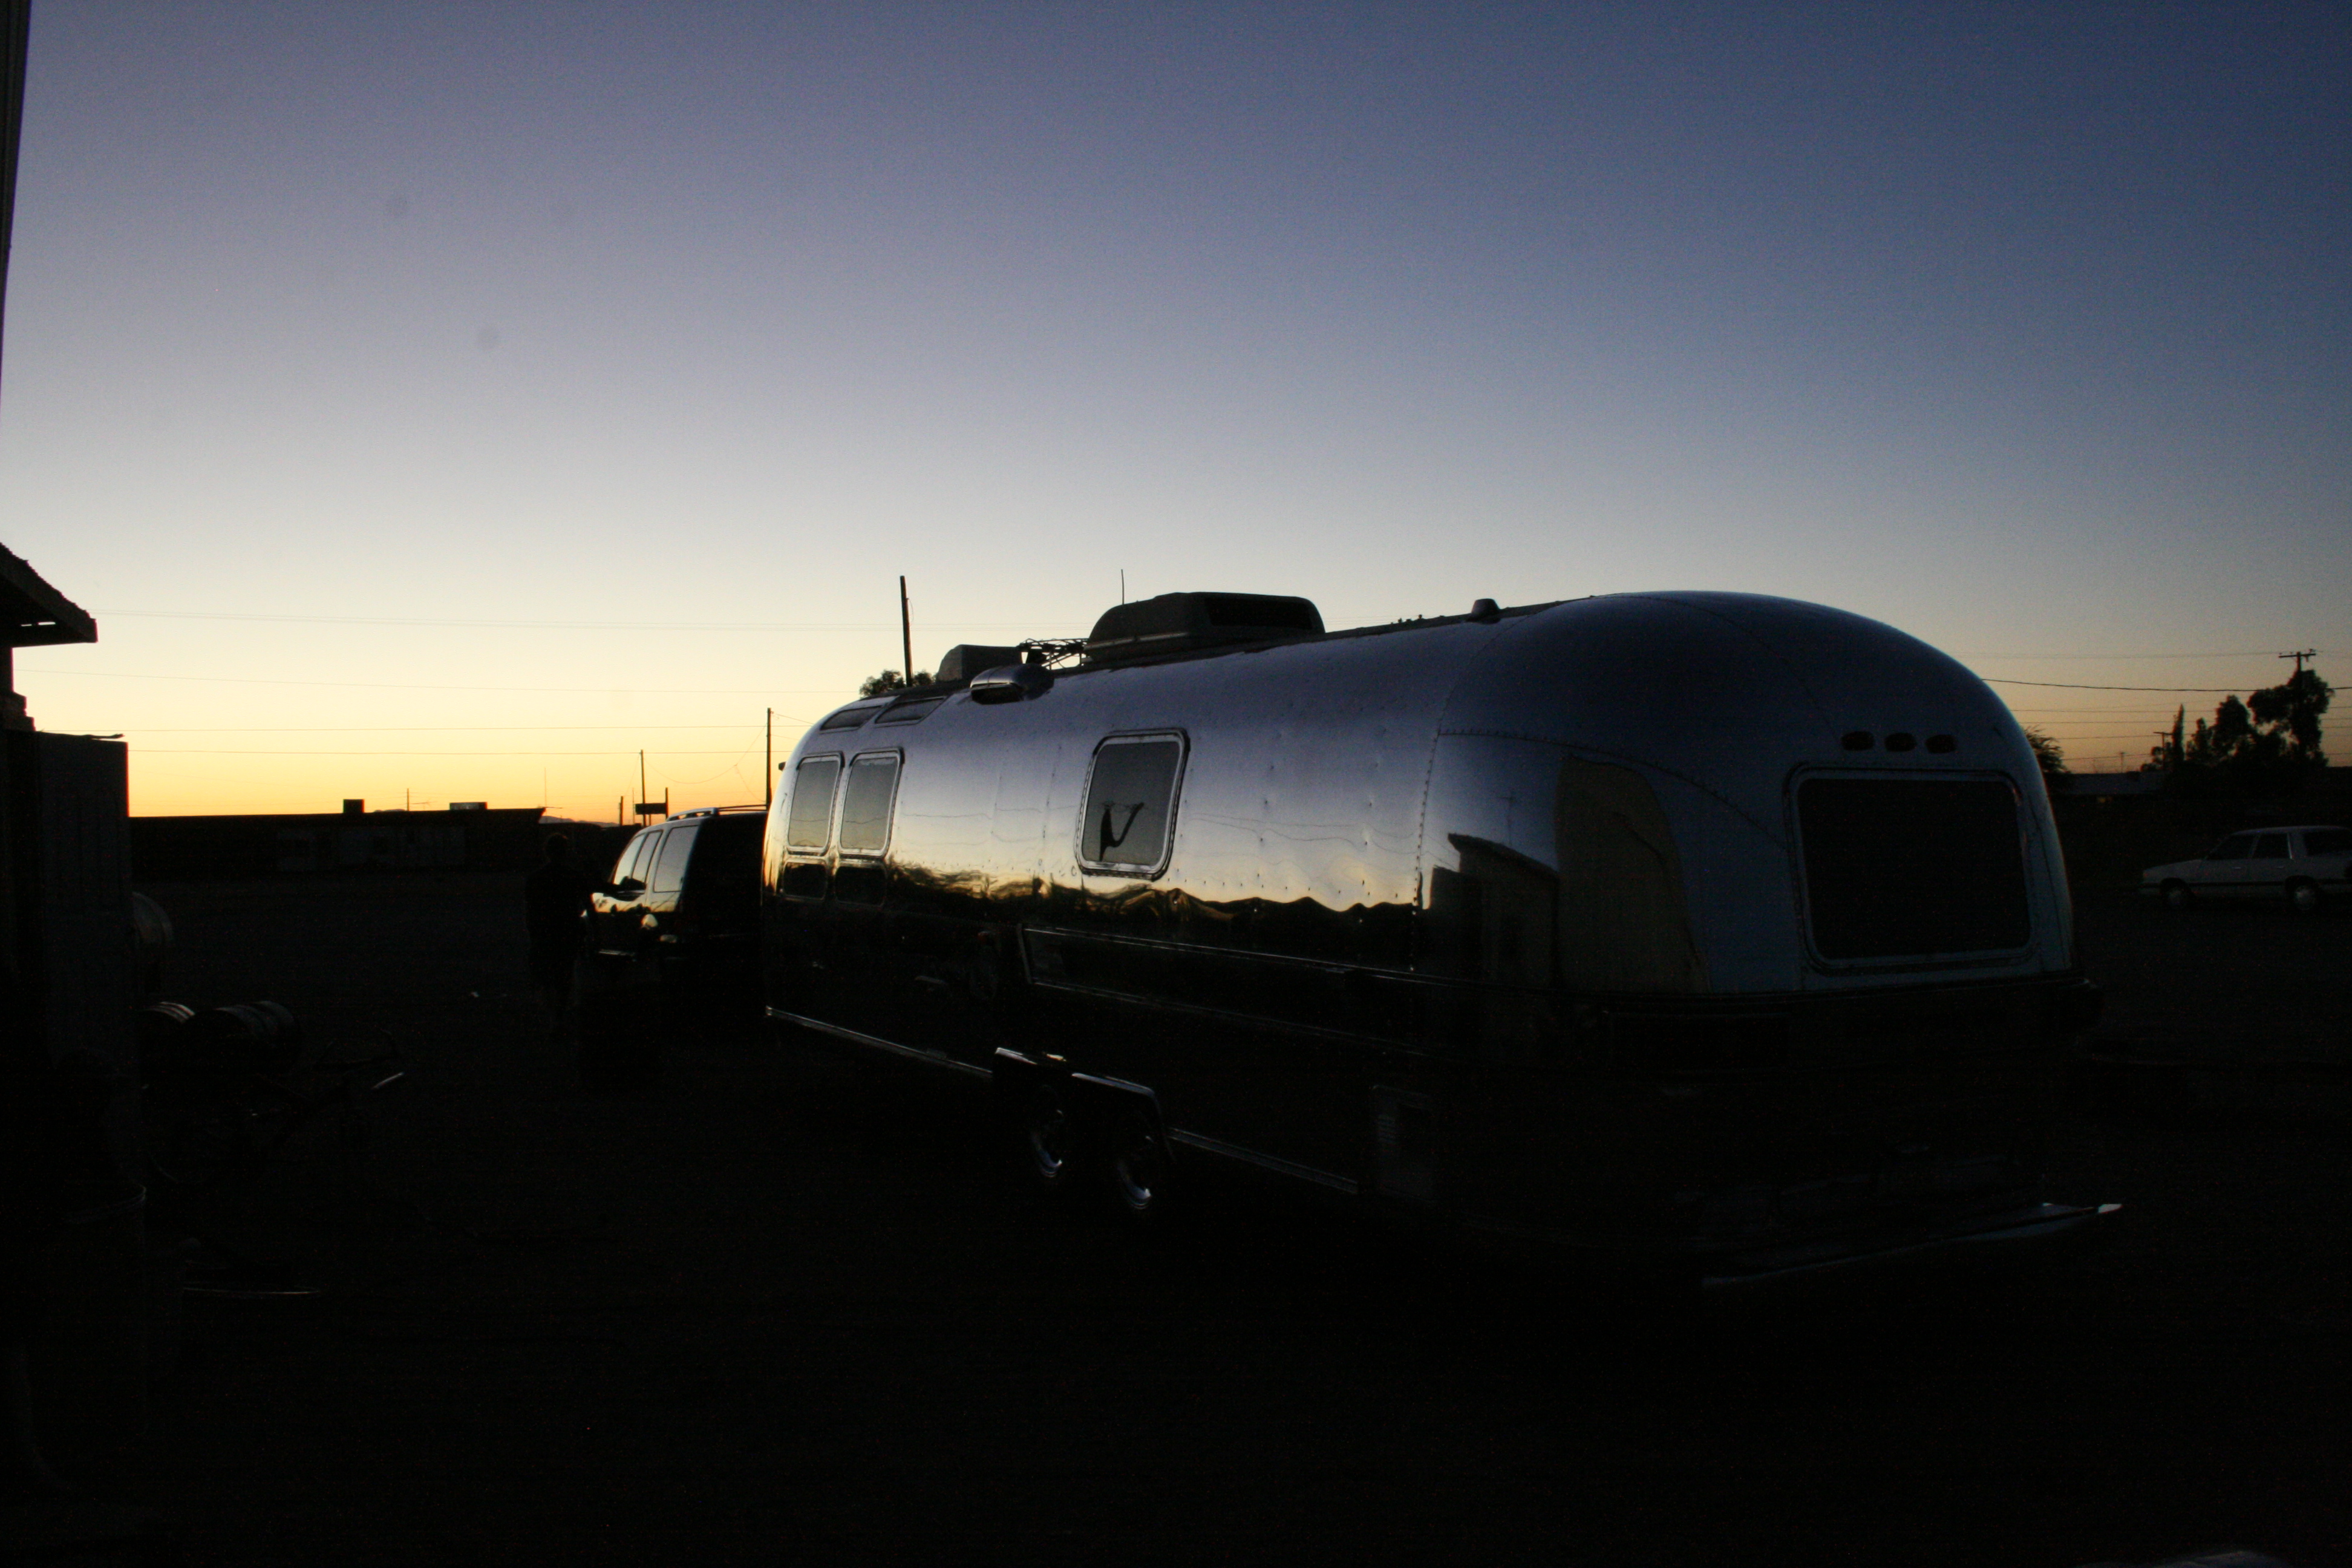
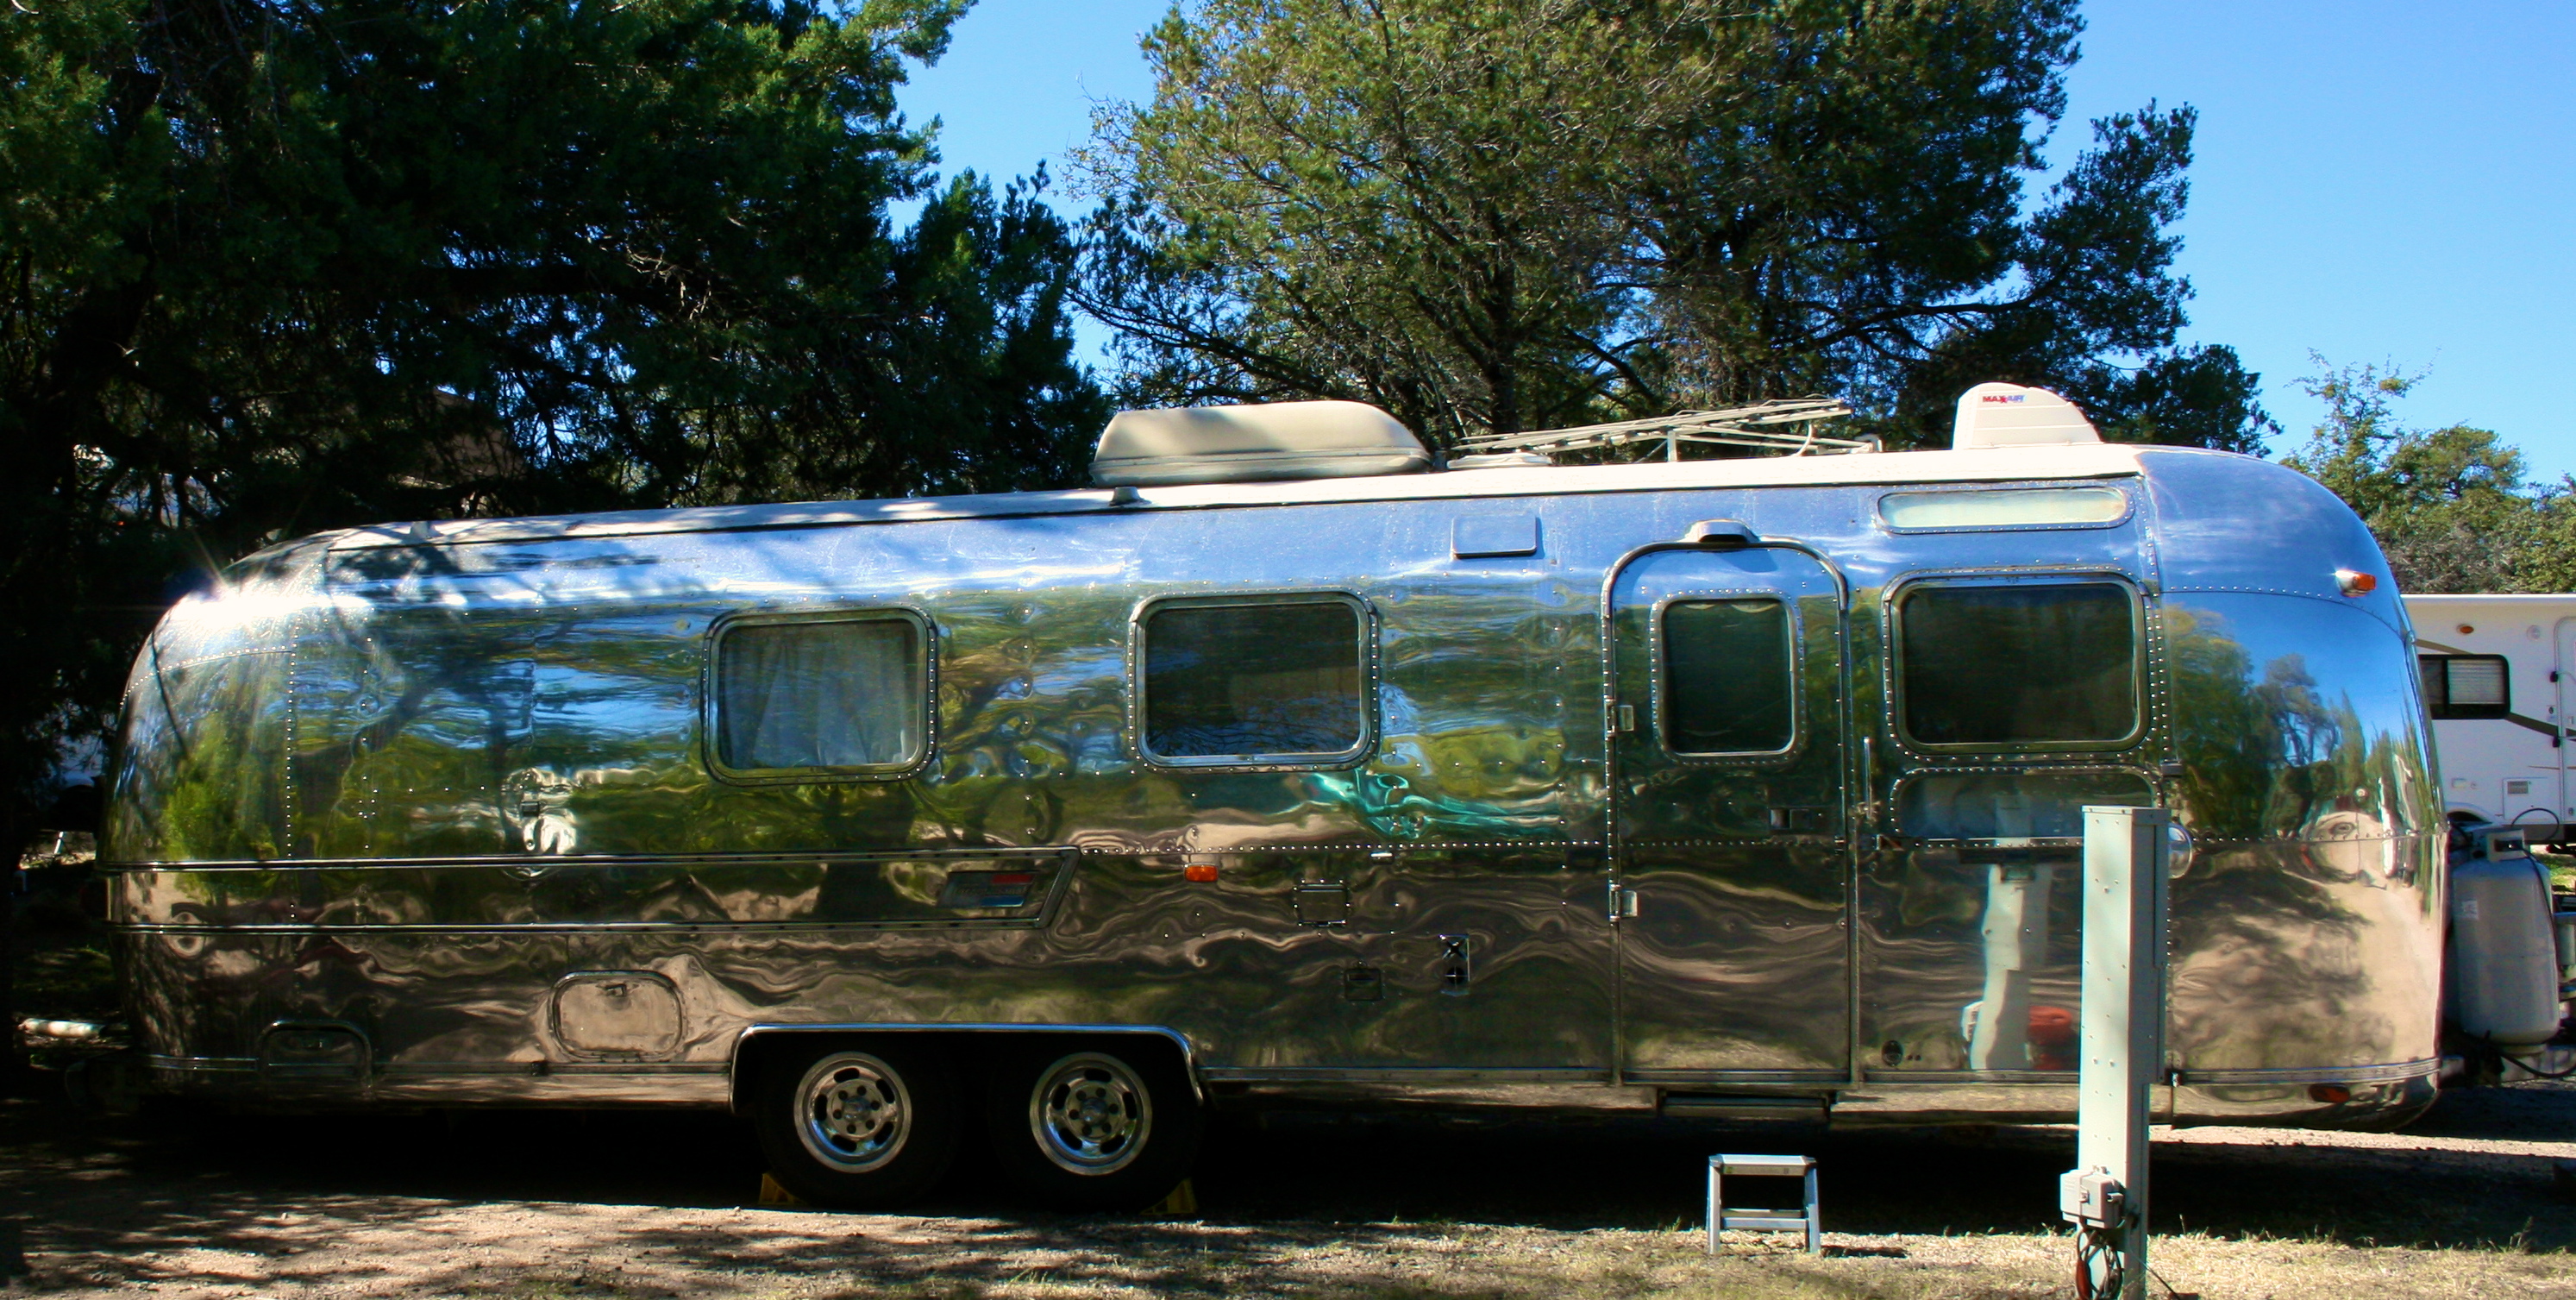
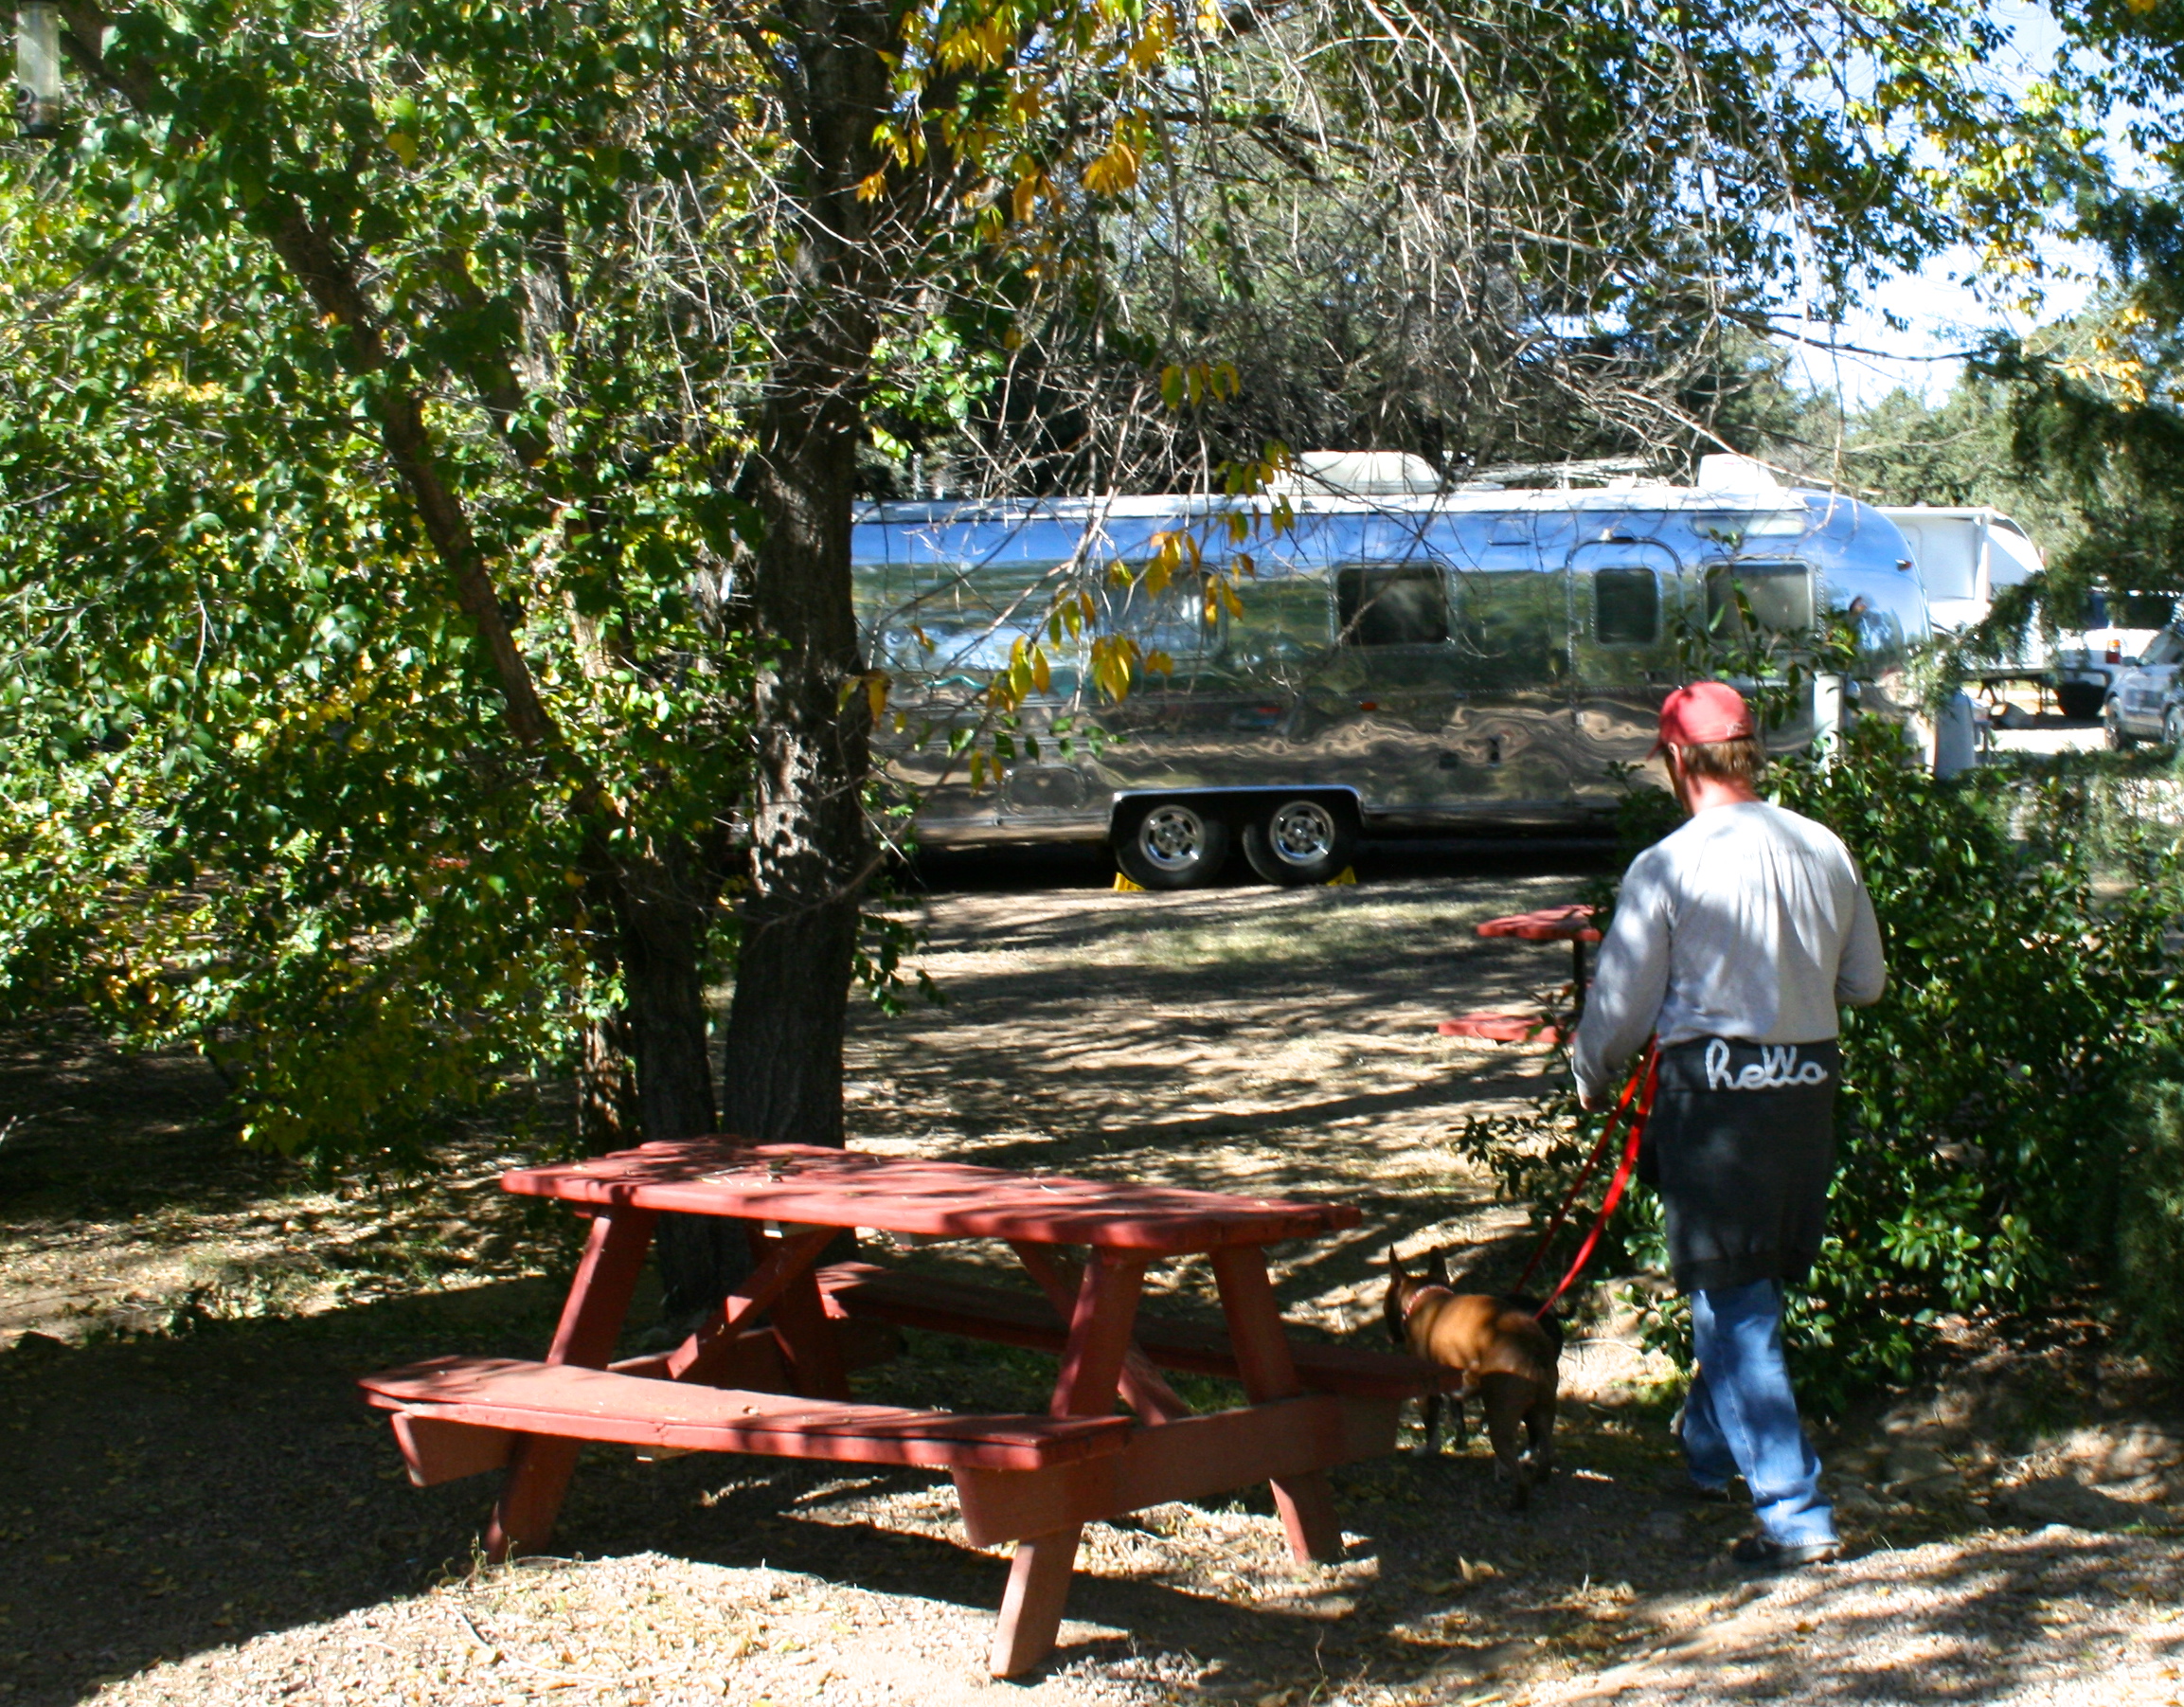
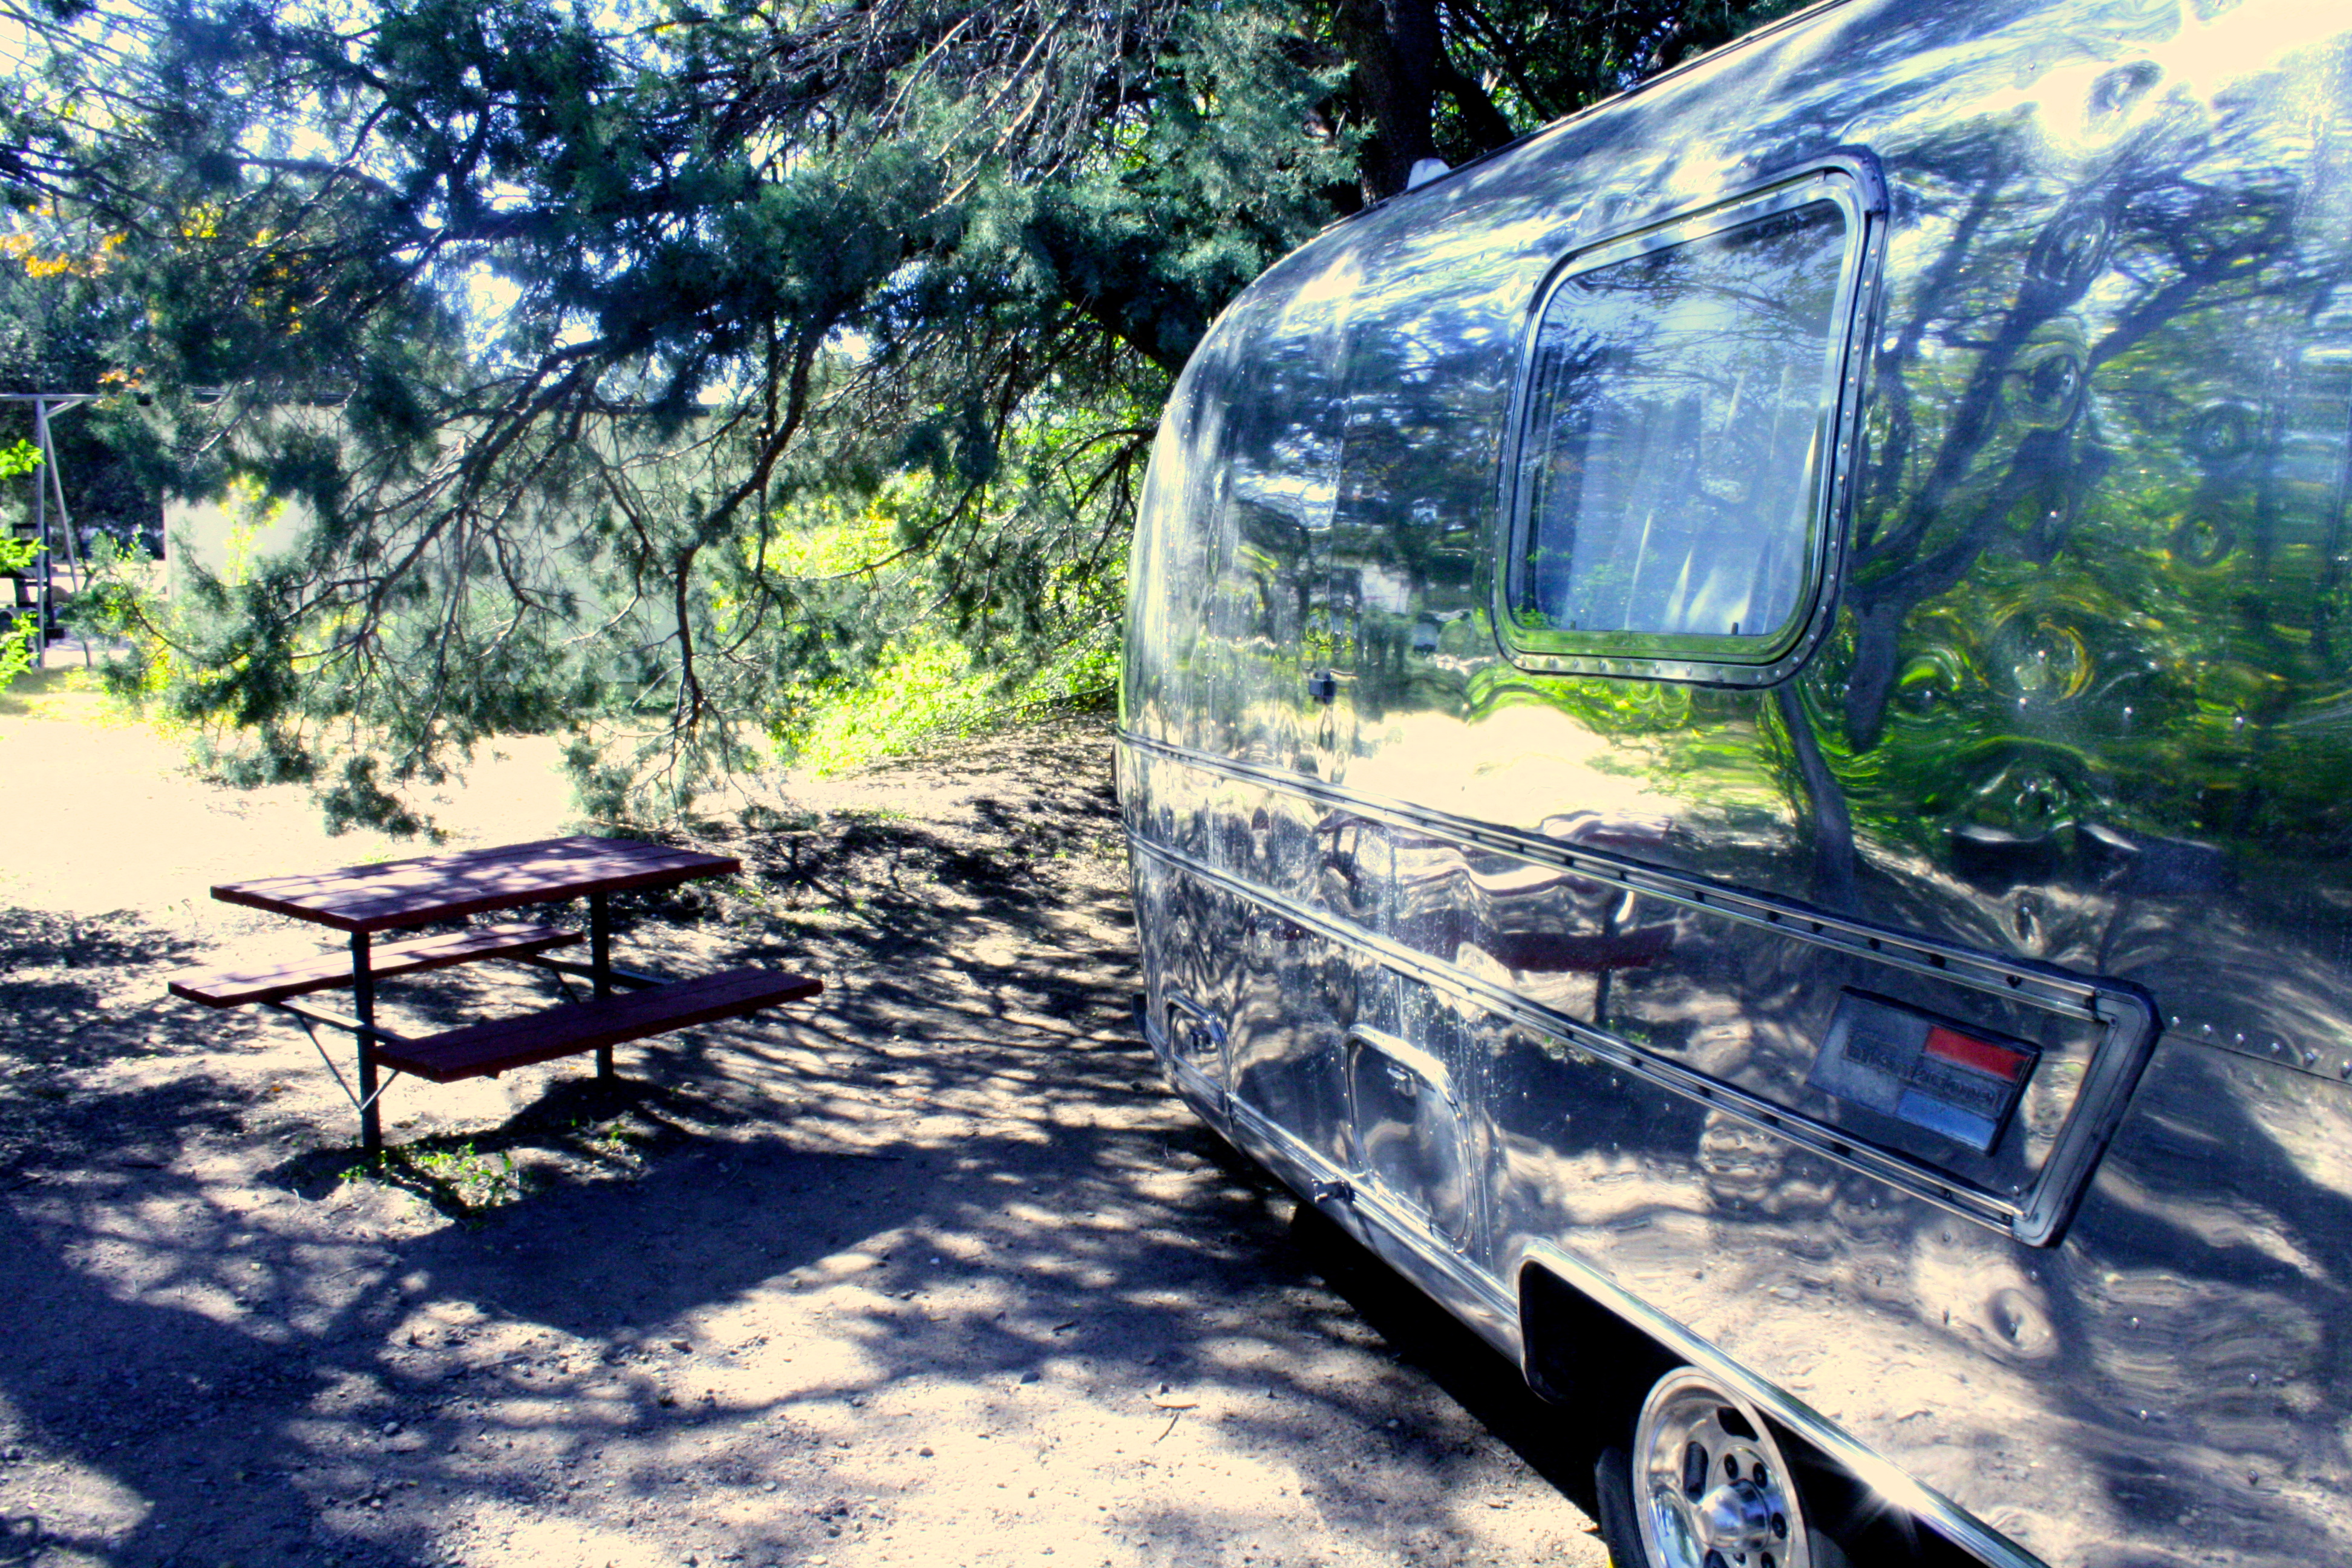
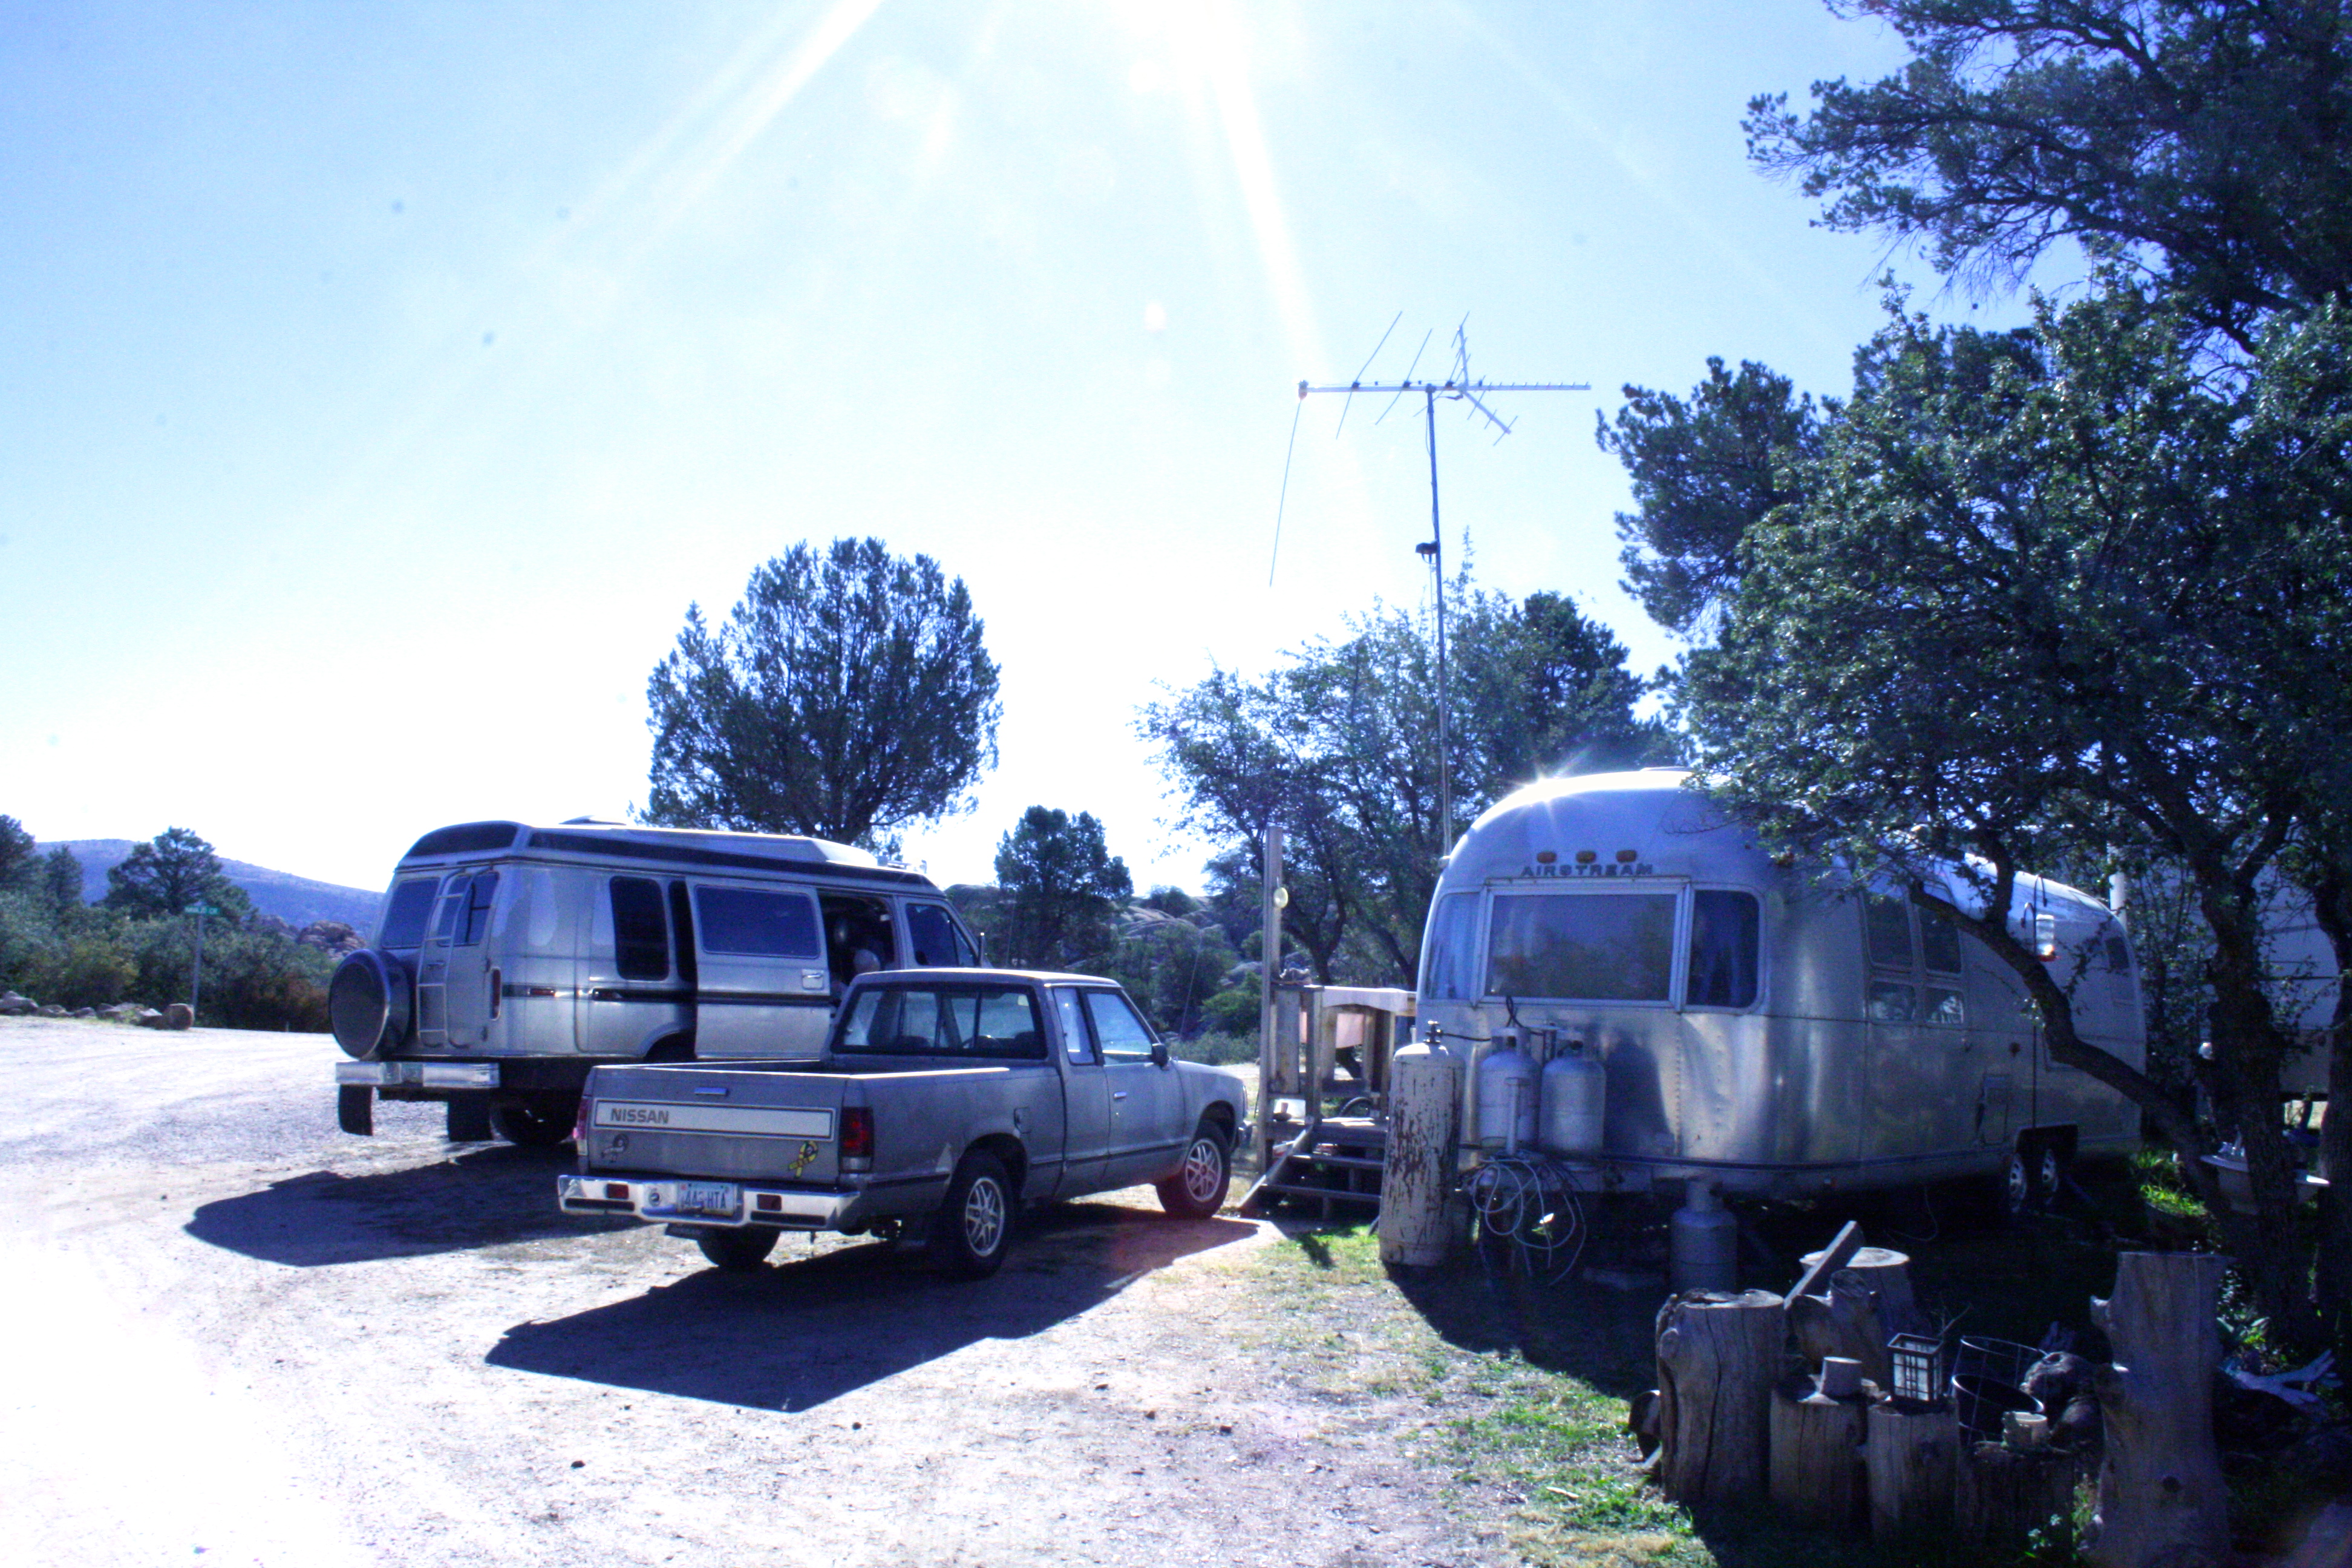
Here are some pics from the Willow Lake RV Park:

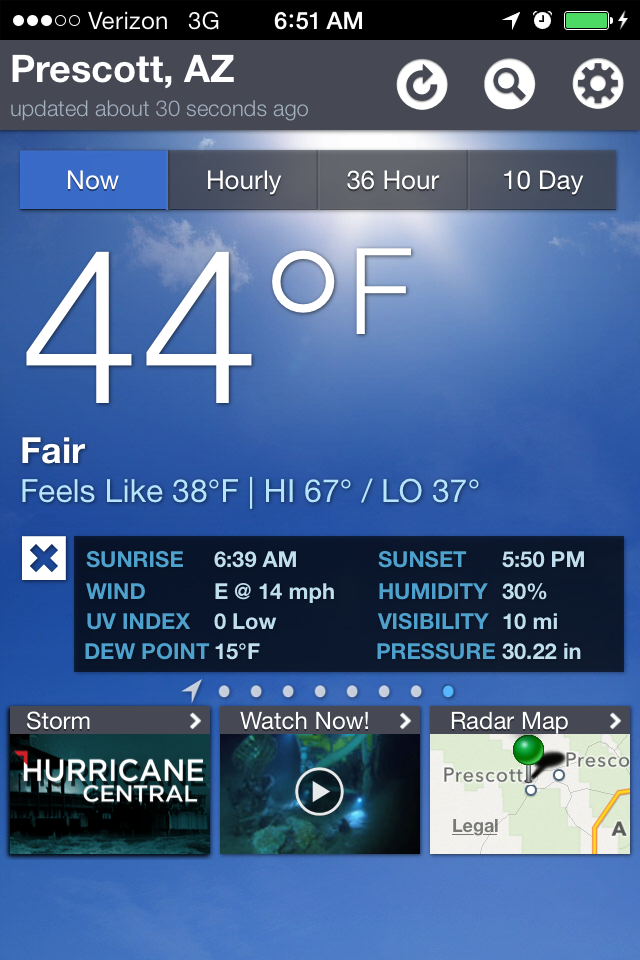
44 degrees in the morning on Saturday. Brrrrrrrrrr.

photo 25

photo 12

IMG_9022

IMG_9155

IMG_9160

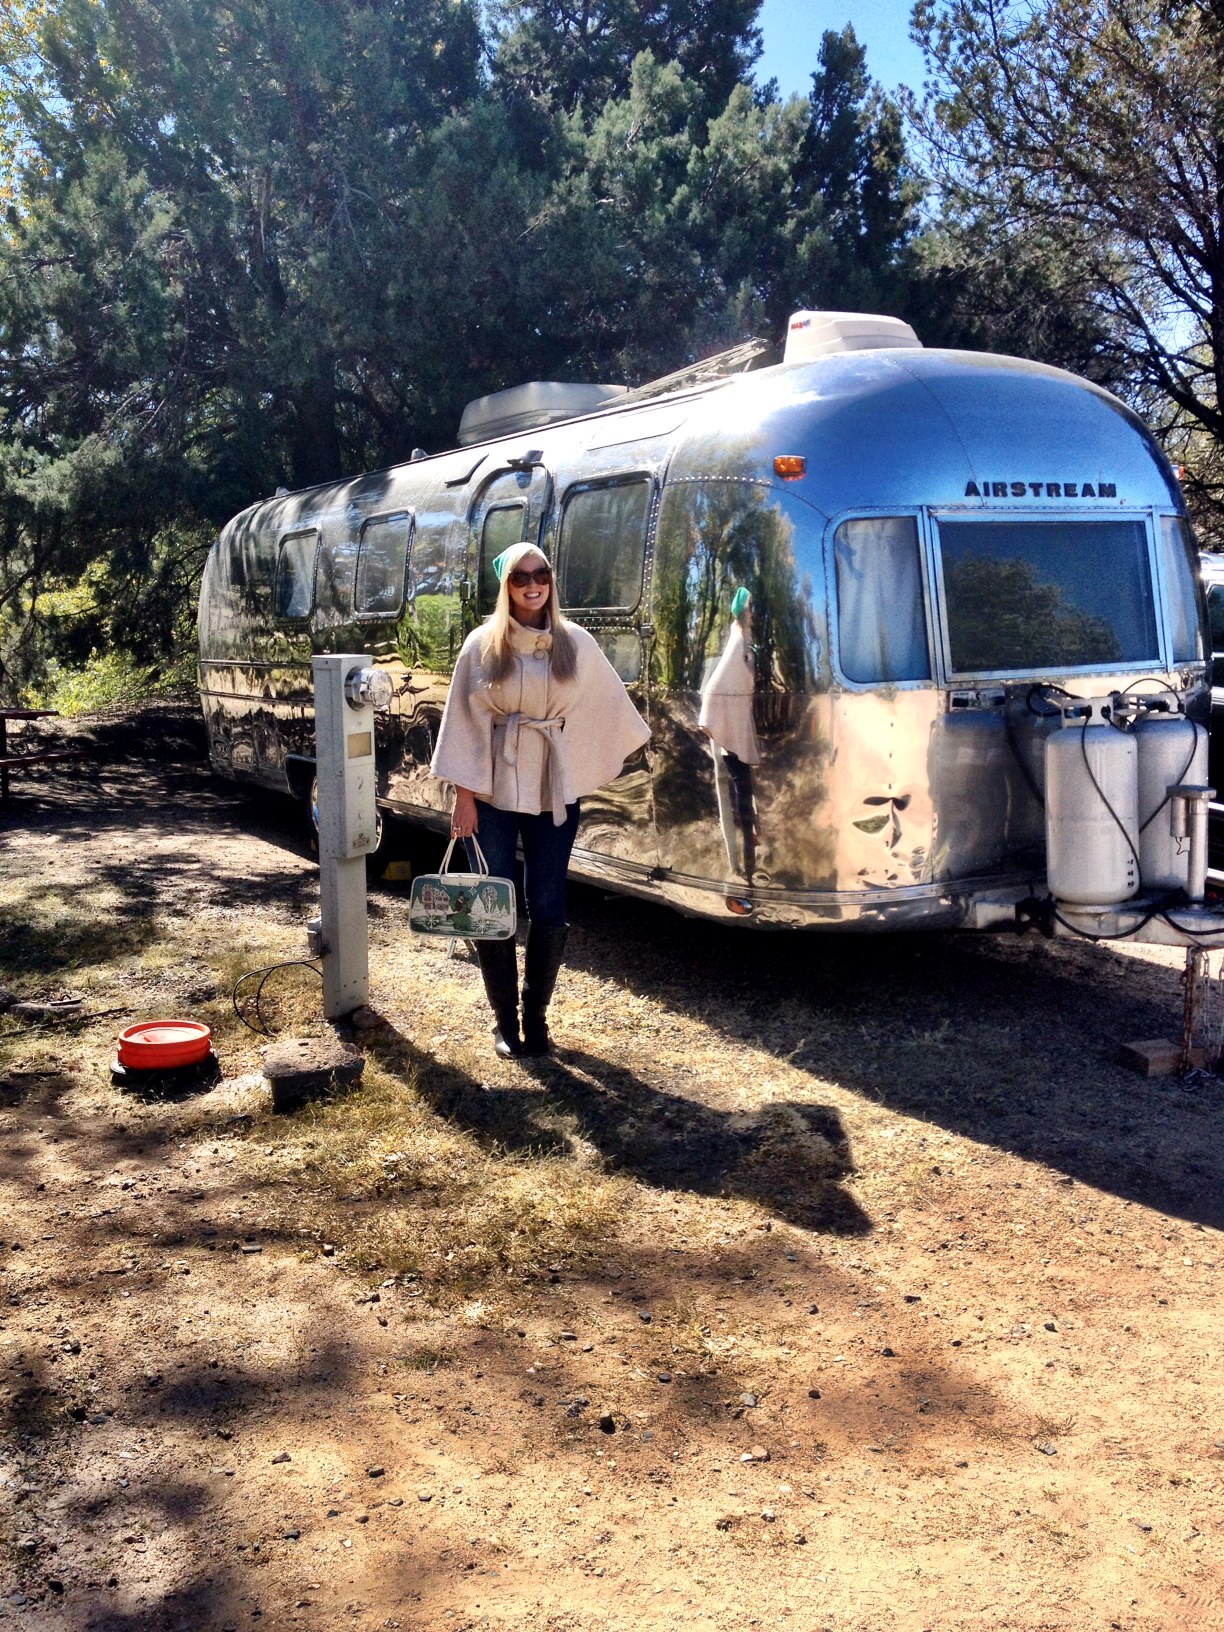
Hat and cape weather! Yippee!

photo 63

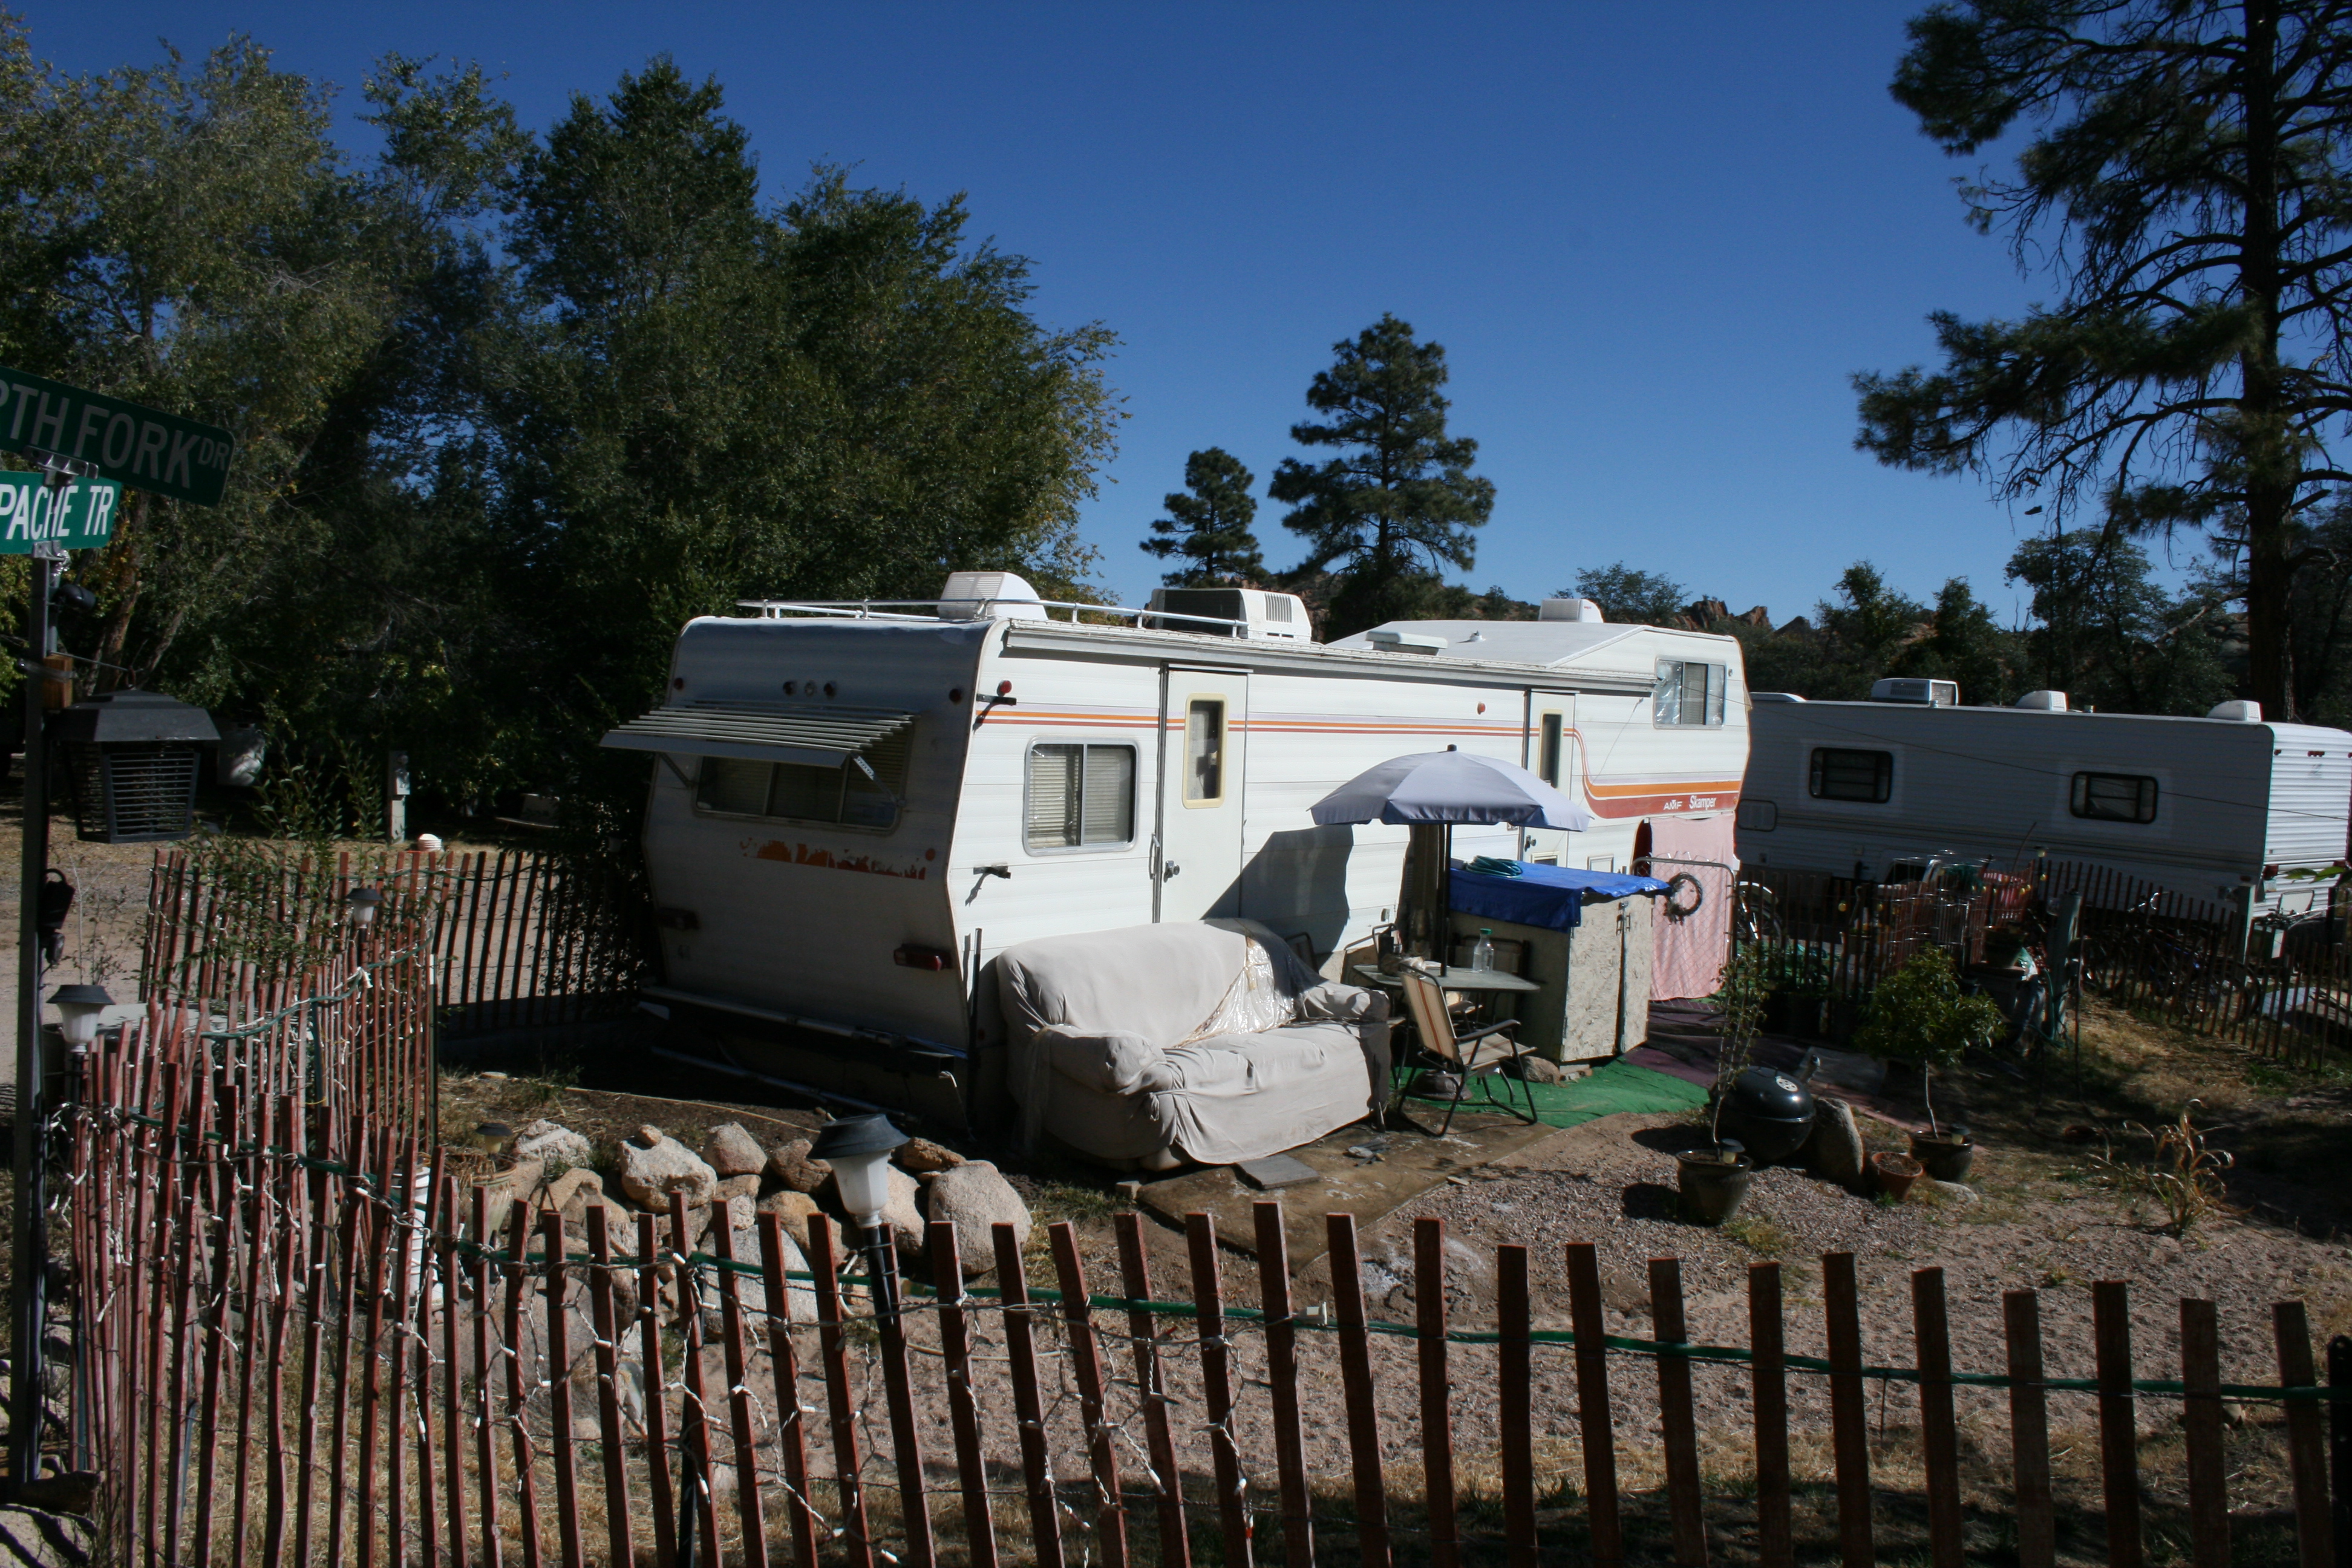
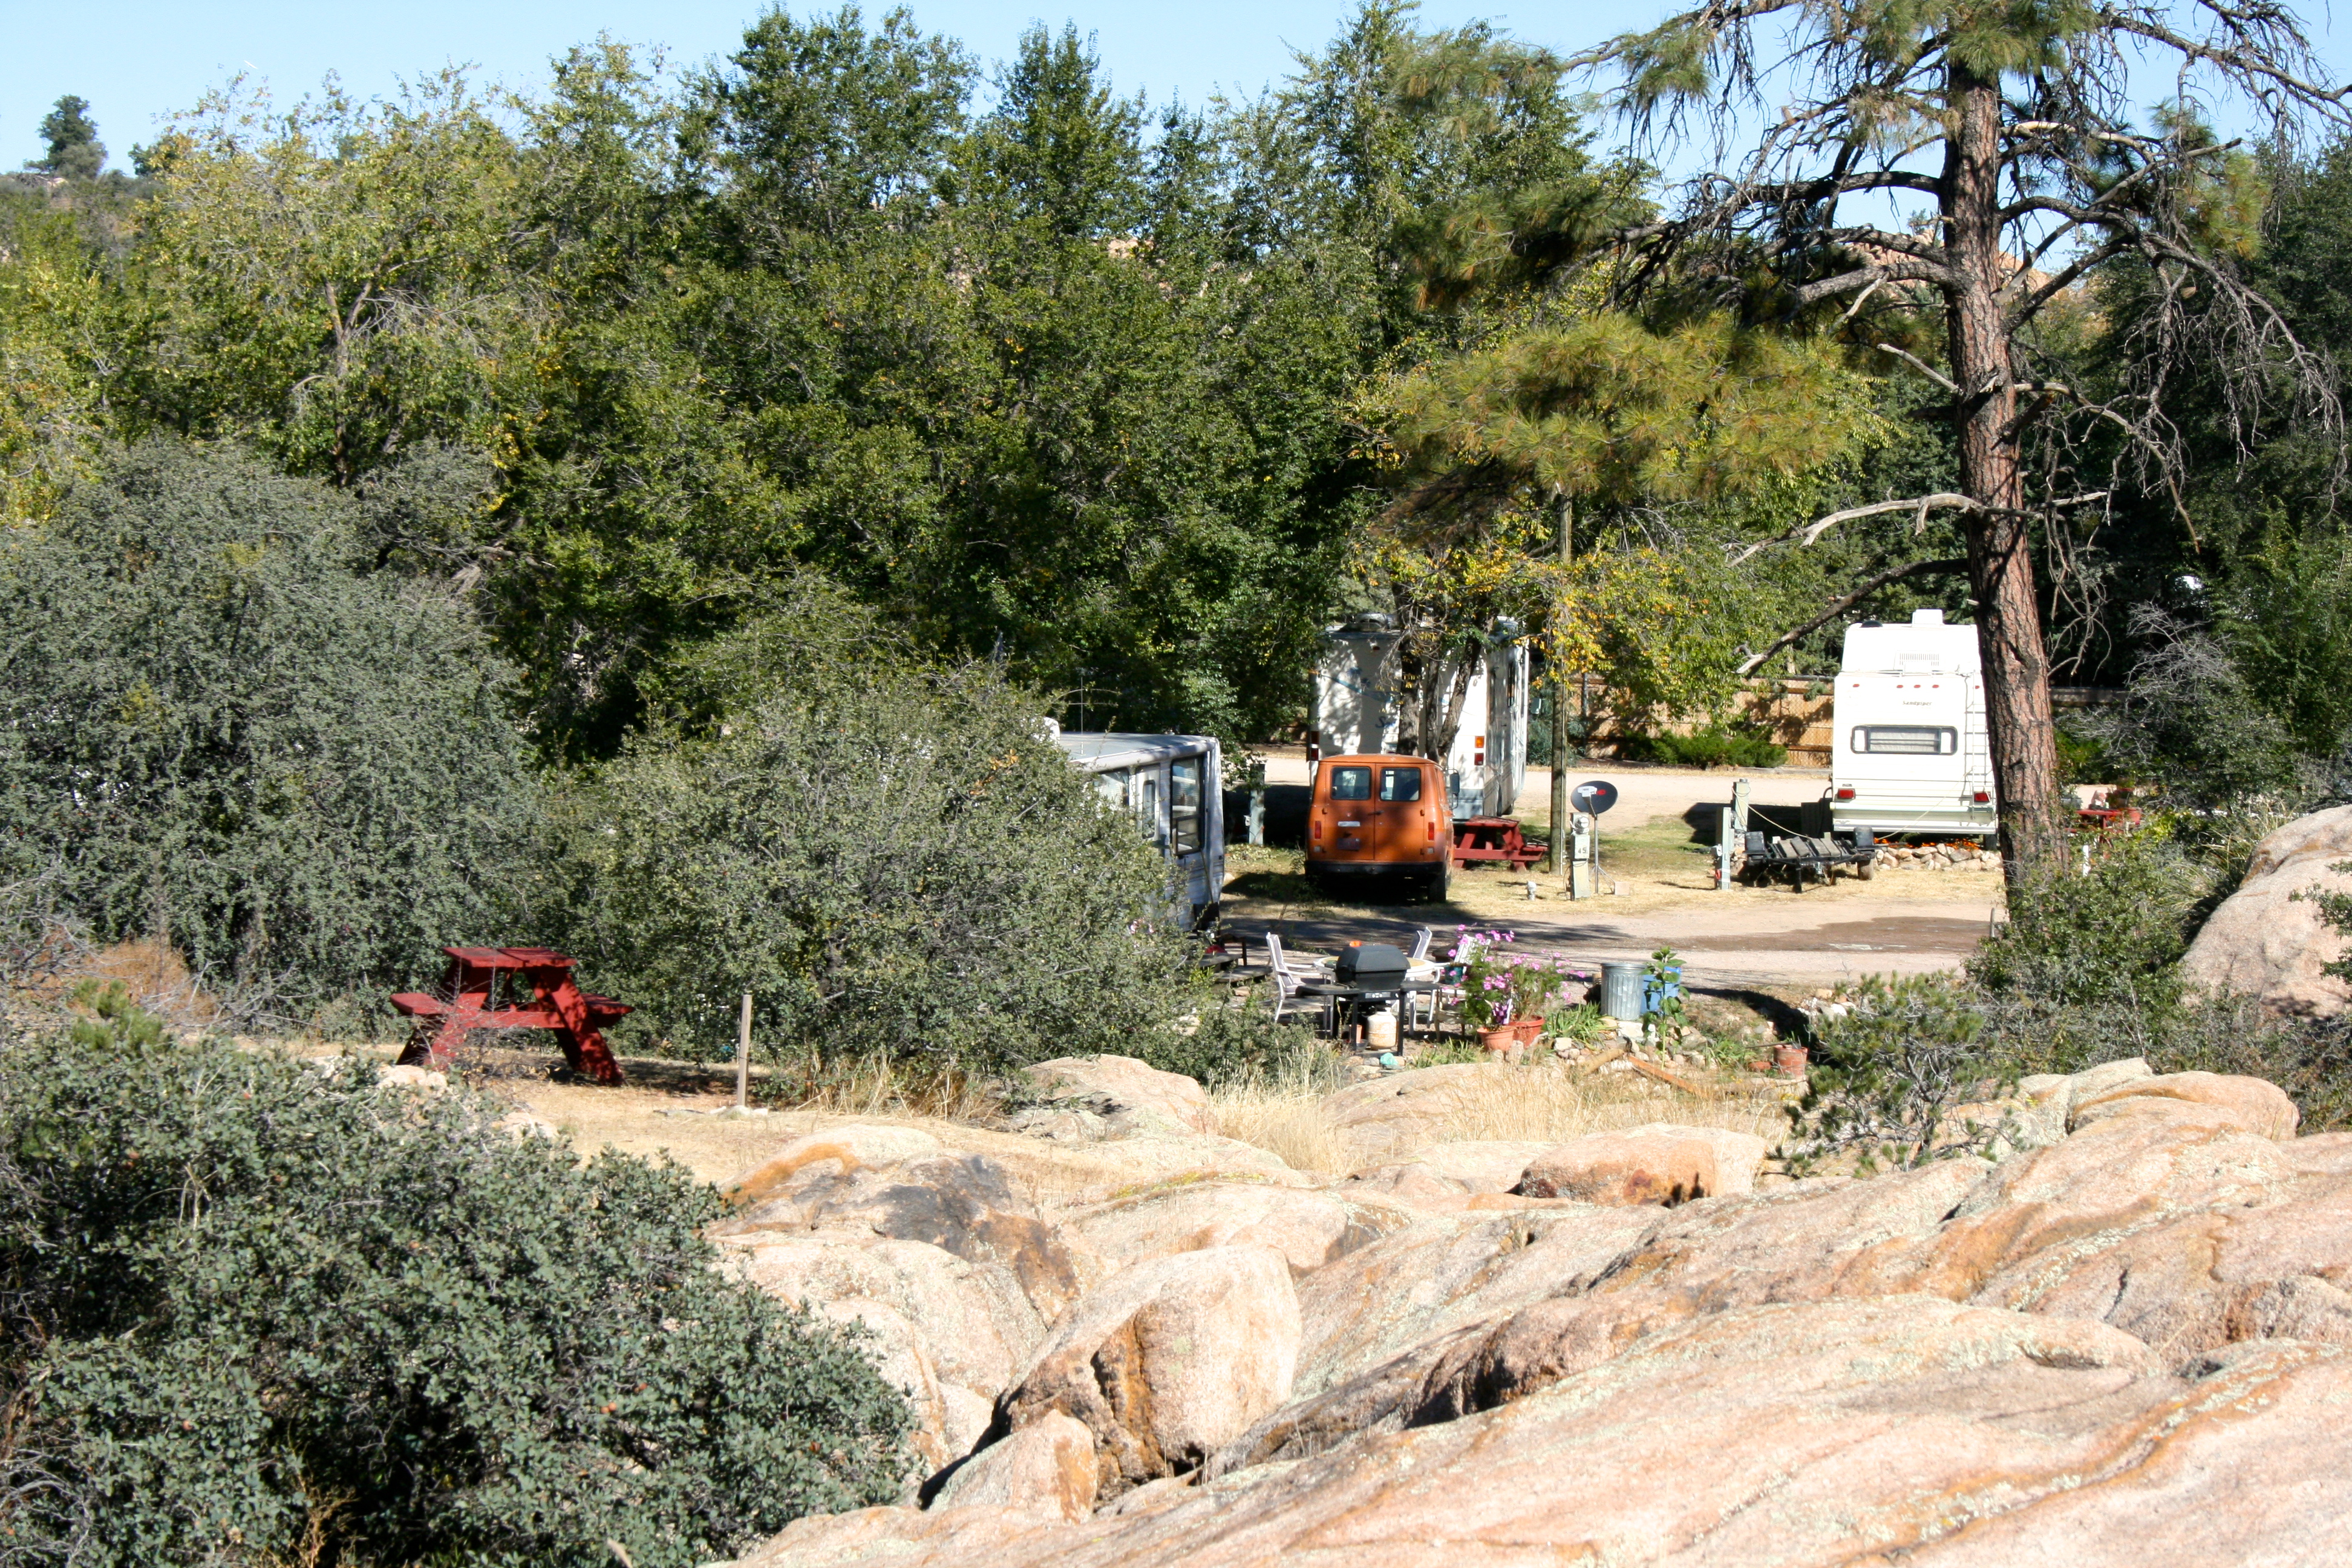
There appears to be several long-term residents at Willow Lake RV Park. I only suspect that because of the patio set-ups on some and flat tires on others. Overall, the park seems to be pretty popular with all RVers.

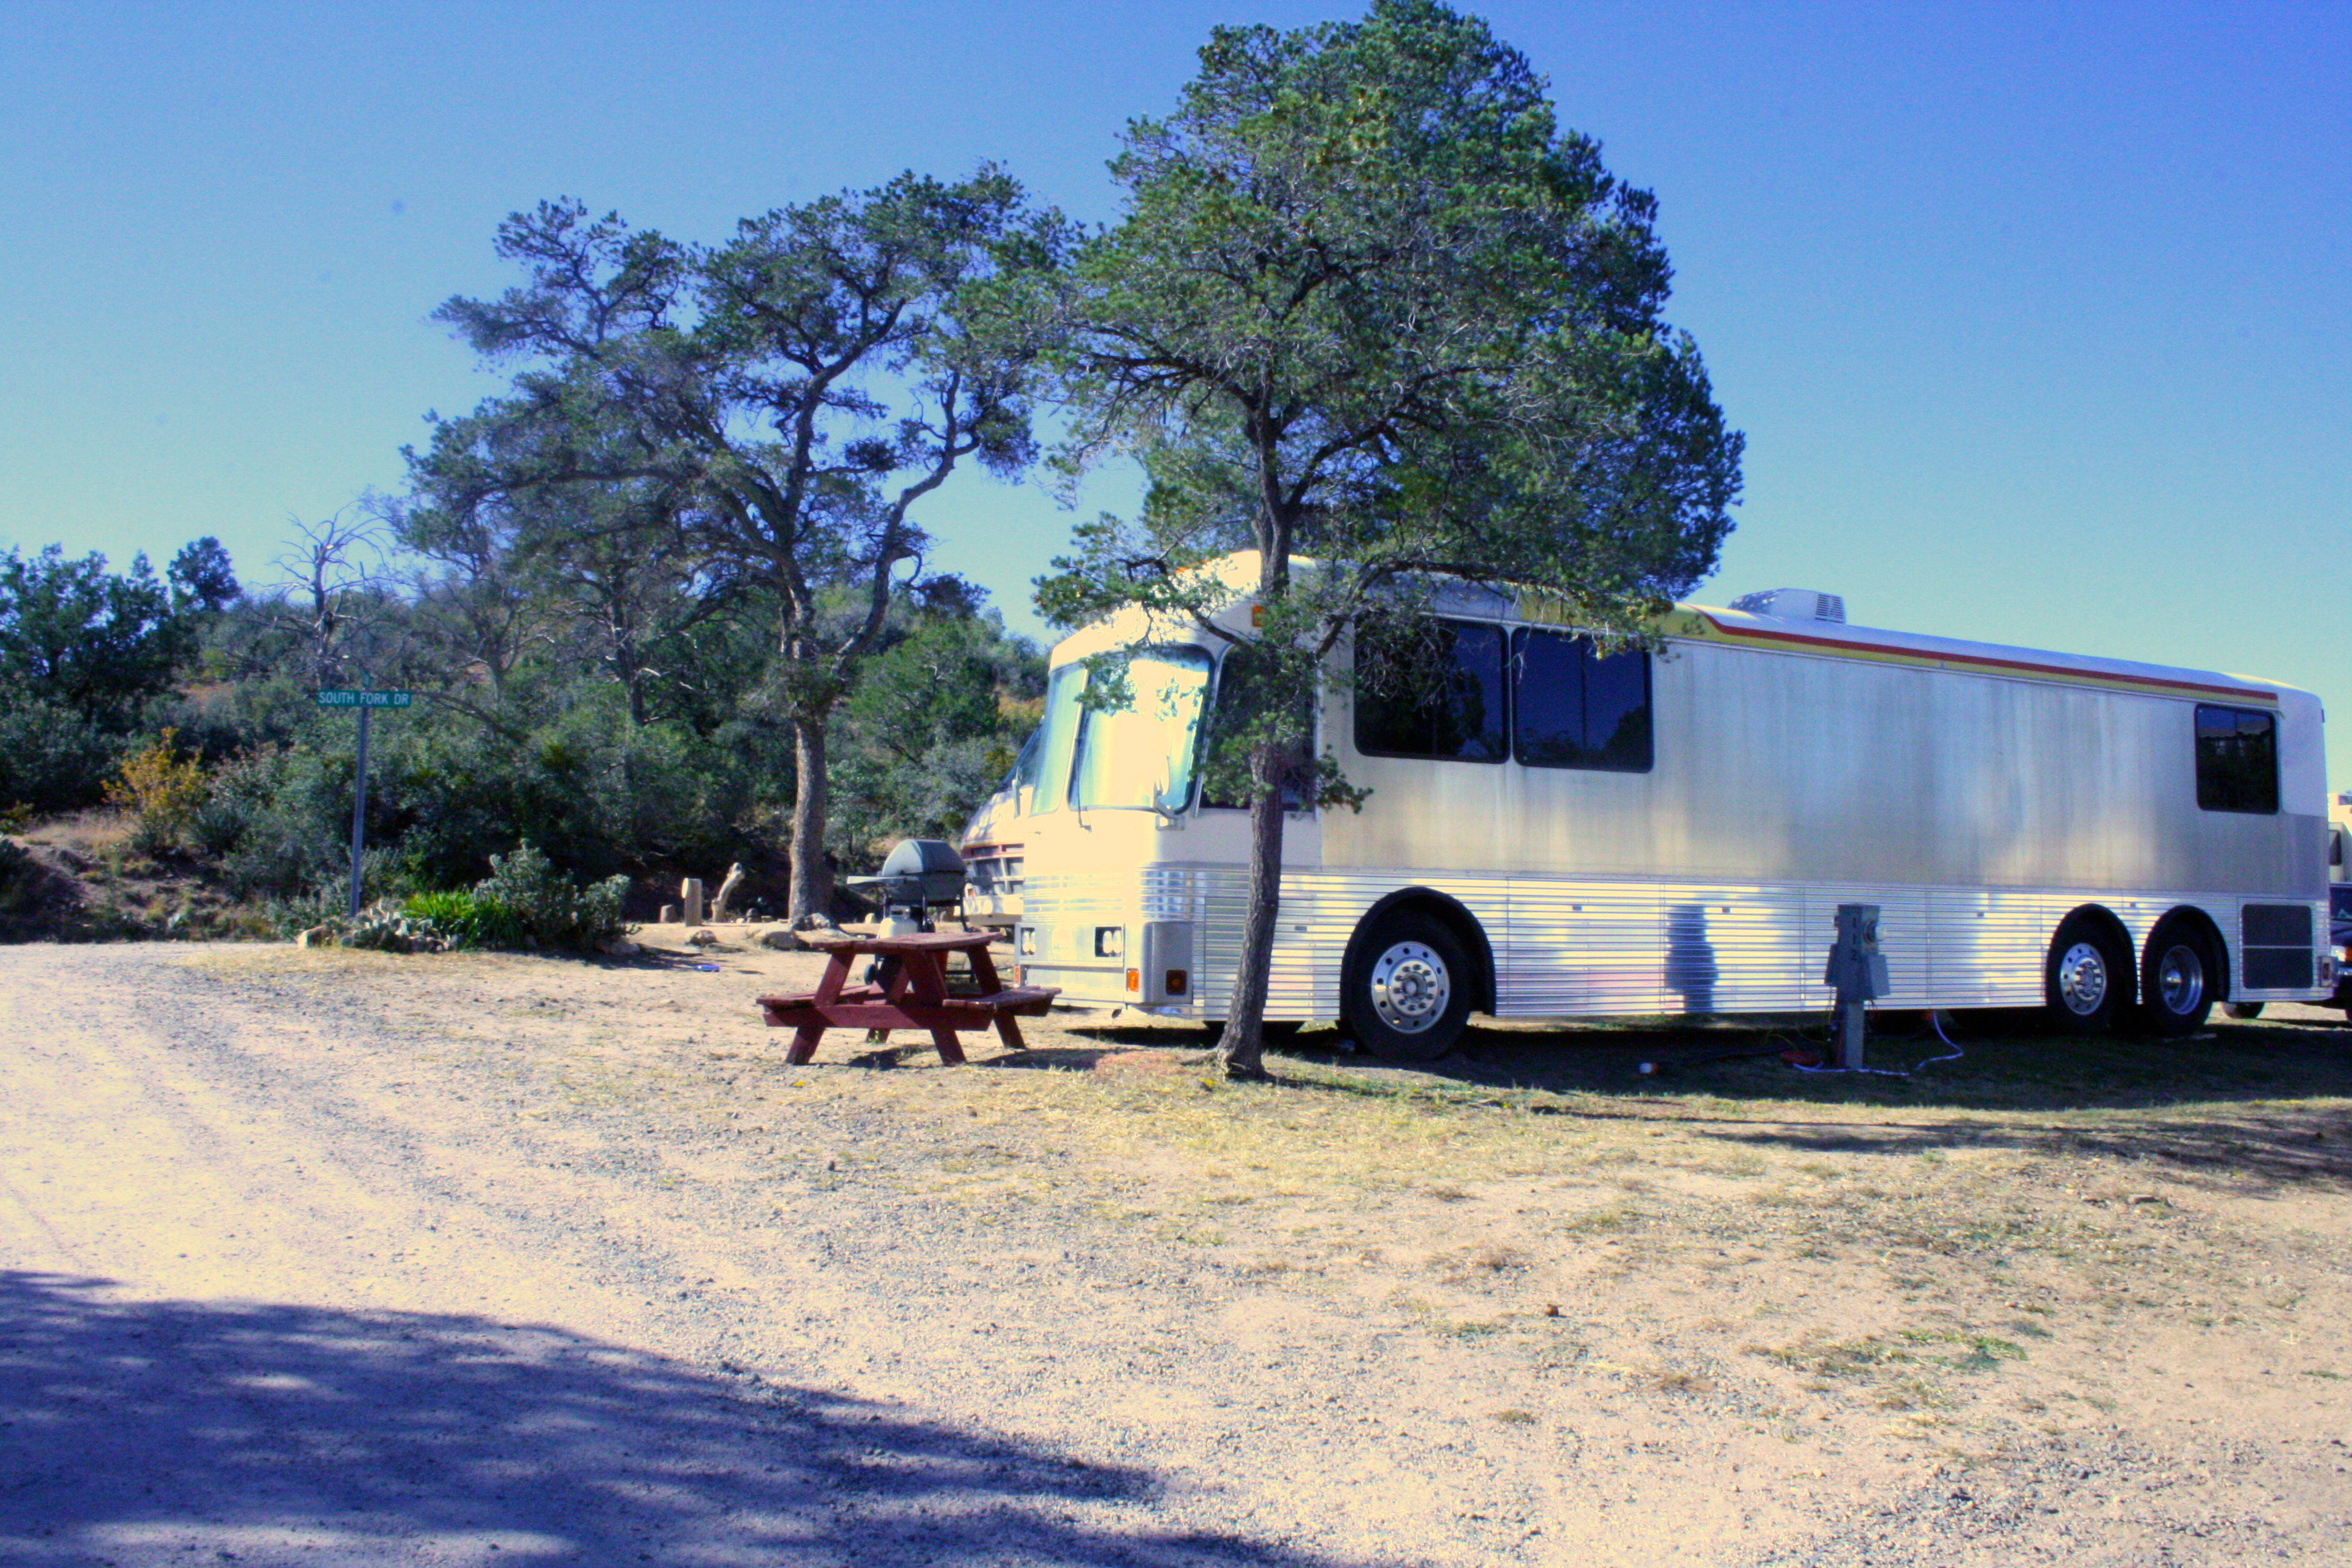
This metal bus was pretty cool.

IMG_9119

One of the long-term set-ups we saw.

IMG_9146

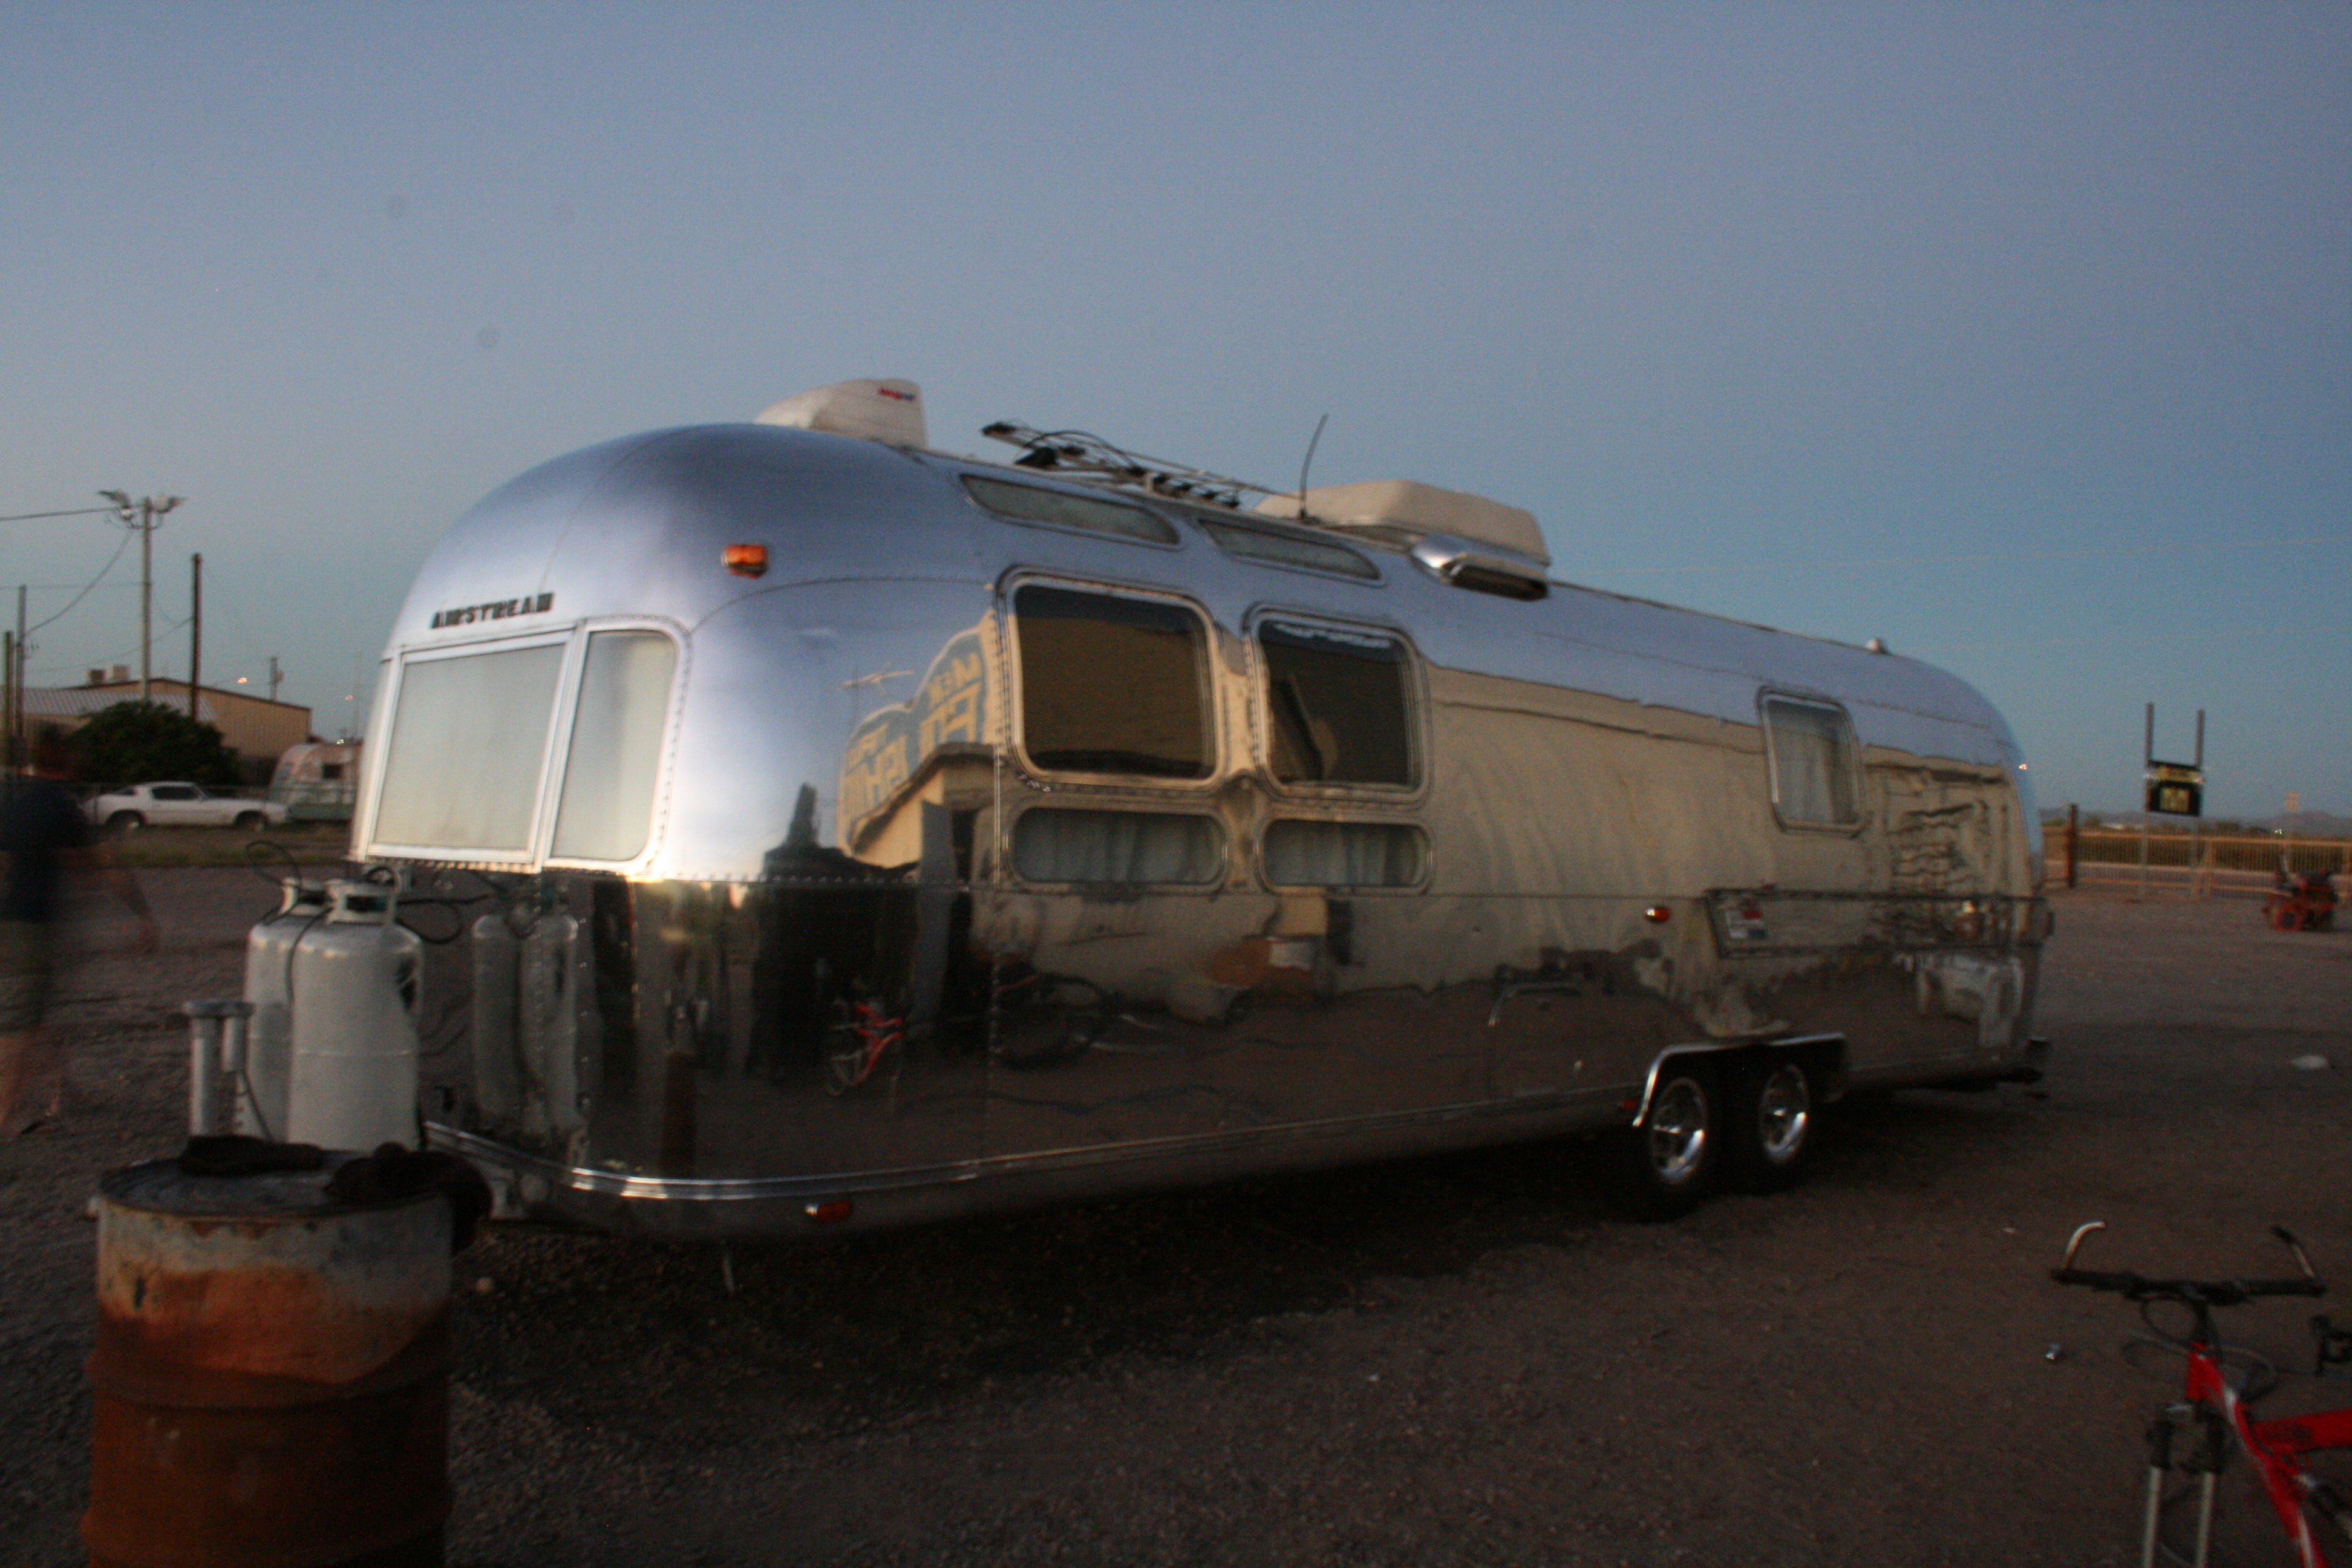
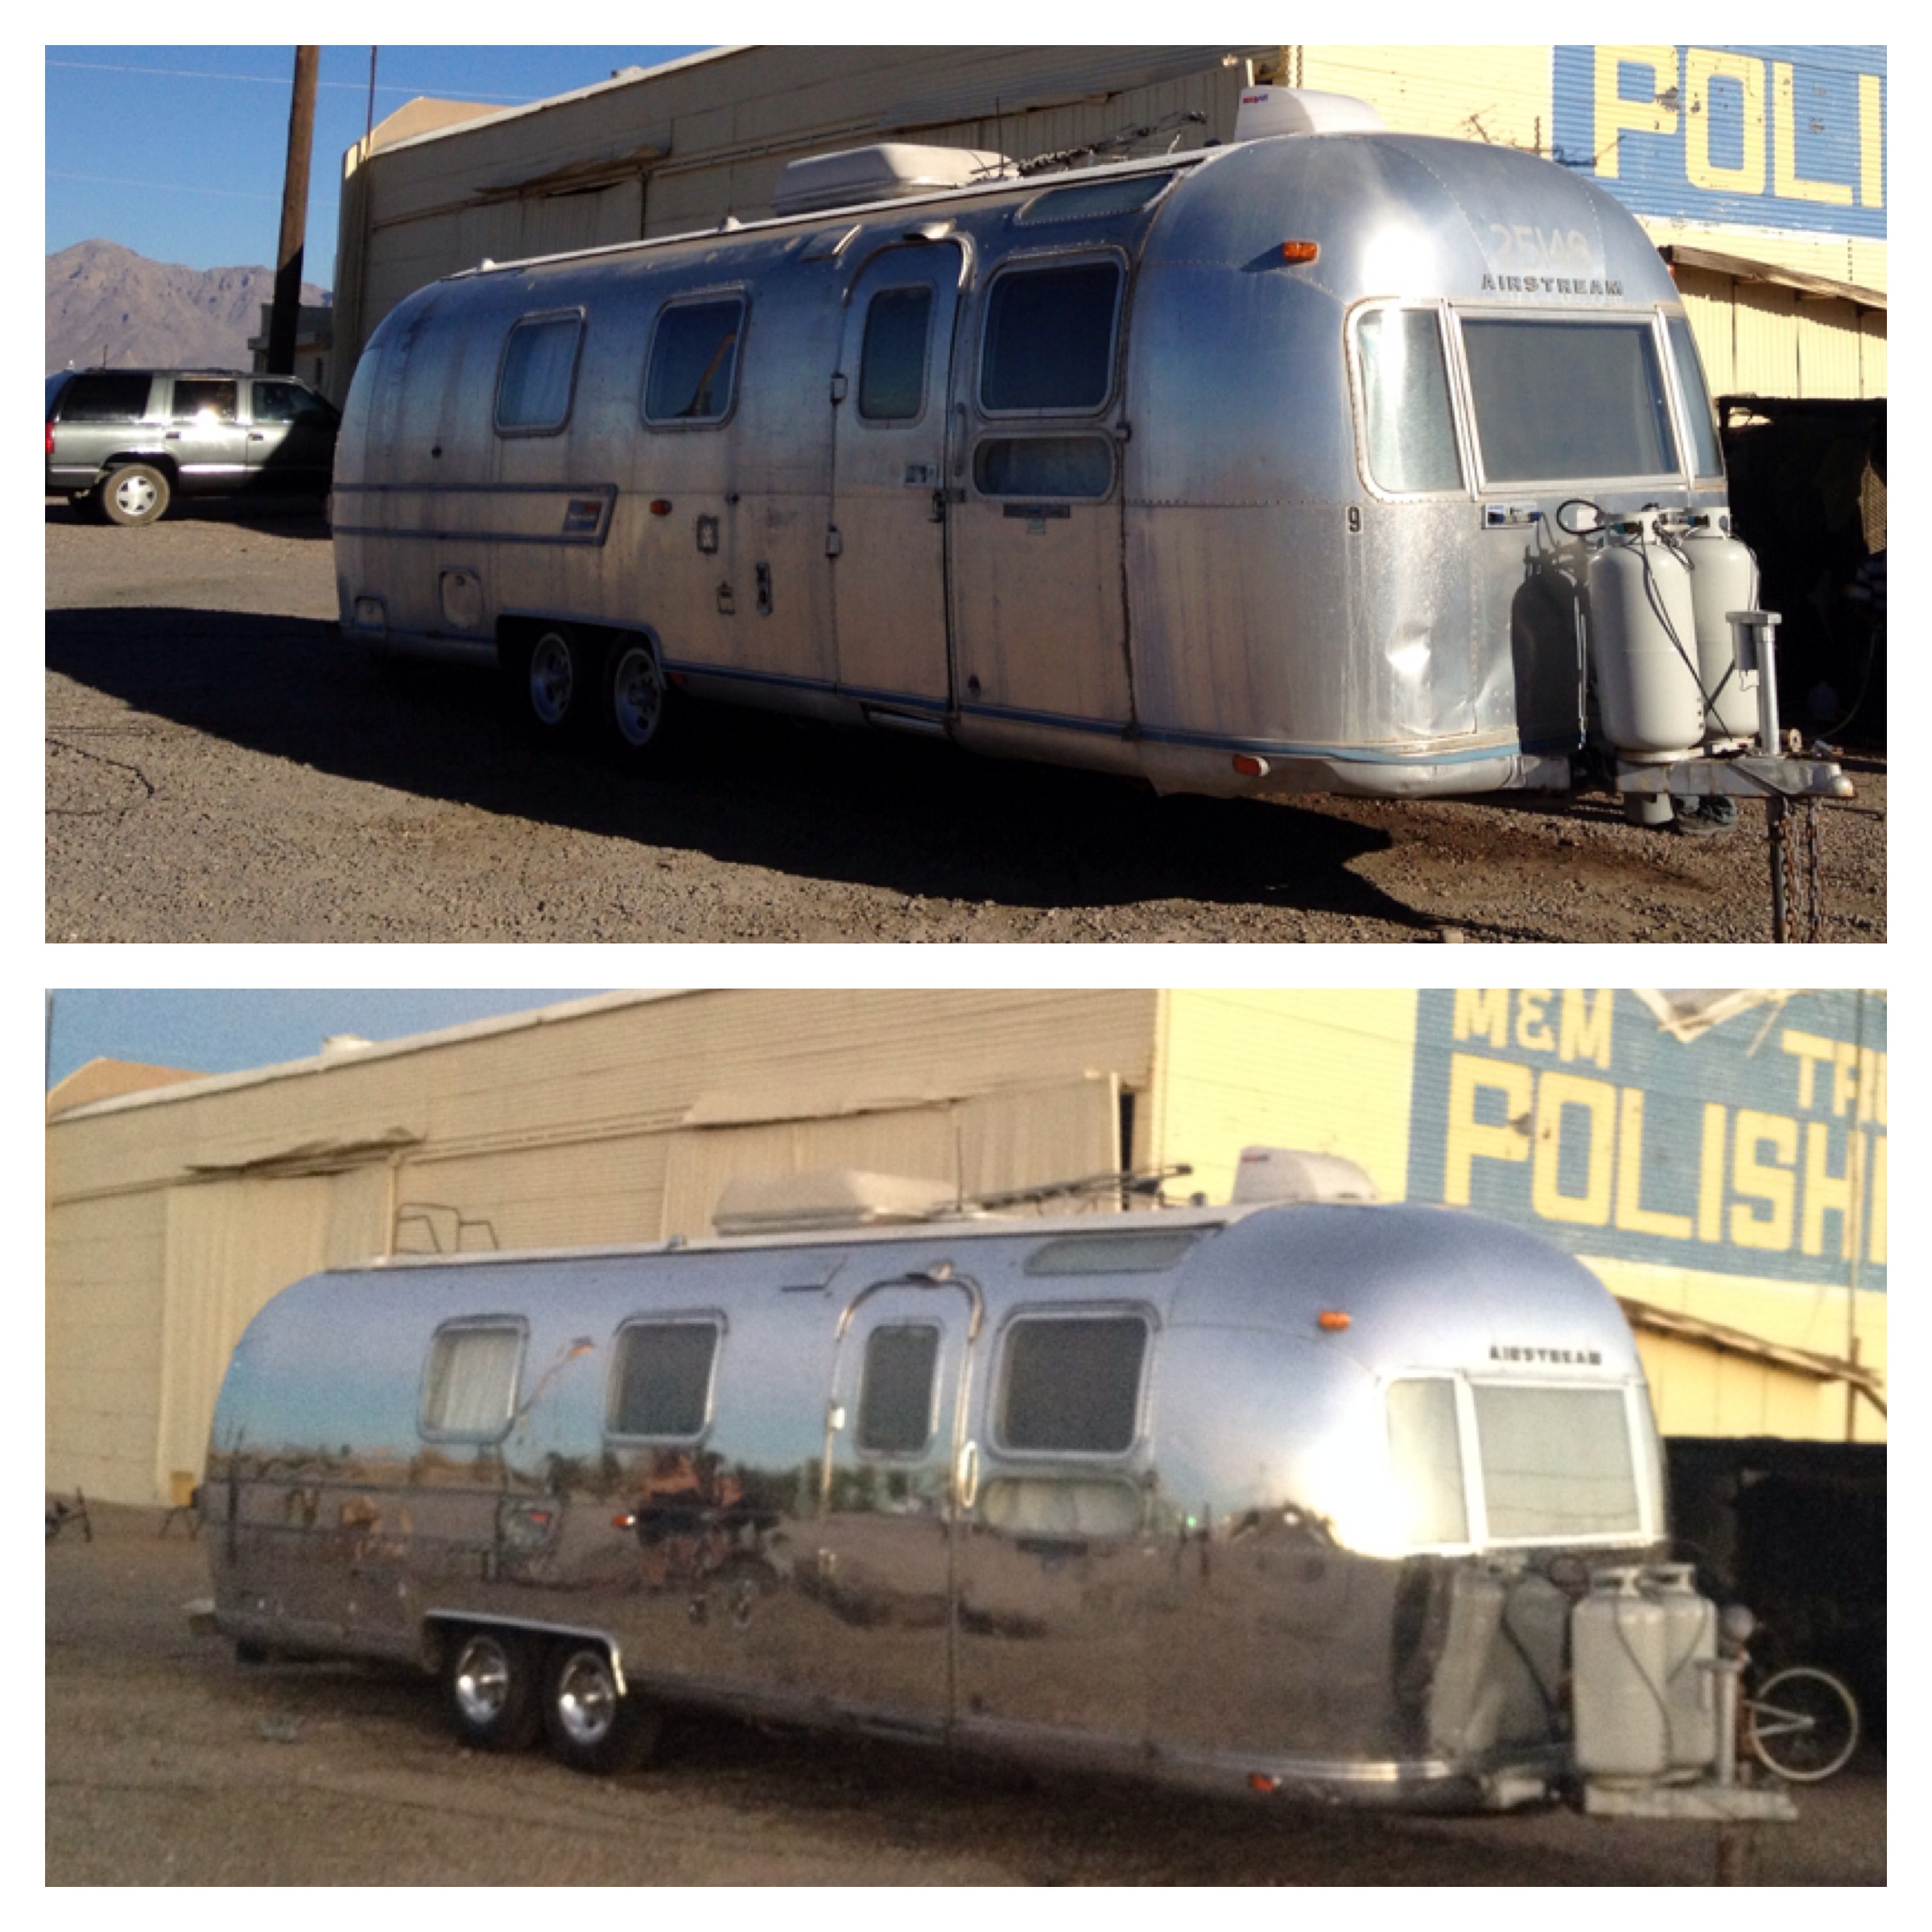
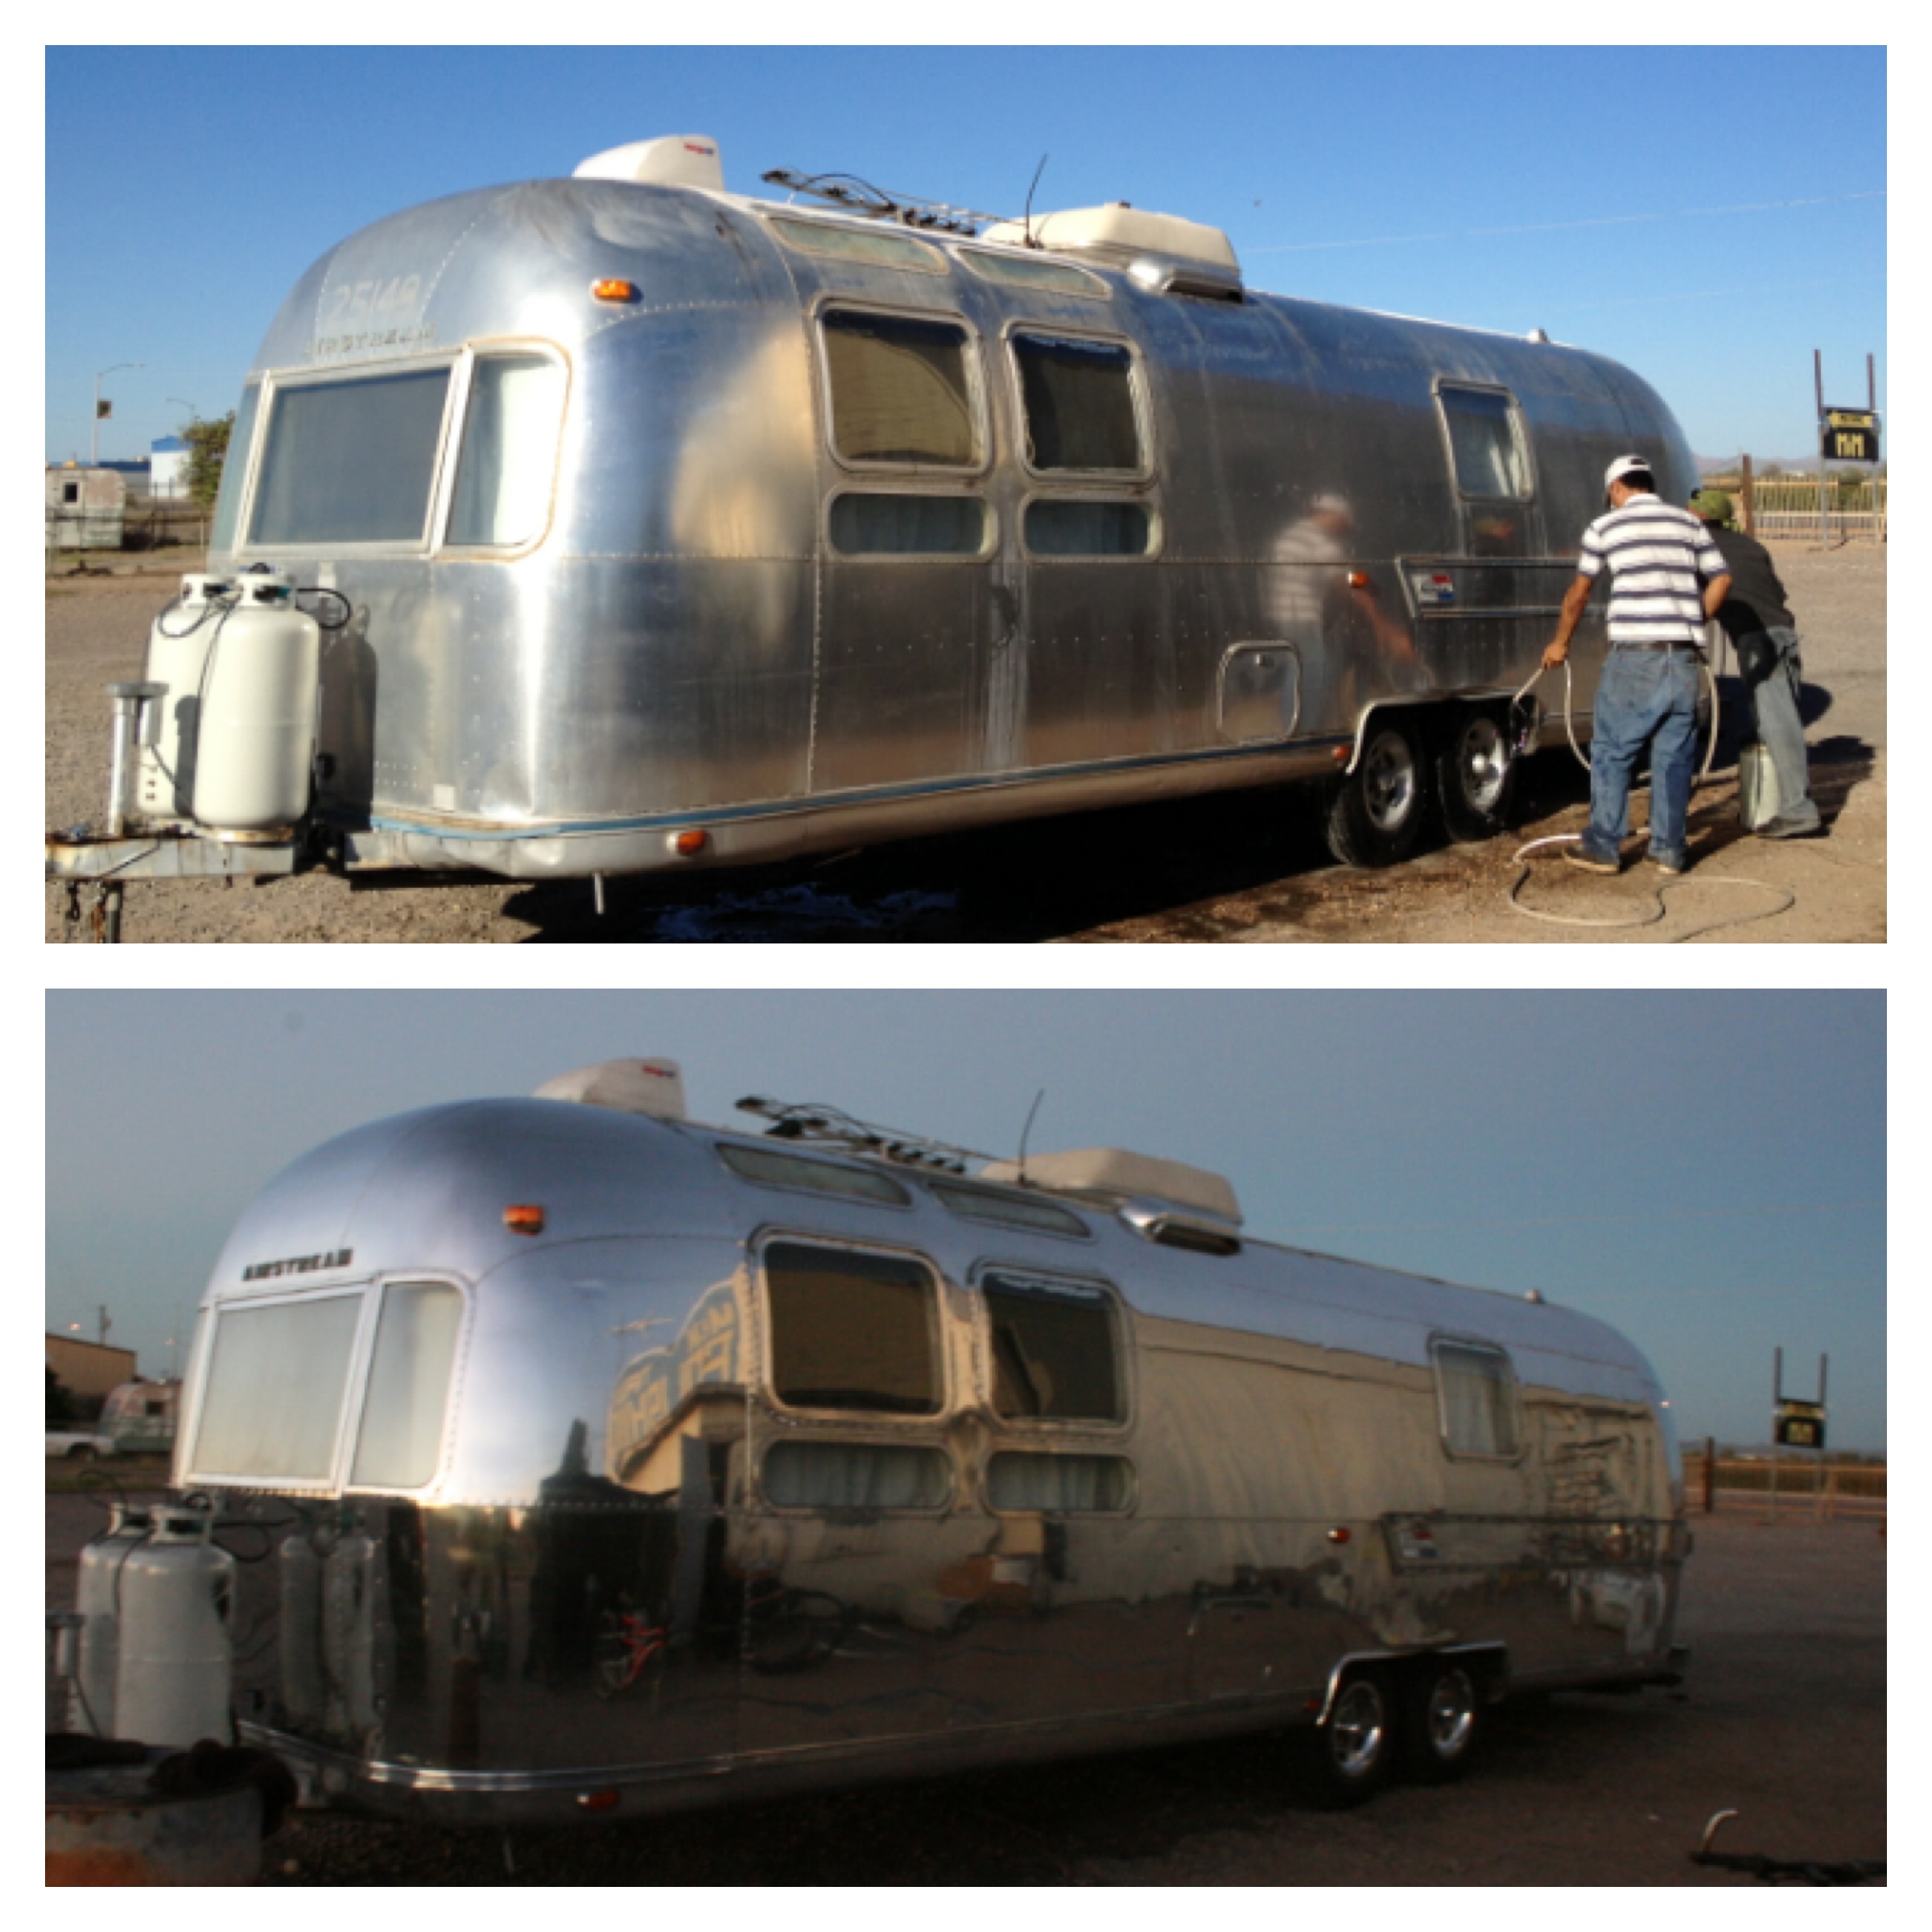
Another vintage airstream (possibly our same year) was staying here.

IMG_9125

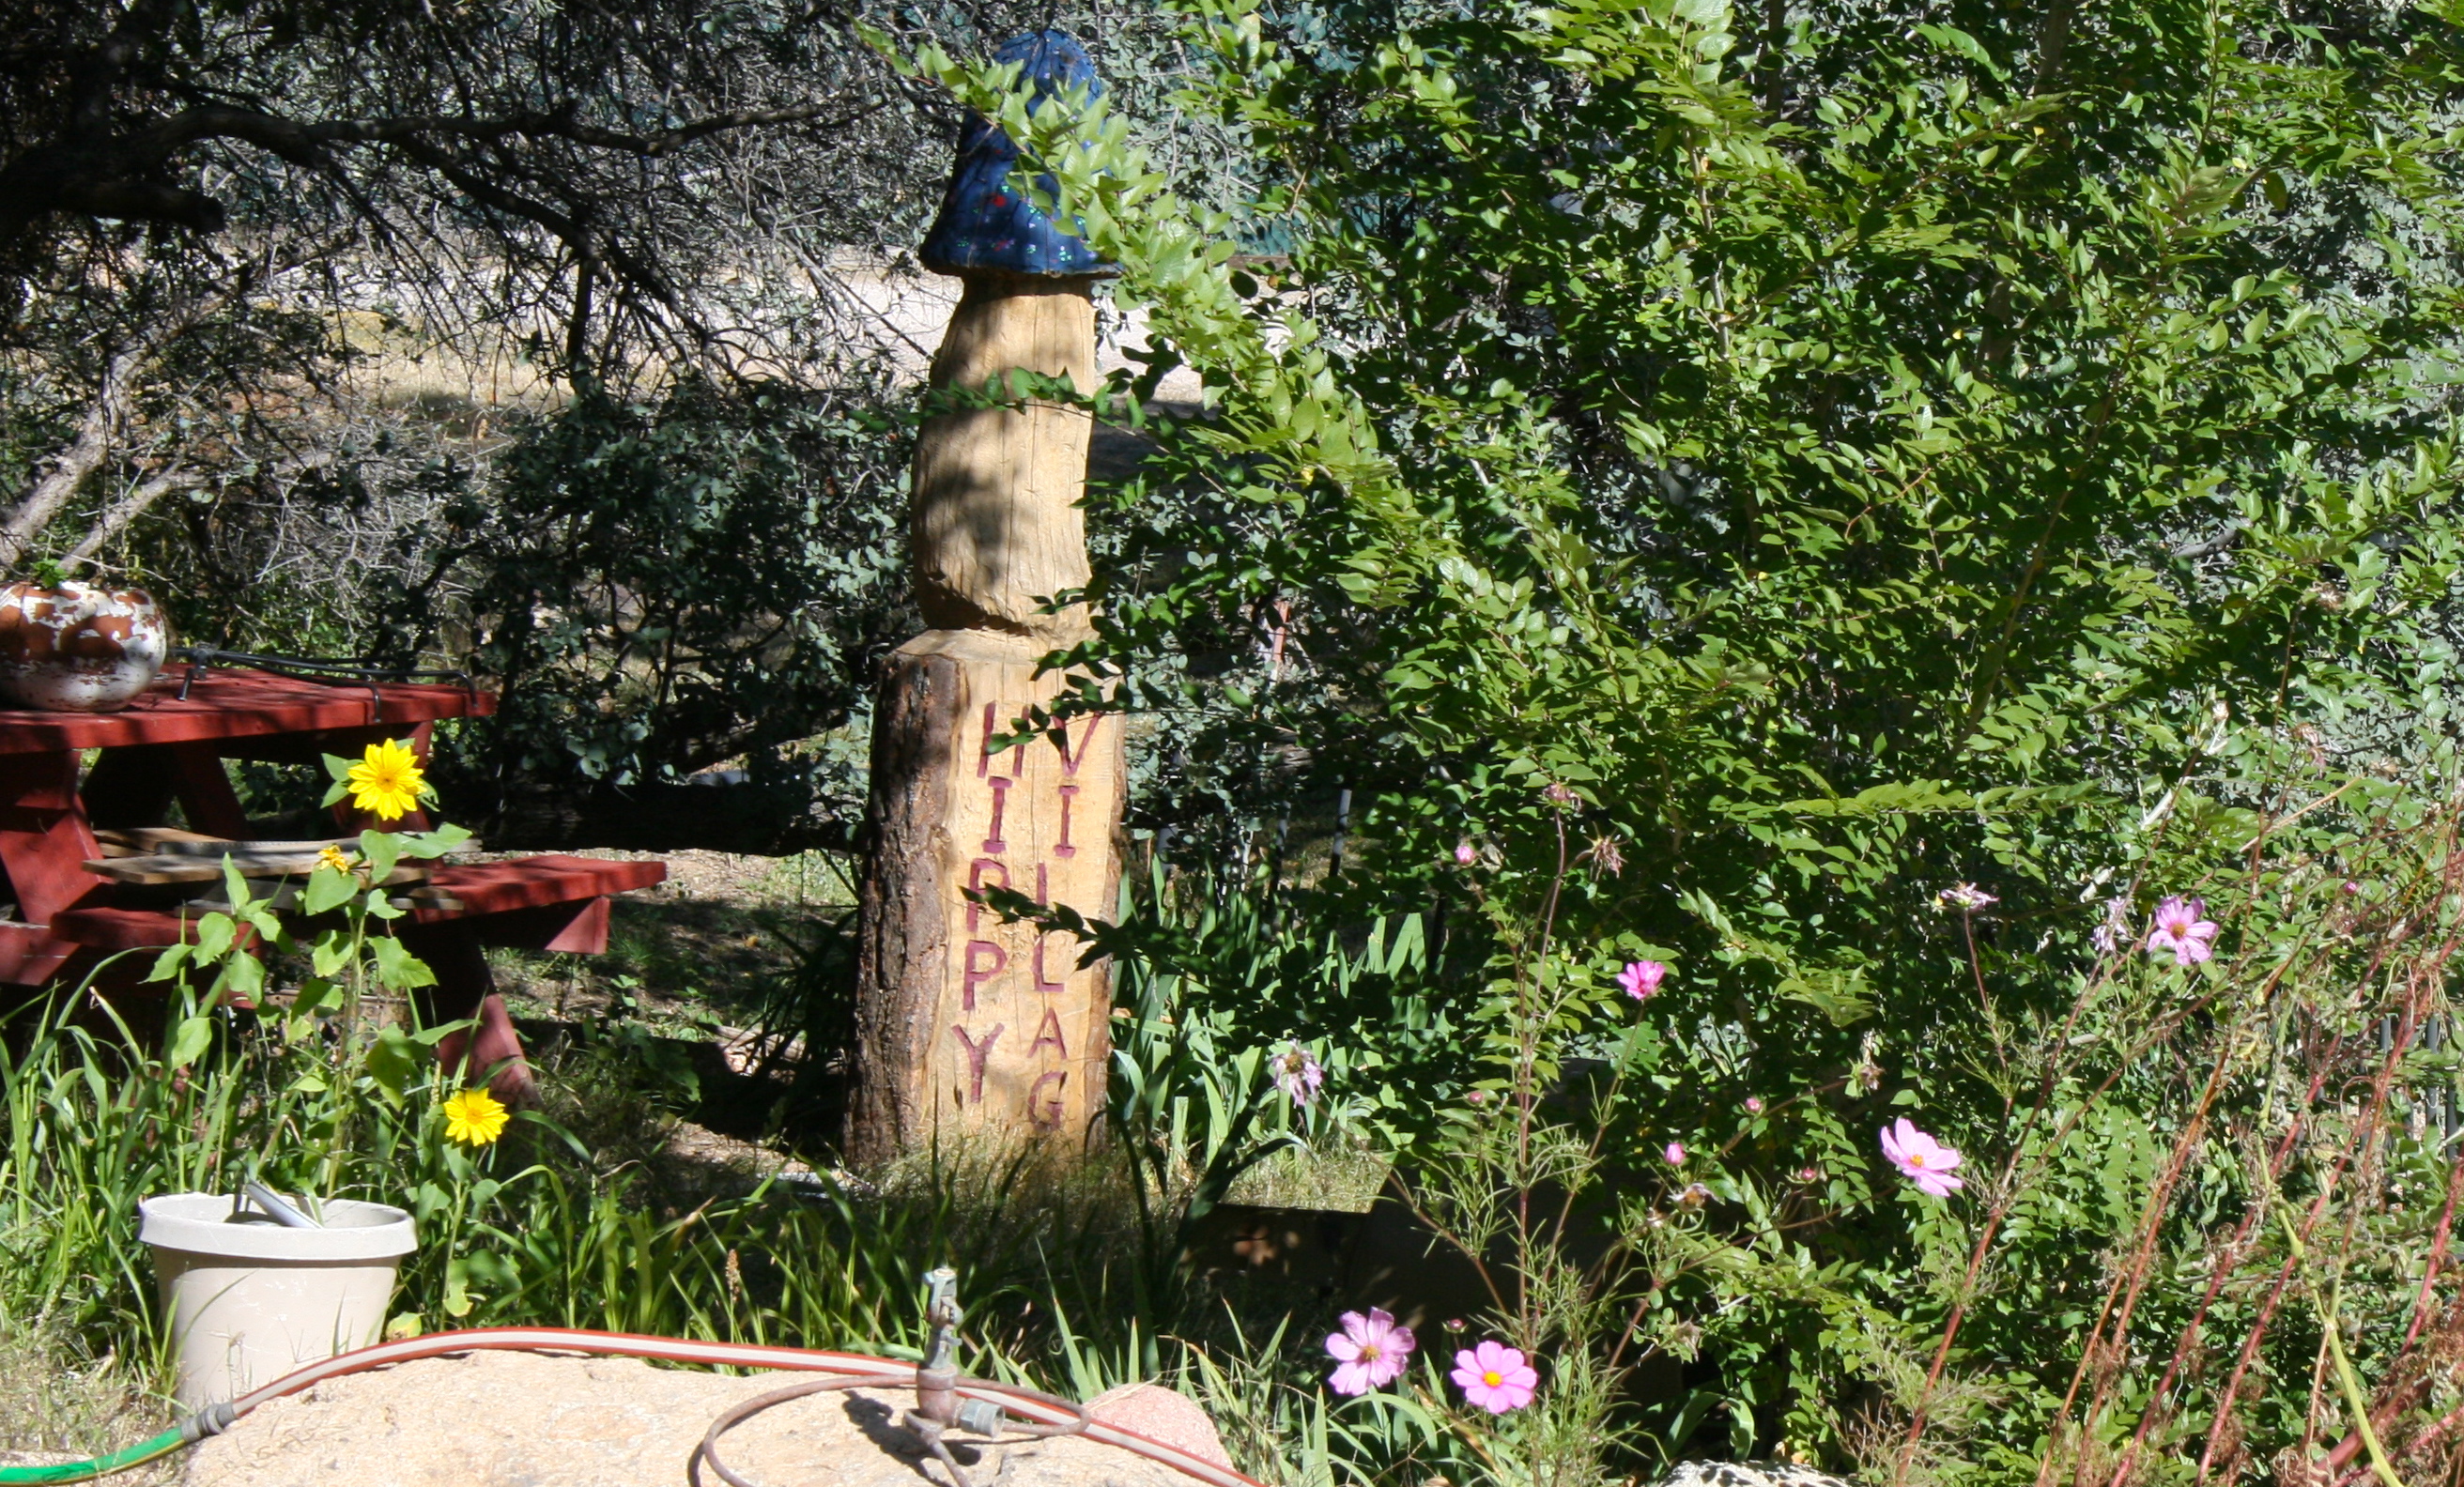
I didn’t notice this carved tree stump, but of course my hippy husband sees it.

IMG_9148

IMG_9147

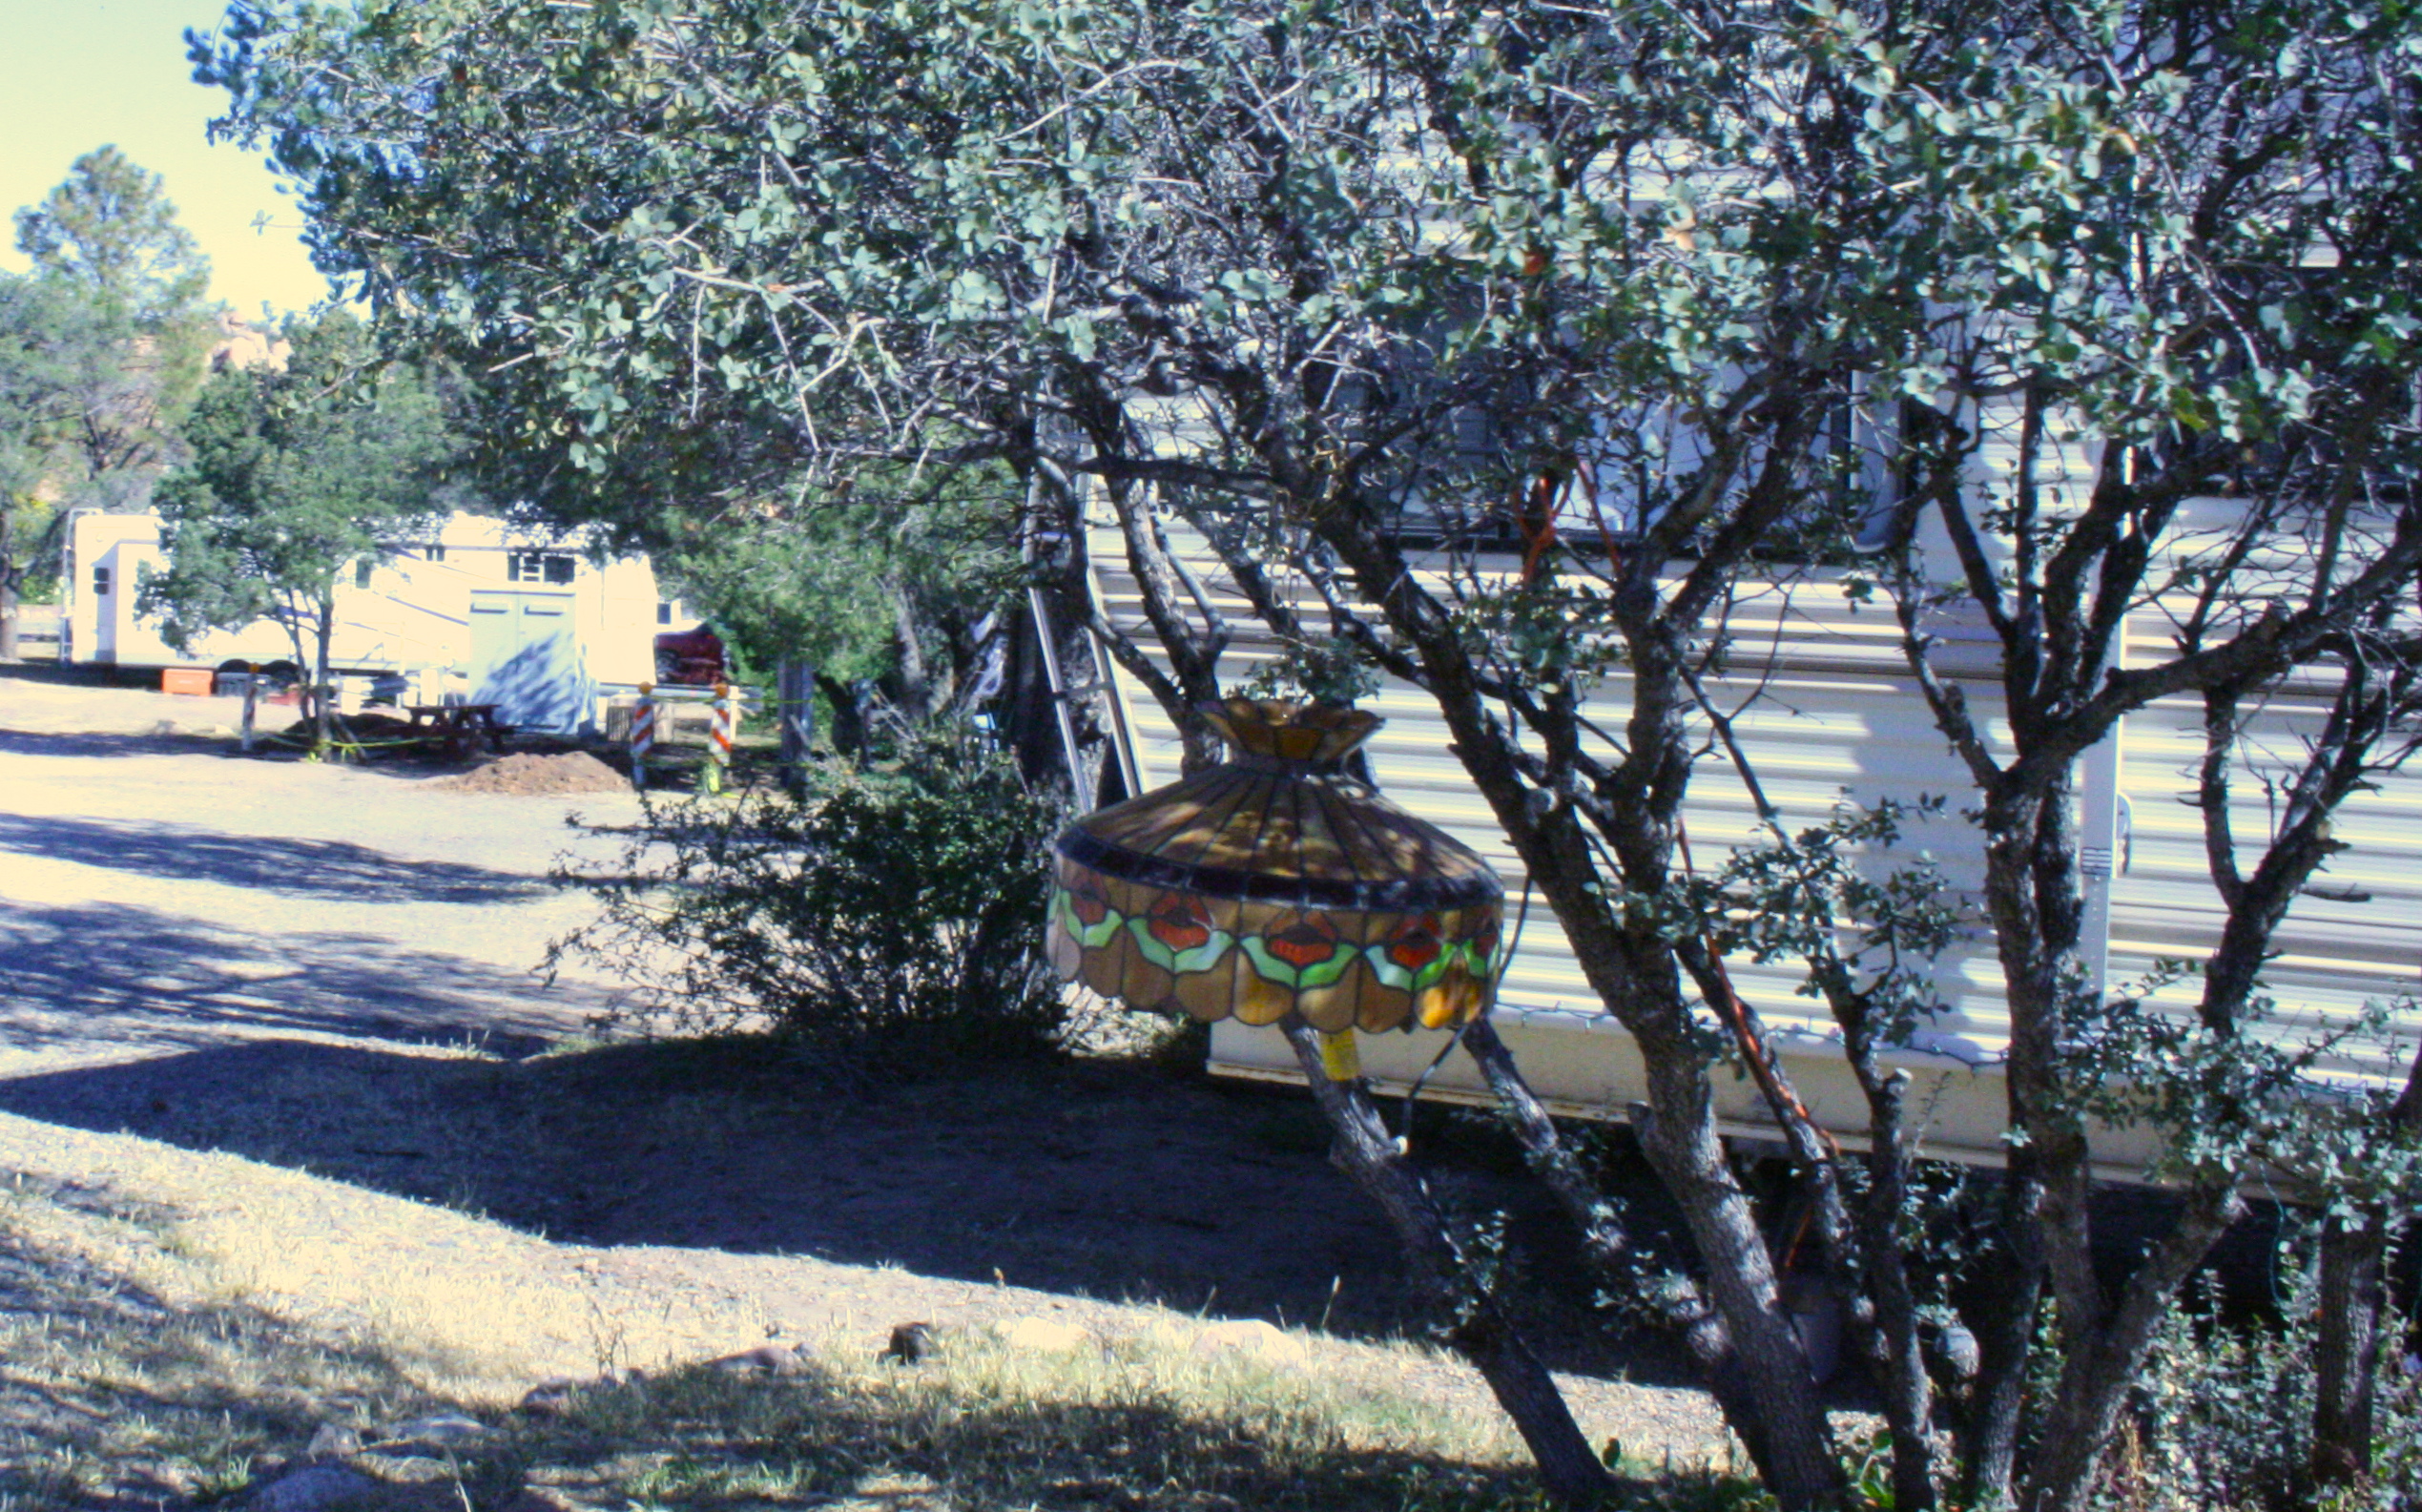
How’s that for some outside lighting. 😉

IMG_9117

Matt spotted an old 1960s Chevy van that he can’t stop talking about.

IMG_9144

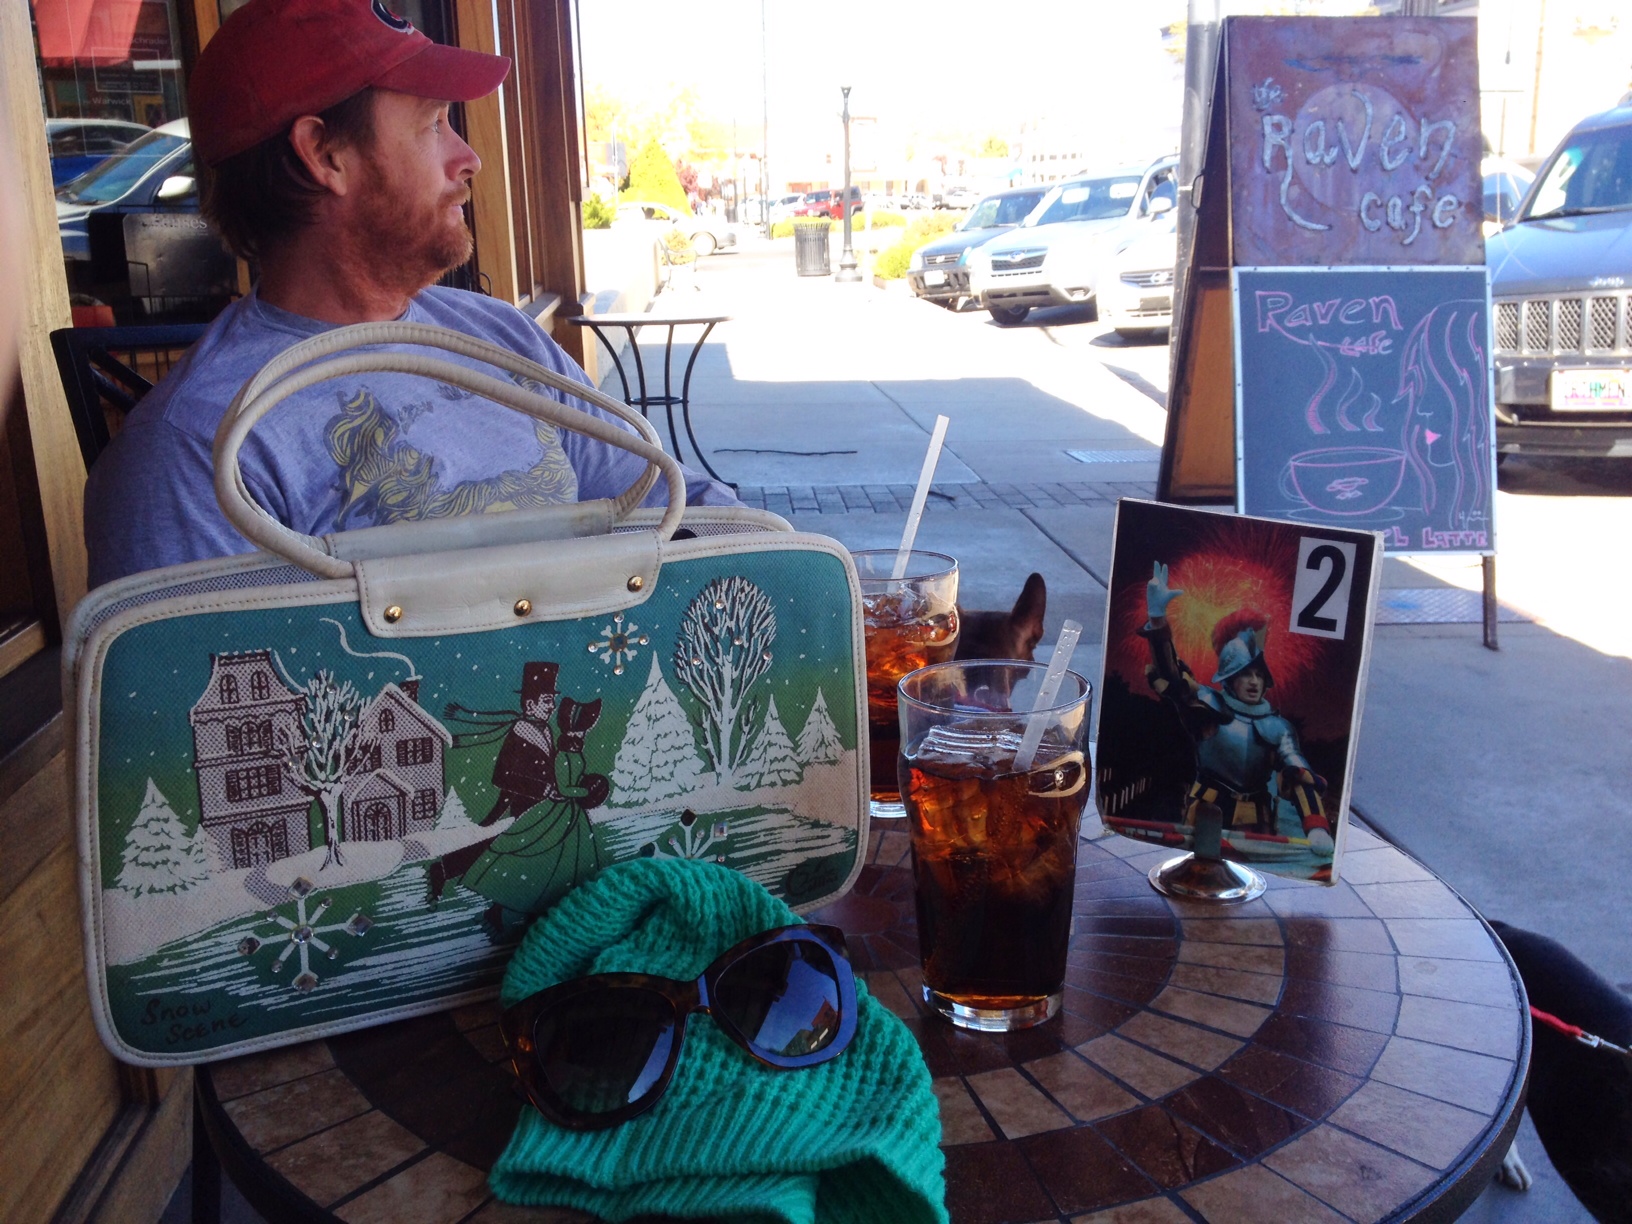
Our first morning at the park, we slept in a bit, which happened to be a godsend! We had water start shooting out from under the kitchen sink when we were getting ready to leave. It was a super easy fix, but had we not been there, we likely would have come back to find a flooded mess. We didn’t end up heading into town until early afternoon. We decided to grab the dogs and get lunch. I had read about Raven Cafe on Yelp. We got there and saw a sign that said ‘No outside food or drink’, which Matt thought meant we couldn’t eat outside. I went inside to ask about sitting outside and they said that would be fine. There are 2 little tables out front, which are dog-friendly. Their upper patio isn’t dog-friendly because you have to walk the dogs through the restaurant, which is against health code.  Matt grabbed a table and I ordered us a tofu and veggie sandwich, burrito and some sweet potato fries. They serve Blue Sky natural soda, which was really good. We had many people stop and pet the dogs. Everyone seems to love dogs in Prescott!

Hank always draws the most attention because most people haven’t seen a red boston terrier before.

photo 44

Raven Cafe

photo 71

photo 75

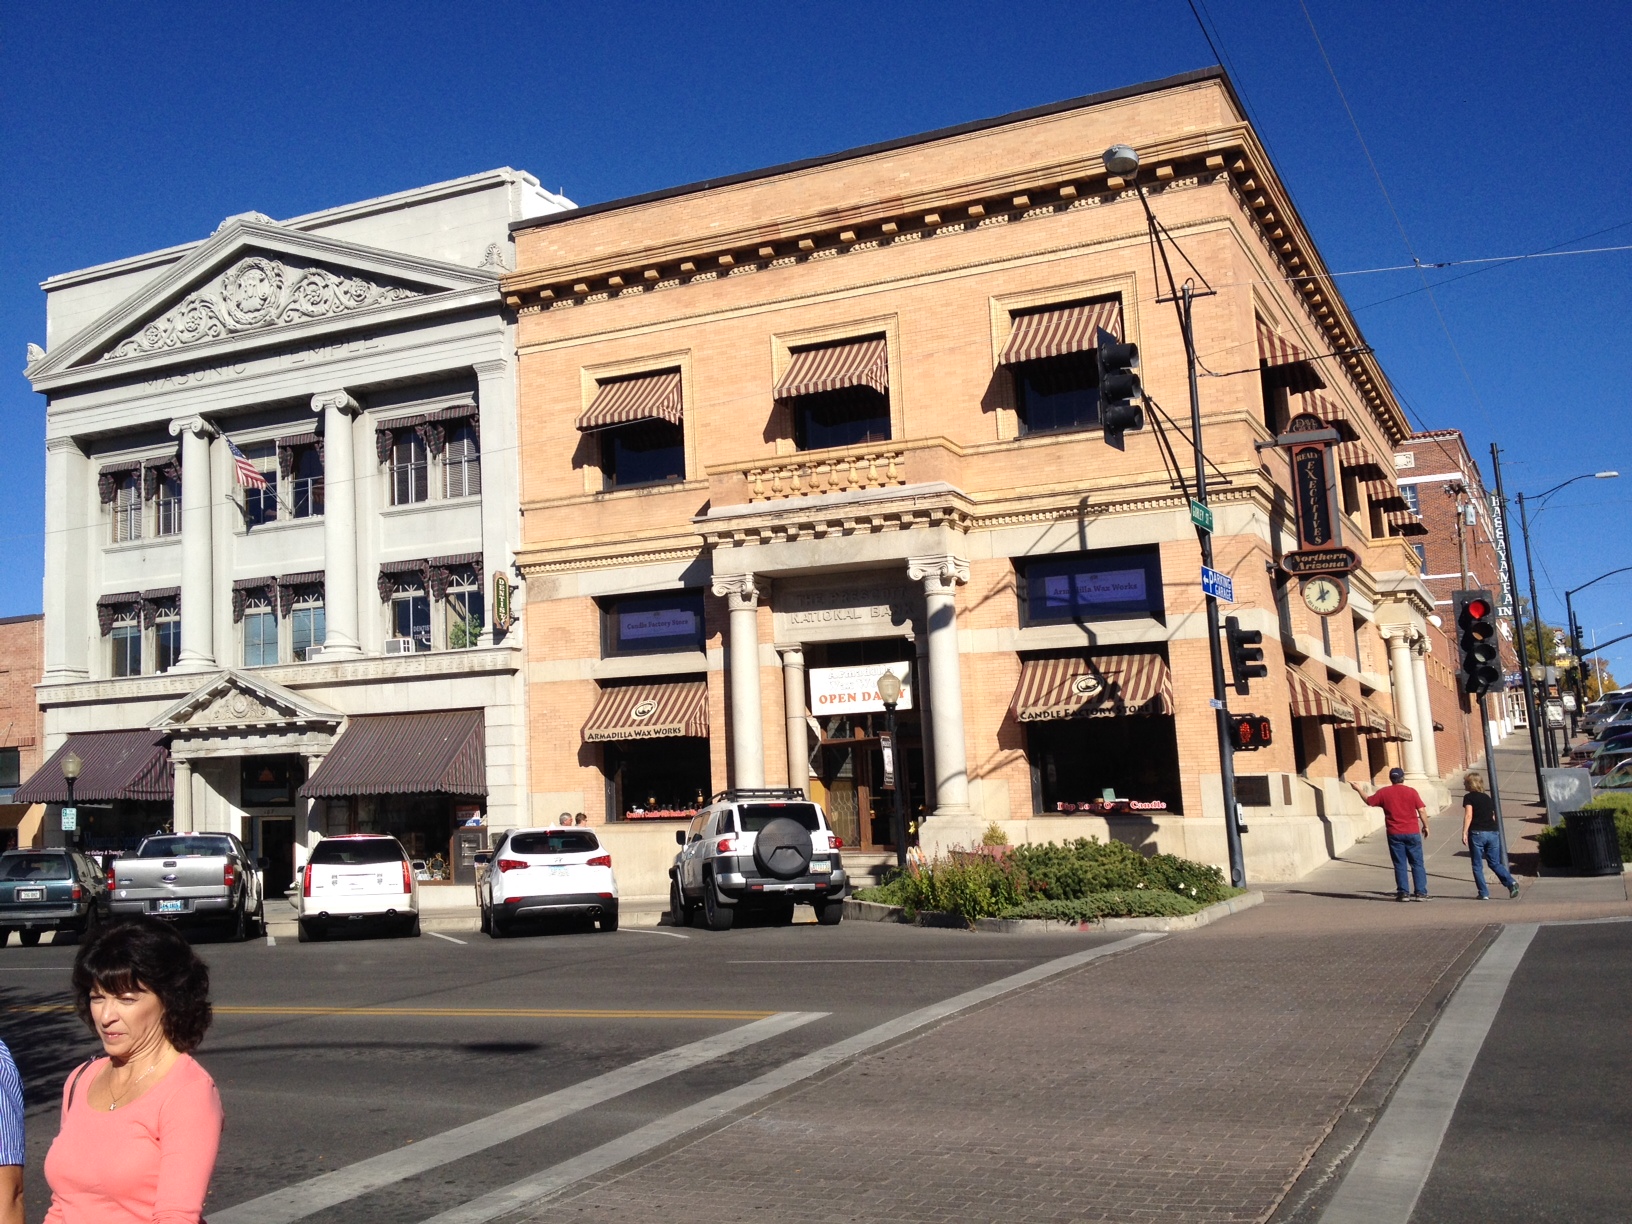
Downtown Prescott is so charming. The leaves were changing colors; it was magical.

photo 32

I love all the old buildings

photo 94

Falling leaves…the best!

photo 56

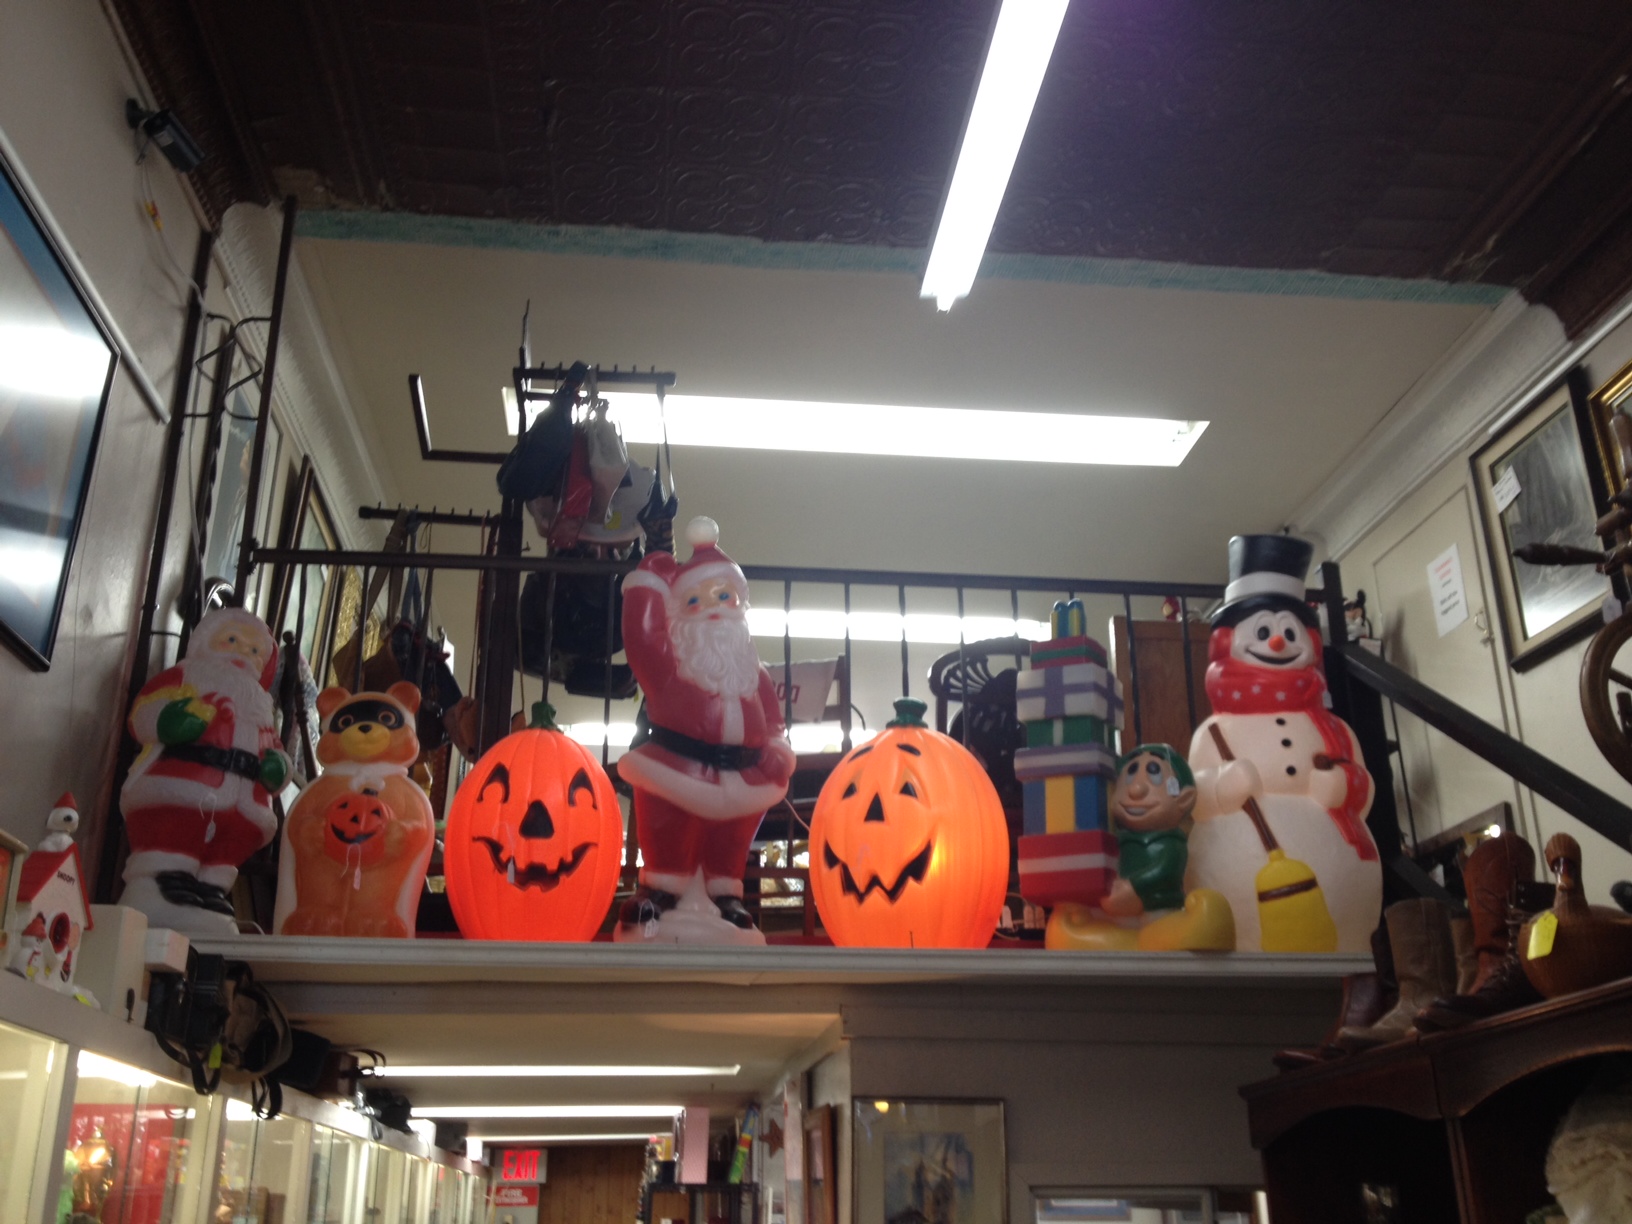
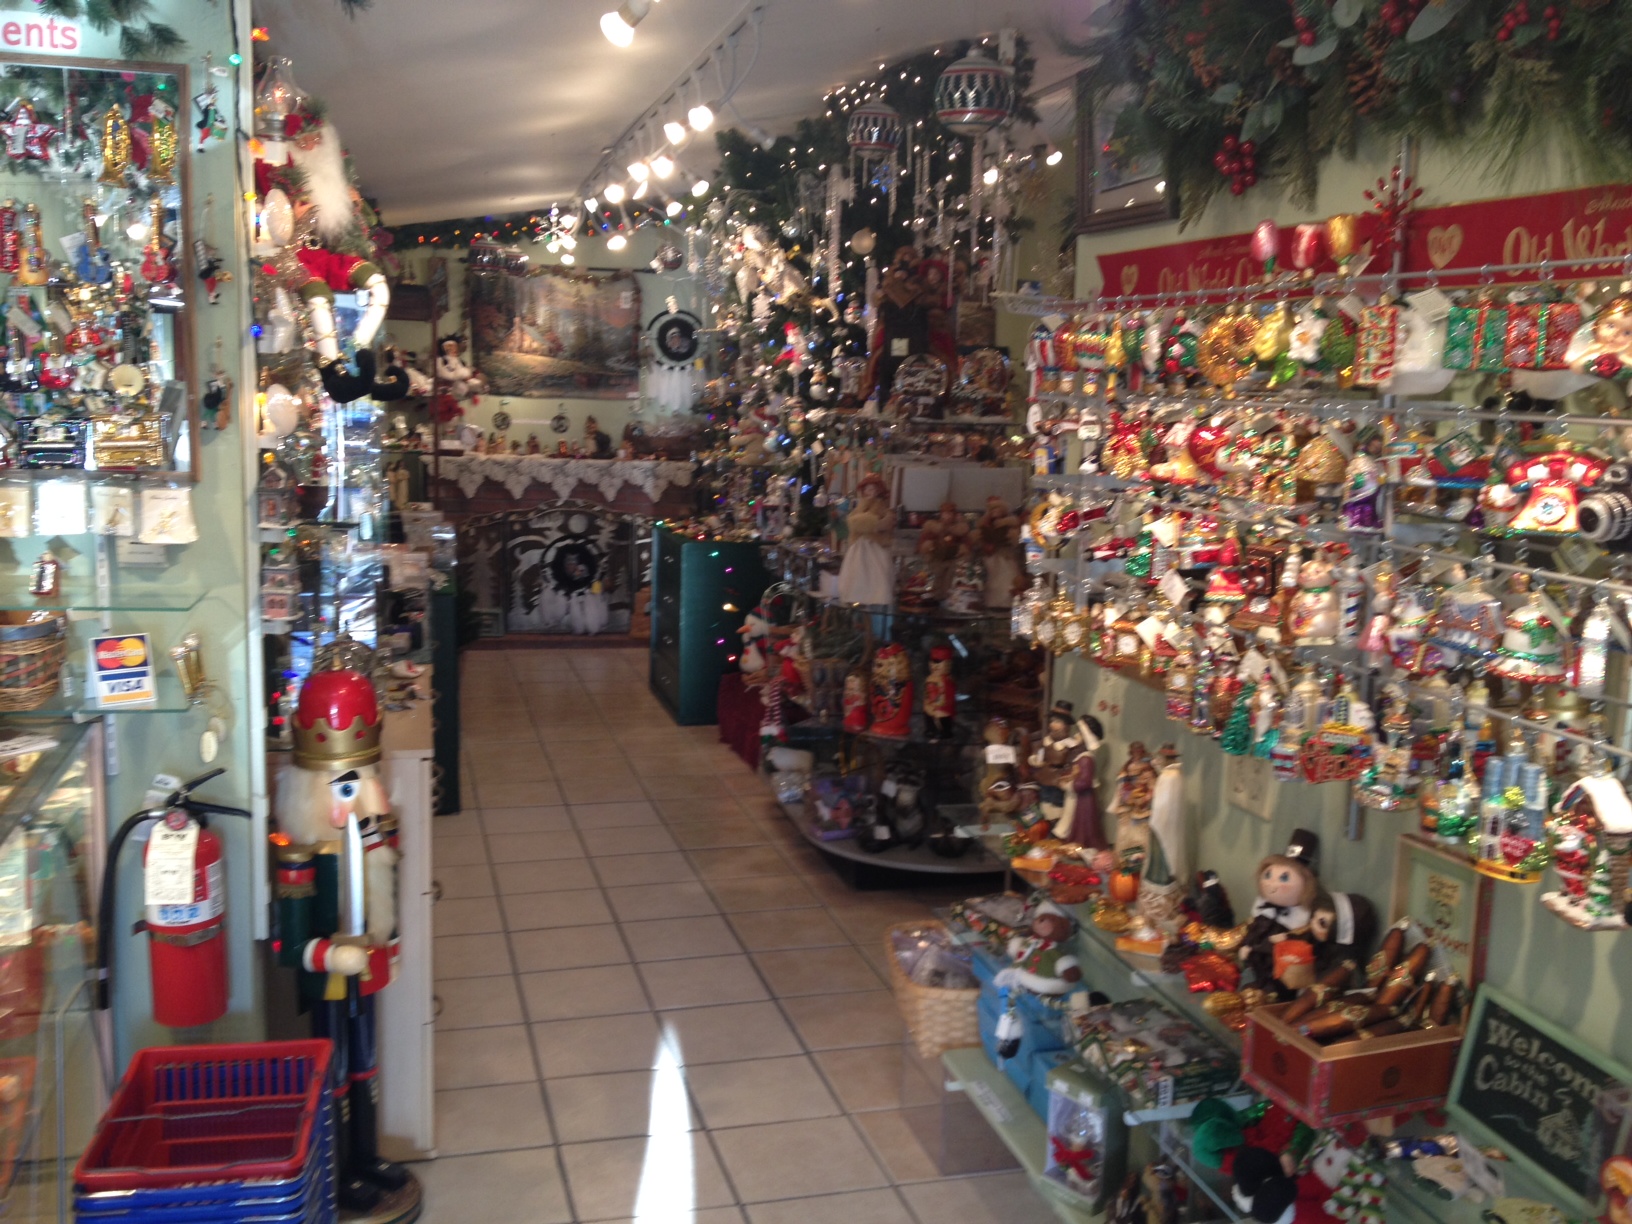
I bought 3 light-up blow mold holiday pieces from Deja Vu Antiques

photo 72

Love these AZ pieces. I have several of the cactus glasses from my grandma.

photo 83

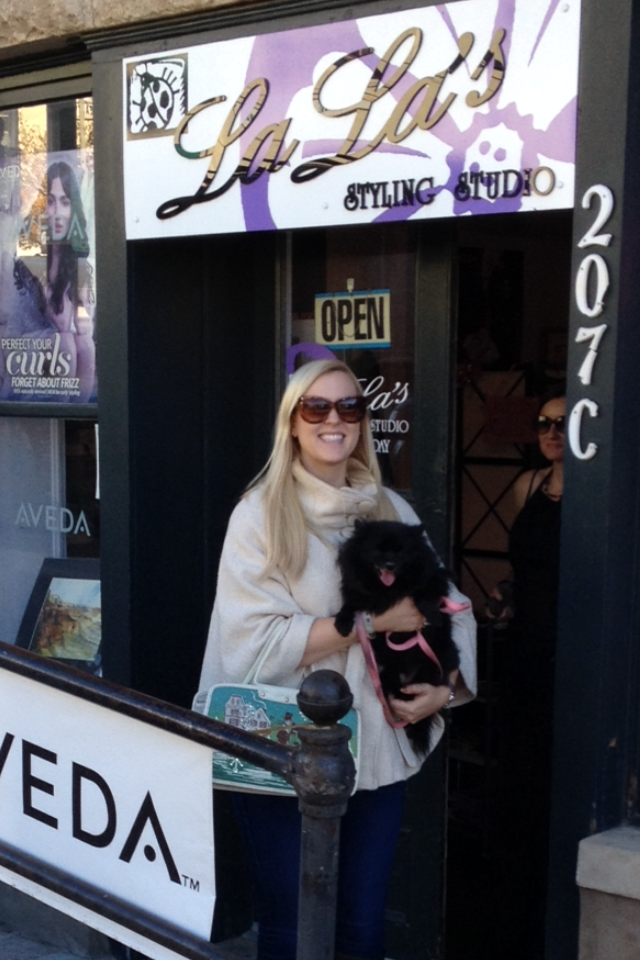
Lala had to pose in front of her salon. 😉

photo 221

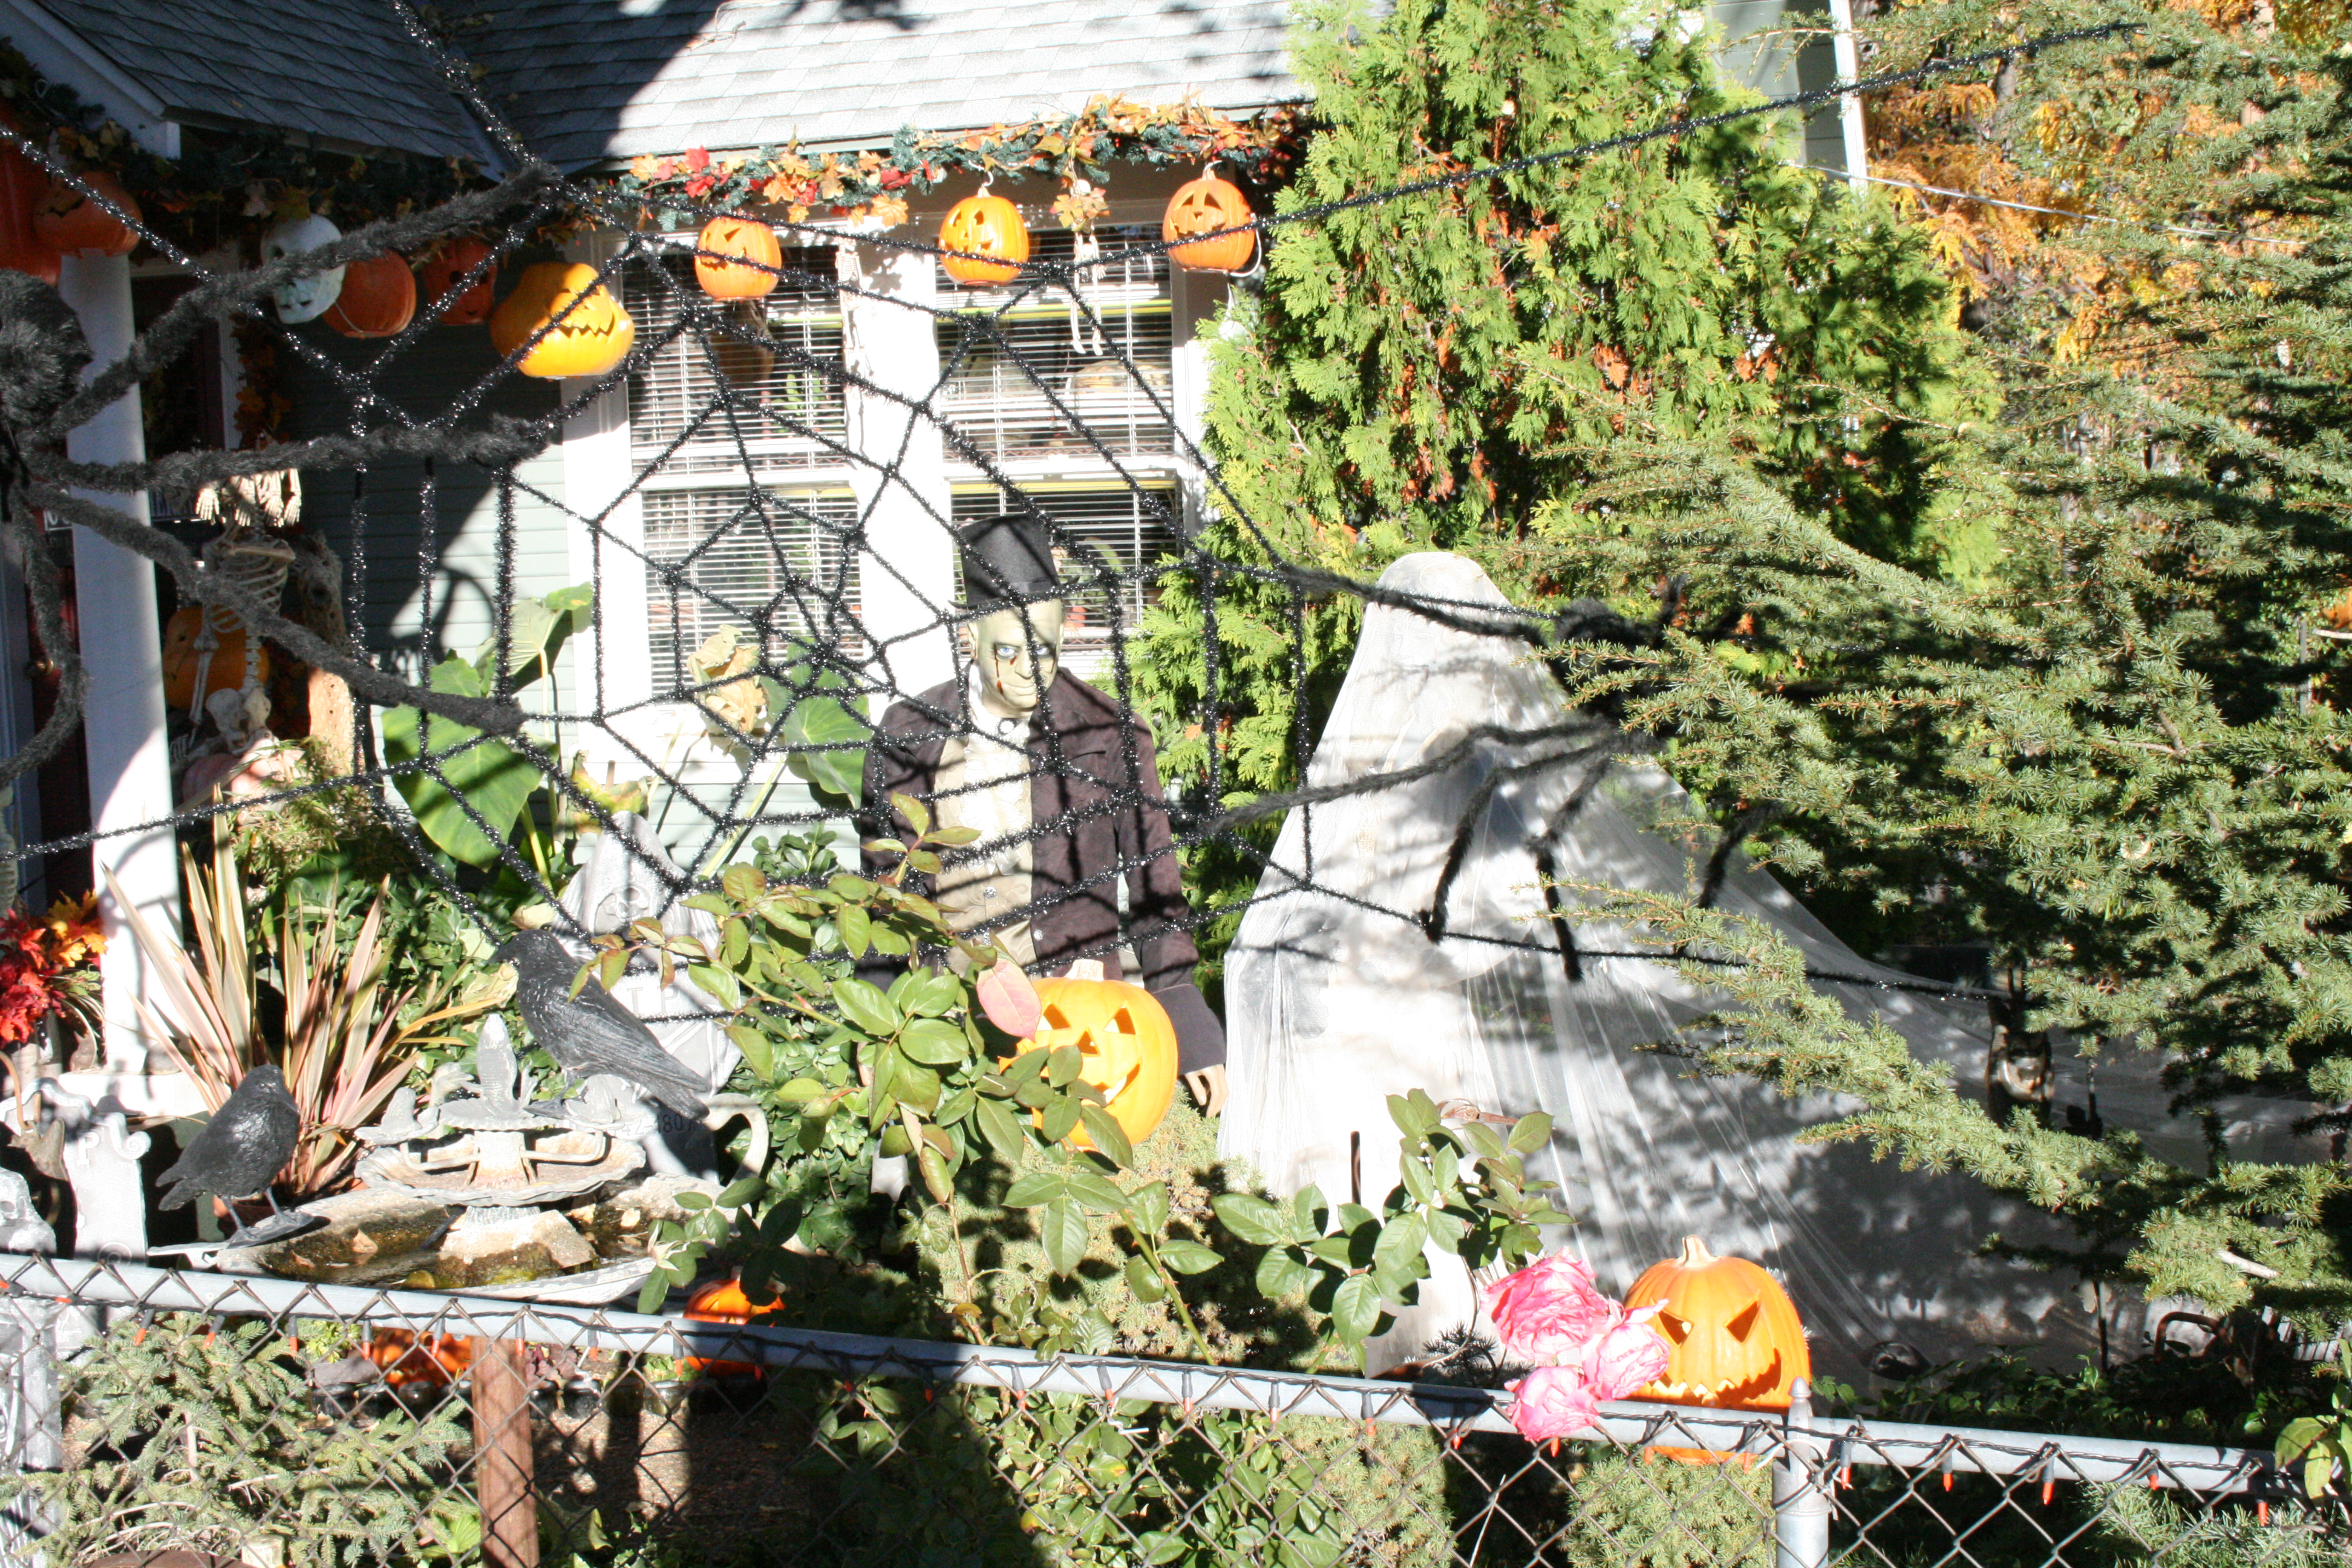
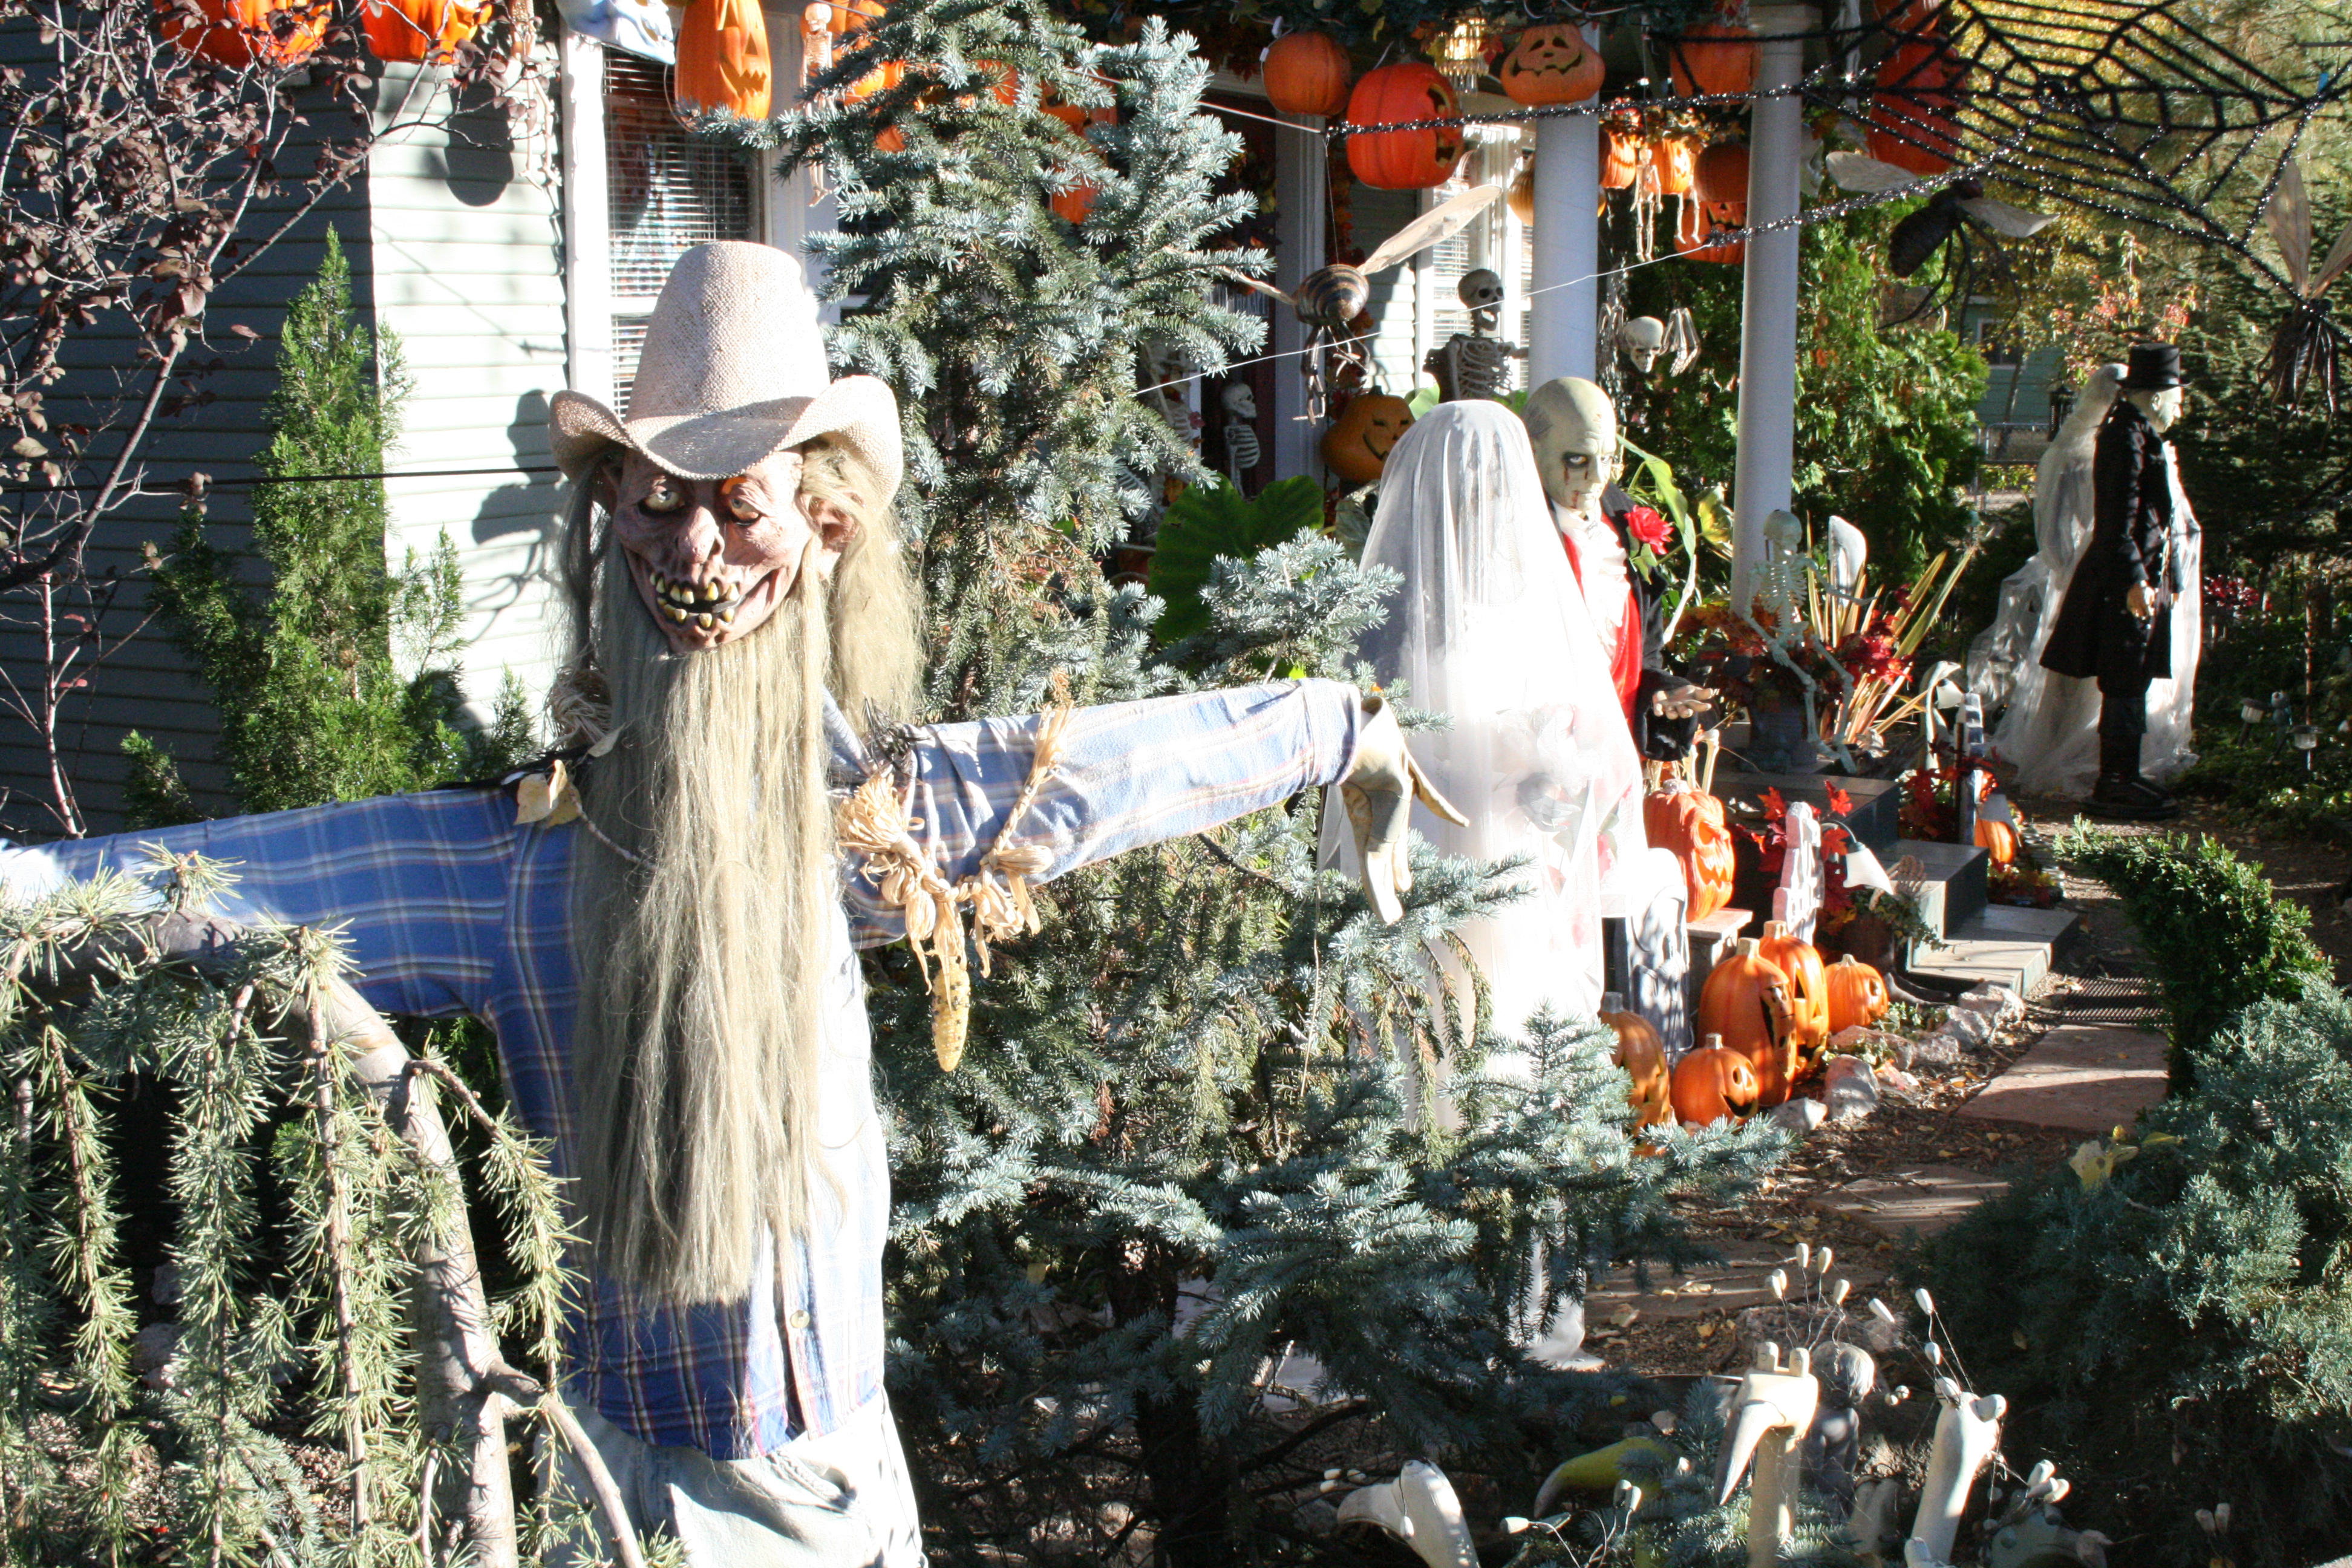
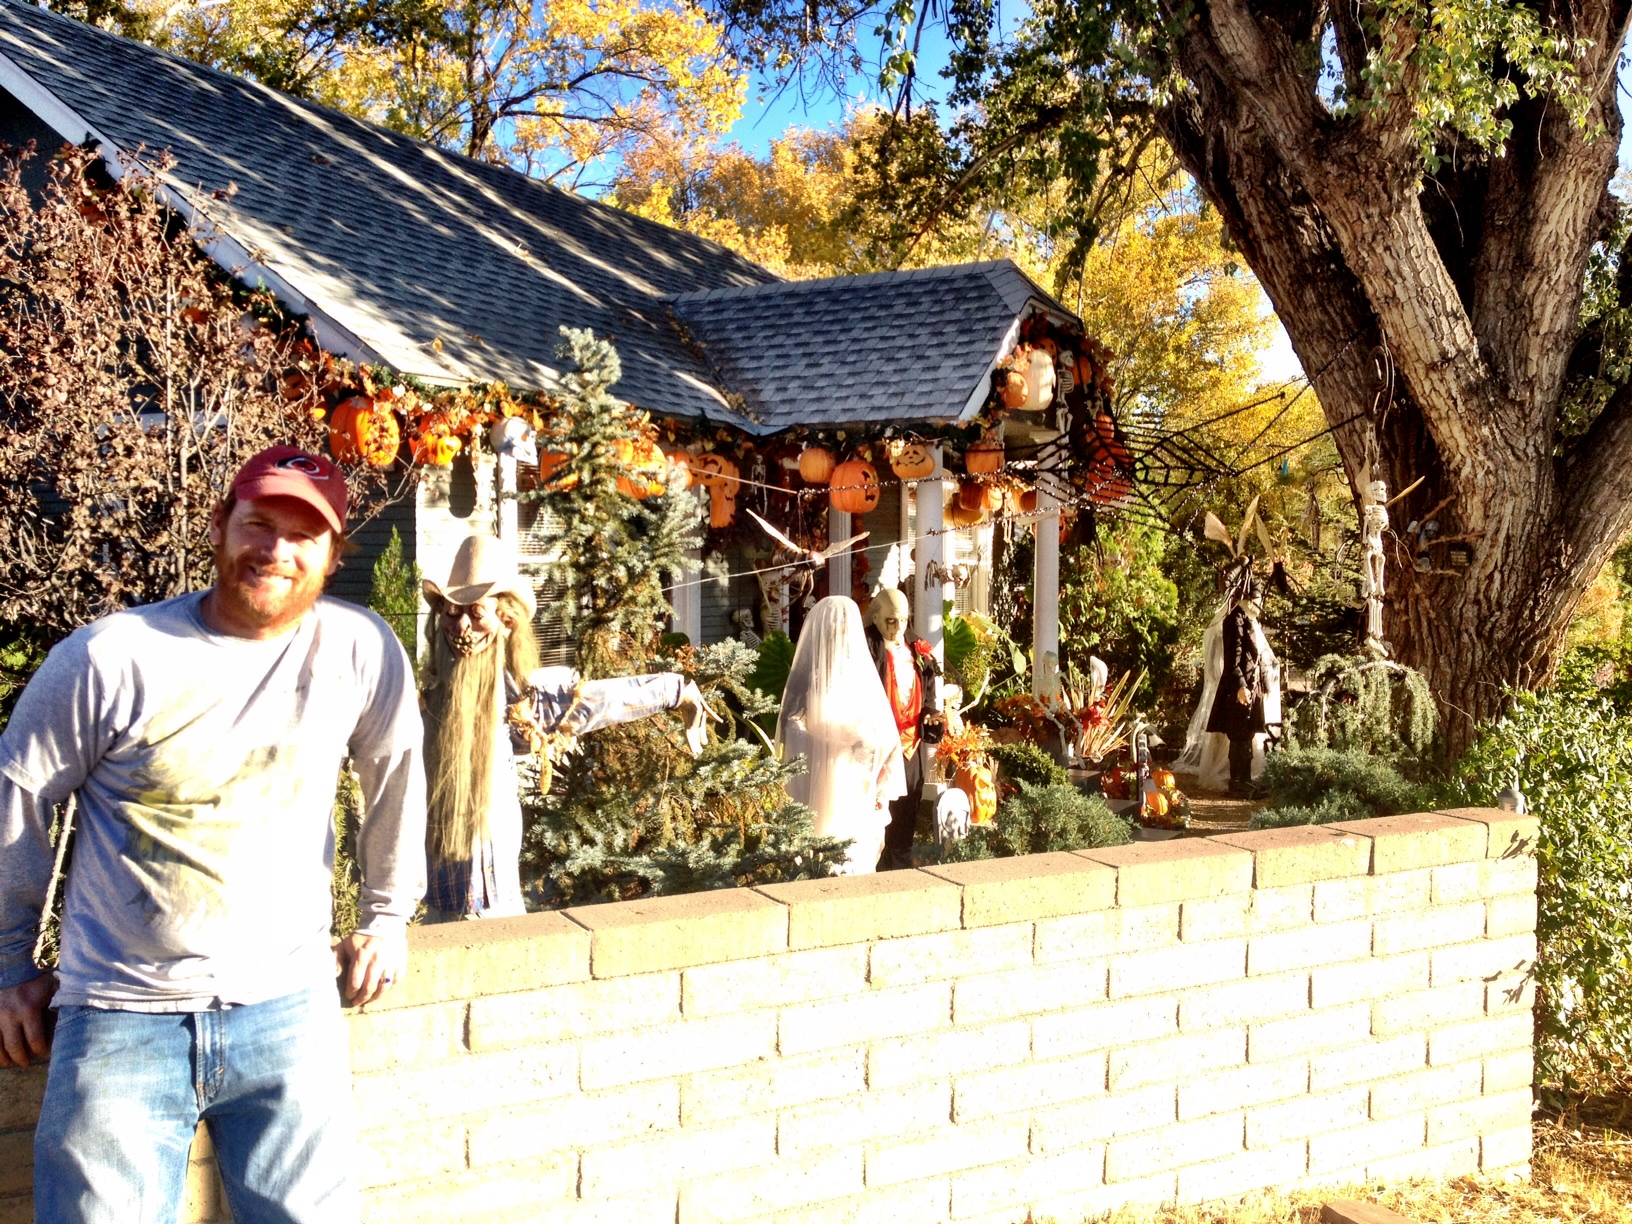
We happened upon a spooky house in downtown Prescott:

IMG_9035

IMG_9039

IMG_9040

photo 1

photo 2

Then, I found Christmas in Prescott! I bought lots of ornaments; I can’t pass up a good Christmas store…it’s an addiction, really.

photo 334

So many ornaments!

photo4 5

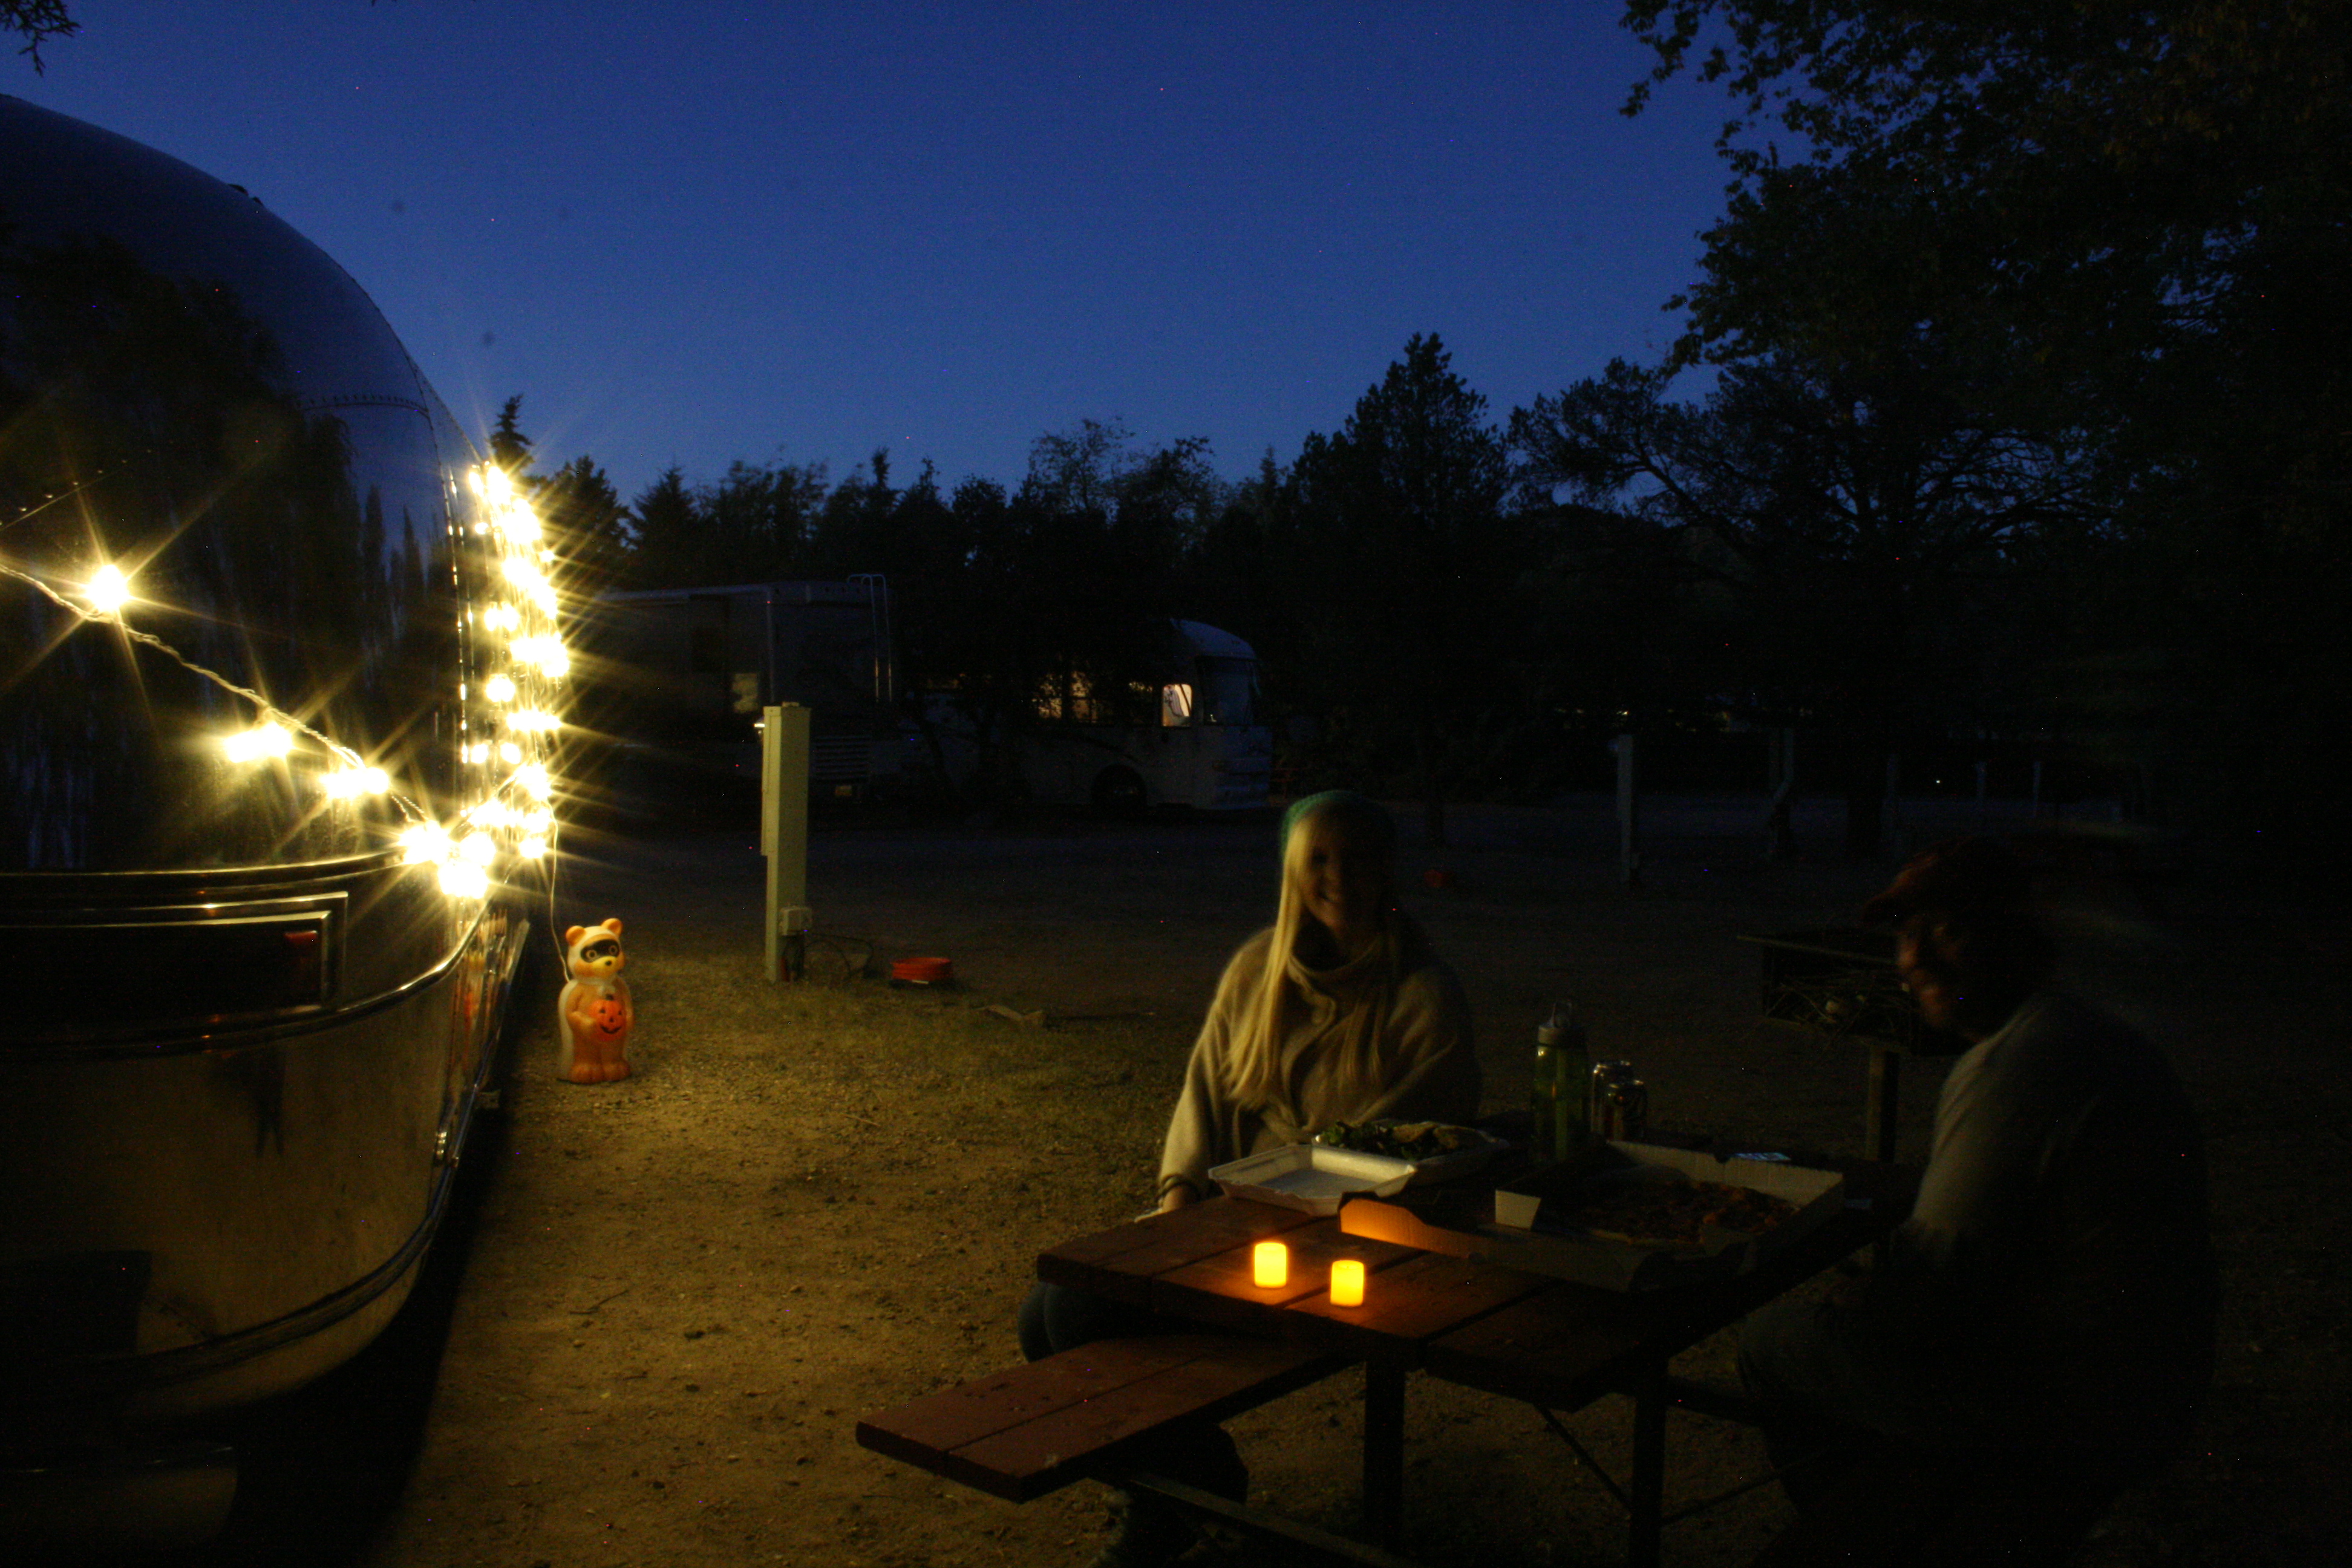
We decided to  grab our anniversary dinner from Bin 239. I got an oven-roasted vegetable panini (sans cheese) and Matt got a wood-fired pizza. We were both really happy with our meals. We got back to the trailer and decided to hang up the new LED C9 bulbs that I bought at  target. Oh, and we set out our new friend, the halloween raccoon/bear. You’ll notice we don’t have an awning. Well, I thought my Prius was in park in our driveway a few months ago. But, I ended up hitting my car on the awning arm, while leaning down to grab my purse. Boo! We have the pieces to put it back together….just one of our many upcoming airstream projects.

IMG_9057

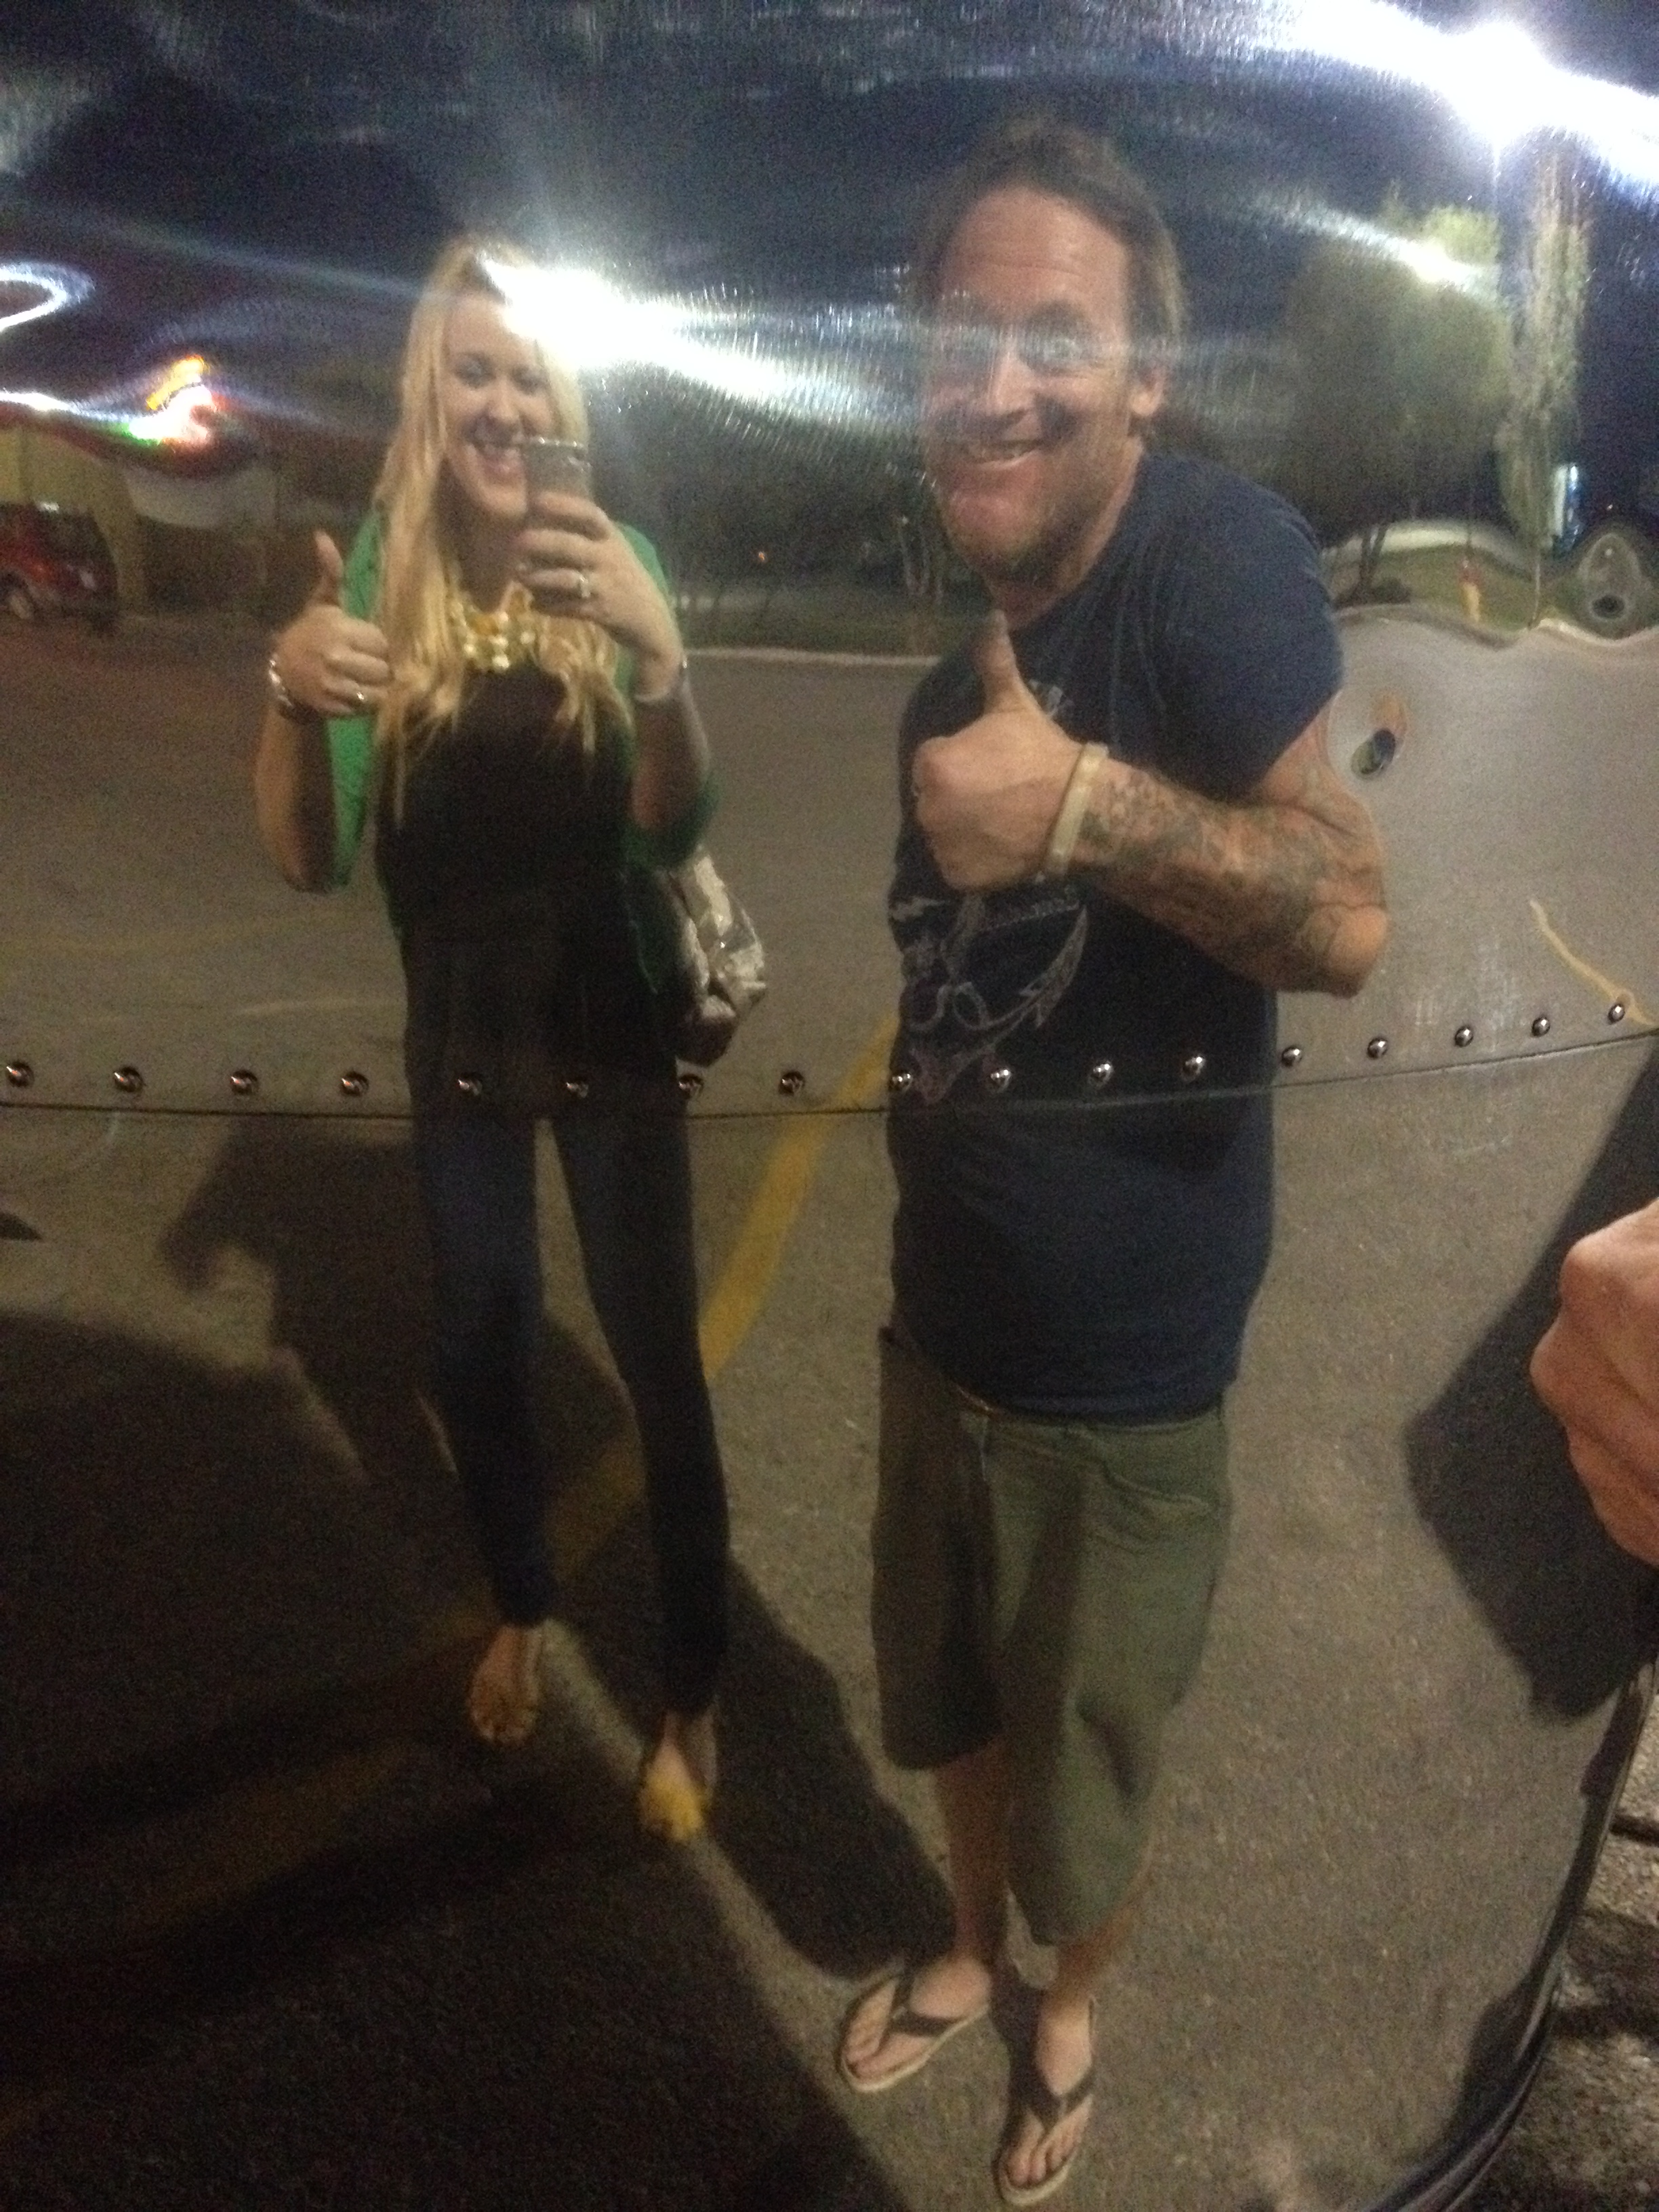
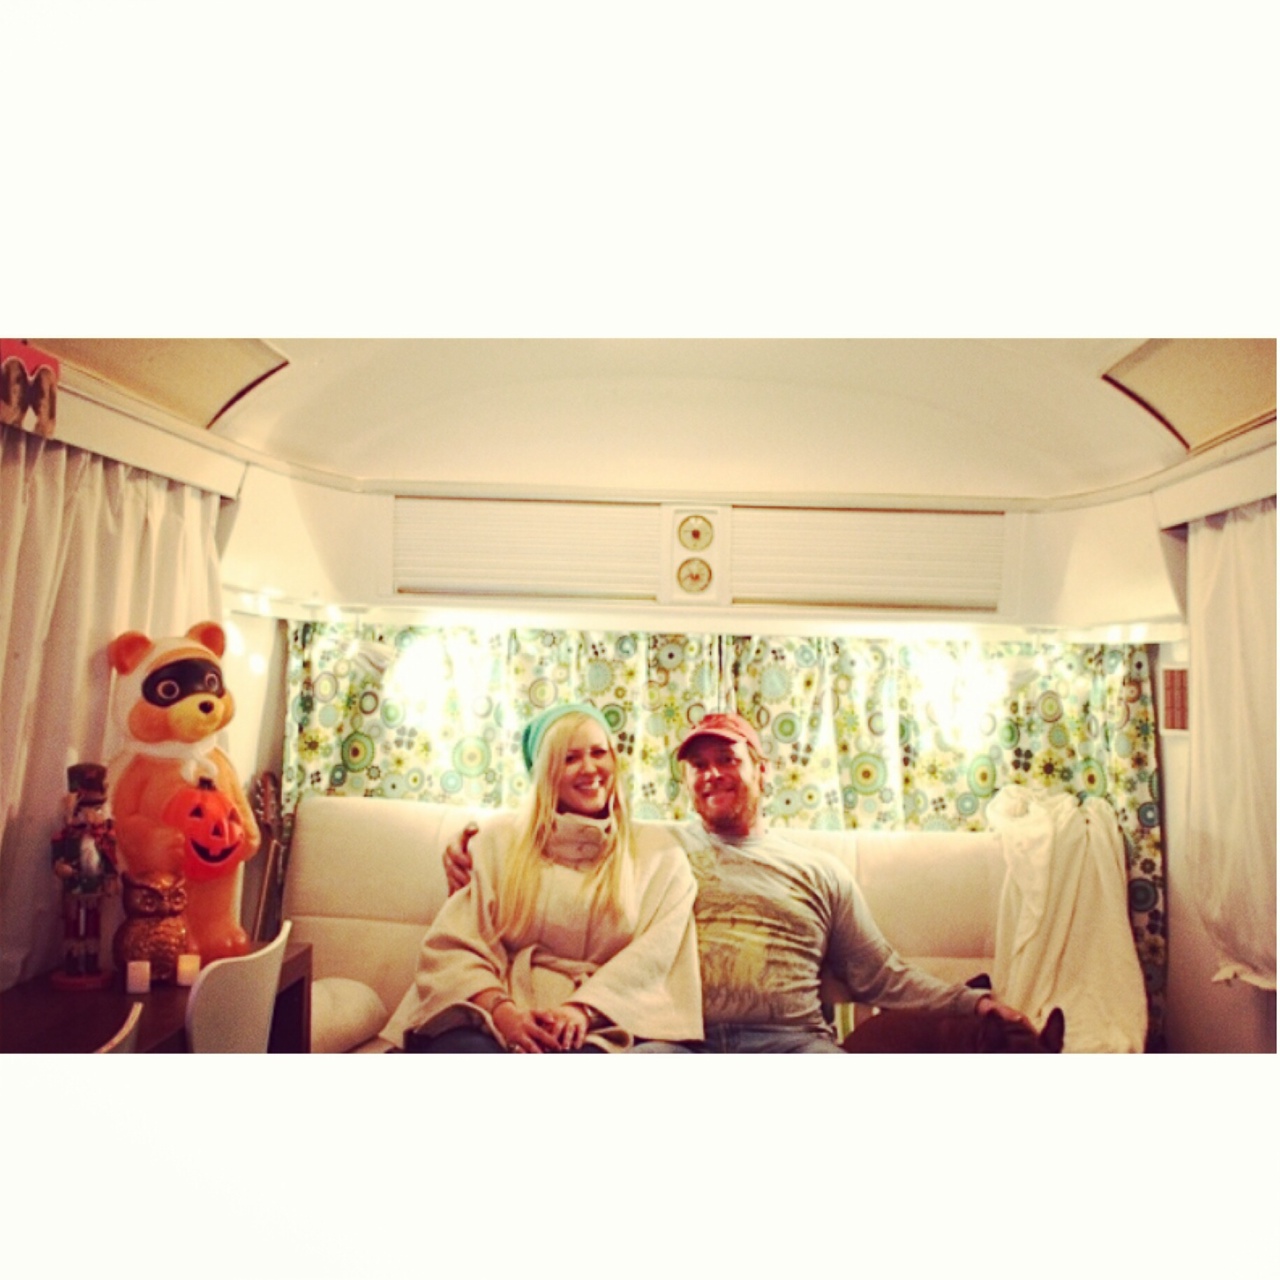
We’re making it a tradition to take a photo in front of the airstream at all our destinations. It will be fun to look back on all our adventures!

photo 22

Festive, aren’t we?

photo 23

Fake candlelight dinner (I forgot to bring real candles).

IMG_9067

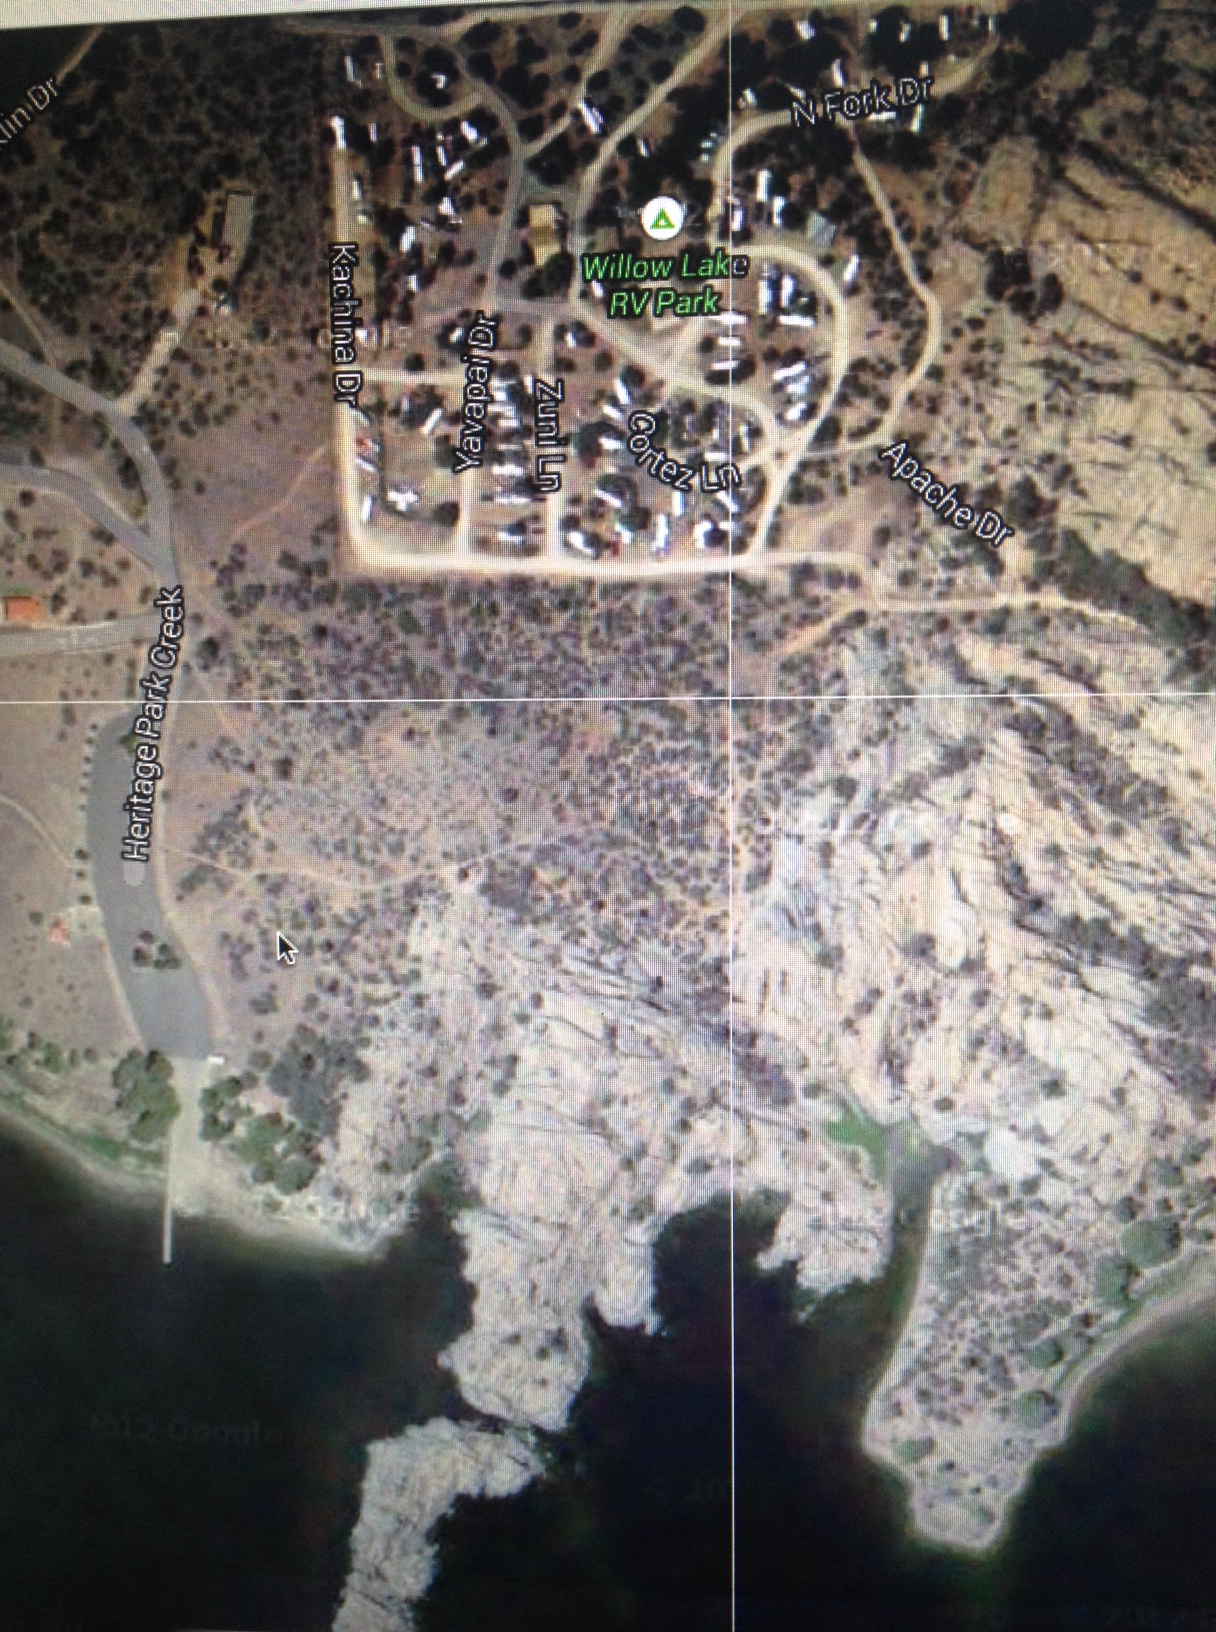
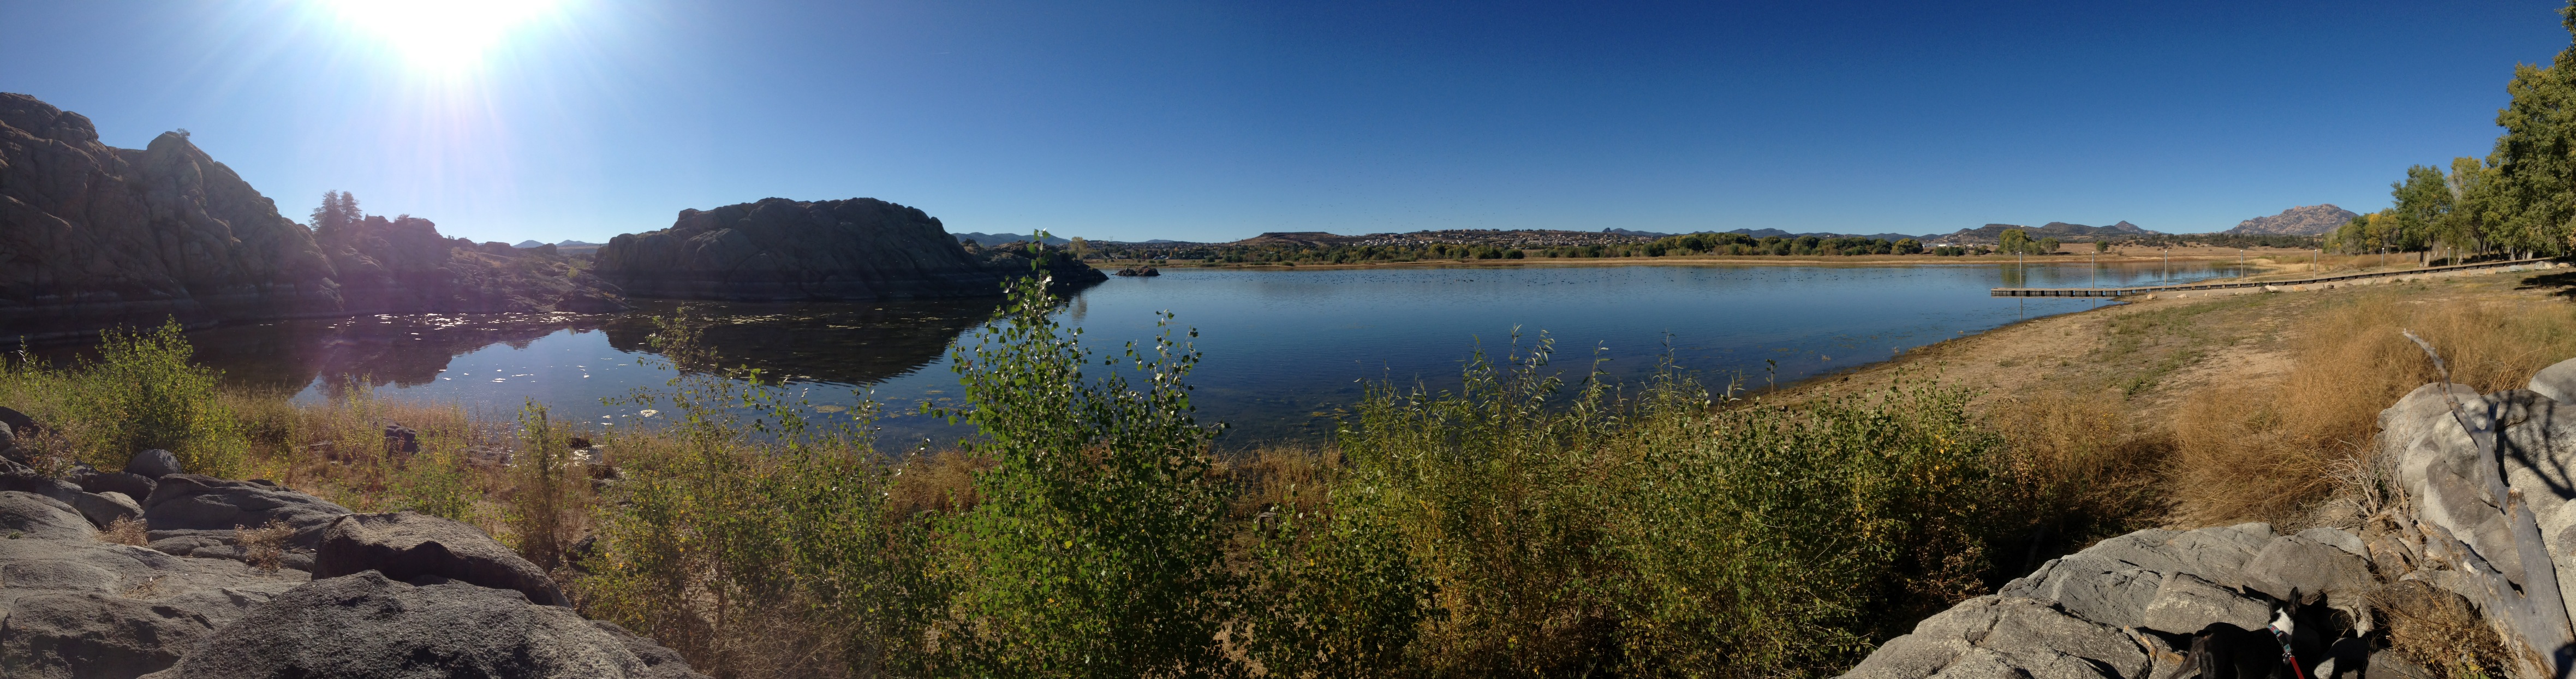
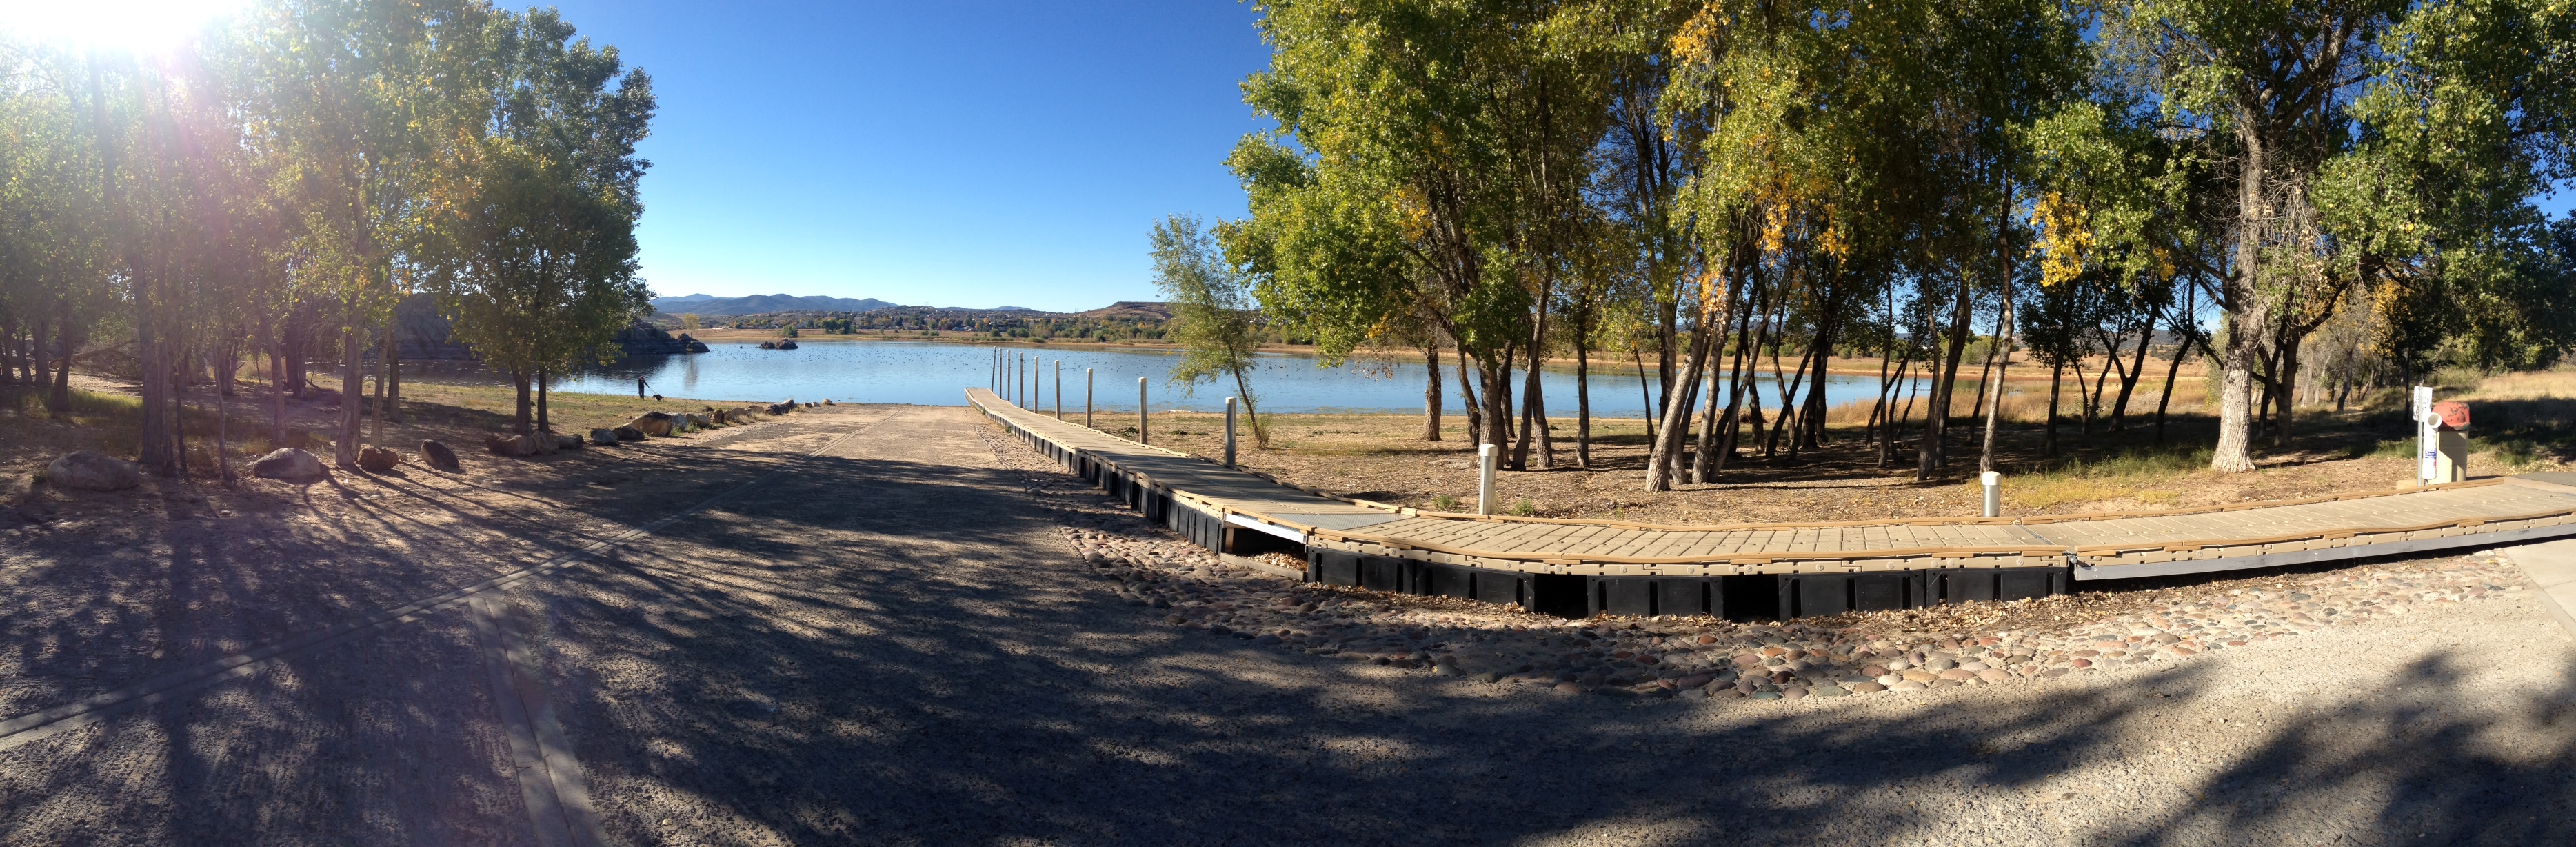
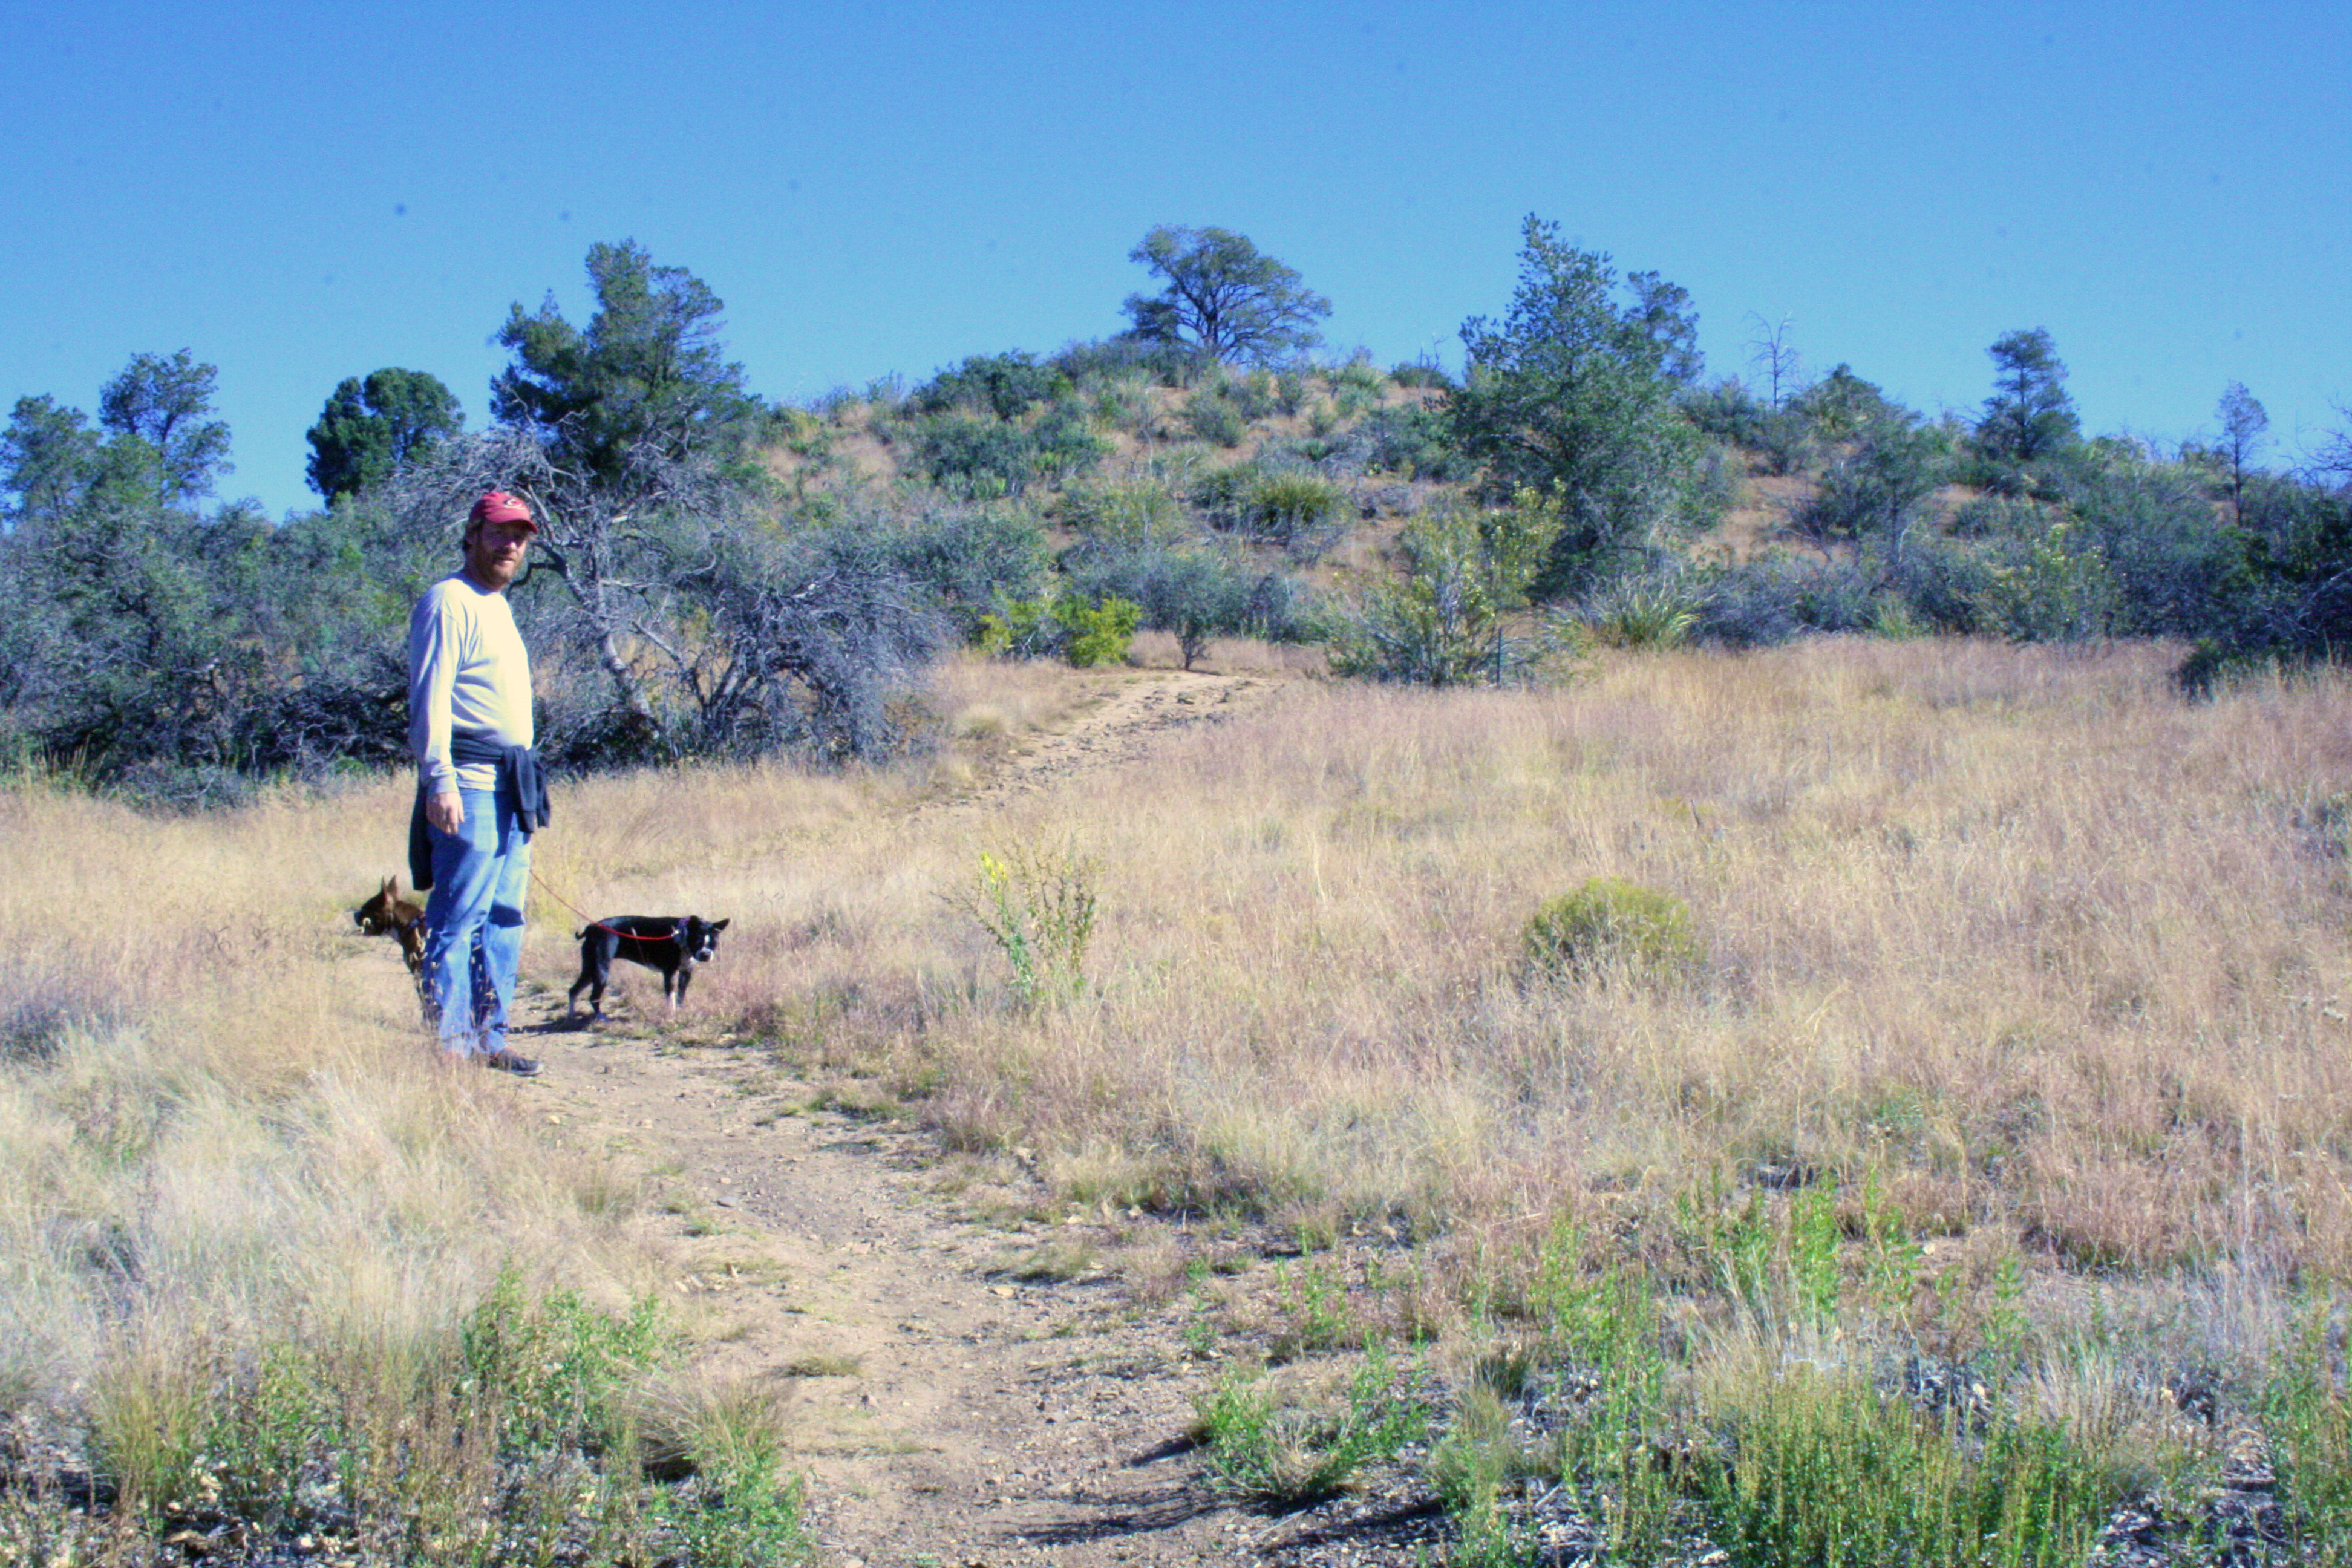
We woke up early Sunday morning, ate breakfast in the trailer (with lots of coffee) and proceeded to hike to Willow Lake. It was more of a trail walk vs a hike, but there were some rocks to jump over. Here is an aerial of the RV park and it shows the proximity to the lake:

photo 51

Willow lake is so beautiful. He hiked up some boulders to a cute little bench and sat with the dogs for a while.

photo1111

photo111

photo

IMG_9110

After chilling at the lake for about an hour, we decided to gas up the truck for the ride home, find a good local brunch and then get on the road home. We had high hopes of checking out Pangaea Bakery (they have vegan options) and Lone Spur Cafe (a recommendation from a fellow RVer at the RV park), but Pangaea’s hours were incorrect on yelp; they are closed on Sundays. And, Lone Spur didn’t have any available outdoor seating (which we needed because we had the dogs with us). We ended up driving to Wildflower Bread Company, which was good, but we missed out on a *proper* Prescott brunch.

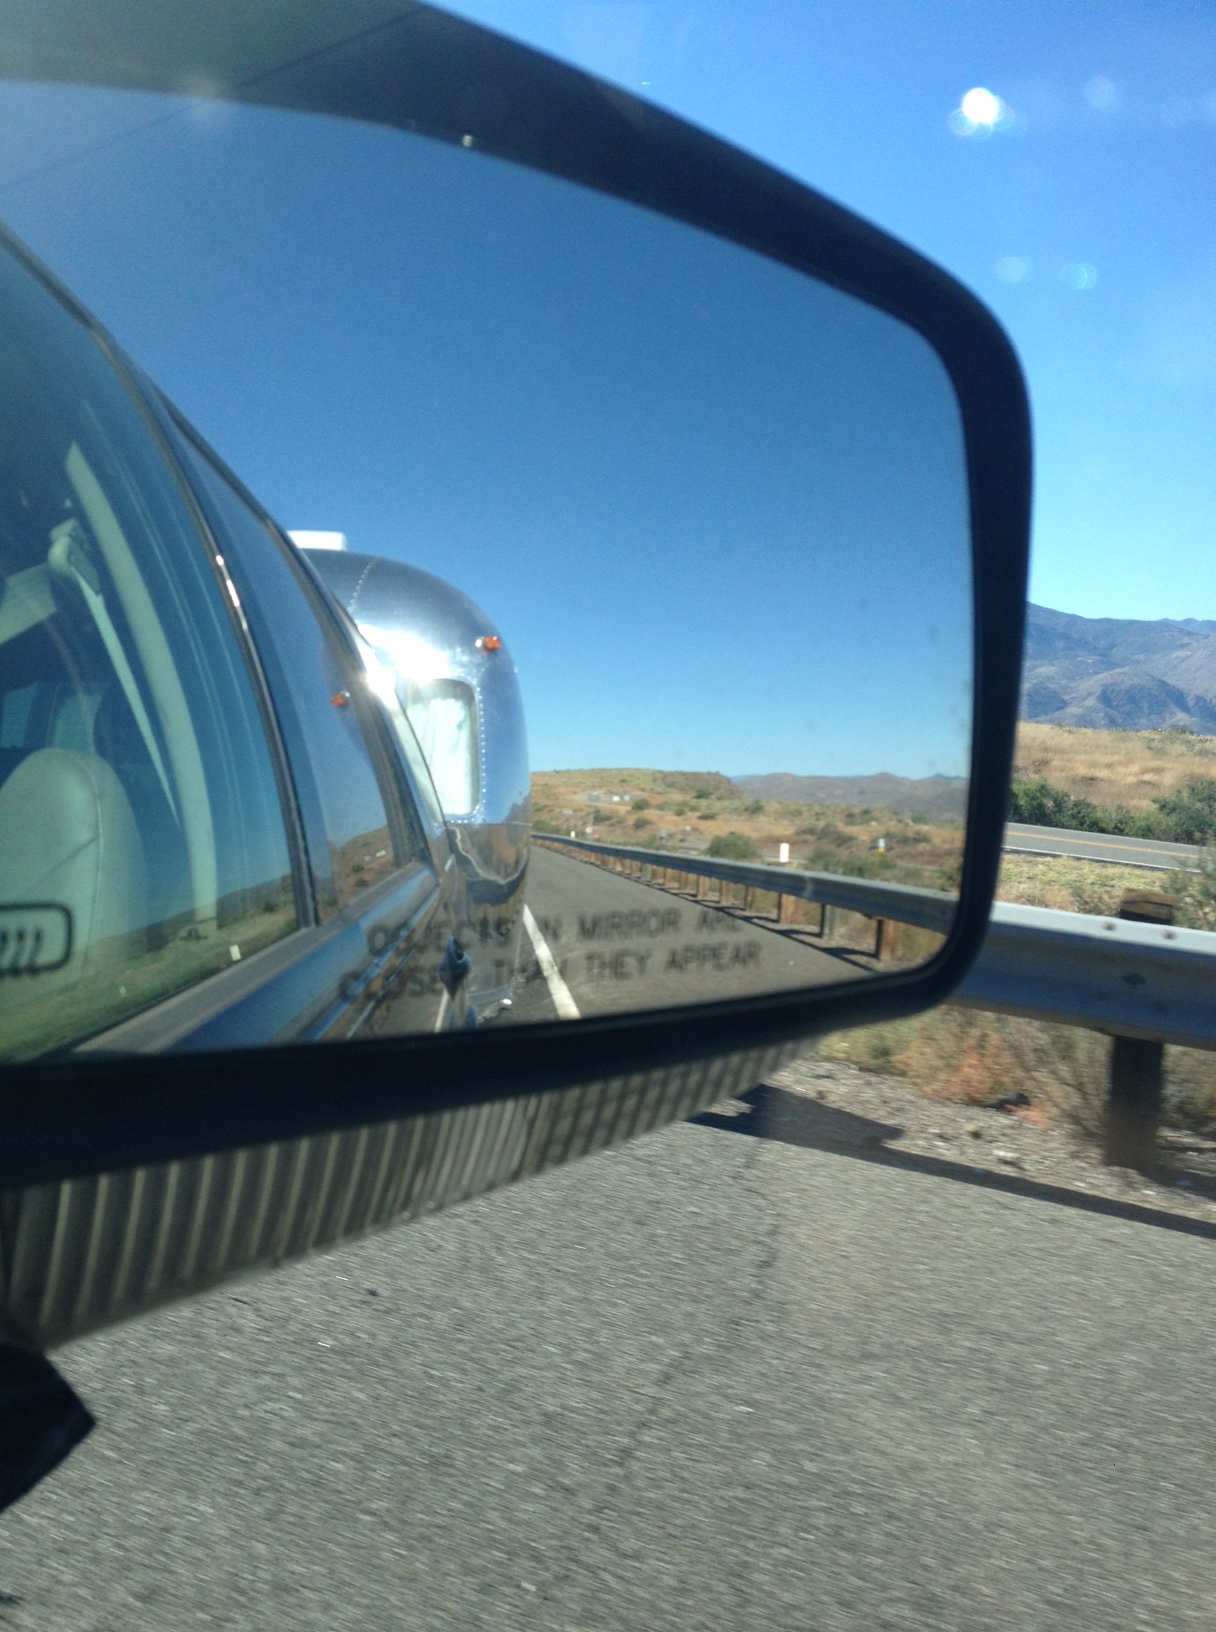
After packing up everything in the airstream, we hit the road back to Scottsdale. This little cutie, Lala, sits on my lap whenever we are in the truck.

photo 13

Peace out, Prescott. Our next adventure will hopefully be mid November. I’m looking forward to getting on the road again.

photo 14

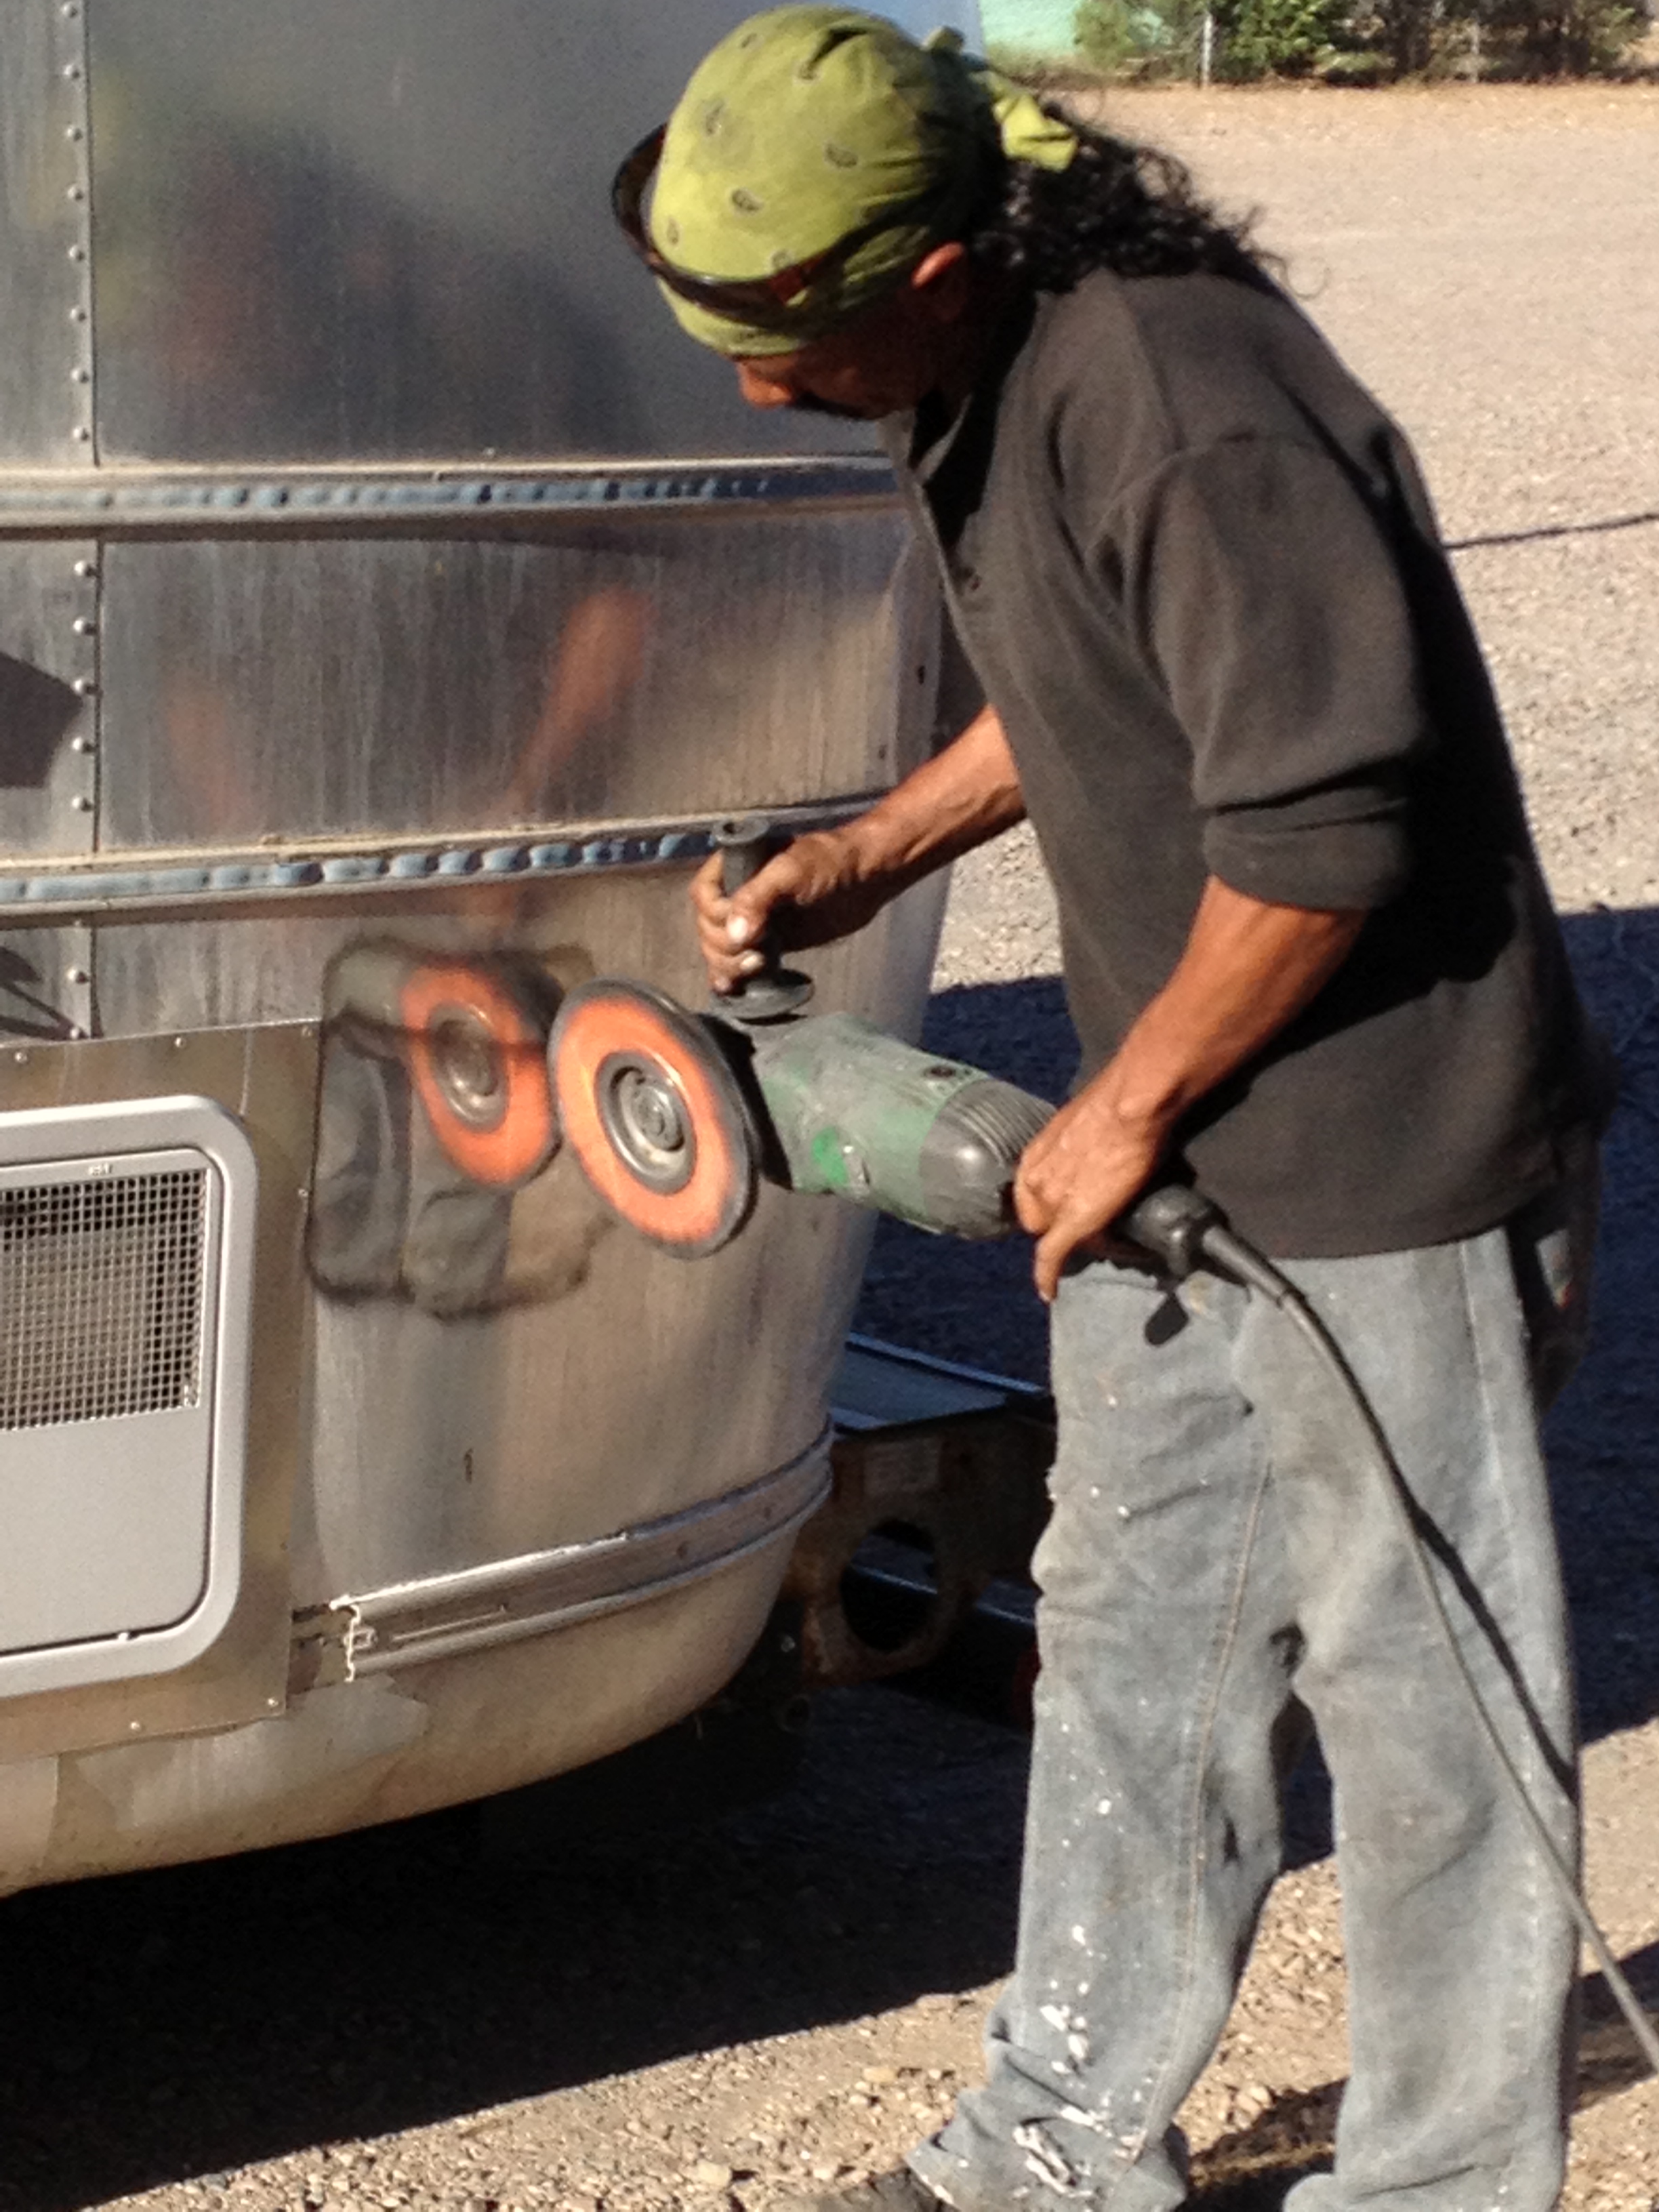
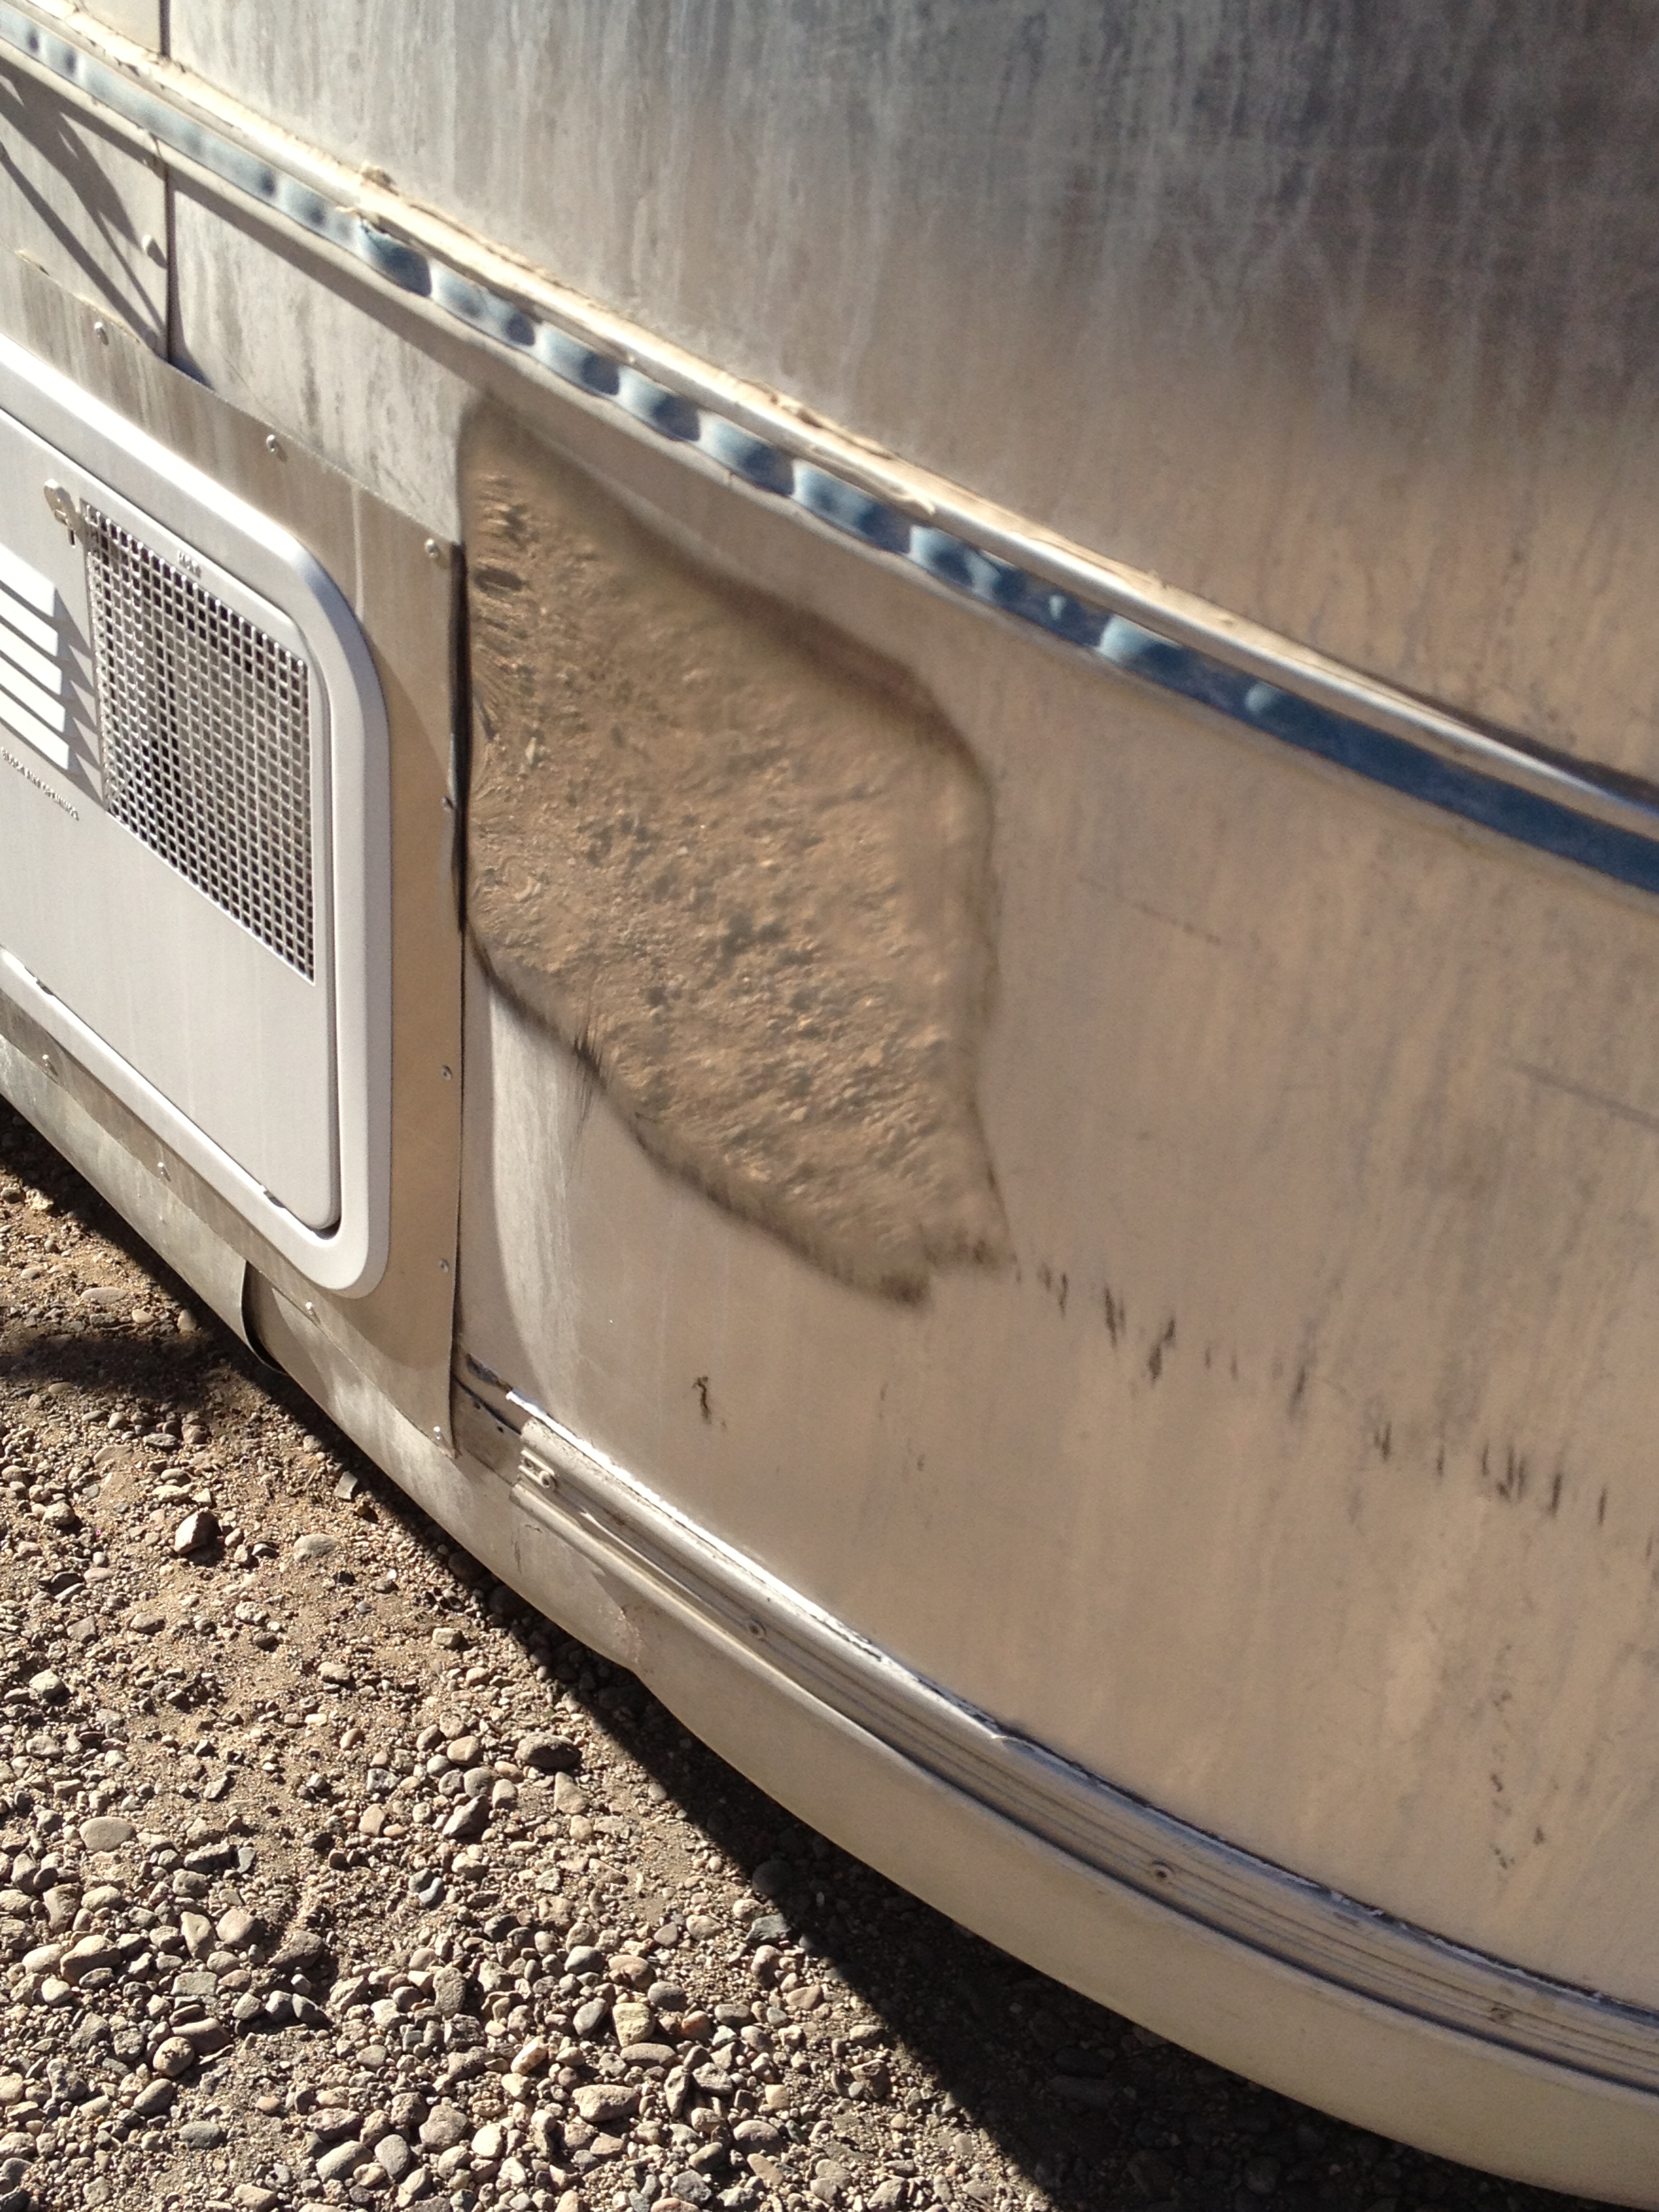
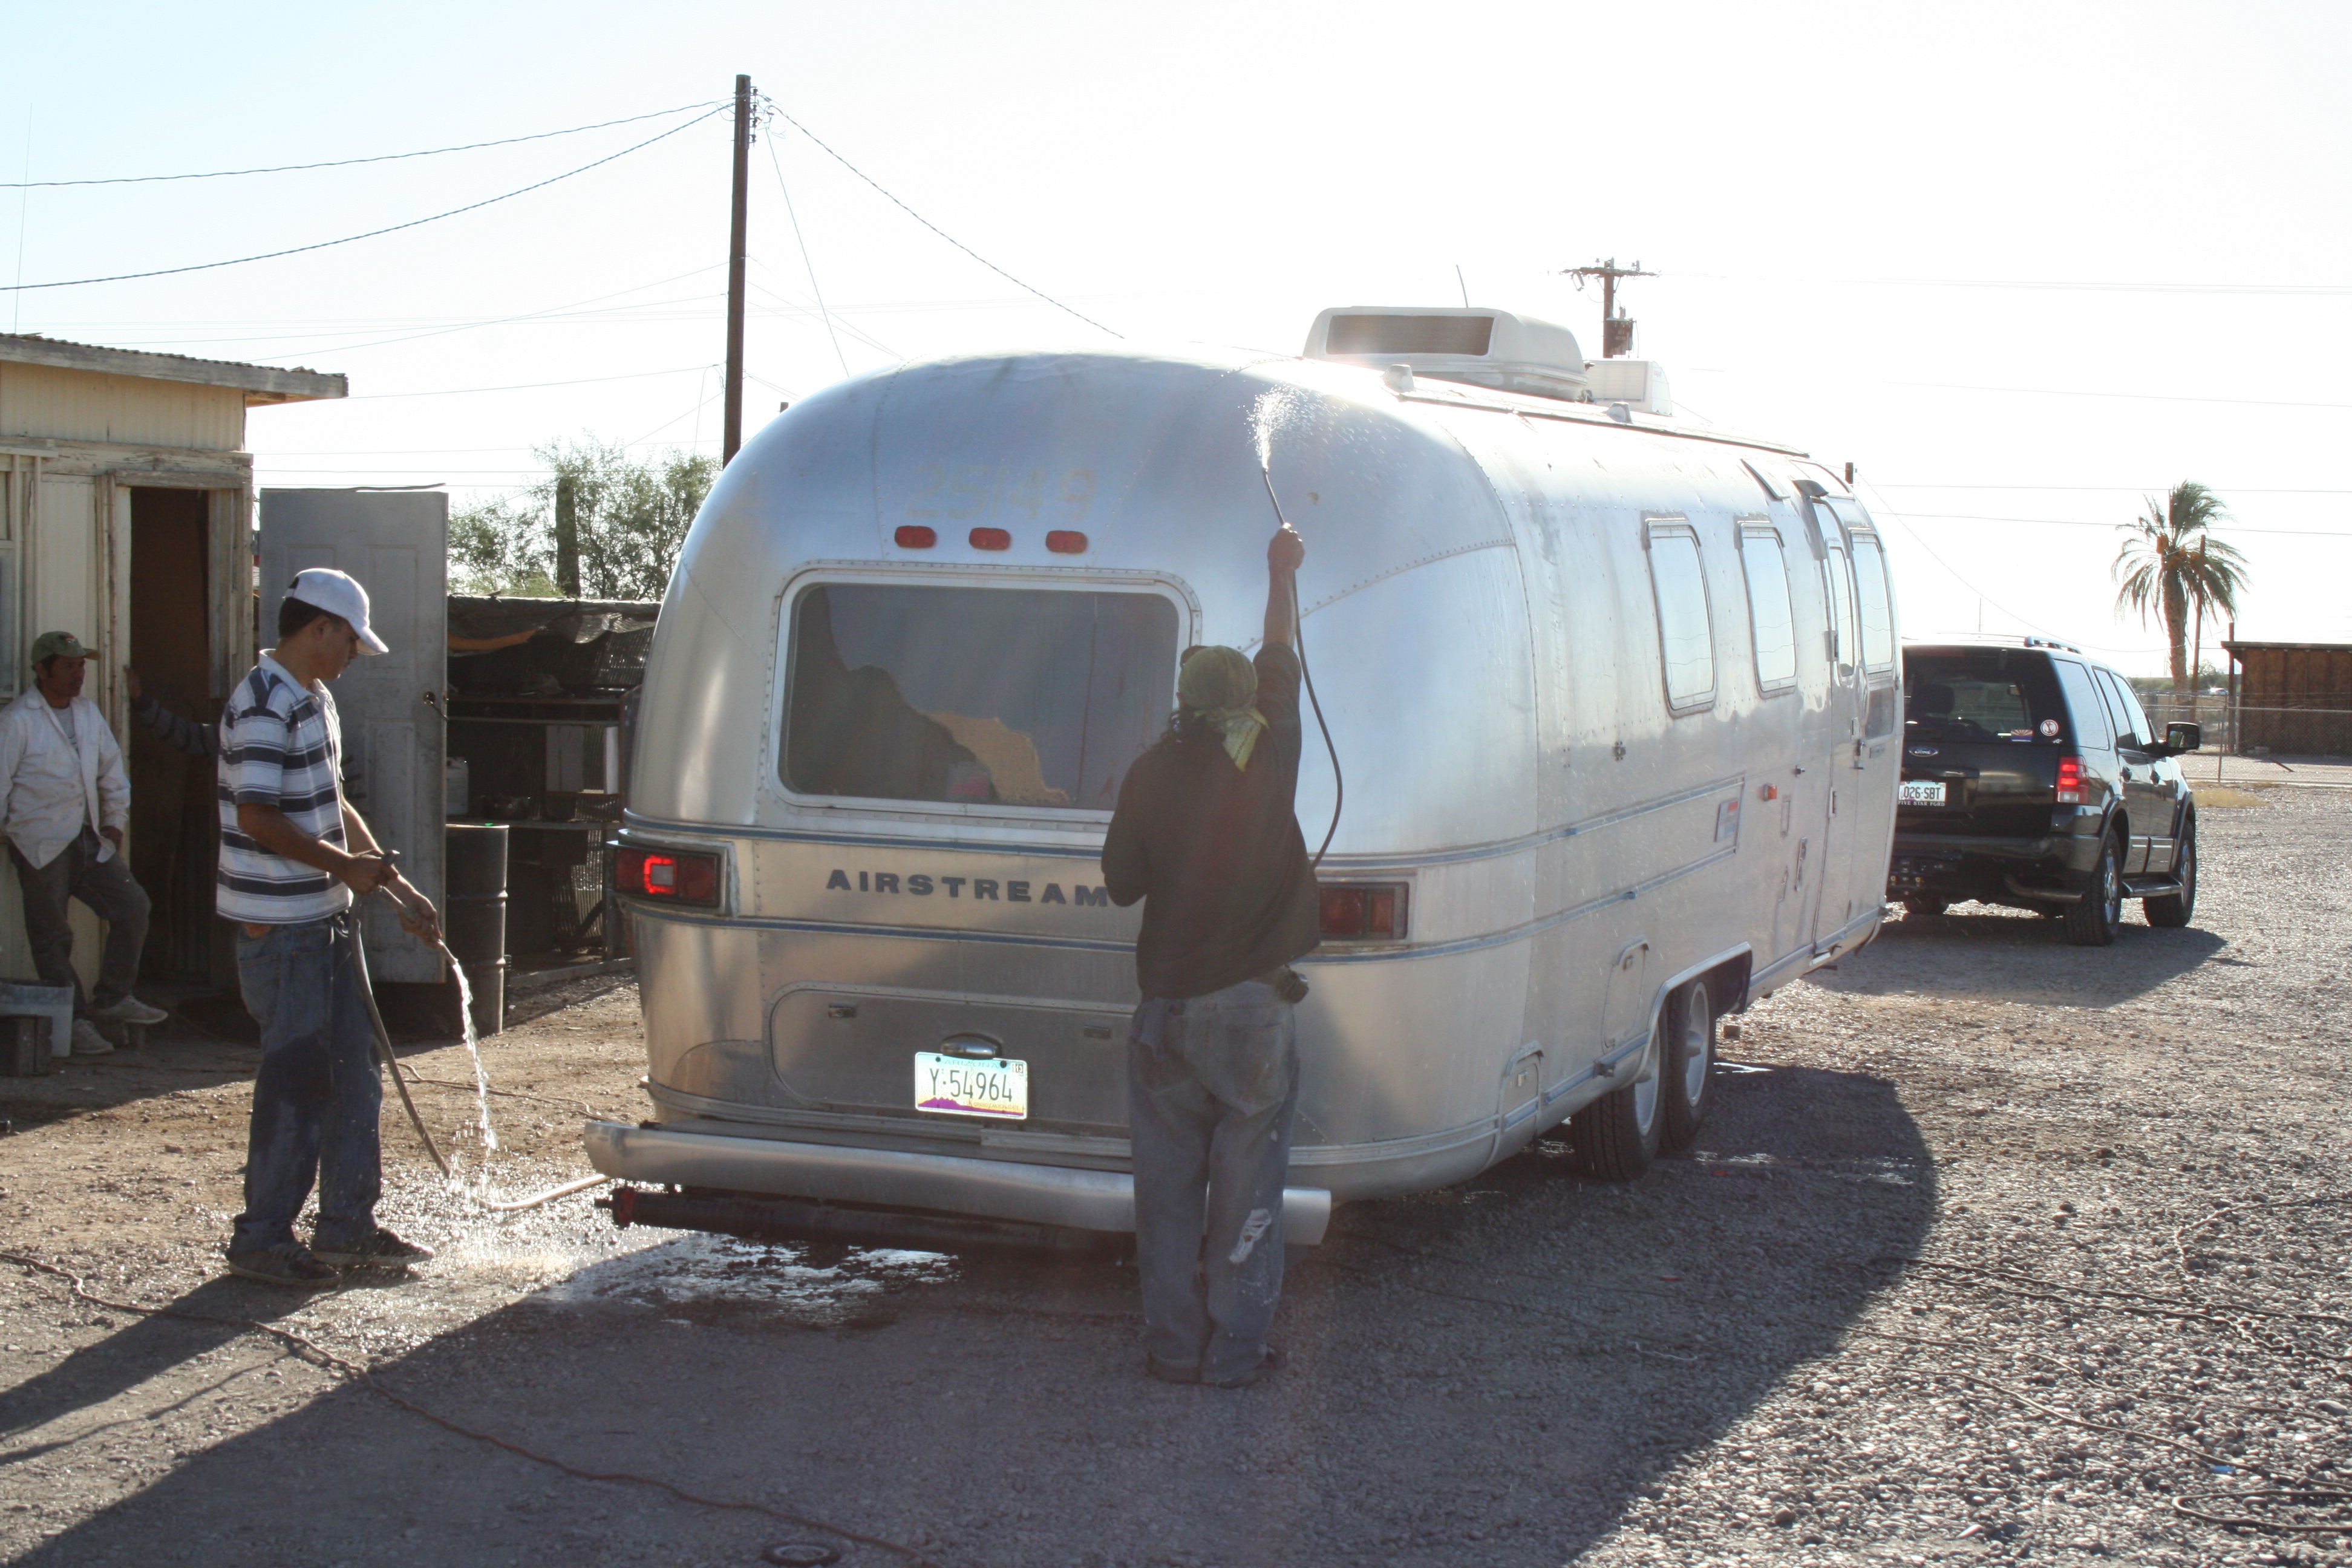
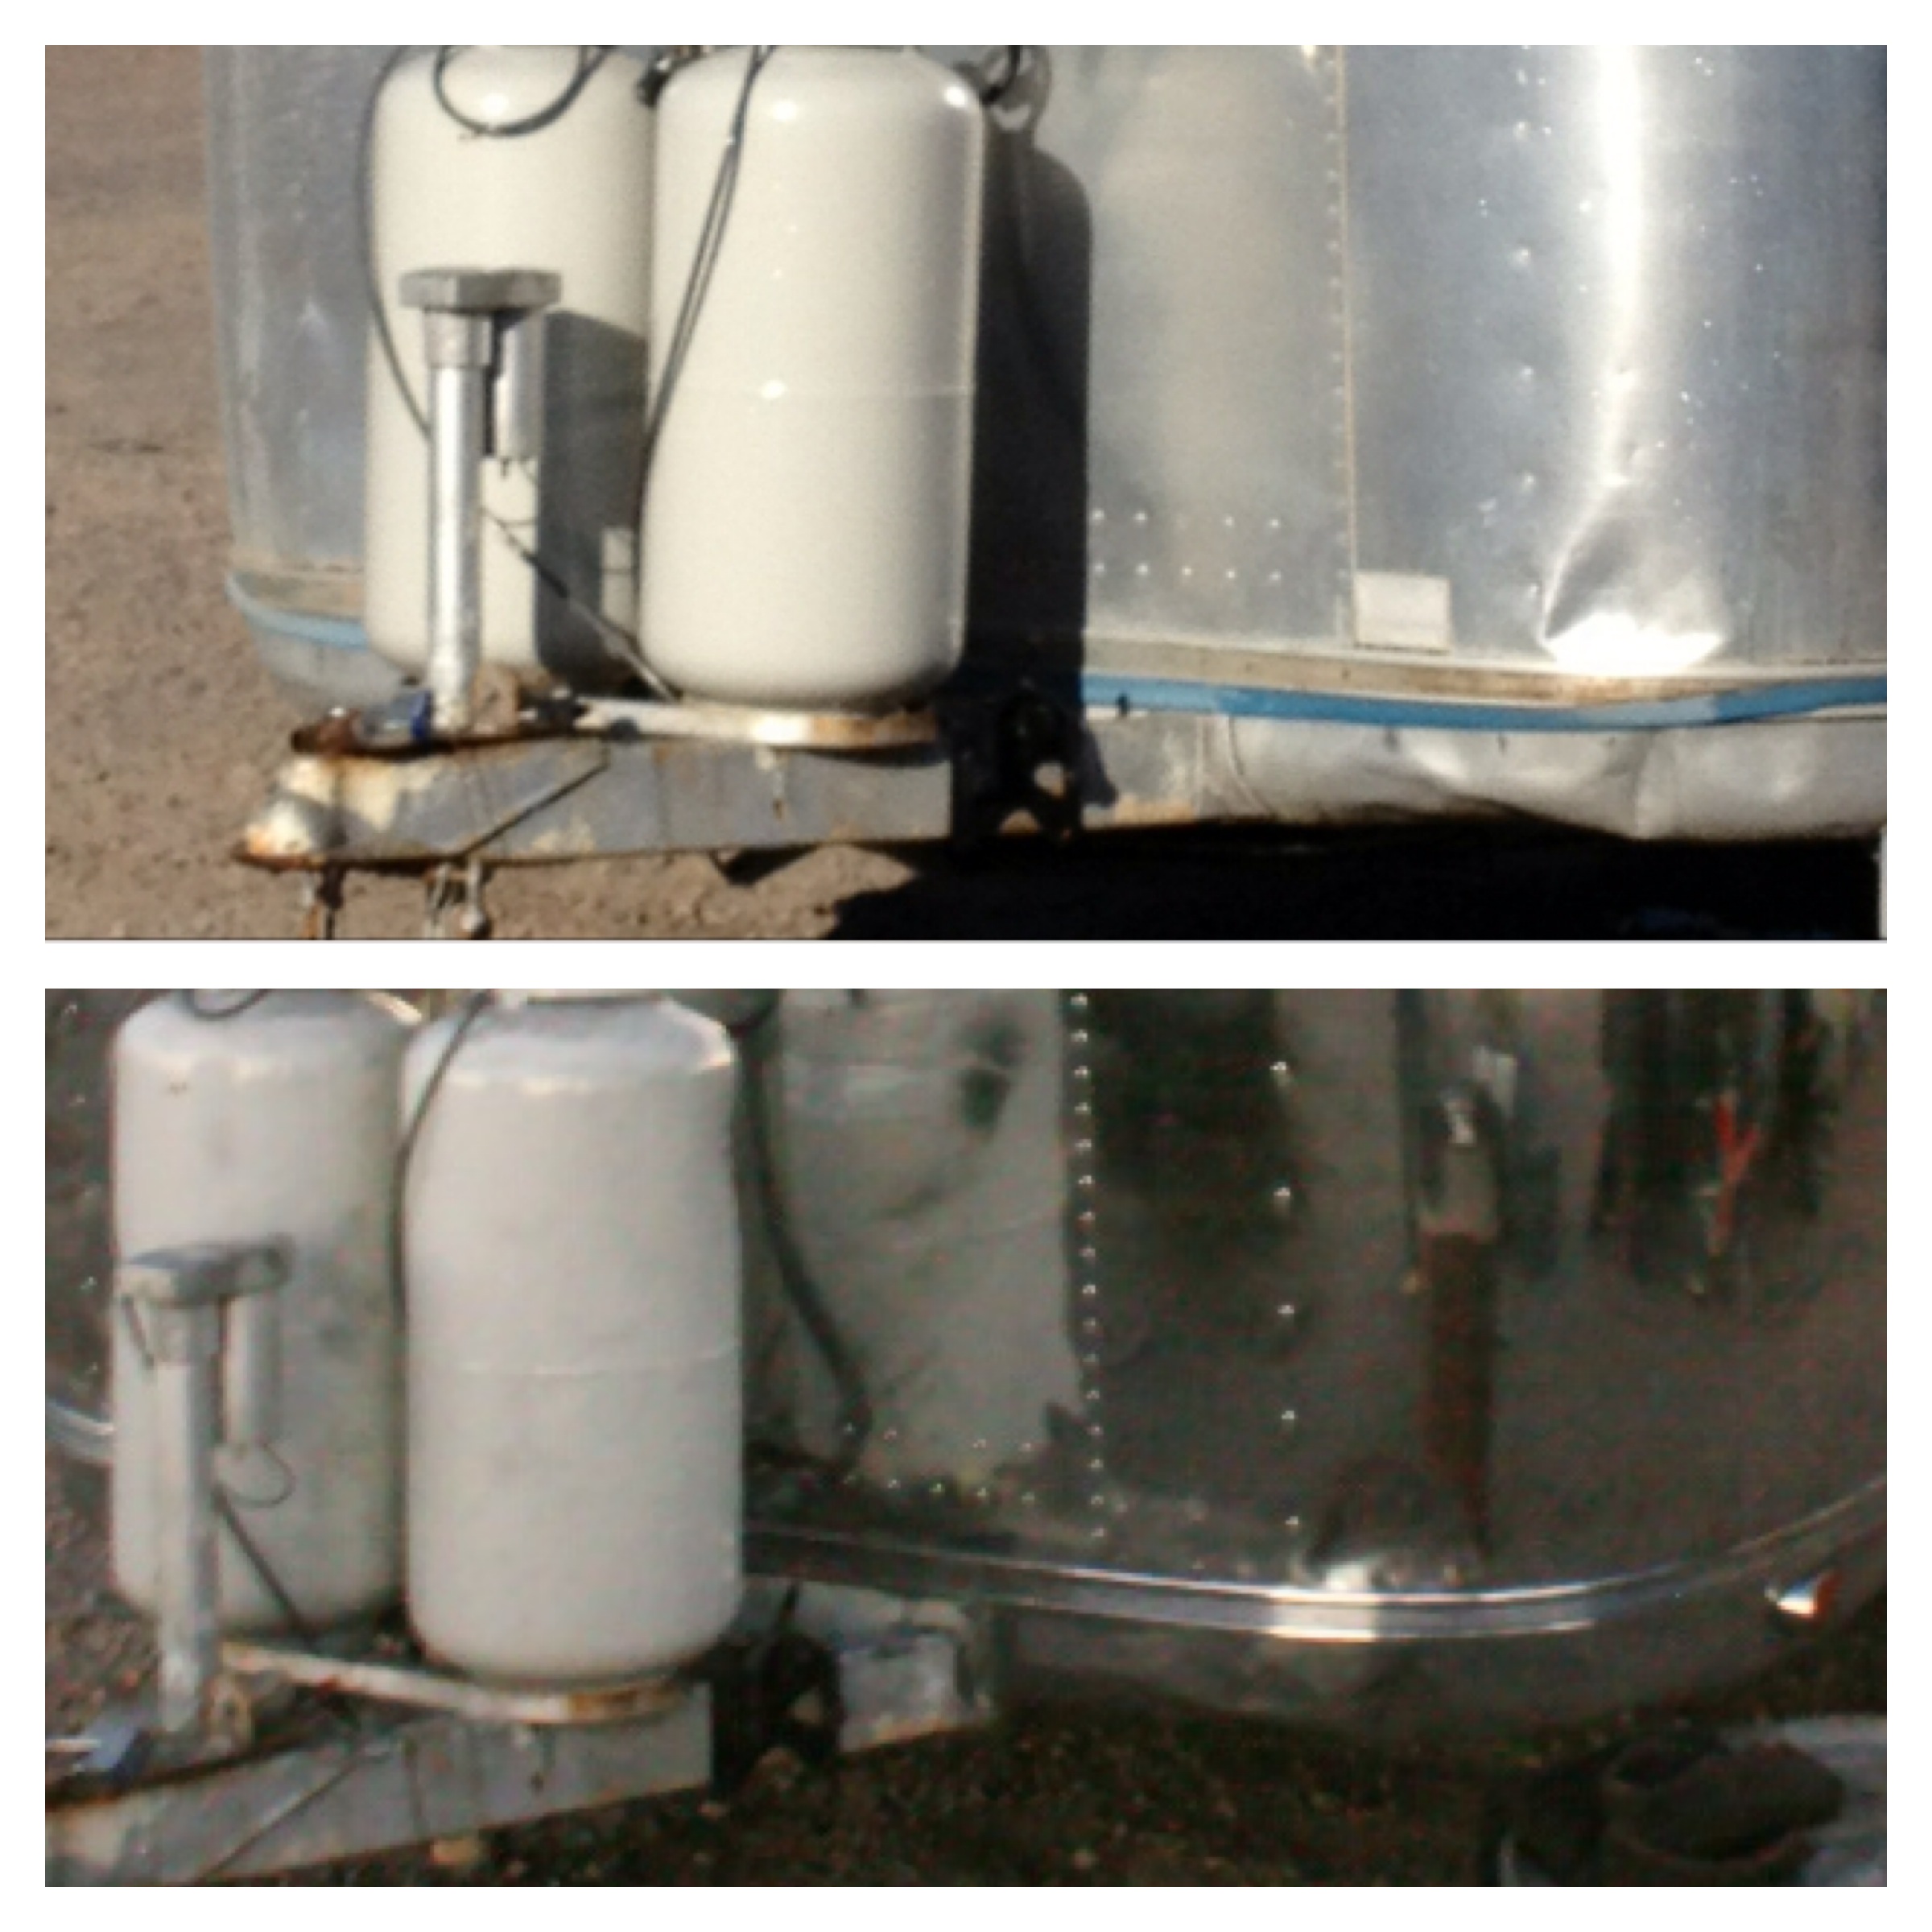
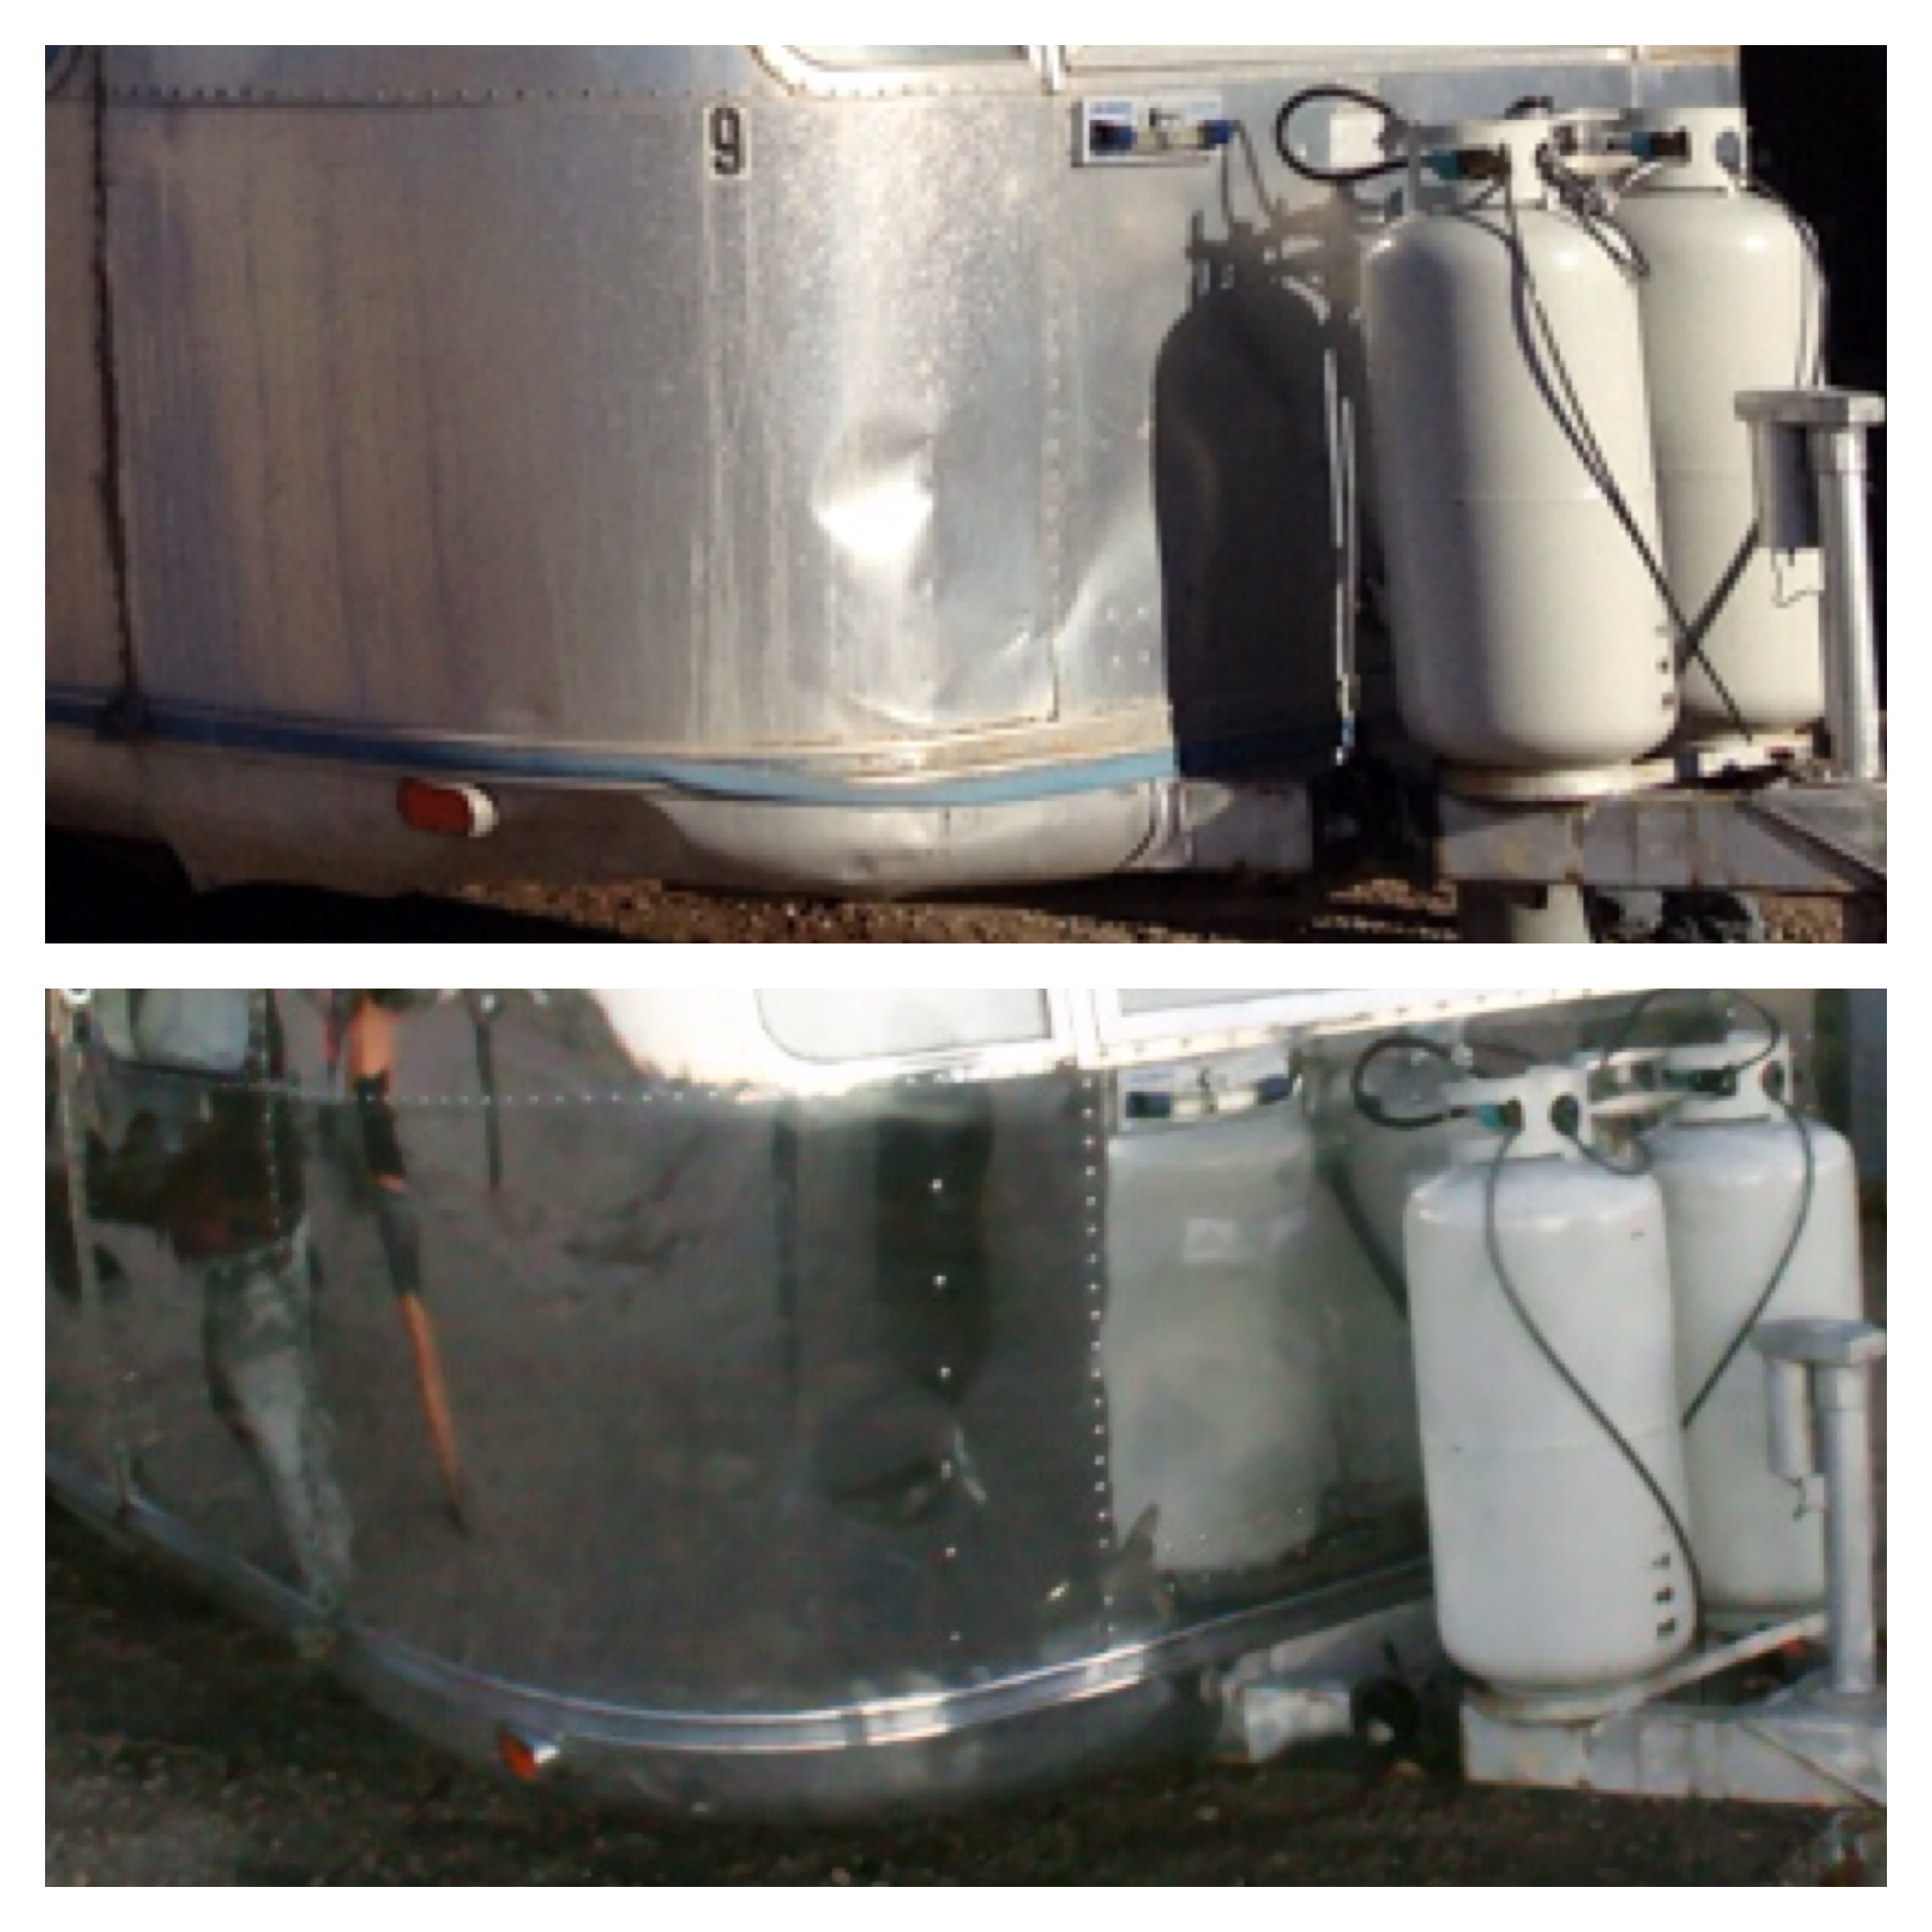
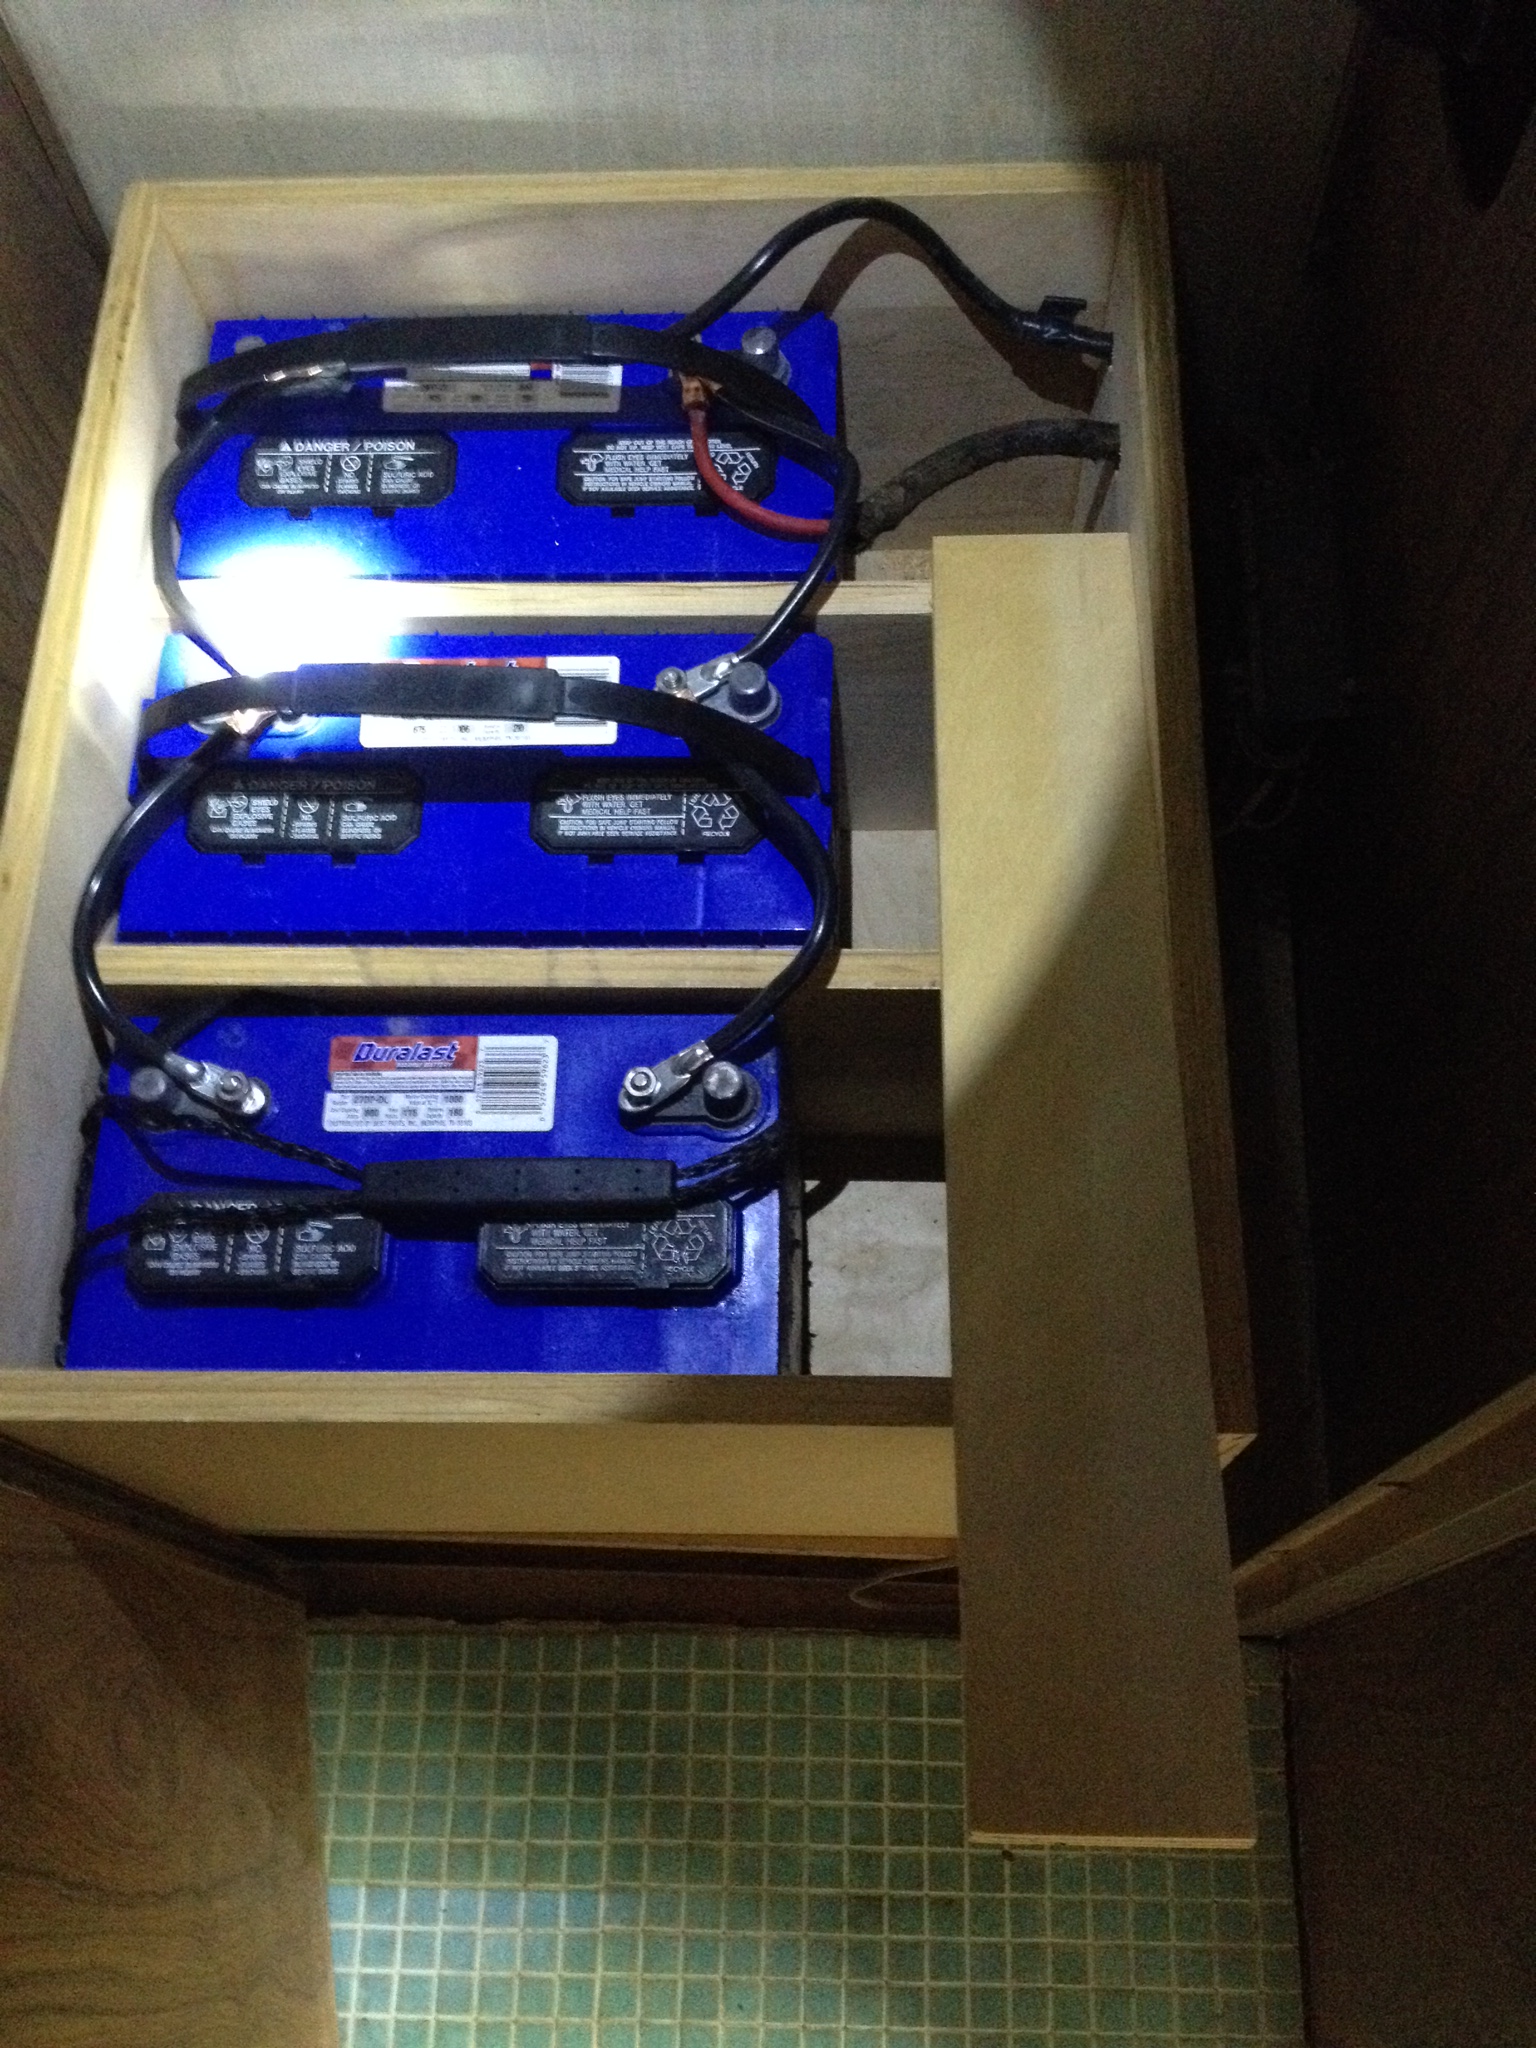
We have been working on a few projects in the airstream recently. We had an issue with the location of our battery, which was in a compartment on the outside of the trailer. The compartment opened up on the road, when Matt was heading home from having the brakes looked at by Camping World. That was the catalyst to finding a new area for the battery. Matt decided to fab a compartment in one of the closets, so the batteries would be safe and accessible. We started with 1 battery, but we added 2 more.

IMG_5362

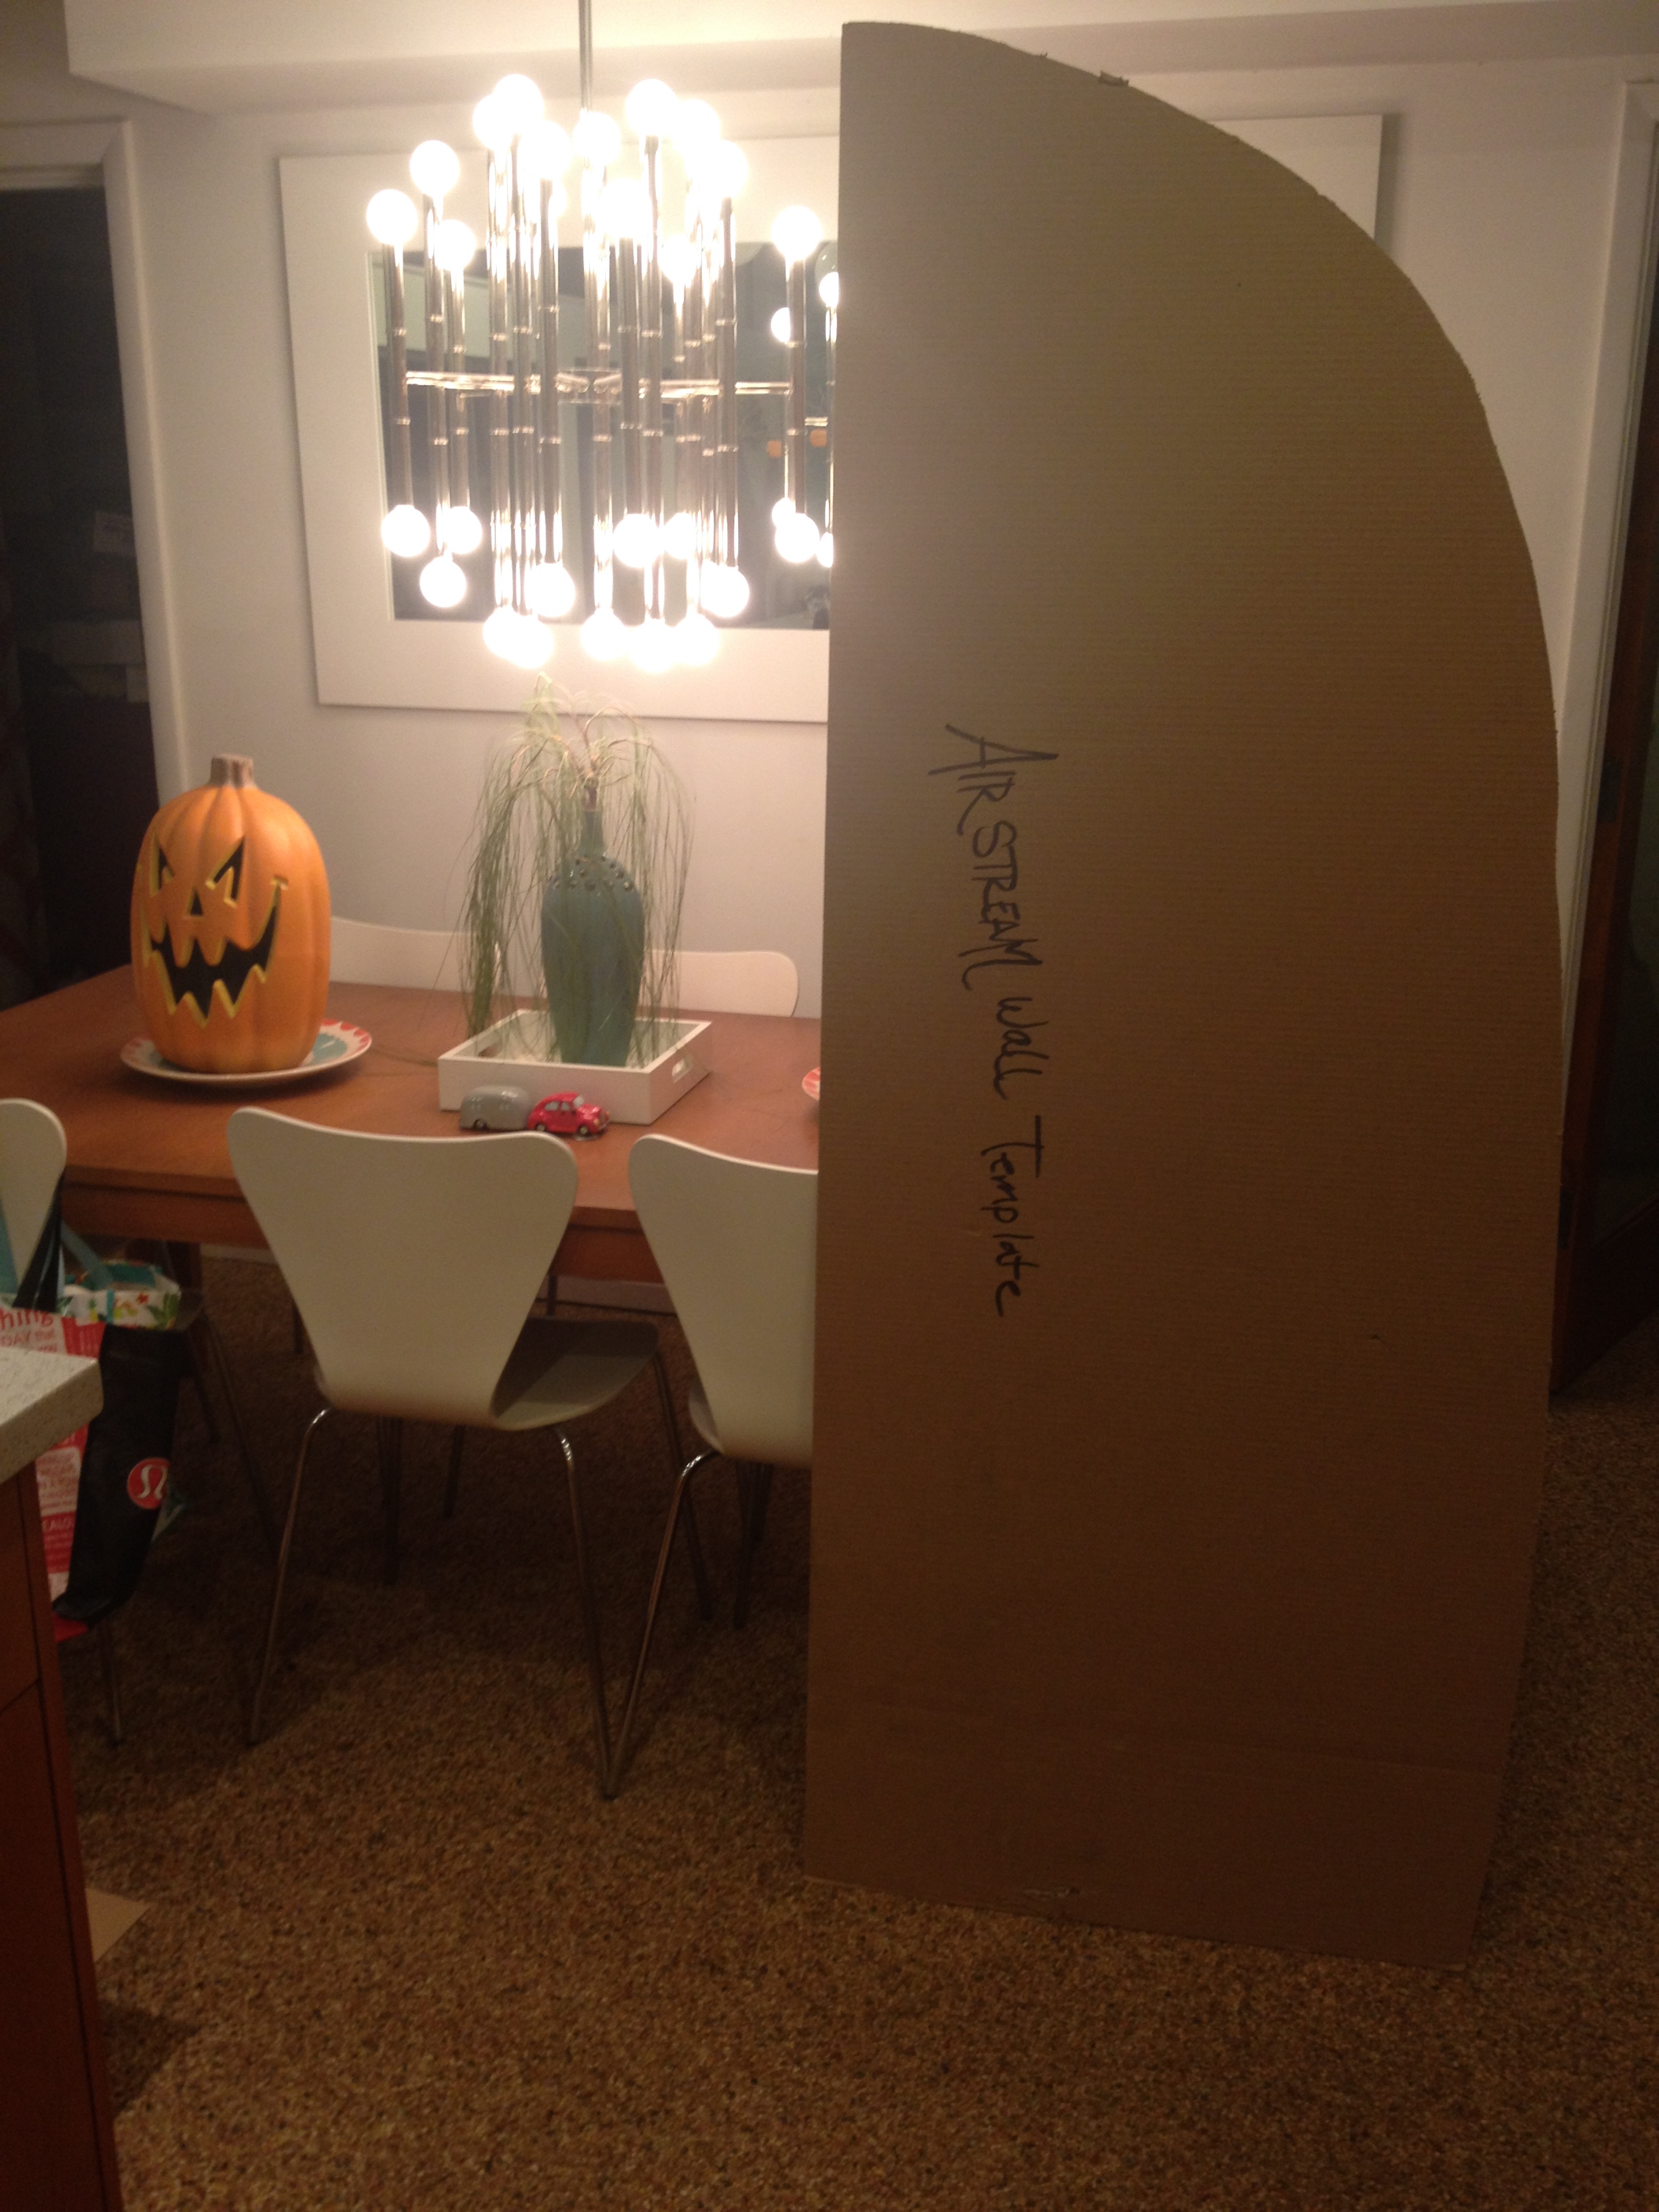
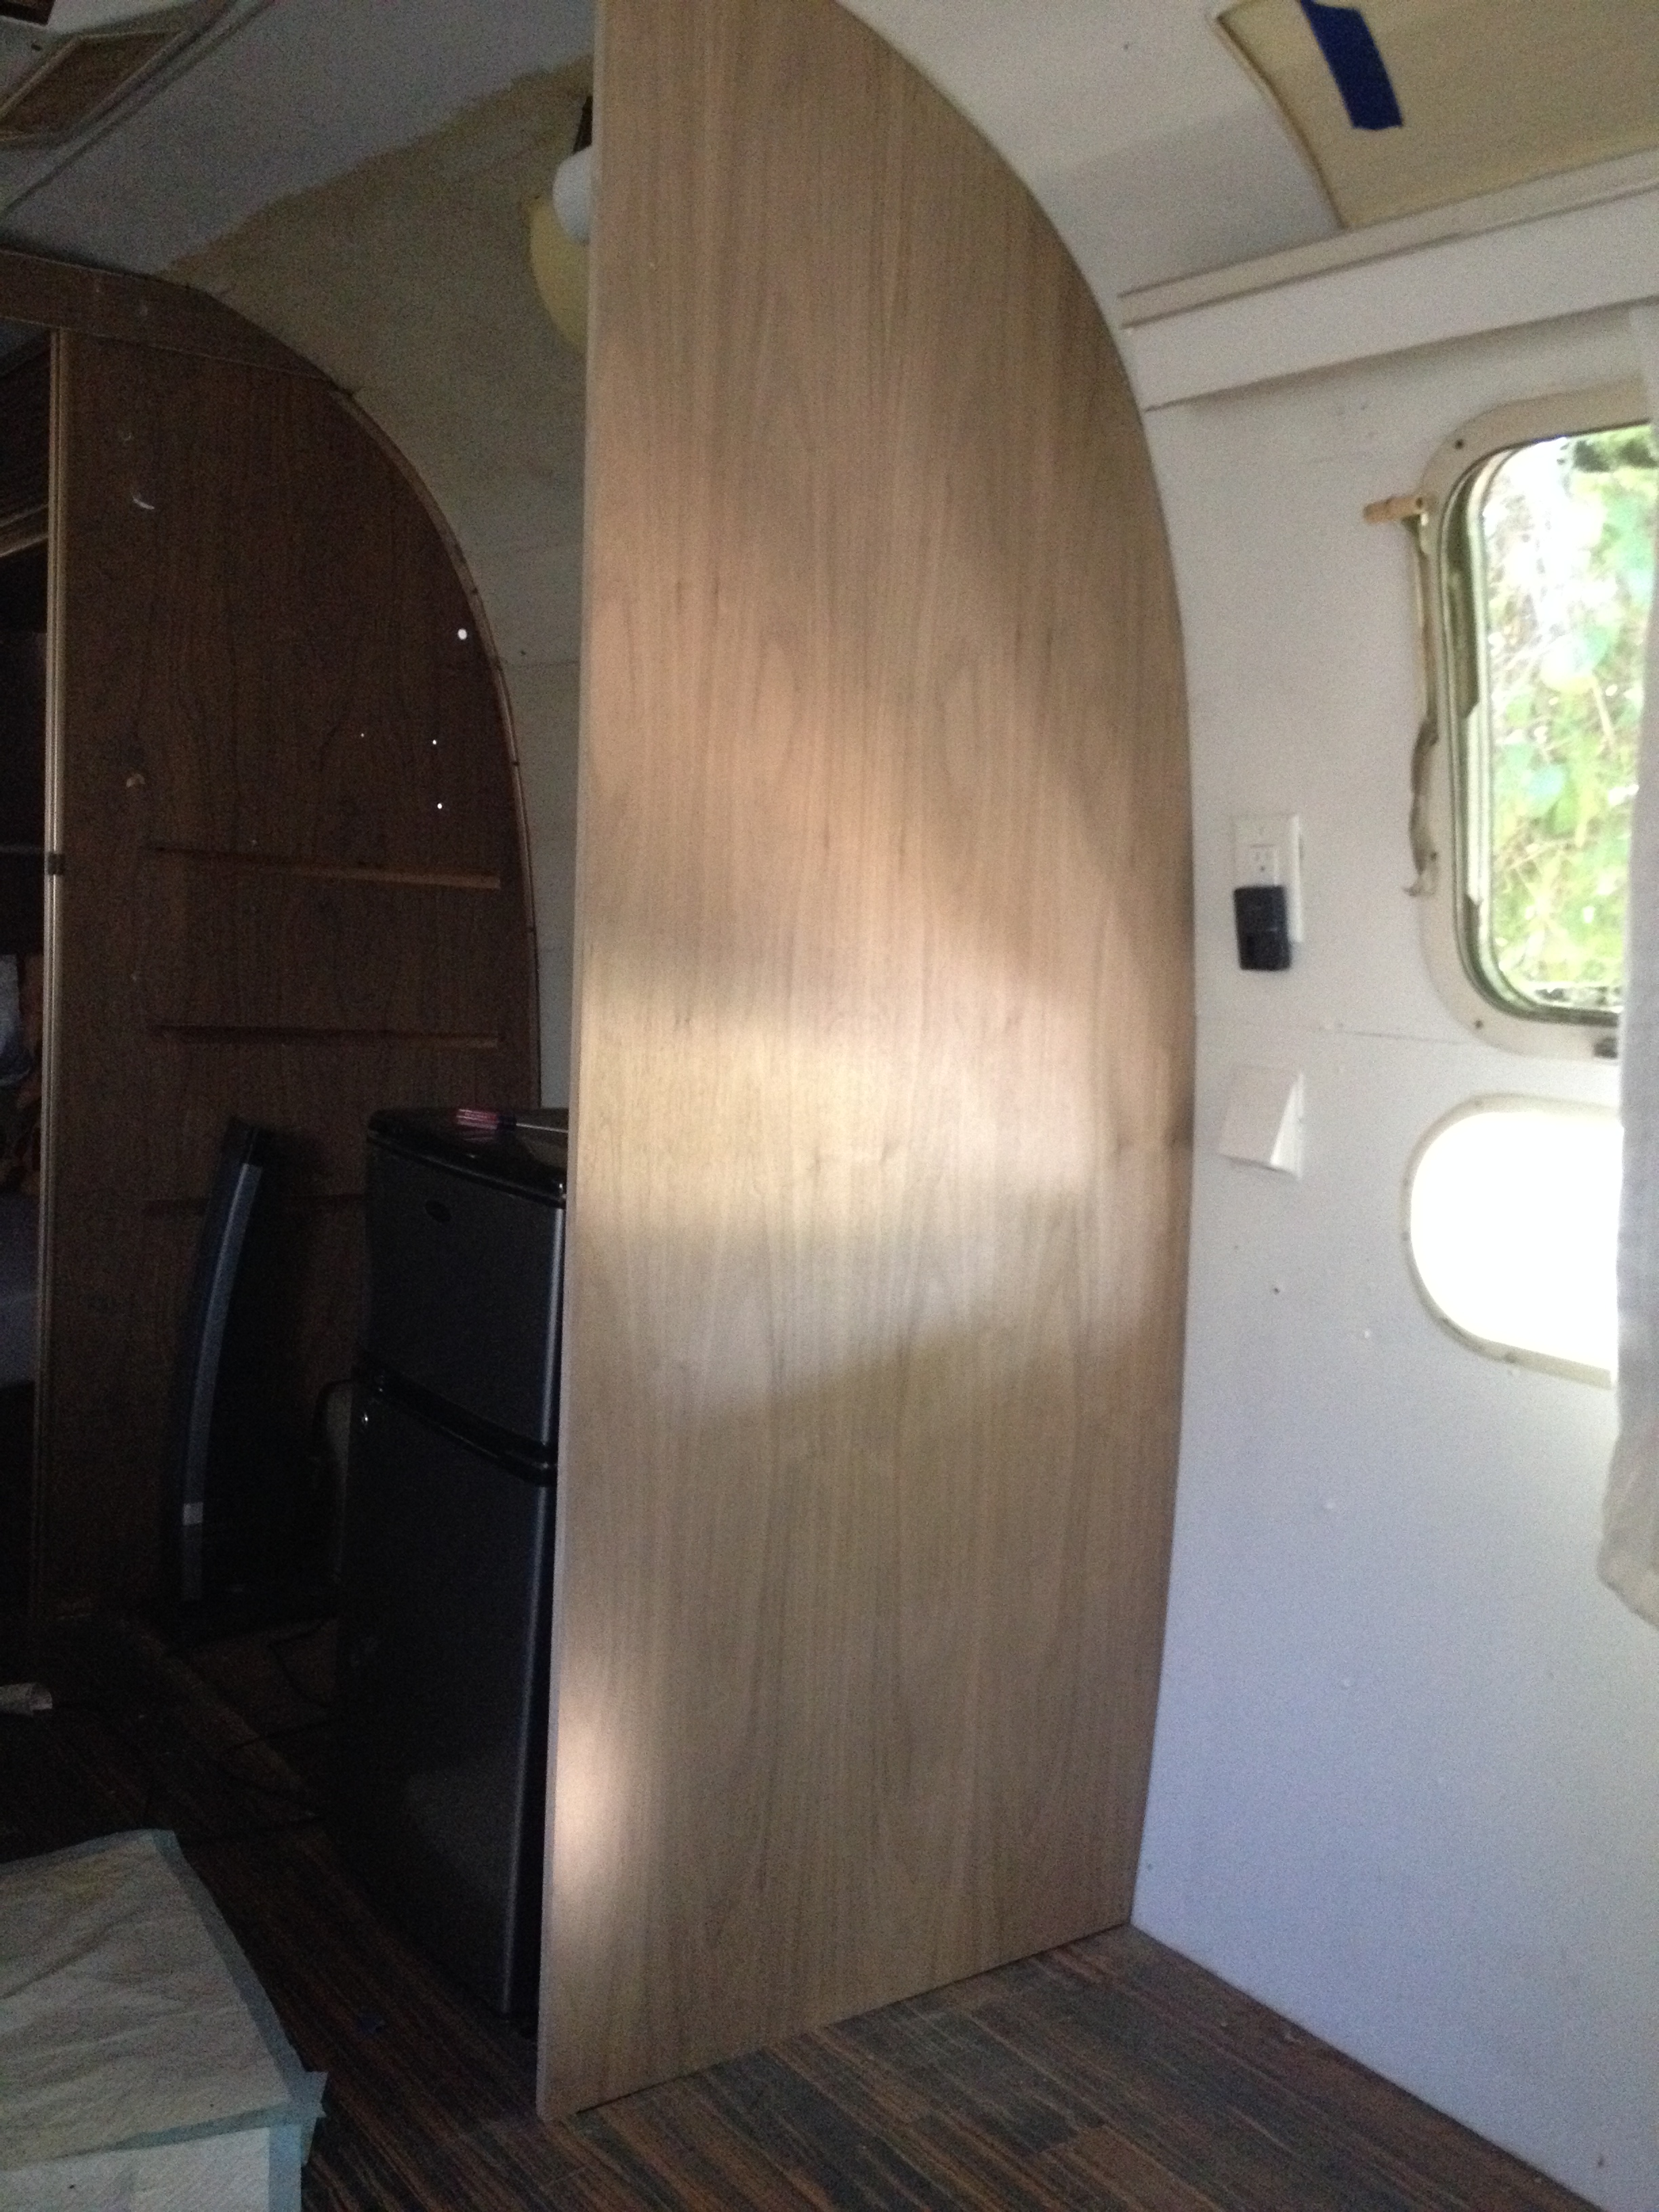
Matt has also started working on the kitchen, which we are doing one side at a time, so as to not disrupt a good travel season. We are using walnut for the kitchen, so he started making the end panels. He made a cardboard template and then cut the first one. We are looking forward to a stable, usable kitchen….hopefully Matt will have some time to dedicate to the kitchen before the end of the year.

photo 11111

IMG_2997

Read Full Post »

We dropped our 1974 Airstream Sovereign at M & M Truck Polishing on Thursday and picked up her tonight. M & M Truck Polishing is one of 3 or 4 truck polishing shops in Eloy, AZ, which is half way between Phoenix and Tucson. We found them originally through this post on Airforums.com.  Knowing they had past experience with Airstreams was huge for us. We have been wanting to polish Airstreamy since we got her. We even bought a bunch of polishing stuff, but never got around do doing it ourselves. So, in my instant gratification mode, I told Matt we needed to take the trailer down to Eloy ASAP.

We called a couple of other shops in Eloy to see what they would quote us for a price. One shop quoted us a super low price, but I wasn’t sure if they would stick to it and we hadn’t seen any of their work.  I was fairly certain that M & M wasn’t even around anymore, as the phone # on the building is disconnected and there is no photo number for them in the phone book. Luckily, as soon as we got to Eloy, we pulled into M & M and the guys happened to be there-SCORE! We agreed on a price and a timeline, then said goodbye to our old friend, Airstreamy. Her makeover is beyond amazing. I think they had 3 guys working on the polishing over a period of 5 days. My best guess is that there was at least 180 man hours in this polish job (5 days x 3 guys working 12 hour days).

If you want to take your trailer to M & M Truck Polishing, the main polisher there is Antonio and the phone # we have for the shop is 520-483-5571. E-mail me at Jennifer@TwinsAndCompany.com if you would like more info on pricing.

Here is what Airstreamy looked like when we dropped her off last Thursday:

We’ll be replacing all the blue trim and re-painting the lettering in the coming weeks.

photo 3

The old WBCCI numbers are gone, but we’ll get new ones when we join. Look at how bad the banana wraps were.

photo 4

They applied a diluted acid to help remove the clear coat before starting to polish.

photo 5

IMG_8643

IMG_8644

IMG_8645

IMG_8652

IMG_8661

This was a quick area the guys showed us before we left her for her 5 night sleepover:

Here are some in progress photos:

When we dropped Airstreamy off on Thursday, Antonio wanted to show us just how shiny the finish could be.

photo 1

After just 1 pass with the clear coat still intact.

photo 2

IMG_8648

IMG_8649

Tools of the trade.

IMG_8654

IMG_8658


And, here the after shots from tonight, as M &M was wrapping up the polishing:

IMG_8884

They even polished the wheels for us.

IMG_8883

IMG_8885

The letters are dirty, dirty. We’ll be cleaning them soon.

IMG_8888

IMG_8889

IMG_8891

IMG_8893

IMG_8896

IMG_8902

IMG_8908

Airstreamy’s first selfie. 😉

IMG_8911

Hibbard selfie!

photo9


Let’s talk about how dirty you get from polishing an Airstream. These guys deserve major moola for doing jobs like this:

IMG_8900

This is Antonio, the main polisher. He is awesome.

IMG_8899


How about some before and after shots?!

They were able to remove some dents from the front panels and banana wraps…how cool is that? Our banana wraps look SOOOOO much better.

photo 85

photo 188

photo 772

photo 883

We’ll be spray-painting our LP tanks and hitch, so they look better against the polish. We also bought a Cyclo model 5 polisher, so we can get out a few swirl marks. The guys at M & M did an outstanding job-we would recommend them to anyone.

I’m in love with Airstreamy all over again! ❤

Read Full Post »

We are still planning on having our maiden voyage to Malibu starting in under 2 weeks! I’ve been spending my evenings sewing curtains, cleaning and decorating Airstreamy. I’ll have a whole post on the curtains, once I get all the parts and have them installed. I am sewing in the black out fabric tonight, on all my panels. We still have some work needed to get the LP and water systems up and running. We had RSVP Mobile RV Service out yesterday and the owner, Joe, is awesome and very knowledgeable. He came out and hooked up our propane tanks (regulator and hoses) and installed our water heater. Joe is coming back out on Monday with another tech to get us fully connected to LP and water. We have a few issues in the lines that they will hopefully be addressing come Monday. Matt is on task to get the black and gray water tanks installed.

We ordered a stabilizer kit and a break connection for Matt’s Expedition, which are being installed on Monday.

Our propane tanks are in!

Matt helped rivet some of the bathroom trim back into place last night.

He also bought me some edgebanding to finish the trim in the bathroom.

Here is the epoxied counter and the metal trim that all needed edgebanding.

Here is an example of the finished edgebanding….I still have to caulk around all trim and find a way to get paint off of metal, without scraping it. I think I am going to try nail polish remover.

The old trim was yellowed and gross…along with everything else in the trailer. I just looked at a bathroom photo from when we bought Airstreamy….ew! One of the first things I did last year was rip out the old trim and epoxy all cabinet, sink and shower surfaces. The epoxy is holding up good. I had a few small nicks in the finish….one day I will get around to fixing them.

Check out this ‘before’ and a ‘current progress’  shot….still gotta caulk, clean and get the flooring down, but whoa!

I have been working on making our hotel on wheels feel more like a hotel than a trailer. I bought a rug and took some pillows, stackable chairs and a long tall table from my pool house to spruce things up. The table will be perfect for working on the computer, eating meals or setting stuff on.  It will have to move around, once the couch is extended to a bed, but it will wake a good night stand, too. Magically, all of the colors work with the curtain material I bought. I just set up 1 of the 2 front curtain panels to see how it would look….still waiting for our order from Inland RV, which has all our T and S hooks that we need to install them to the existing track. The other curtains are the ones that came with the trailer…can’t install the new ones until our parts come in. 😦

Lala likes to work in Airstreamy with me.

One of our pantry cabinet handles decided to stop holding the door in place last night….gotta find a replacement and figure out how to keep it shut on the road, in the meantime!

Read Full Post »

I guess it is a good thing that I suck at measuring things. In an effort to get the sofa bed to fit where it is supposed to fit, we decided to take out the side living room cabinet with the 8 track player (*tear*). We had noticed a small area of rot in an inaccessible area behind the cabinet. So, we picked up from 23/32″ plywood (really Lowes, no 5/8″ plywood?!….geez) to repair the damage. We were able to replace the damaged plywood in 2 of the areas and used bondo by the door. Matt sanded the bondo and got dust evvveeerrrryyywwwhhhheeerrrreeee! I was so sad because I had been cleaning this airstream for weeks now (assuming demo was done!). He redeemed himself by thoroughly cleaning the sofa and floors. I primed and painted the wall that was behind the cabinet. Next, we have to caulk the edges of the floor where the patches are and install the new flooring over it.

We’re making progress with other projects. We ordered new blackwater and graywater tanks today. They are being custom made and should be here in 4-6 weeks. I feel like making a paper chain counting down the days because that is a long time to wait!!

We got the 1974 AC working for about 1 minute. We’re pretty sure it’s gonna be trash because A) It is impossible to find someone locally to work on it, B) It uses R-11 refrigerant, which is basically for sale at the price of gold, and, C) We could spend $450 and get a brand new one a lot easier than trying to fix this one.

Christie and I priced out fabrics for curtains. I am not in love with any of the patterns available locally, so I am researching some good modern fabrics online, but we might just go with $.99/yard muslin and possibly use it as a liner, once we find some rad fabric for curtains.

I cleaned the inside of all the kitchen cabinets….all I can say is EW. Gross. Yucky.

I’m thinking we could be ready for camping in about 30-45 days, depending on when our waste water tanks come in. Or, we can find a KOA with bathroom facilities and take airstreamy out sooner. Can’t wait!

Here are some photos of what we’ve been up to over the last few days:

This slideshow requires JavaScript.

Read Full Post »

This project sounds easier than it was. We bought a sofa bed ‘site-to-store’ from Walmart called the Atherton Home Manhattan Convertible Futon Sofa Bed and Lounger (Pearl color) for $269. It had great reviews and was the cheapest, nicest looking one we could find online. We picked up the sofa in a big box last night that barely fit in the back of Matt’s Expedition. We decided to wait for daylight to move the sofa into the airstream. We kept it wrapped and carefully wiggled it inside. Once inside we had to install the short little legs and figure out the ‘click-clack’ function. The sofa bed can be a sofa, double chaise lounge or a bed, with a couple clicks. We got it all put together and tried to squeeze it into the area it was supposed to go….it didn’t fit! Boo! I took measurements before buying the sofa to ensure it would fit, but what I didn’t account for was the slight curve at the front of the airstream, which strips us of 1-2″ of square space.  The sofa base is square and can’t be changed. So, in the meantime, we have it set up as a double chaise. Matt is going to do some measurements to see if it will fit snugly, if we cut the countertop to the side back a little bit. It sure does make the space look cleaner and newer. Every project gets us a step closer to a modernized airstream. Don’t mind the filthy floors in the photos….we just finished laying them last night. We still have some trim pieces to install before they’re finished.

This slideshow requires JavaScript.

Read Full Post »

The airstream definitely needed new flooring; the existing vinyl flooring was worn and didn’t match the retro trailer. Once we started taking up the vinyl flooring, we realized it was not only glued down (and super sticky), but it was also nailed down. We spent a while sanding the sticky floor with 3 sanders and removed all the nails. I had originally thought of sanding the plywood smooth and painting a glossy white finish over it, but the time and cost associated with that project made me think more towards traditional floors. I really wanted white flooring, but Christie and Matt talked me into a dark wood laminate instead, which they said will be easier to keep clean. We got 7 boxes of the Tundra dark brown laminate from Ikea, which should be enough to cover the living area and bedrooms. The cost per/sq ft is $1.15, so it ended up being a very cost-effective improvement.

We are about 1/3 of the way done with the flooring. Matt hurt his back yesterday, so we are on a short hiatus until he recovers. I’ve been cleaning the inside of cabinets and working on little projects on the inside. I have to locate a light-weight modern/contemporary flooring for the bathroom and find a good fabric for the drapery this week. We have a new sleeper-sofa coming on Friday, which will get us another step closer to getting this trailer out of town. We also just got the owner’s/service manual in the mail. We are looking at dimensions for the blackwater and graywater tanks, so we can get those installed asap.  This week is expected to be HOT…some forecasts say up to 116 degrees. Until we have our 30 amp circuit installed in the garage, we won’t be able to test and/or fix the AC unit. I am counting down the days to AC!!!

UPDATE 8/24/11: We have finished laying the flooring in the living space and bedroom area. We just have to install some trim pieces and transitions.

Here are some before and progress photos of the flooring:

This slideshow requires JavaScript.

Read Full Post »

The biggest eye sore on the airstream has been the oversized, after-market swamp cooler. I wanted it taken off the second it hit our driveway, but removing it required the skills of a talented metal guy. That’s where our friend Hot Rod Ron comes in. Ron came over today to help Matt seal the roof up, after Matt took off the evap cooler. After the existing metal was exposed under the evap cooler, Ron used a cut-off wheel to cut the metal straight, both on the roof and inside the ceiling. They then went to go pick up 2 sheets of aluminum, a tube of silicone and a rivet gun to patch the roof. Matt cut the aluminum sheets down to size and Ron walked Matt through the patch job. We have to get some insulation before we patch up the inside, but that will happen in the next day or so. Thanks Ron for all the help today. We owe you big time!

This slideshow requires JavaScript.

Read Full Post »

Yesterday our friend Christine and her son Espen came over. They came right before a big dust storm hit, so we had to close up the airstream while the storm rolled through. This morning we worked on installing new electrical outlets and covers to continue with the crisp white updates. We also took down the 70s wall speakers and spray-painted the yellowed plastic white. The speaker grills look like little chocolate bars…I wanna eat them. We have to connect a couple wires up to see if the 8 track player works. We’ll probably work on that tomorrow.

This slideshow requires JavaScript.

Read Full Post »

This song has been playing non-stop around here.

We washed the outside of the airstream yesterday and picked up our new beds and flooring from Ikea. Then our friend Mary stopped by to help us do some cleaning. A dance party always follows us. Meow!

This slideshow requires JavaScript.

Read Full Post »

From my previous posts, you’ve probably seen that plastic from the 1970s doesn’t age well. It turns yellow and stains really easily. After watching a rad tutorial online from the show Classic Rides, I learned how I could transform my tub, sink and counters with epoxy paint. We went to Lowes to find epoxy and came across one that didn’t say it was suitable for plastic, but we took a risk with it and bought it. The results are nothing short of amazing. The new finish was applied with a 6″ foam roller and a 2″ foam paint brush. 3 hours of applying two coats of epoxy and it’s ready for some pretty new fixtures.

This slideshow requires JavaScript.

Read Full Post »

Older Posts »