Feeds:
Posts
Comments

Posts Tagged ‘tambour’

DAY 1:

We hit the road on our maiden voyage on Tuesday November, 20th, 2012. We wanted to hit the road at 7:30am, but due to the need for a stop at Camping World in Avondale, about 30 minutes away, we decided to leave at 8:30am instead. We didn’t really know how much time it would take to get to Malibu, but we were guessing 7-8 hours.

We pulled out of the driveway and I felt a sense of accomplishment; we got the airstream ready in time!


Matt drove the whole time, while Christie and I napped (I didn’t sleep the night prior, as I wanted to get everything I could done before we left).
We stopped for gas 3 times on the way and arrived to Malibu Beach RV Park right before sunset. We checked in, were shown to our spot (#19, overlooking the beach!) and proceeded to get the systems connected. One thing we forgot was a cable wire. We ended up buying one at the RV store onsite, so we could watch TV on thanksgiving….watching the parade and dog show are family tradition.

Malibu Beach RV Park is located above the Pacific Coast Highway, about 3.5 miles from the Malibu Pier, overlooking the ocean. Rates at this time (Oct 1st-May 23rd are $47/ night weekday and $52/night weekend. There is a 3 day minimum and a $20/day extra fee for the thanksgiving holiday stay).

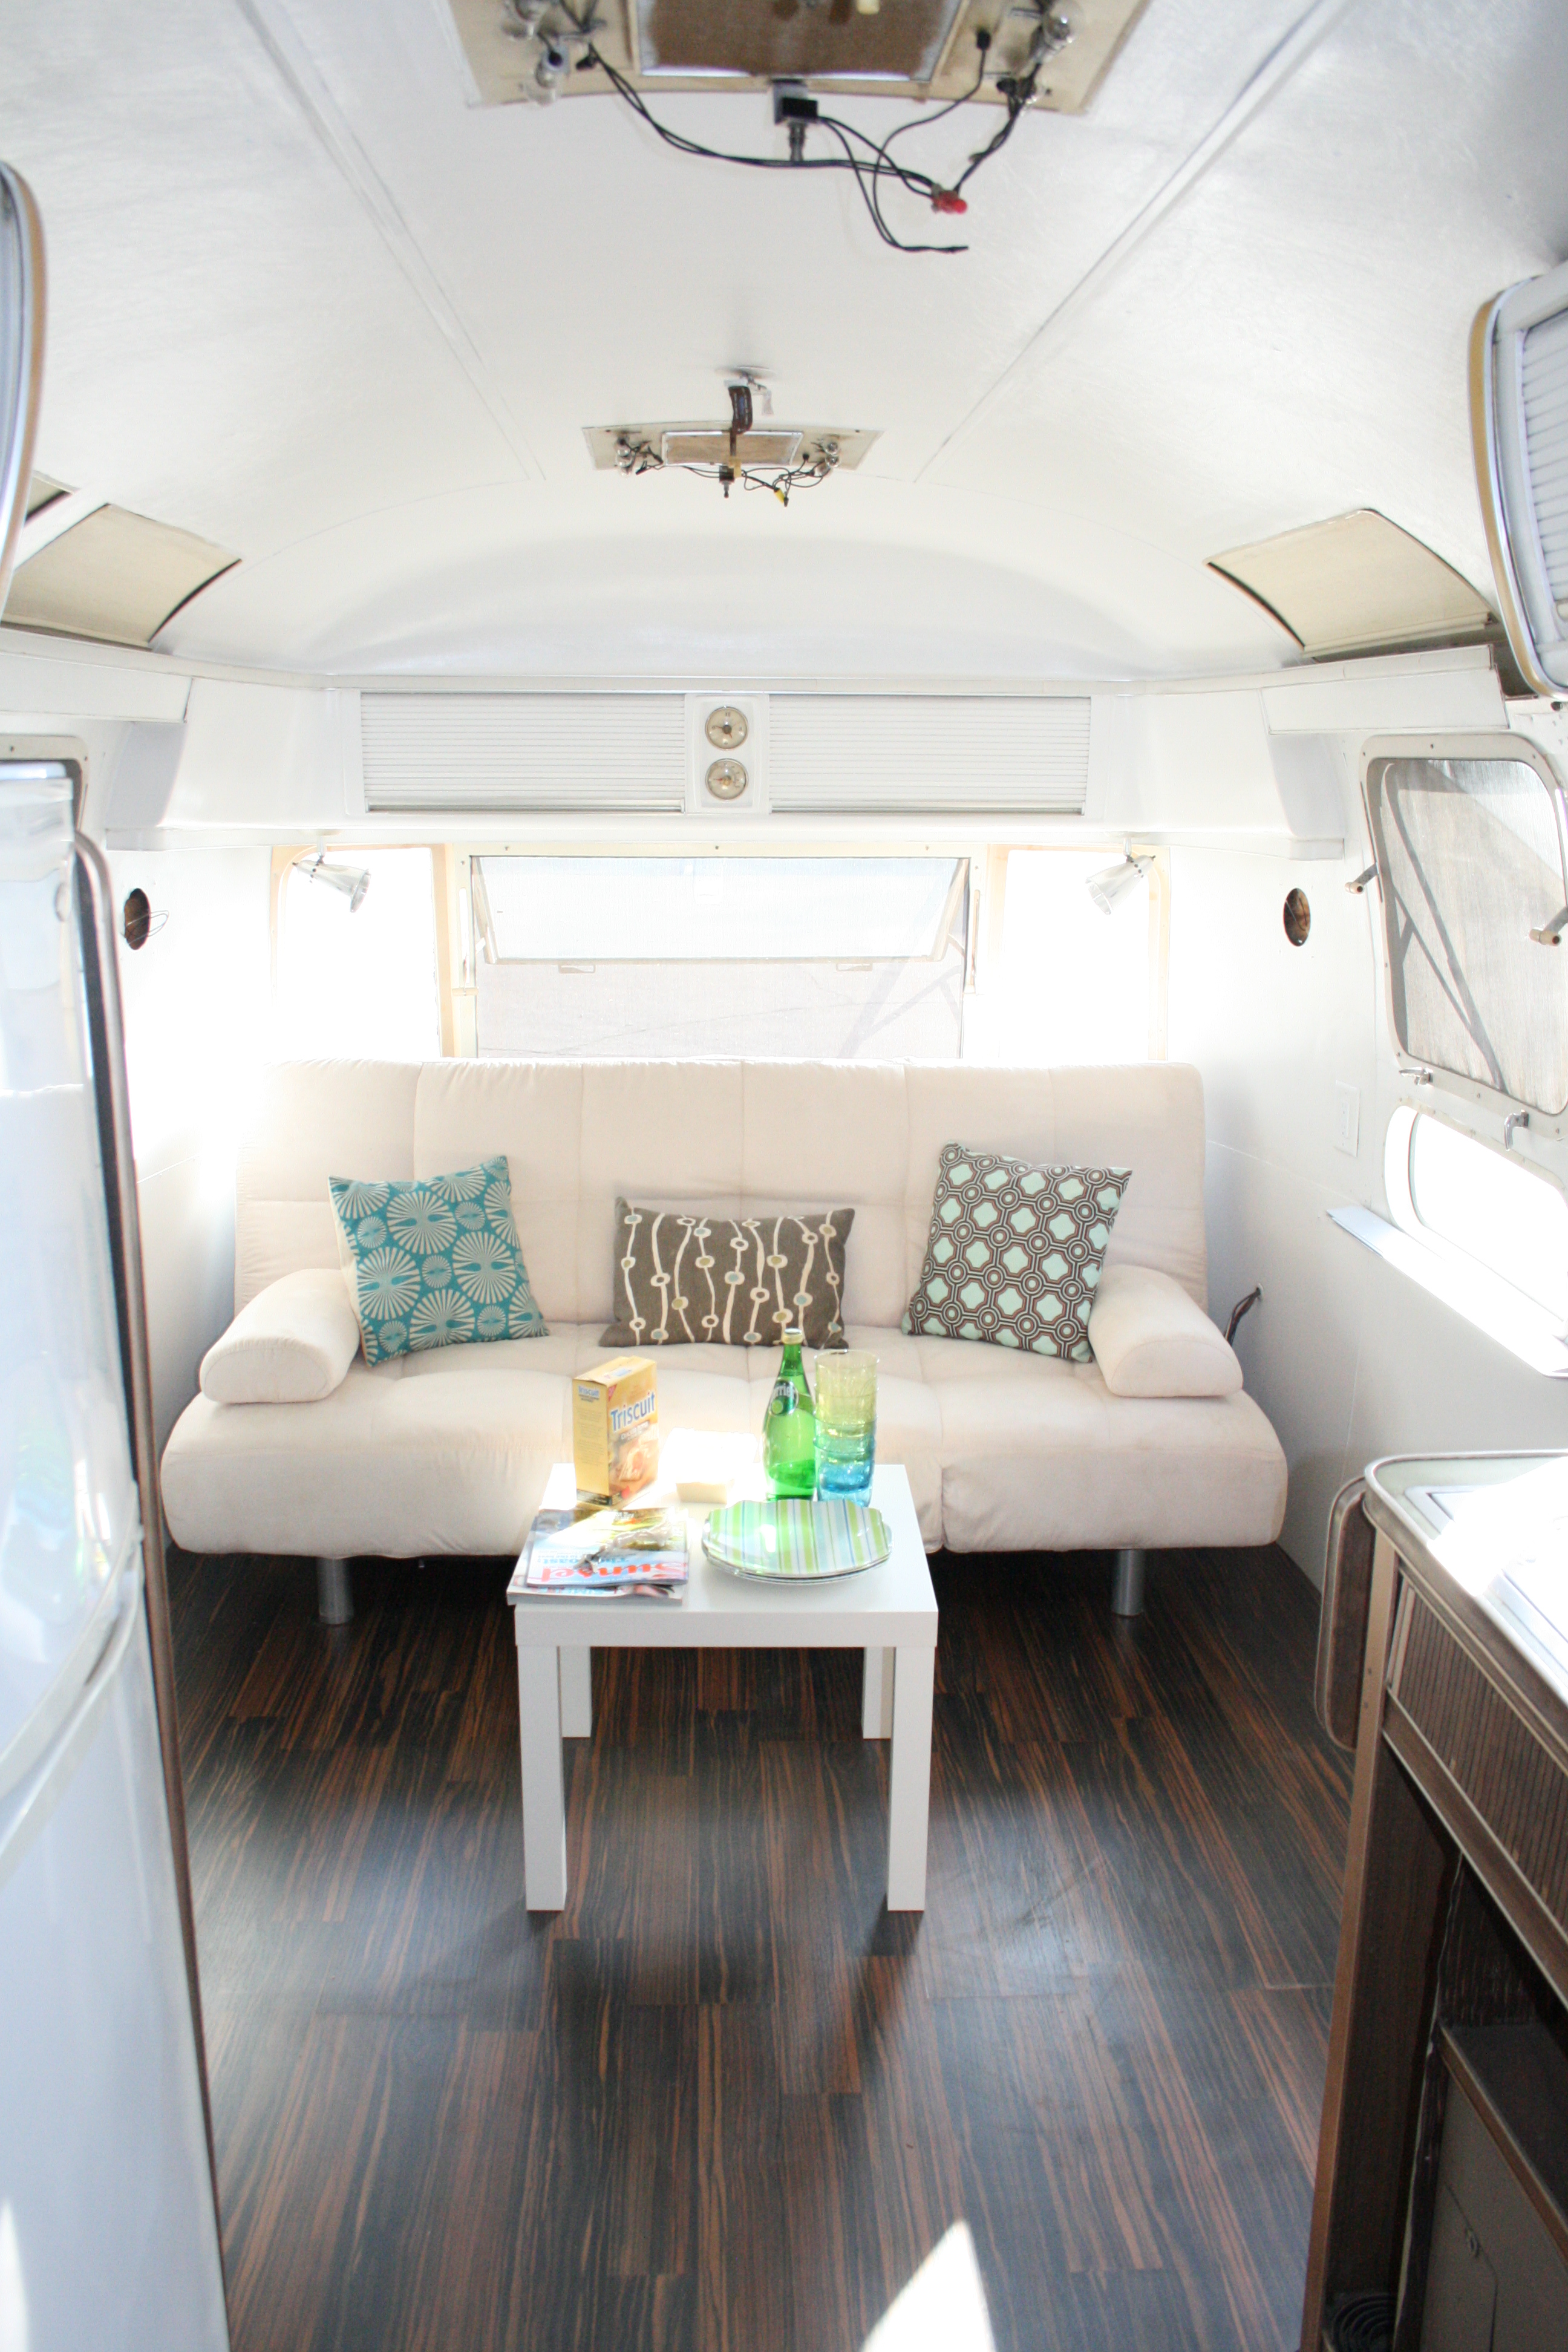
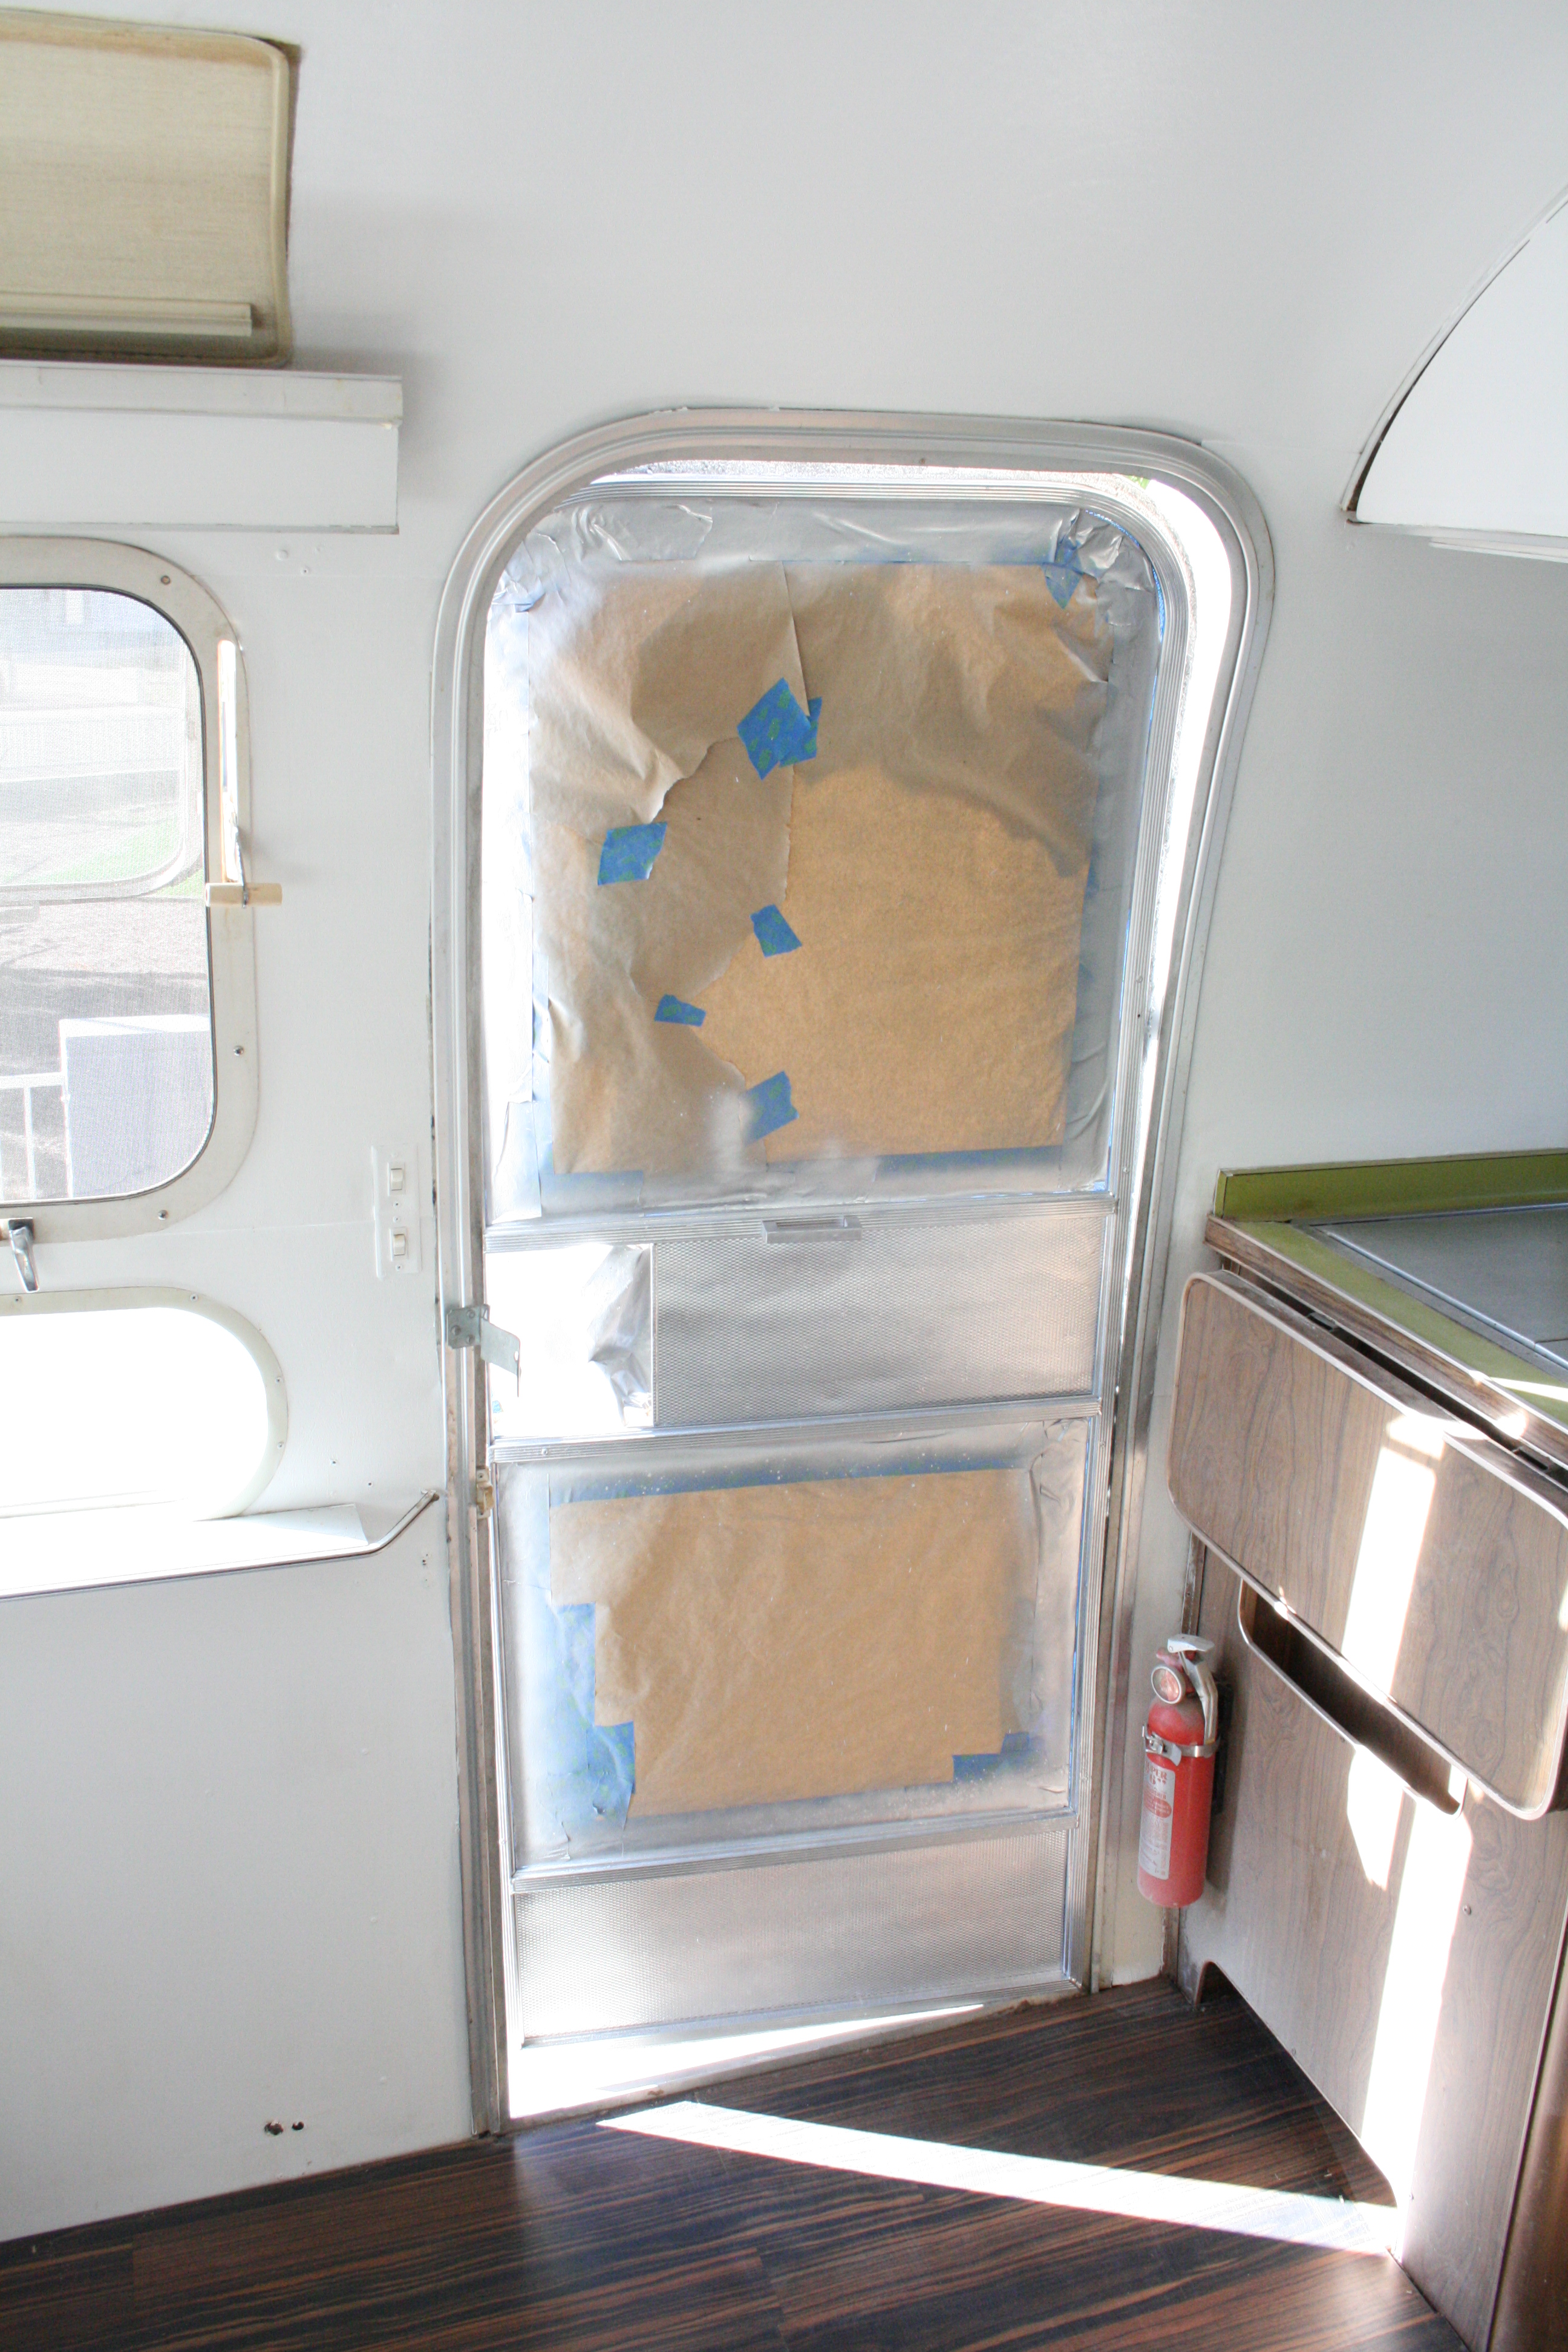
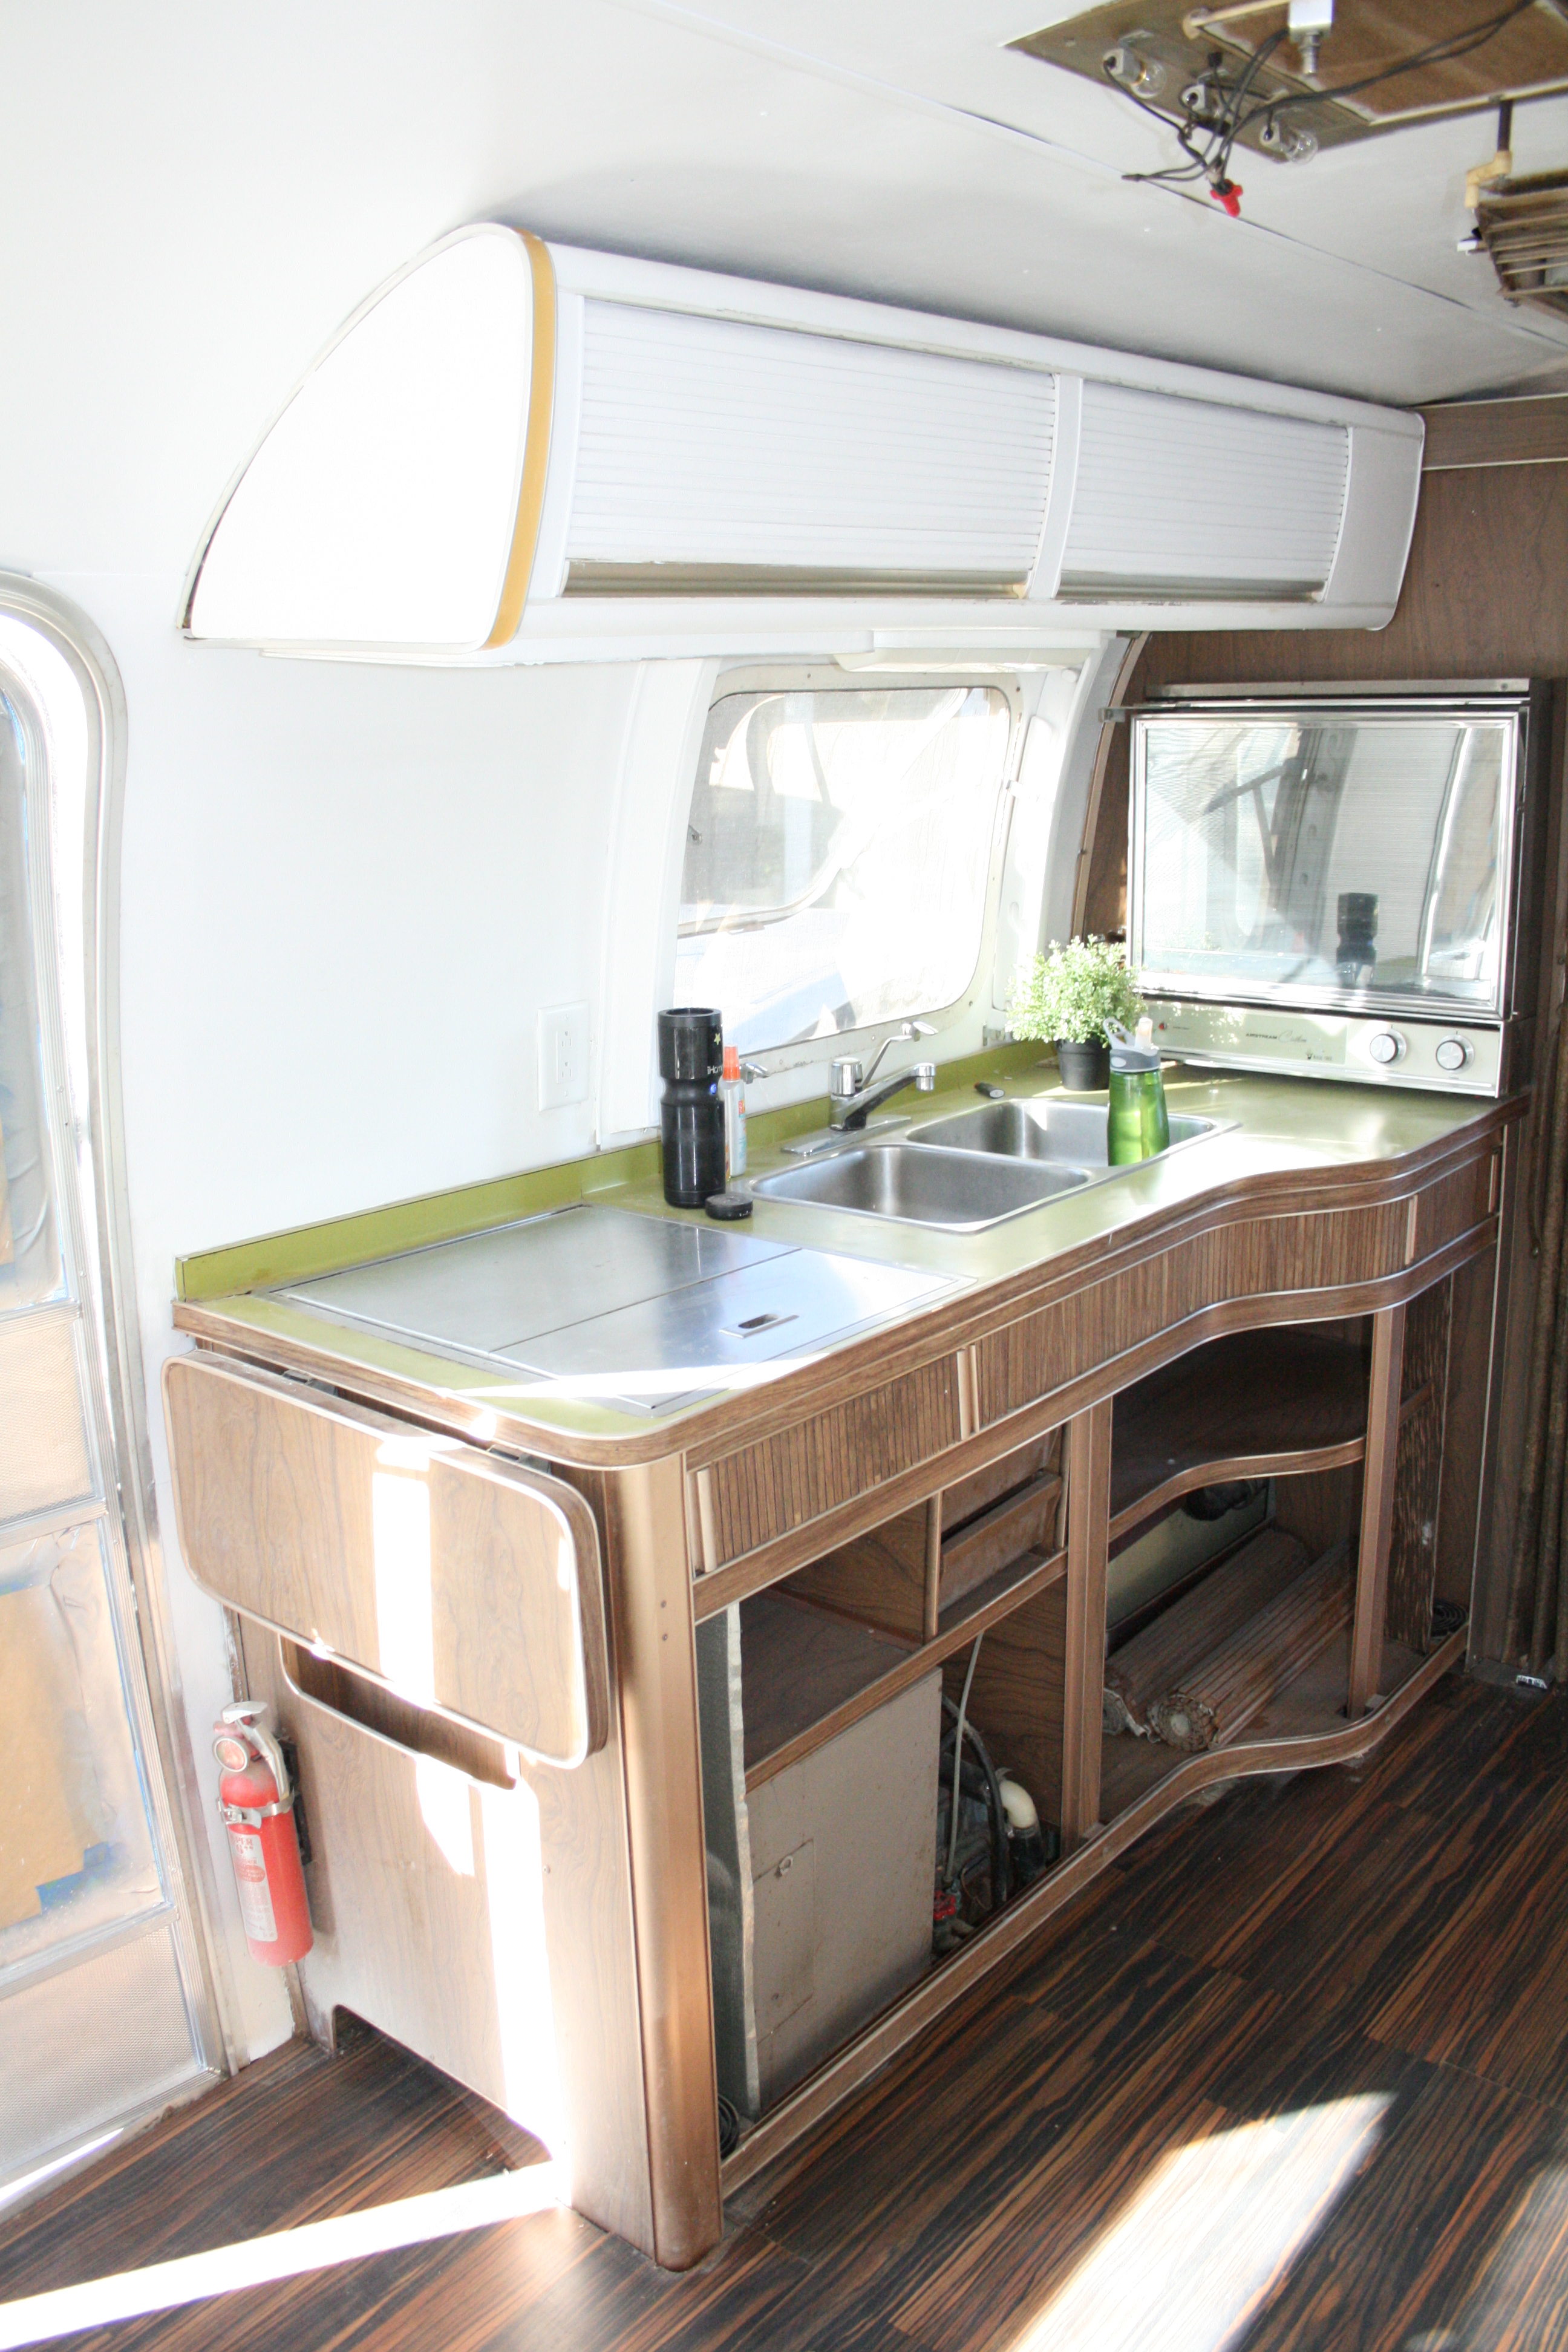
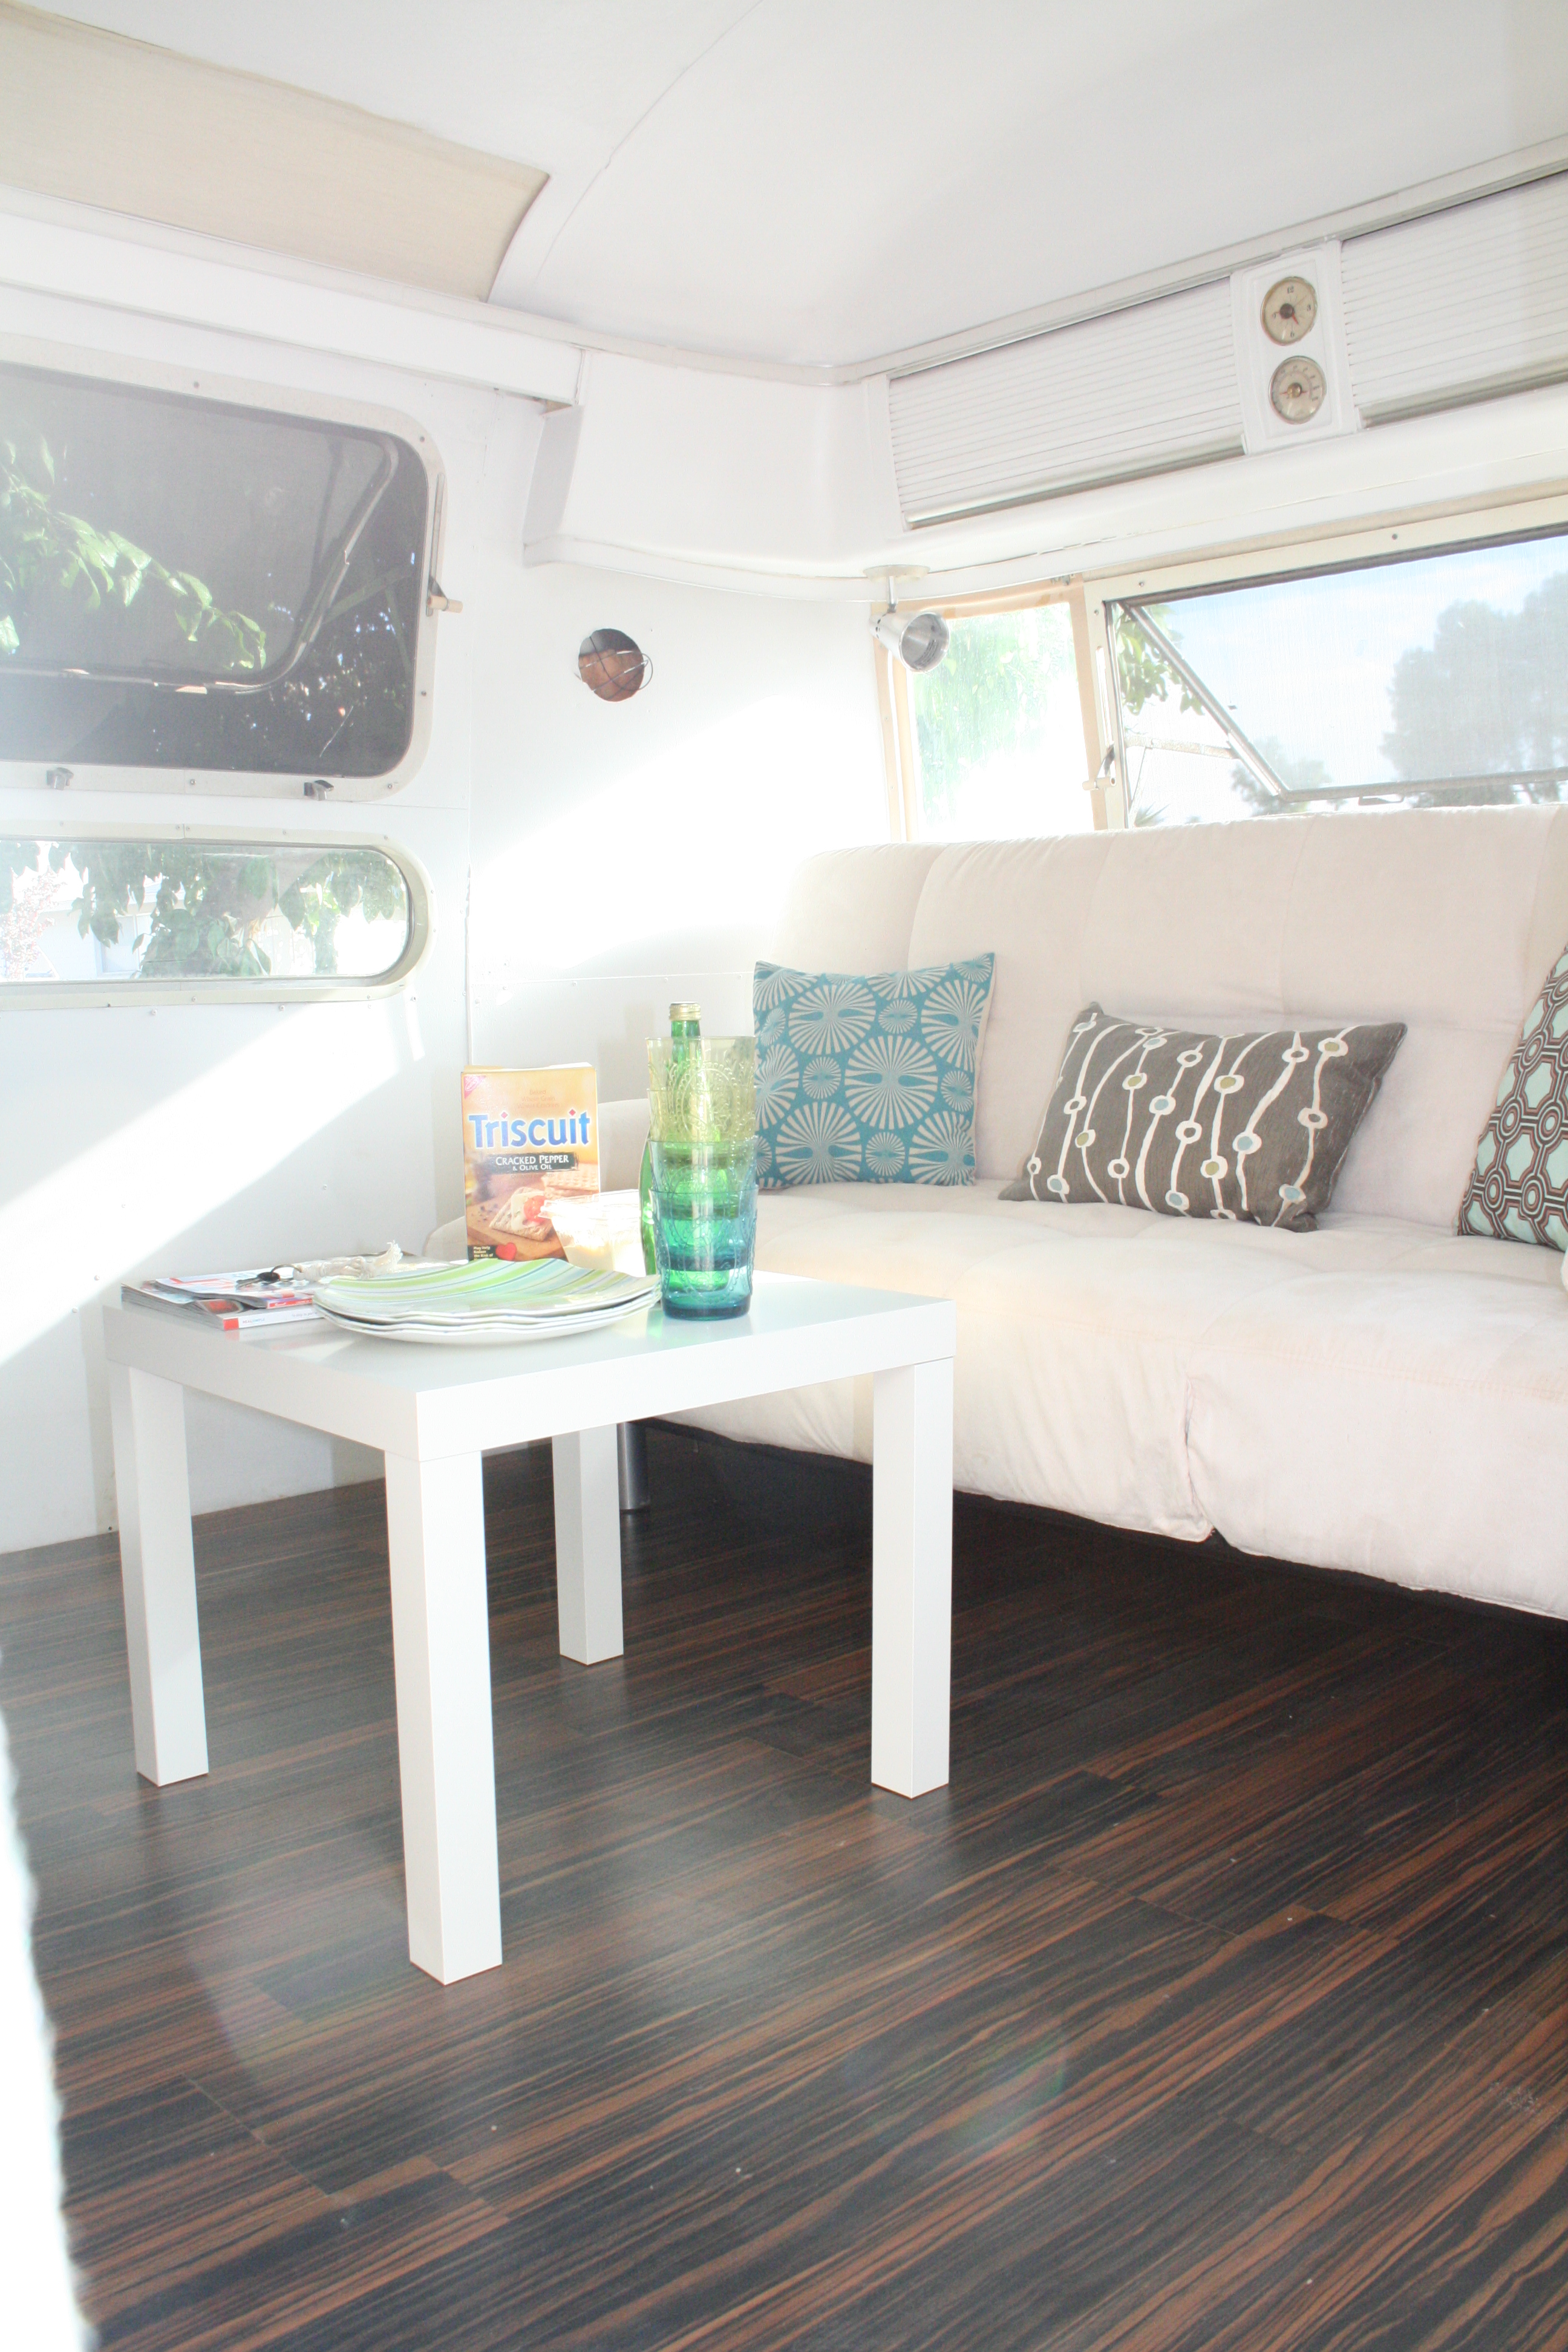
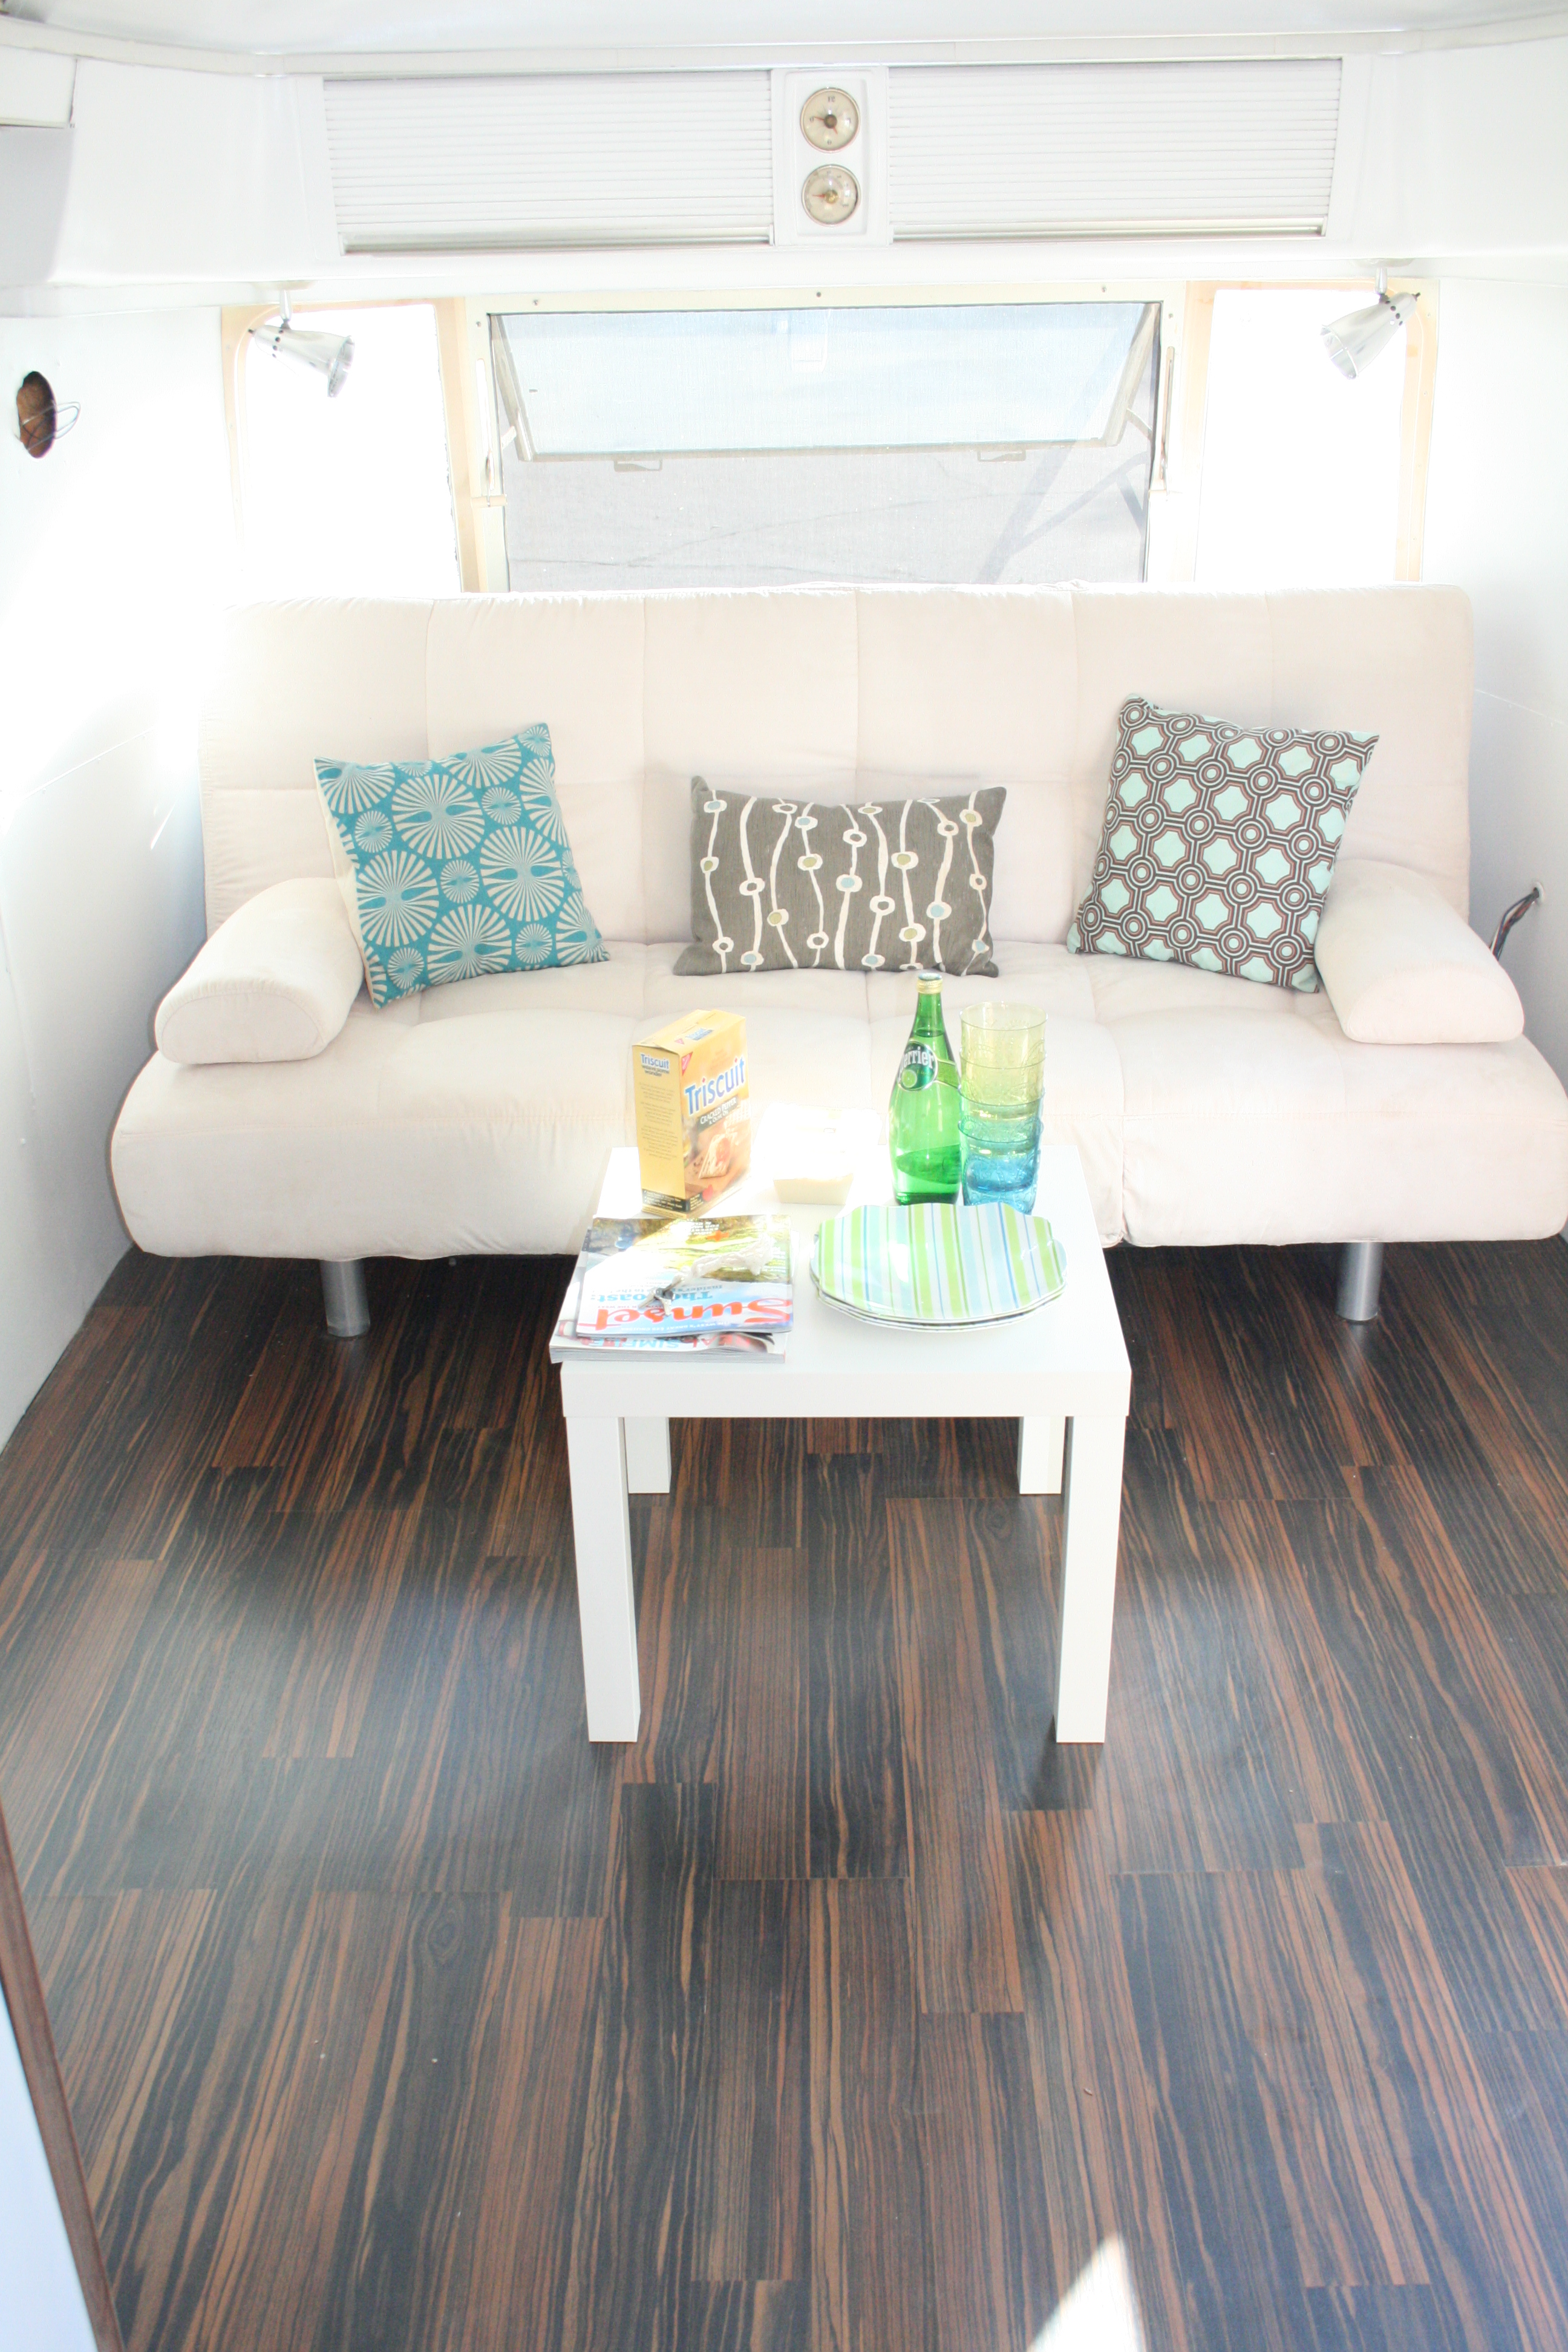
As the sun was setting, I wanted to take progress photos of the interior, after we unpacked.

Check out the dreamy view out the bathroom window!

Once I got done snapping some interior shots, the sun was setting. It was magical….this is reason enough to stay at Malibu Beach RV Park. We didn’t have any neighbors on our first night stay either. We paid for a full hook-up including 30 amp service, water, sewer and cable.

Day 2 is our Disneyland adventure!

Read Full Post »

We have owned Airstreamy for about 1.5 months and keep working on getting her ready for the road. Our custom-order black and grey water tanks arrived a couple days ago. We now have the task of installing them, which should be a lot of fun (not!). Since this airstream was lived in, a lot of the traveling components were discarded, by a prior owner. We haven’t been able to test the plumbing yet. We have heard the water pump turn on when we use the control center on button, but we haven’t filled the water tank. The waste tank install is a major hurdle to getting us on the road. We also have to take the airstream in for service to have all our gas appliances pressure-tested, to ensure they are safe for use. We hope to do that in the next couple weeks.

There aren’t many things that Christie and I can do in the trailer, as we have no mechanical knowledge whatsoever. We’re good on the cosmetic/design side. We’ve been hunting for some good drapery fabric, but still coming up slim on options. Most of the patterns we find are too busy, so we think we’ll go with a simple off white. I put together a $10 table I got at Ikea for a coffee table; It’ll work just perfect. We got all the ceiling lights working and bought brand new plastic covers for them. The covers don’t fit properly, so we have to make a few adjustments to the power knobs to get them to fit snug. I got the old speakers all painted and ready to be installed, but Matt thinks we should get new ones. Speakers are low on my priority list, as we can just bring a stereo with us. I have been spray painting the screen door silver and working on some kitchen solutions. I wish there was a way to repair our existing kitchen cabinet tambour doors, but they are in rough shape. We might build new cabinet doors or buy new tambour…we haven’t decided yet. Here’s some updated progress photos:

Read Full Post »

From my previous posts, you’ve probably seen that plastic from the 1970s doesn’t age well. It turns yellow and stains really easily. After watching a rad tutorial online from the show Classic Rides, I learned how I could transform my tub, sink and counters with epoxy paint. We went to Lowes to find epoxy and came across one that didn’t say it was suitable for plastic, but we took a risk with it and bought it. The results are nothing short of amazing. The new finish was applied with a 6″ foam roller and a 2″ foam paint brush. 3 hours of applying two coats of epoxy and it’s ready for some pretty new fixtures.

This slideshow requires JavaScript.

Read Full Post »

After everything was primed throughout, we painted with Olympic no voc paint in a natural white. It is amazing what a difference paint makes!

This slideshow requires JavaScript.

Read Full Post »